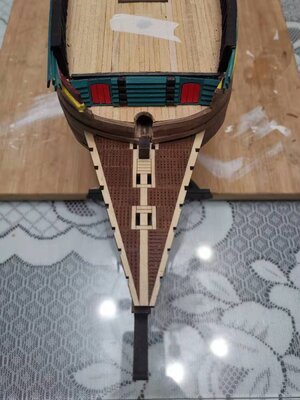
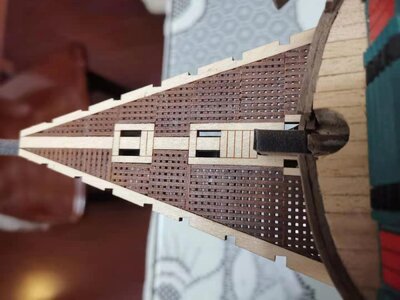
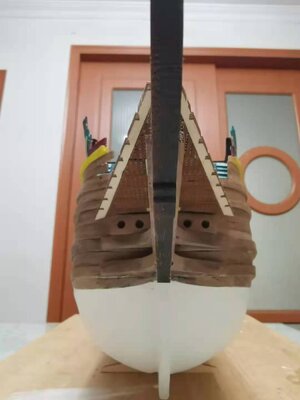
In Argentina (Spanish) are also called Chalupa o Botes Salvavidas (Lifeboat)
Cheers
Daniel
 |
As a way to introduce our brass coins to the community, we will raffle off a free coin during the month of August. Follow link ABOVE for instructions for entering. |
 |
 |
The beloved Ships in Scale Magazine is back and charting a new course for 2026! Discover new skills, new techniques, and new inspirations in every issue. NOTE THAT OUR FIRST ISSUE WILL BE JAN/FEB 2026 |
 |

@Dematosdg
@Vfordyce
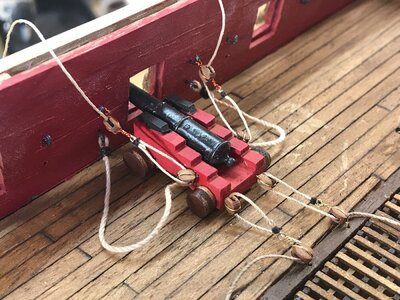
Daniel and Victator - great question gents - and Daniel ... please fire away with questions! So to answer - no, the capsquares were indeed pieces of iron. For now - as at that stage it is all about placement and the gunports themselves - I have just stuck pieces of wood with double-sided tape to the carriages to keep the barrels at the correct angle.
View attachment 196658
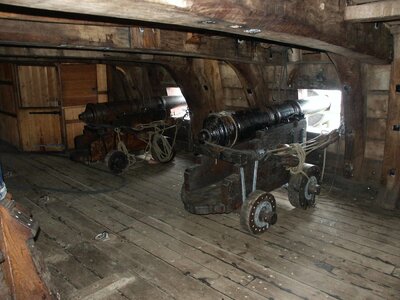
Cannons and carriages on the replica of the Batavia.
When it comes to finishing the cannon/carriage assemblies, what I will do, is still an open question at this stage. Remember, no one has ever modelled a Batavia with cannons on the decks, so I have no example to follow. For that, I have to look at the model of the Zeven Provincien. The picture below shows the way that many of the Dutch builders on Modelbouwforum go.
View attachment 196659

Excellent, I look forward to their input. Only 19 more days and that keel will be laid.@Pathfinder65 Thank you Jan, but once you start the Duyfken, you will learn fast. In @Maarten and @Ab Hoving you have two of the definitive authorities on Dutch ships on SOS.


Wow that is great news! I already book Seat No 1 for that one!Excellent, I look forward to their input. Only 19 more days and that keel will be laid.
Jan
Excellent, first seat is reserved, according to our Governor’s COVID executive order only nine seats are left.Wow that is great news! I already book Seat No 1 for that one!
Haha @Heinrich , don't give me to much credits, @Ab Hoving is writing the books, I am just reading them.@Pathfinder65 Thank you Jan, but once you start the Duyfken, you will learn fast. In @Maarten and @Ab Hoving you have two of the definitive authorities on Dutch ships on SOS.
But you are also quoting them. Compared to most of us, you are an expert.Haha @Heinrich , don't give me to much credits, @Ab Hoving is writing the books, I am just reading them.
 has come out of quarantine and is now docked under the Christmas tree.
