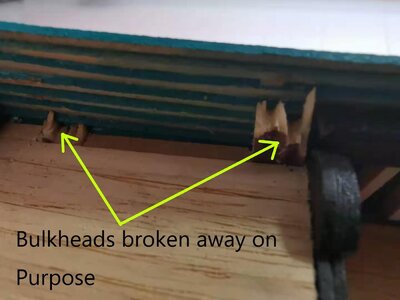
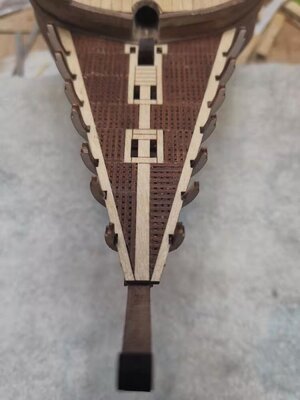
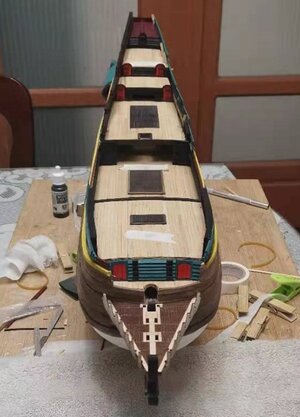
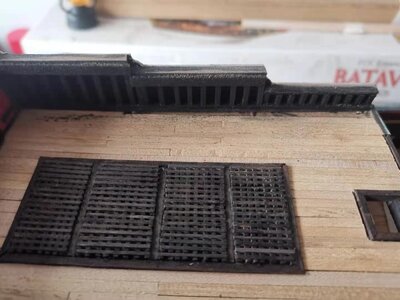
Before you glue Heinrich, the fore most sections on the port side are facing the wrong way. What a unique way of making gratings!!
Hopefully I have not ruined your day.
Hopefully I have not ruined your day.
 |
As a way to introduce our brass coins to the community, we will raffle off a free coin during the month of August. Follow link ABOVE for instructions for entering. |
 |
 |
The beloved Ships in Scale Magazine is back and charting a new course for 2026! Discover new skills, new techniques, and new inspirations in every issue. NOTE THAT OUR FIRST ISSUE WILL BE JAN/FEB 2026 |
 |


Hi Don. Well - it's glued already and there is no way of disassembling and re-gluing those little gratings! So this will be forever the fault of the negligent Dutch carpenter who had his eye on his gin and the sweet young lass next to the shipyard!Before you glue Heinrich, the fore most sections on the port side are facing the wrong way. What a unique way of making gratings!!
Hopefully I have not ruined your day.
 Ruin my day? Never my friend ... if we can't laugh at mishaps like those we are in the wrong hobby!
I was going to mention that "OOPs", but Don spotted it. Anyway that's some great fiddly work@DonRobinson Well-spotted Don. Of course! That is now what happens when you rush and gets to one in the morning!
Hi Don. Well - it's glued already and there is no way of disassembling and re-gluing those little gratings! So this will be forever the fault of the negligent Dutch carpenter who had his eye on his gin and the sweet young lass next to the shipyard!Ruin my day? Never my friend ... if we can't laugh at mishaps like those we are in the wrong hobby!


 Also bear in mind that in real life those 1mm holes are almost invisible to start with and the beam directions even less so, So, this really does not worry me.
Great job Heinrich! I feel your pain on making gratings and cutting them to shape! Buts always nice to celebrate a job well done. If it were easy, there would but nothing to celebrate!Hello All
It feels quite strange to be posting here - Bluenose seems to have taken over my modelbuilding activities lately, but there was no way that I was going to end the year without returning - at least once - to my big girl!With my wood that has arrived from Kolderstok in the Netherlands, I just felt like doing the galleon.
View attachment 202065
For the galleon (which obviously comprises mostly of gratings) Kolderstok supplies this sheet. On the right the you will see the notched parts and on the left the straight beams. Ni in this case, the word "beam" is a complete misnomer, as it is a square piece of wood of 1mm x 1mm. Thus, it goes without saying that the notches are also 1mm in width and depth.
View attachment 202066
Here you can see the notched sections from left to right while the straight pieces are inserted into the notches and gently pressed into position. What makes this tricky of course is that all the sections are a different size and therefore units mostly have to be assembled individually.
View attachment 202067
Now if I will be excused for listing a pet hate, it is the completely out-of-scale size of most gratings that I see on models - they are simply way too big. Luckily, Kolderstok does not fell foul of this - but there is a trade-off. This is a job that requires plenty of patience and the whisperings of sweet-nothings into the ear of these parts which are not the most co-operative of sorts. With these done, it was time to mix the special cocktail.
View attachment 202068
A blob of PVA glue.
View attachment 202069
Thoroughly mixed with hot water (to facilitate proper mixing).
View attachment 202070
This concoction is then brushed all over the gratings and left to dry.
View attachment 202071
After that, the individual units are then cut to size and glued to the centre piece of the galleon. When properly dried the edges are cut to size and the side-pieces are glued into the position.
View attachment 202072
I was very happy with how this turned out. Did I mention those little square holes are 1mm x 1mm
Now it was time to round the galleon at the back (the part where it would fit against the hull) and then of course came the acid test. How does it fit?
View attachment 202073
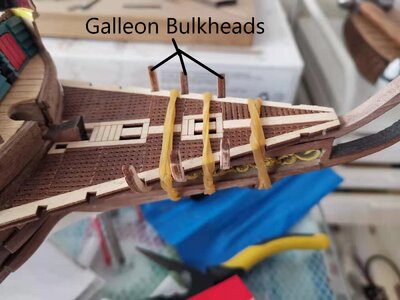
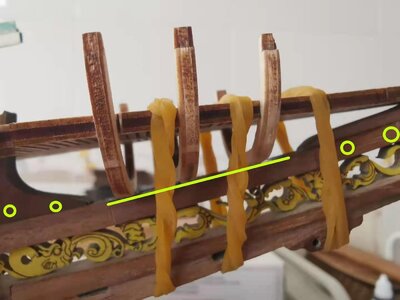
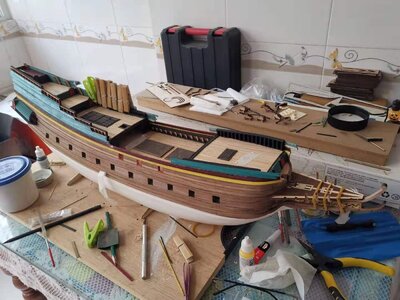
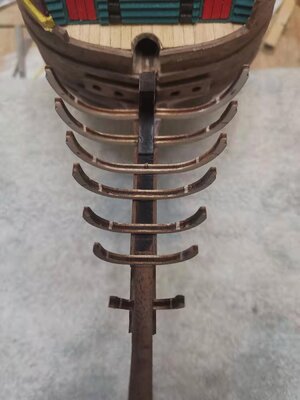
And luckily the answer to that - is very well thank you! Obviously this is just a dry fit and none of the brackets in which the galleon will be mounted has been installed on the beakhead yet.
View attachment 202075
View attachment 202074
And with that my friends, we turn our bows towards the 2021 firm in the belief that it will be a year in which we will all enjoy good health, a certain amount of prosperity and the opportunity to practice our shipbuilding!
I wish you well my friends!
It’s not noticeable unless pointed out. If you want perfection, you could redo that one section. Probably not worth the effort.@DonRobinson There you go Don!Also bear in mind that in real life those 1mm holes are almost invisible to start with and the beam directions even less so, So, this really does not worry me.
Great job Heinrich! I feel your pain on making gratings and cutting them to shape! Buts always nice to celebrate a job well done. If it were easy, there would but nothing to celebrate!




 )
)
I am sure the Admiral will give you a big smileHello Everyone
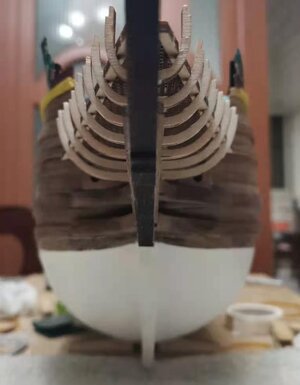
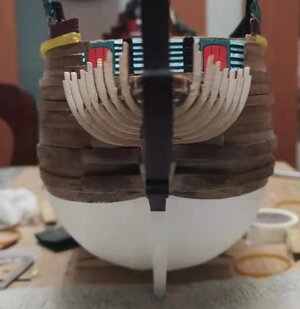
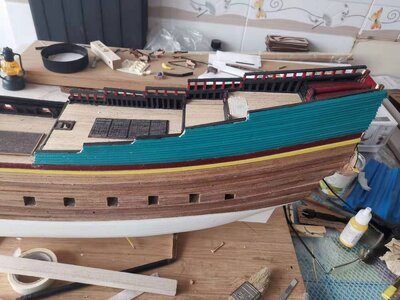
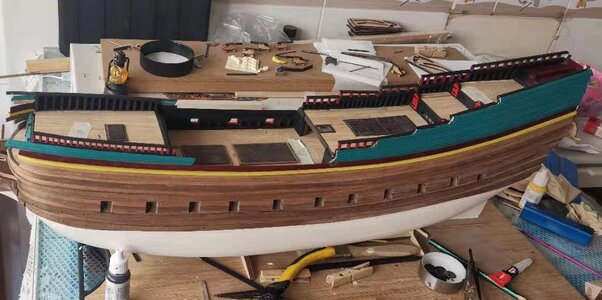
Well it was on with the bracing of the bulwarks on the Port Side.
View attachment 205491
Inner bracing completed and sanded even. The deck is not dirty - it's just sawdust after the sanding! (The pictures are taken hot of the press!)
View attachment 205492
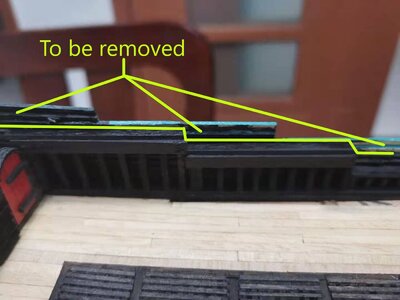
The excess material is cut away from the bulwarks so that we can see a rough line emerging. At this stage, I am not finishing this as the railing first has to go on. Thereafter everything will be finely finished on both sides.
View attachment 205494
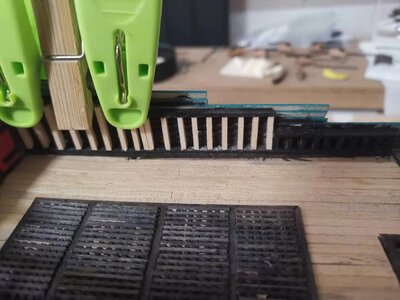
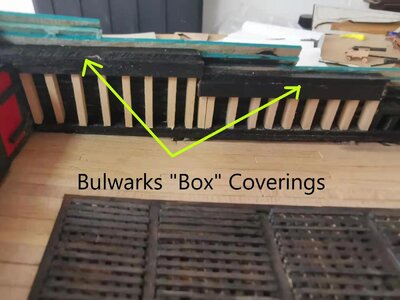
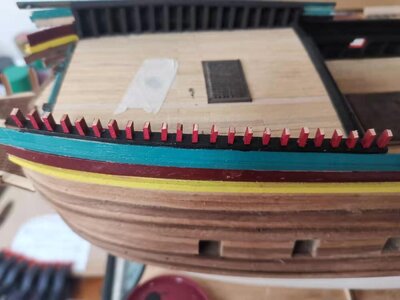
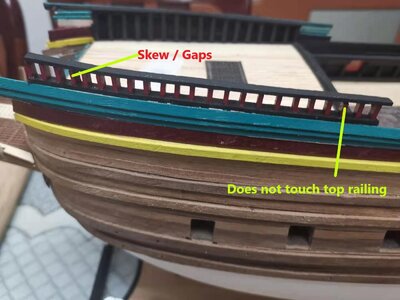
Then it was on to the railing on the forecastle. As I have no powertools, each little spar has to be cut with an X-Acto knife, painted and glued into position. Then out came the file and the tops are filed even. Inevitably in this process, there are a few who do not make it!
View attachment 205496
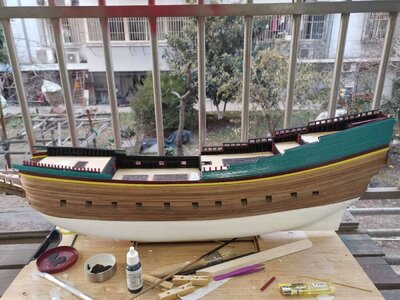
While waiting for the glue to dry she enjoyed a rare outing in the afternoon "sun" from the balcony of the Nantong Penitentiary!
View attachment 205497
When the Admiral inspected the results, it was summarily dismissed! So, there is only one way of doing this. Yep - do over!
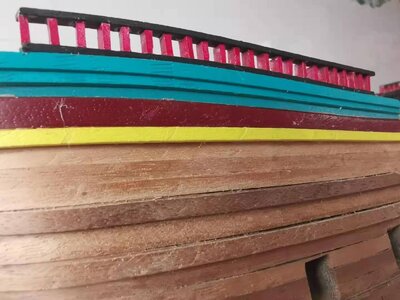
Effort Number Two:
View attachment 205498
View attachment 205499
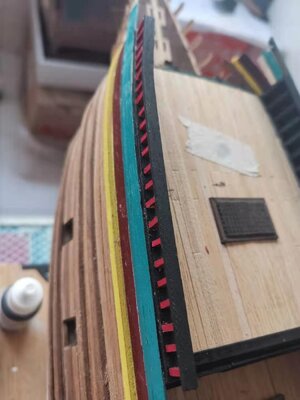
This is a very difficult one to call as the little spars not only run along an incline towards the bow, but also round a corner!
View attachment 205500
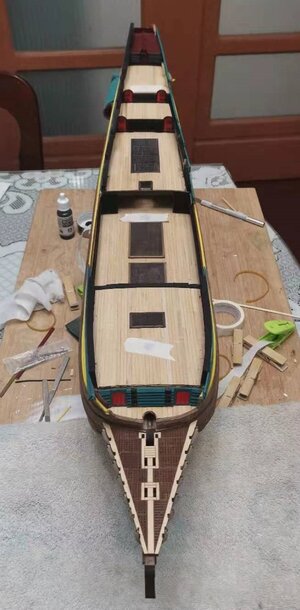
Overview. I am happy with this effort, but will now wait in anticipation for the Admiral to come home.
Stay well and happy everyone - until next time!
Heinrich
