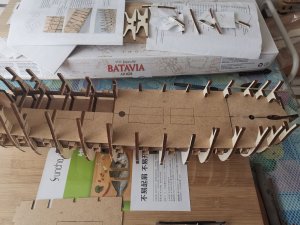
VOC SPIEGELRETOURSCHIP BATAVIA 1628 - KOLDERSTOK 1:72

Dear Hans

Thank you very much for your comments.

As to the solutions:
- I agree one hundred percent that wider slots will weaken the frames at the upper side. That was why I chose not to file or cut the slots wider.
- I think the one-piece 1mm MDF would be a great solution to any potential variances of the supplied planks.
As far as "verspringen" goes: "I don't think there is an English word in the English vocabulary that could describe that accurately! :D

As always, thank you very much for your excellent customer service!
Kind regards - Heinrich
 
Dear Friends

Time for an update ... (no I did not plan on it being this soon). Yesterday, I know I said I am working on the cannon boxes - and indeed I was / am. Nineteen are now completed. But this morning, I was dying with suspense to see if my gunwales were in order and if any further work is needed. And ... the only way to know that is to attach the boxes to the gunwales and to dry-fit the cannons. So, off to work I went ... and 10 uninterrupted hours later, the starboard side is complete. I know it's a long time, but I hate CA with a passion and try as much as possible only to use PVA. This means that there is quite a bit of drying time involved.

I have to mention here that with the cannon boxes I deviated from the instructions. According to the latter, you first have to installed the back
plate of the box on the gunwales and then the whole box gets assembled around that. Whilst that is no doubt good for accuracy, I just did not see myself fit to it that way. I therefore first assembled the boxes and then glued the completed box to the gunwale. After meticulously measuring out the exact locations of the holes on the plans, I transferred the markings onto the gunwales. Luckily the holes for the push-in cannons are pre-drilled in the back plate of the boxes, so once the holes had been drilled in the gunwale, it was a simple task of just aligning the two holes.

Build 26.jpg

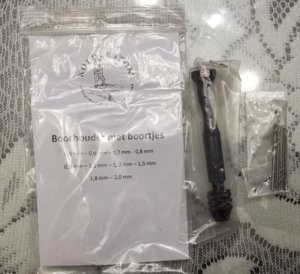
For drilling the holes, I used the Kolderstok-supplied drill holder and a 2mm screw bit. This worked very well and there was no splintering of wood or anything untoward.

Build 144.jpg

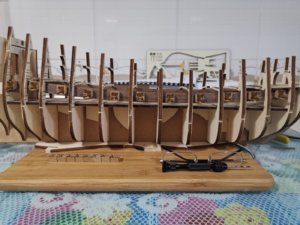
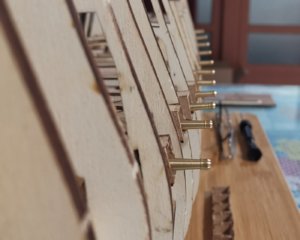
The Haarlem has TEETH!!! An no fewer than 11 of them on the starboard side - cast-iron 36-pounders. Obviously the cannons still have to blackened. NOTE: The cannon second from last towards the stern sits purposely higher than the rest - as per the plans.

Build 145.jpg

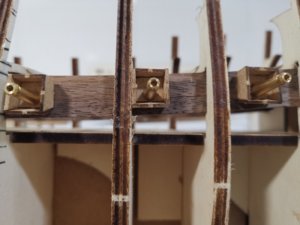
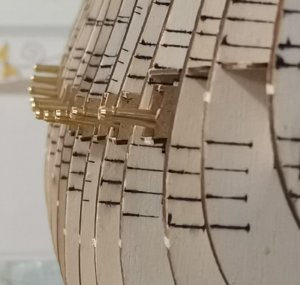
Close-up of the three cannons at the bow. That is enough to catch the attention of any would-be pirate or potential ransacking! Note that the cannons were just fitted loosely without any adjustment of the holes for alignment.

However, despite that ... just look at the curvature!

Build 146.jpg

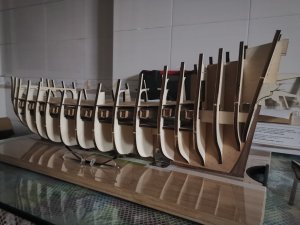
From the stern ...

Build 147.jpg

And the bow. Absolutely perfect !!! Phew!!!

Tonight, the coffee is going to taste extra good! :D

Thank you all for your interest and for following.
Kind greetings - Heinrich
 
Hi Maarten.
Thank you very much. The cannon boxes still need to be faired according to the line of the bulkheads and painted black. Then, of course the port side needs to be done, but today, it's first more research.

Kind regards-Heinrich
 
Hi Dear Friends

Quick question for all the experts out here, if I may. Has anyone got any experience of diluting PVA (non-water resistant) glue with water in the ratio of 30:70 and then brushing it into the joints of glued parts as a further strengthening exercise? Is it worthwhile and doesn't it leave a kind of residue on the wood afterwards?

A penny for your thoughts please.
Kind regards - Heinrich
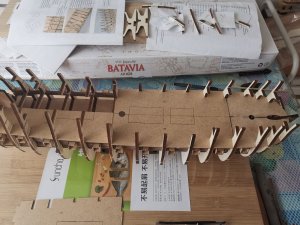
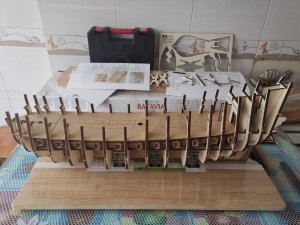
I did,and used a tiny syringe
 
Hi Maarten, thank you for your reply.
Yes, I was thinking of the frames and the cannon ports. The ports are only 1mm thick, so there is not much surface area for the PVA to bond to.
Kind greetings - Heinrich
 
Hi HEINRICH, i agree with MAARTEN, i had been doing that for a long time and my models were turning out not so good even with frames to me a NO, NO, my blanford frames were a total disaster had to almost completly plank it, NOW I TAKE EXTRME CAUTION WHEN PLACING PARTS, i do not do that anymore, reather have some iny gaps showing then a discolored part. JUST ME. Don
 
Dear Smelly. Thank you so much for your kind comments. It is really appreciated.
Kind regards - Heinrich
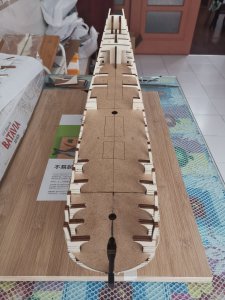
 
Hallo Dear Friends

I have some progress pictures to share.

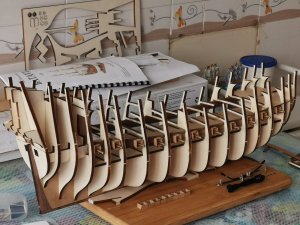
As you will recall from my previous post, I fitted the cannon boxes on the Starboard side and this exercise was repeated on the Port Side.

Build 148.jpg

This picture still shows the completed cannon boxes on the Starboard side.

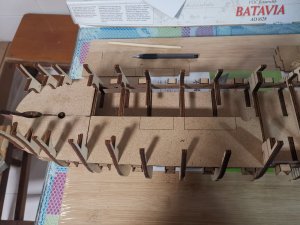
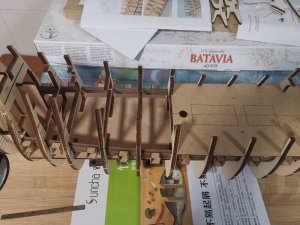
Fitment of Deck "A" was next. As you can gauge by the letter "A", this is actually the first-level deck and comprises of six separate parts: two each for the front, middle and rear sections.

Build 149.jpg

Front Deck in place.

Build 150.jpg

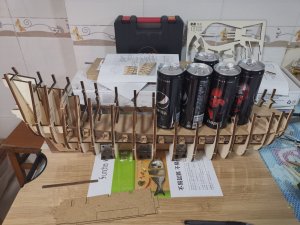
The Pepsi cans of cooldrink were ideal to bear weight on the middle deck while drying. In the foreground the two rear deck pieces are visible.

Build 151.jpg

Port Side of the Middle Deck installed.

Build 152.jpg

Middle-Deck Assembly in place.

Build 154.jpg

Starboard side of Rear Deck

Build 155.jpg

Completed Deck A assembly.

Build 157.jpg

Stern view of completed Deck A assembly.Build 158.jpg

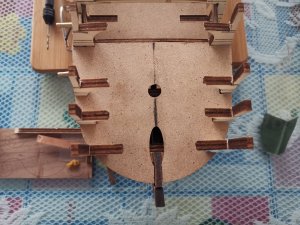
With regards to these two front hatches in Deck A, Kolderstok gives the builder two options. They can either be cut open or can remain closed, covered by a grid which, in turn, is covered by canvas. Opening the hatches will require a considerable part of the false deck underneath to be planked. I chose to keep the hatches closed for two reasons. The false deck underneath is completely empty and apart from the planking, nothing else is displayed. Secondly, I need all the space I can get on Deck A as I need to find place for six cannons that were not part of the original Batavia build.

Build 159.jpg

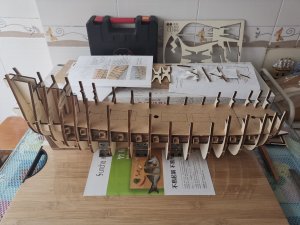
As parting shot, this picture shows the shipyard when it closed for the evening. You will notice that at the stern the five supporting beams for the front deck are already in place.

Thank you all so much for following and for your interest.

Kind regards - Heinrich
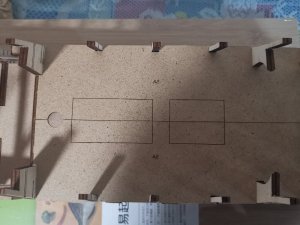
 

Attachments

  • Build 156.jpg
    Build 156.jpg
    257 KB · Views: 15
  • Build 154.jpg
    Build 154.jpg
    283 KB · Views: 14
Hallo Heinrich - very good progress - I am very happy to see regular your progress reports - very interesting to follow
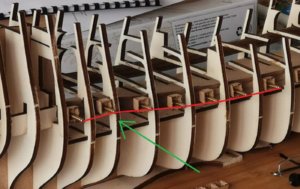
I have one question: But maybe it is only a distortion of the photo.
Please check the second gun - I have the feeling, that it is too far inside the model, if yes, you will recognize it very much later on when the ship is planked.
I made a red line connecting the end of each gun, where you can recognize it......
Build 148.jpg
 
Back
Top