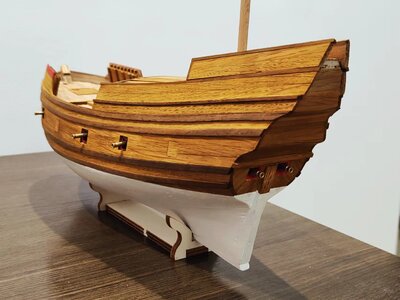
Willem Barentsz by Kolderstok AD 1596

.​

I think I know where the misunderstanding comes from. This might help. It's just that the outlines in this diagram are extremely symbolically drawn. I personally have never seen such a concavity on any hull, neither on period plans nor on shipwrecks, nor in the works on naval architecture, but maybe I haven't seen enough yet...
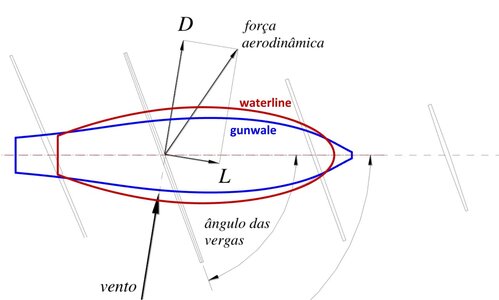
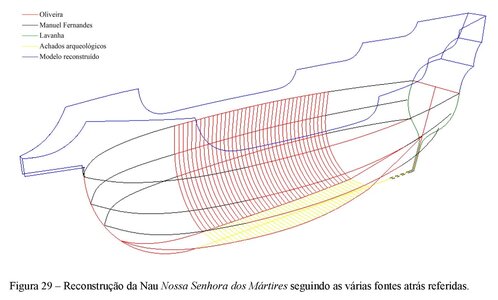
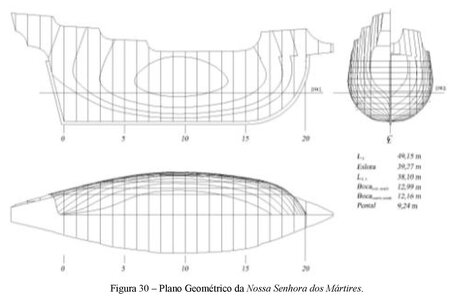
ViewCapture20230907_084158.jpg


Pages from Castro Filipe, Fonseca Nuno, Santos A., Vacas Tomás - Reconstrução Virtual de uma N...jpg


Pages from Castro Filipe, Fonseca Nuno, Santos A., Vacas Tomás - Reconstrução Virtual de uma N...jpg

Taken from Castro Filipe, Fonseca Nuno, Santos A., Vacas Tomás, Reconstrução Virtual de uma Nau Quinhentista.
.​
 
.​

I think I know where the misunderstanding comes from. This might help. It's just that the outlines in this diagram are extremely symbolically drawn. I personally have never seen such a concavity on any hull, neither on period plans nor on shipwrecks, nor in the works on naval architecture, but maybe I haven't seen enough yet...


View attachment 393266


View attachment 393264


View attachment 393265

Taken from Castro Filipe, Fonseca Nuno, Santos A., Vacas Tomás, Reconstrução Virtual de uma Nau Quinhentista.
.​
What I am saying now ONLY pertains to the Willem Barentsz Expeditieschip. You are correct, the plans show no concave form, yet when the model is built - exactly according to the plans - it's there. This is something I have now seen on three different examples of this ship (two that I have built and the third being Jan's. model).

微信图片_20221009204049.jpg

When the hull is fully built, it is no longer visible.
 
Just below. Piet's build.

View attachment 393253

My build

View attachment 393254
View attachment 393255
And now for the mizzen and why that frame had to be left in place.

View attachment 393256
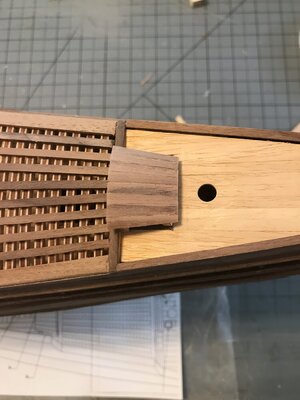
Note the extra 6mm walnut strip glued to the rear of the frame. That way when you file out the hole, there is enough meat left.

View attachment 393257
Brilliant design @pietsan Piet! The filed-out portion acts as the perfect guide to establish the correct mast rake!

View attachment 393258
Thank you Heinrich, those are excellent hints.
 
Not to worry, you are sharing information that benefits all of us.
Thank you, my friend. Right now, I am enjoying your build of the WB so much. It is great to see you building with such confidence and verve and so well. This ship I know so well that I think I can build it without looking at a single instruction! I am grateful that I can pass these lessons (some very hard-earned) on to a fellow WB builder - and if that builder is you, I am even happier! Doe zo voort!
 
Good excuse to be in the shipyard today. For the last three days the feels like outside temperature has been over 100F/38C. The forecast is much the same for today. The high outside humidity ( 88%), temperature and Canadian wild fire smoke haze is a bit to much for this old F...t. Outside chores will have to wait for better conditions. So it's WB build time.

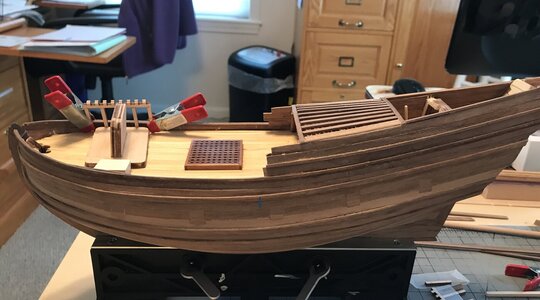
The start of the forward canopy.

fullsizeoutput_23d.jpeg


Jan
 
Todays progress in the shipyard.

The Pilot house.

View attachment 393406
View attachment 393407
Quite a little project for an afternoon. Small pieces and big bumbly fingers combine for interesting build session.

Jan
Jan, looks like those bumbly fingers are doing quite well. I just love the contrast of the woods. Well done.
OBTW, keep an eye on Lee in the Atlantic. Early predictions are saying he will be turning northward next week and may be heading in your directions. Not wishing anything bad for others but hopefully he’ll take Florida out of the bullseye this time
 
Brilliant Jan. You only mention the pilot house, but I see the C-Deck has also been installed. It looks fan-bloody-tastic! First Place MetalBottleThumbs-UpGold Star
Thank you for the Thumbsup. I followed your method and used thin ( .5X4mm ) pieces for the roof, then covered them in a wash of 25x75 (glue and water) solution. Before the solution dried I sanded in the seams with 320 grit.
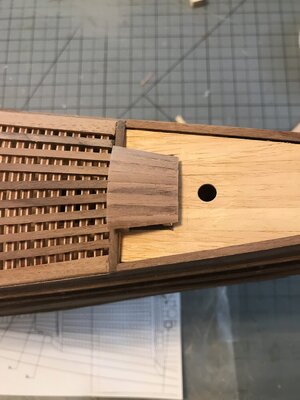
Jan, looks like those bumbly fingers are doing quite well. I just love the contrast of the woods. Well done.
OBTW, keep an eye on Lee in the Atlantic. Early predictions are saying he will be turning northward next week and

Yup, bumbly fingers and all we managed to get that little bit done. The local weather gurus are watching LEE. Several of the “models” indicate a landfall between Cape Cod and New Brunswick. That would put us right smack in the middle.

That's some very fine modeling my friend!
Thank you Paul. As you know it all takes a lot of time and patience. Gratefully I have several WB build logs as tutorials.
 
The WB progress continues:

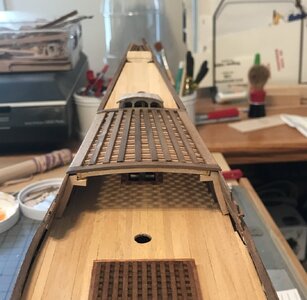
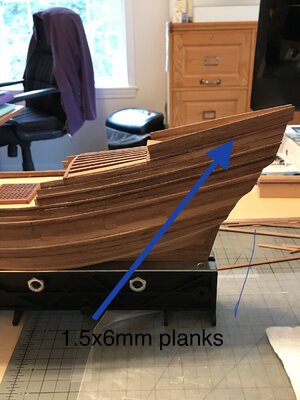
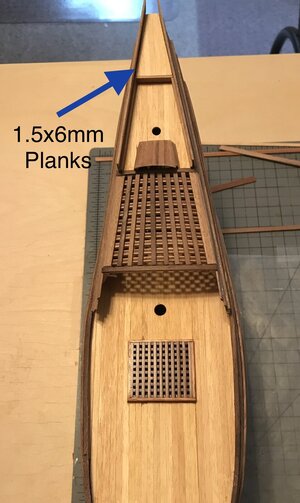
The next build step is to place two 1.5X6mm planks from the edge of the grating to the stern.

For the life of me I couldn’t figure out how to glue the edge of the plank, hold and support it while the glue set.

A920ACA2-2C61-4664-9CA4-A6E34768CF6C.jpeg

I approached the problem backwards.

45745766-FD98-46AA-8076-FCC596FA6D7F.jpeg

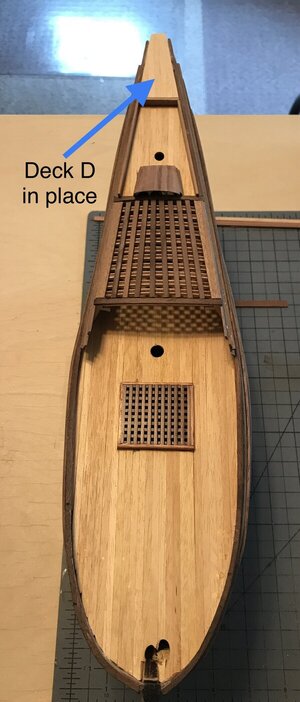
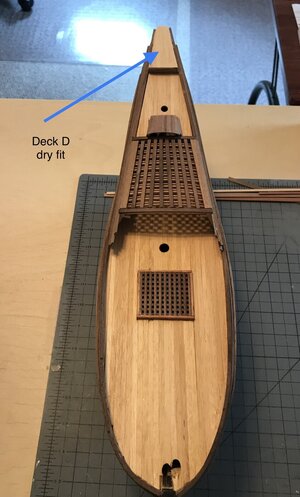
First I planked deck D and dry fit it place.

935E1877-4F46-4FDE-8CE0-989AAA09A671.jpeg

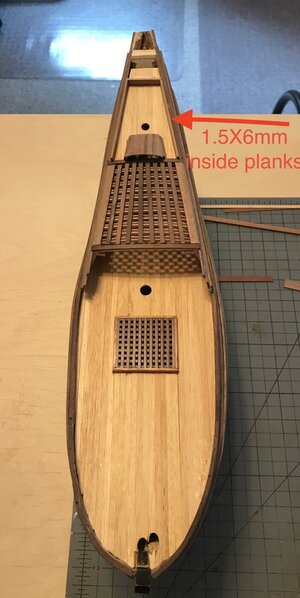
Then I framed the interior area with 1.5X6mm pieces

87BFF00B-8940-4A14-8C67-F8EB349B5BB6.jpeg

Then I glued deck D in place and I had some firm points to clamp those pesky side pieces while the glue set.

66CF15BE-CC81-4F6A-B6C9-9DE0BE3EE08D.jpeg
49579A91-29E5-4287-9AB9-CA5B5C257035.jpeg

A little bit of out of the box thinking, but it worked.

Jan
 
@Heinrich

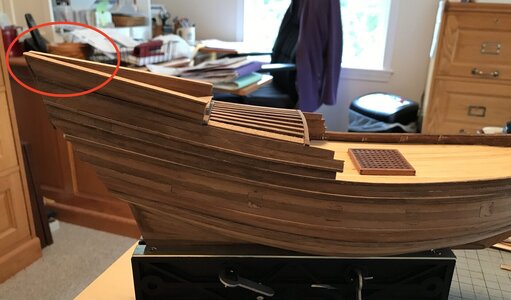
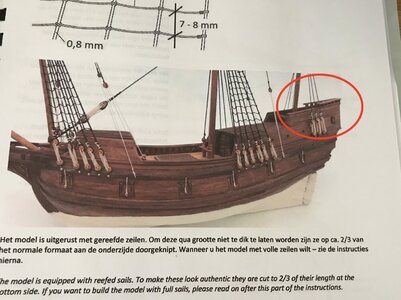
I'm at the point of adding the last planks to the upper deck D area. I think I remember seeing on some the paintings you posted on your WB log of an open railing in that area (red circle).

View attachment 394308

I've not been able to find those examples again.

Jan
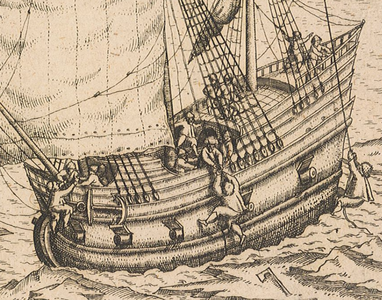
Hi Jan. The open railing is on this drawing of De Veer.

DEM.png

However, if you are building strictly according to the Kolderstok plans, your rear build-up is not yet finished. Hang on while I get out my WB1 and I will show you.
 
微信图片_20230913223156_1.jpg
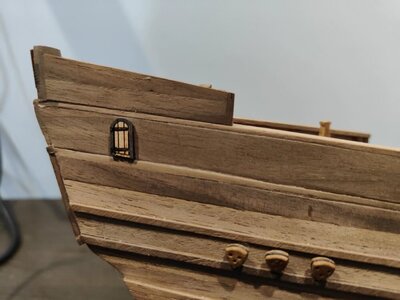
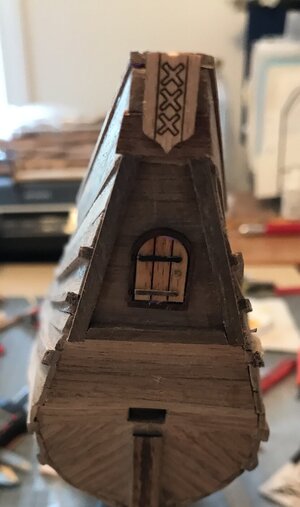
You still need to glue another set of 6mm planks on top of the existing build-up. Note that the top one is tapered towards the front though. This area needs to be closed off at the back as well as this is where the Amsterdam Coat of Arms will be mounted.
 
You still need to glue another set of 6mm planks on top of the existing build-up. Note that the top one is tapered towards the front though. This area needs to be closed off at the back as well as this is where the Amsterdam Coat of Arms will be mounted.

Great, thank you, that would have been a "OOPS". The coat of arms needs about 16mm of mounting space.

All the parts dry fitted to get an idea of how things will fit. So by adding the additional set of planks there will be more area to mount the Coat of Arms??

fullsizeoutput_25e.jpeg


Hard to get a good picture of that area.

Jan
 
Back
Top