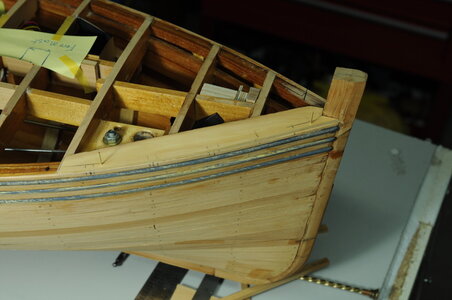
Working Steam powered wooden Drifter trawler, Formidable LT100, 1:24th scale

G'day Steve, I think your LT100 is looking amazing, I have missed your building of her, I'm just at the point of having finished the lower planking and I have decided to fibreglass the lower hull I'm just waiting for a nice day to do it, I look forward to the rest of your build,

. Best regards John,
G'day John,

Thank you, I am very happy that you are enjoying the build and my apologies for the delay, life gets in the way of building model boats.
I am looking forward to seeing progress on your 1/20th scale Formidable.

Cheers,
Stephen.
 
Nice job!
I'm just the same as you - slow pace and big gaps in postings.
Natterer and King's Fisher (below) took me 27 and 9 years respectively, albeit mixed up with other projects!

Ted
Hi Ted,

Thanks for the understanding, though I can't say I am building anything else at the moment hobby wise. As working full time reduces my free time quite a bit coupled with not having as much energy to go out to the workshop after dinner on a regular basis, slow things down.

Cheers,
Stephen.
 
Your fabrication and then installation of the three sets of bin iron on each side have turned out remarkably well. Great planning and execution of the work and well placed. Rich (PT-2)
Hi Rich,

Thanks for your comments, I would say that I am quite happy with the "Binn Irons" the imperfections will hopefully add character to the boat.

Cheers,
Stephen.
 
Part 21.

Hello once again, at last some more progress, yes the Glacier has moved.

After making the material in the last part.

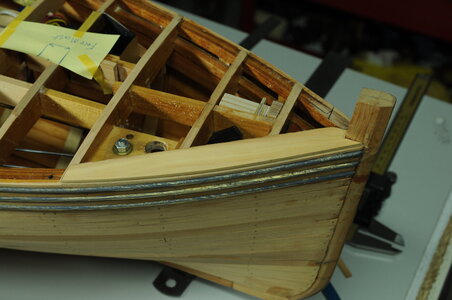
I had decided to fit the “Binn irons” before starting work on the bulwarks and deck planking thinking it would be easier to to in this order.

At the time the idea of making Brass “D” section for the “Binn Irons” seemed like a good one, it fitted in with the overall build, though I would have to admit to not really thinking it through, as I found out it takes a long time and a lot of work to do this in metal.

After making the “D” section material I noticed there was quite a twist in it and that it was quite “springy” making it difficult to bend to shape leading me to anneal the brass this improved things a lot.

View attachment 245629

I straightened the “D” section as best as I could. Then using the drilling jig drilled a series of holes for brass pins, getting the right size hole took a bit of fiddling a light press fit was what I was aiming for.

View attachment 245630

View attachment 245631

I made lots of pins by hand, sharpening one end with a file, 2 different lengths were made, this was a good after work job not requiring much thought.

View attachment 245632

I set the Vernia caliper to the required depth then cut the .8mm brass wire, they were pretty consistent in length.

View attachment 245633

The “Binn irons” were roughly shaped by hand to get them close to the hull shape before starting to fit them, they were cleaned with thinner then etch primed just using a brush instead of spraying.

View attachment 245636

Once that was done I installed the pins so they are flush with the flat side of the “D”.

View attachment 245635

Next came the hard part, final installation with glue and pins what could go wrong!!! The biggest difficulty being getting a “fair” run when looking along the length of the boat this problem I didn’t really solve, there is a slight wobble when sighted along the length of the boat, all a bit late to rectify once pinned and glued in position. I resisted the urge to remove the “Binn iron” and try again fearing that I would do more damage than good, at present I am running with the thought “it adds character” the error only being seen when sighting down the length of the hull.

View attachment 245637

View attachment 245638

View attachment 245639

View attachment 245640

View attachment 245641

View attachment 245642

View attachment 245643


Thank you for looking in and my apologies for such a lengthy gap between posts, although this is more like the pace this build progresses at.

Cheers,

Stephen.
Thanks for all the likes and views and comments, I appreciate them. Thumbsup

Cheers,
Stephen.
 
Part 22.


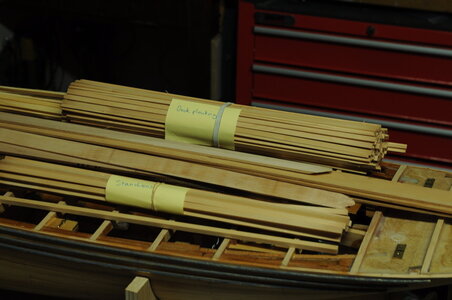
Making up material for deck planking, stanchions and covering boards.

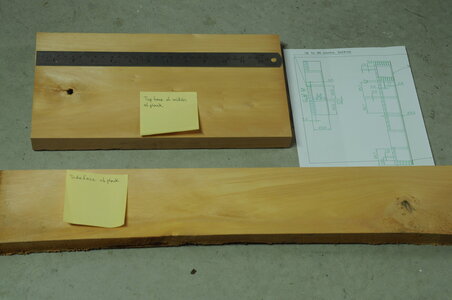
I had a couple of blocks of Huon pine that I hoped would at least be enough for making the deck planking material, although I had real concerns whether there would be enough material.

To help reassure me there was enough material I went to the trouble of drawing the blocks in CAD to work out the best way to cut out and how many planks I might get, in the end I was quite confidant there was enough, time to start cutting, well not quite more like time to get some straight, flat and square edges, this I did with a jack plane.

12" steel rule to give an idea of size.
DSC_0015.JPG

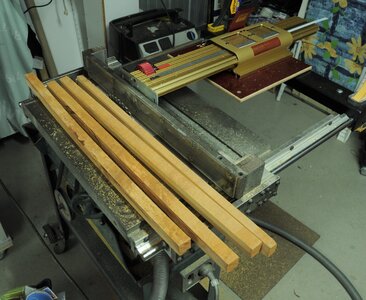
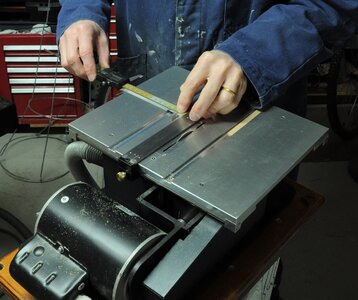
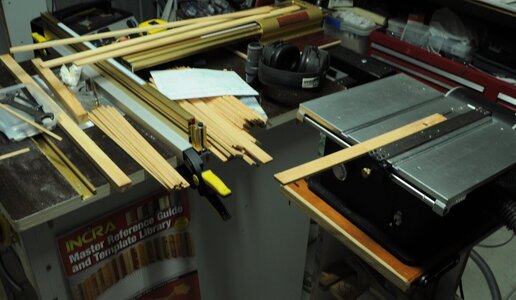
After truing I starting off using an 8” table saw with the Incra jig added, I cut the blocks into pieces that could be managed on the router table and Byrnes table saw.

DSC_0018 (2).JPG

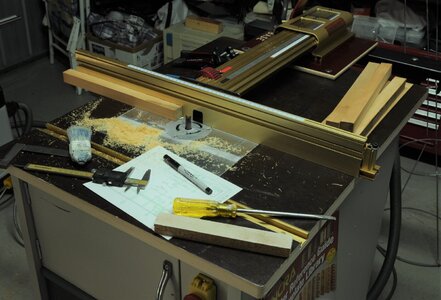
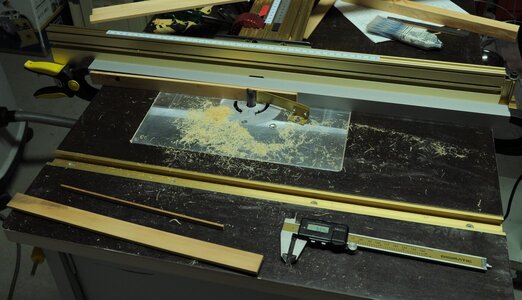
First use of my new router table was to straighten and re square the freshly cut strips,

DSC_0019 (2).JPG

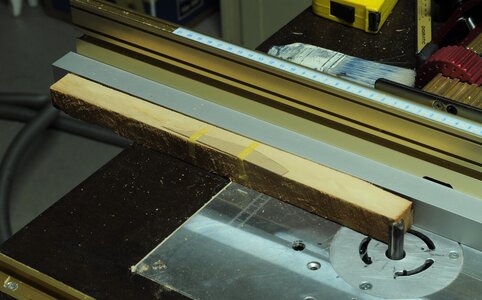
I used packing pieces when straightening on the router, then sizing the strips.

DSC_0021 (2).JPG

Next step was to rip down into smaller strips, 1.5 mm thickness of blade, then changing blade and re-cutting using a ·5 mm thick slitting saw, it is this blade that saved a lot of waste and meant there was more than enough material for deck planks and stanchions.

Using my Vernier caliper to set the fence allowing for the blade thickness I found this method quite accurate.

DSC_0033 (2).JPG

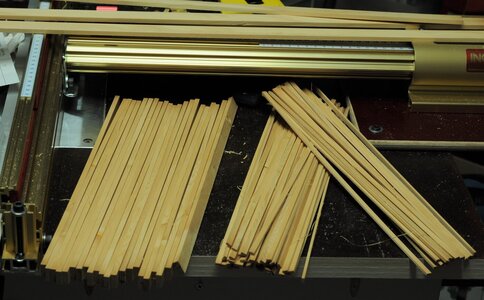
Back over to the Router Table to trim down the width of deck planks the thickness was good, then the stanchions to be trimmed all round.

DSC_0027 (2).JPG

DSC_0029 (2).JPG

Next came the covering boards, most of this material was already cut but over size only needing to be reduced to the right thickness.

DSC_0032 (2).JPG

DSC_0036.JPG

In the end after a few days work a lot of sawdust I had enough material to start the next phase.

Thanks for having a look.

Cheers,

Stephen.
 
Wow! It must be so satisfying to create everything yourself. Of course it is a lot of work, but the satisfaction ... Well done, John!
 
Thanks Heinrich,

Yes at the end of the day it is quite satisfying and yes it is a lot of work, though the smell of the Huon pine through the workshop is almost enough reward in itself.

By the way I am Steve or Stephen, John is doing the 1/20th scale version. :)

Cheers,
Stephen.
G'day Steve, I thought for a moment that I had a Double Identity,

Best regards John,
 
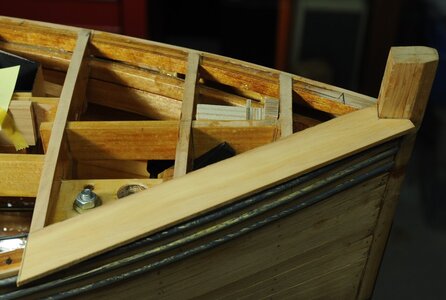
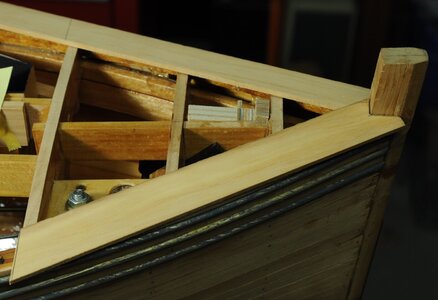
Starting work on Covering Boards and Stanchions.

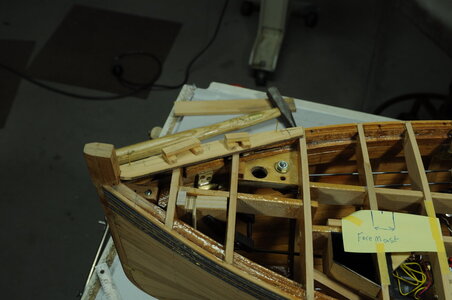
Spacing of Stanchions is one of the considerations up next, in Ted Frosts book From Tree to Sea he states and I quote, that Stanchion spacing is around 3 feet according to timber or frame spacing, except abreast of the foremast and aft for about one-quarter of the ships length they would be about half that spacing.

All good so far, then I go and check the plans to find that the forward part is to scale as described yet the aft part has Stanchion spacing of around 2 scale feet.

I am not sure which one to follow unfortunately I don’t have drawings for a fully framed hull so I cannot know if frame spacing altered aft of the wheelhouse, part of me says to stick to the drawings while in some ways I prefer to go with Teds description, if anyone has some constructive comments feel free to comment.

My plan at the moment is to cut all the covering boards, (I will have to make a decision about stanchion spacing soon all being well I won’t get bogged down on this spacing issue).

After the covering boards are cut and temporally fitted a yet to be built jig will (all being well) help with drilling a pin hole for attaching the stanchions, yes the stanchions are to be pinned in place.

While yet another jig will drill a pin hole into the stanchions.

No doubt all this careful cutting and fitting will take time.

Time to start cutting some wood.

I have made a start on the covering boards anyway.

DSC_0048 (2).JPG

DSC_0049 (2).JPG

Thanks for having a look.

Cheers,

Stephen.
 
Covering Board continued.

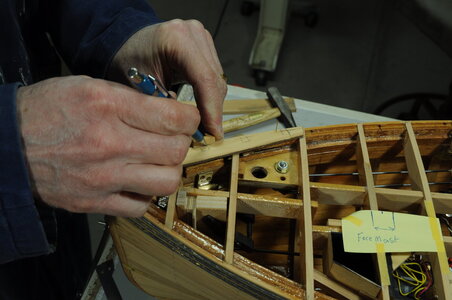
Not much progress, a bit more work on the first covering board. I am viewing this first board as a learning experience.

Trimming the board to the center line.

DSC_0052.JPG

Then temporarily pinning in place with .7mm brass wire.

DSC_0054.JPG

DSC_0055.JPG

I made a couple of very simple jigs to show where the outer edge of the stanchions will sit and help keep the stanchion parallel to the outer hull shape.

DSC_0058.JPG

DSC_0057.JPG

Before I go further I will make a jig for drilling into the upper hull.

Thanks for having a look.

Cheers,

Stephen.
 
Covering Board continued.

Not much progress, a bit more work on the first covering board. I am viewing this first board as a learning experience.

Trimming the board to the center line.

View attachment 248369

Then temporarily pinning in place with .7mm brass wire.

View attachment 248370

View attachment 248371

I made a couple of very simple jigs to show where the outer edge of the stanchions will sit and help keep the stanchion parallel to the outer hull shape.

View attachment 248372

View attachment 248373

Before I go further I will make a jig for drilling into the upper hull.

Thanks for having a look.

Cheers,

Stephen.
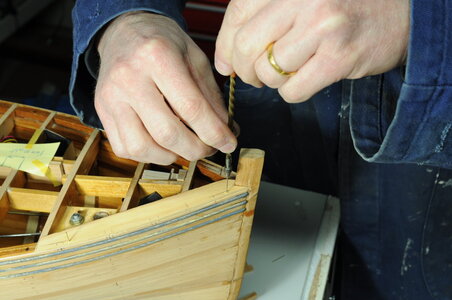
If that is a push-drill I see in you hands, you have a far better touch than I do as I tried one only once and aborted that tool. I do better with twisting my own or using a small powered drill. Your build is progressing well. Rich
 
Hi Rich,

I have only known it to be an Archimedean drill, I haven't heard it called a push-drill before, I just googled that and it is not quite the same, I find it quite good for small holes, I tend to be very good at making holes bigger than required when I use a power drill something I probably should work on.
Thanks, little bit by little bit it moves on.

Cheers,
Stephen.
That name makes sense and better describes the helical grooved axis of the drill as it rotates with the downward stroke as I seem to recall the action. I was not as successful in the two axis motion required to maintain the longitudinal pressure with the minor lateral vector of the grooves to the side.
 
That name makes sense and better describes the helical grooved axis of the drill as it rotates with the downward stroke as I seem to recall the action. I was not as successful in the two axis motion required to maintain the longitudinal pressure with the minor lateral vector of the grooves to the side.
Having another look at the push-drill and I think I would struggle with that drill as well.

Cheers,
Stephen.
 
Hi Steve. What I really enjoy this build at this scale is that it looks like a real boat - industrial, functional and robust - exactly what it should be. As far as tools go, I am all for using what you are comfortable with.
 
Back
Top