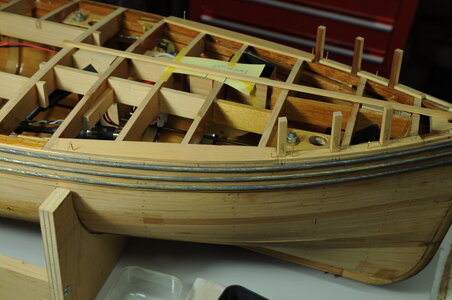
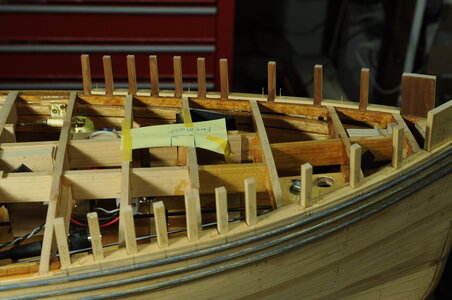
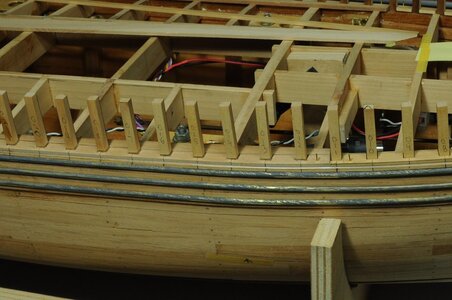
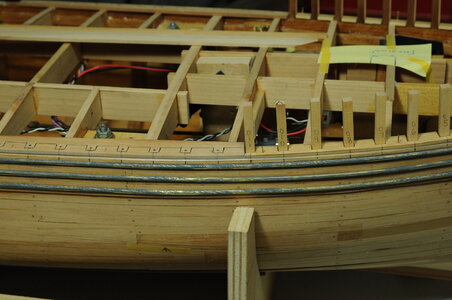
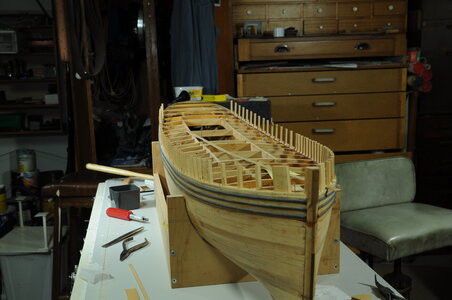
Working Steam powered wooden Drifter trawler, Formidable LT100, 1:24th scale

Covering Board continued. 2.


Making the jig, making the steel bush first.

Using some pine I had lying around, trouble was when I pushed the steel bush into it the end broke out, so I made another one out of plywood.

With the jig temporarily secured using double sided tape and using the “deck planking jig” to find the angle I used an edge finder to fix my position.

DSC_0059 (2).JPG

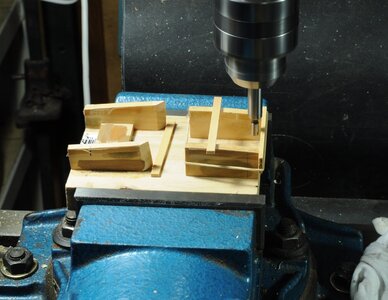
Photos show the original jig. Then center drilled.

DSC_0062 (2).JPG

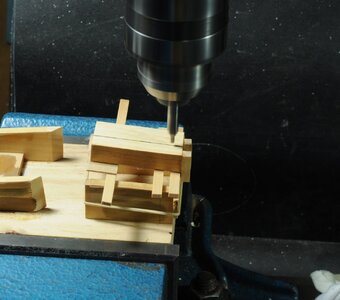
Then spot faced.

DSC_0063 (2).JPG

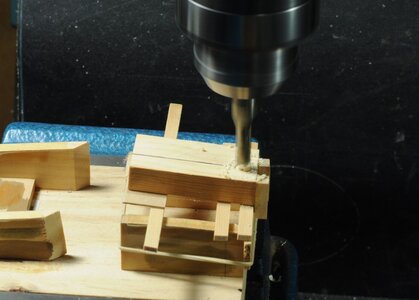
Finally drilled.

DSC_0065 (2).JPG

I drilled and tapped M4 for an adjusting screw and lock nut.
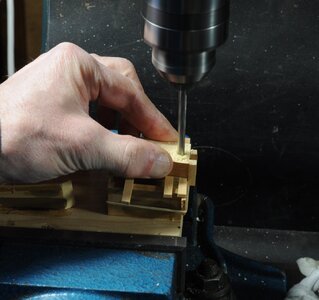
Then the jig in use.

DSC_0068.JPG

Transferred the pin locations then drilled for the first Knights head.

DSC_0069.JPG

For the “graining” I have used Rustins Walnut stain I only had the Walnut and Red Mahogany, Rustins are my preferred brand.

DSC_0070.JPG


I think the Walnut looks good it shows the grain nicely with the Huon Pine.


Cheers,

Stephen.
 
Covering Board continued. 3.


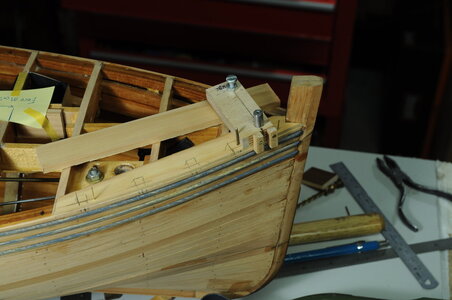
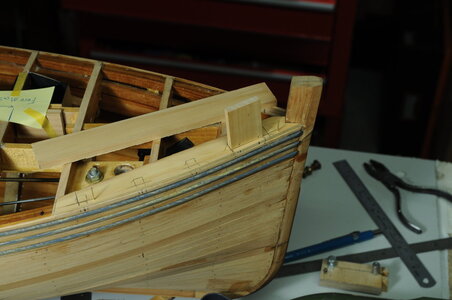
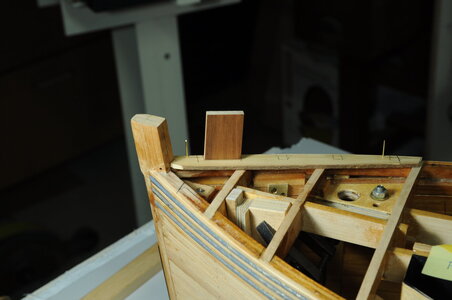
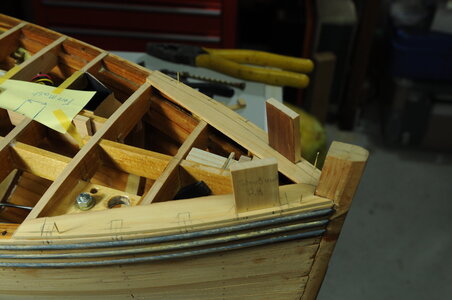
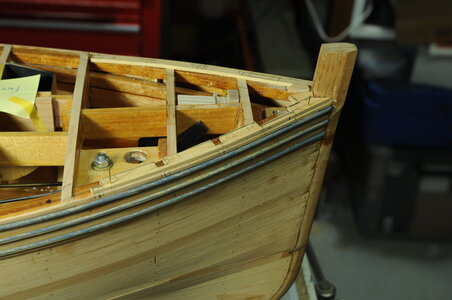
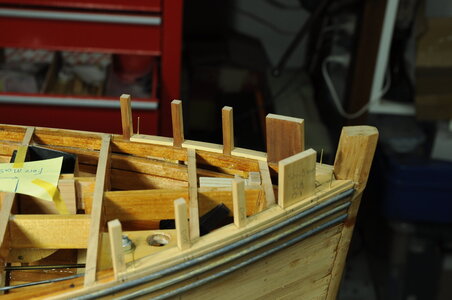
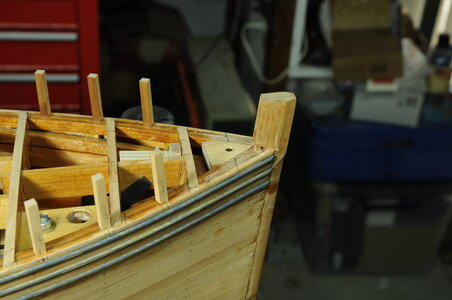
Both Knightheads temporally fitted.
DSC_0072.JPG

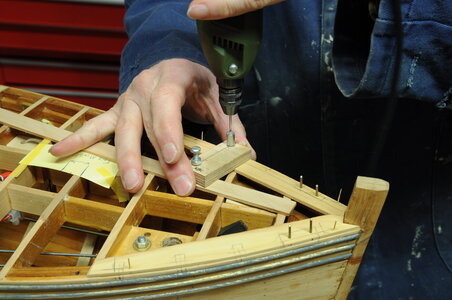
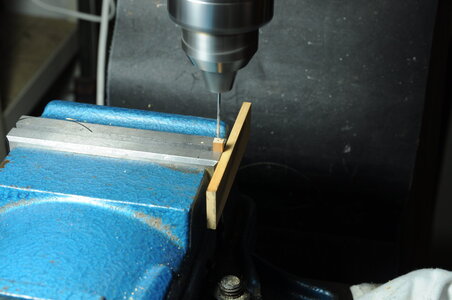
Drilling pin holes for Stanchions, I was having trouble keeping the drill from not moving when I turned it on, this problem was reduced by using a foot switch instead of the switch on the drill.
DSC_0073.JPG

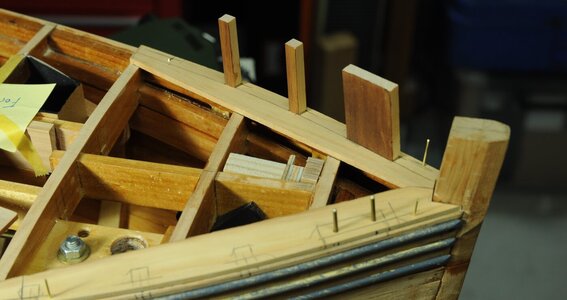
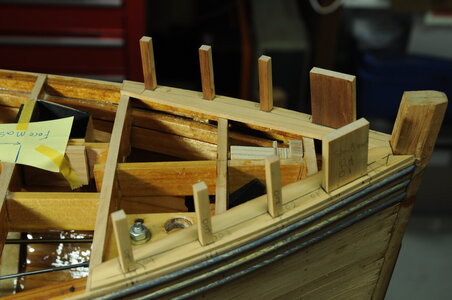
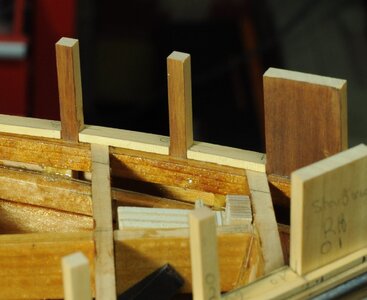
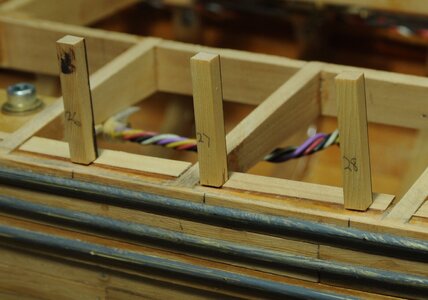
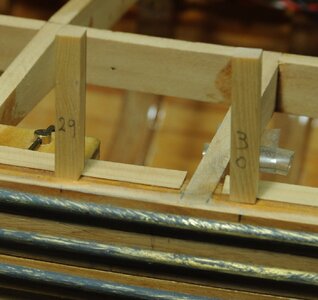
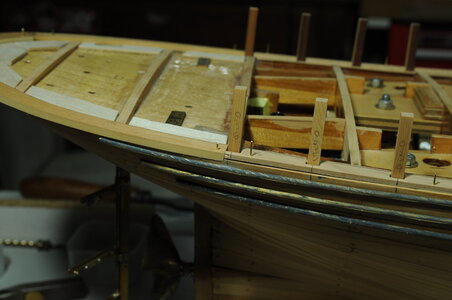
The first of the Stanchions and Knightheads temporally fitted, at this point I am very happy with progress, using the jigs I have made.
DSC_0074 (2).JPGDSC_0075.JPG

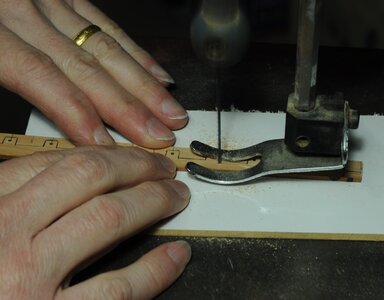
I have roughed out the covering board, using a scroll saw.
DSC_0077.JPG

Fitting the covering board.
DSC_0079.JPG
DSC_0079 (2).JPG

I made a filler piece to give the first two covering boards and deck planks somewhere to rest on.
DSC_0080.JPG

So far so good. :)
Thanks for having a look.


Cheers,

Stephen.
 
Those stanchions can be a real nightmare. Your jig seems to have done the job to a Tee and the result is most pleasing! Well done Stephen!
 
Covering Board continued. 3.


Both Knightheads temporally fitted.
View attachment 250223

Drilling pin holes for Stanchions, I was having trouble keeping the drill from not moving when I turned it on, this problem was reduced by using a foot switch instead of the switch on the drill.
View attachment 250225

The first of the Stanchions and Knightheads temporally fitted, at this point I am very happy with progress, using the jigs I have made.
View attachment 250226View attachment 250227

I have roughed out the covering board, using a scroll saw.
View attachment 250228

Fitting the covering board.
View attachment 250229
View attachment 250230

I made a filler piece to give the first two covering boards and deck planks somewhere to rest on.
View attachment 250231

So far so good. :)
Thanks for having a look.


Cheers,

Stephen.
You made a nice drill bushing to guide your drilling. Looking very much in place as you proceed. Rich (PT-2)
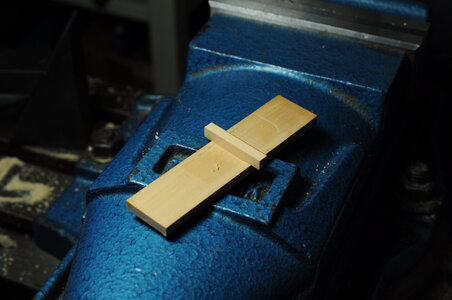
 
Covering Boards continued. 4.

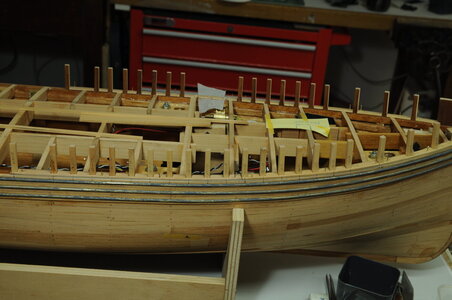
Covering boards and Stanchions continued, I am generally very happy with the way the covering boards and stanchions are going, though not without some problems.

I ended up using the mill to drill a hole in each stanchion allowing some easy hole position adjustment. I put some double sided tape onto a bit of scrap to help with positioning the stanchion in the vice, this made the whole putting a stanchion in the vice an easy task.
DSC_0104.JPGDSC_0105.JPG

After the success of the first batch of covering board and stanchions I guess I got a bit excited and ripped into the 2nd batch and somehow the hole positions went a bit haywire, what I mean is the distance from the top strake to the hole centre was changing, I am able to get around this by altering the stanchion hole position, easily done because I am drilling the holes in my mill, still it’s not ideal.
DSC_0082.JPGDSC_0089.JPG
DSC_0098 (2).JPG

The next day that I went out to my workshop I discovered it is easy to misinterpret what my little measuring jig is saying this is due to it’s short legs that can rock easily, so with the benefit of hindsight I should have waited to install the “Binn Irons” then the jig legs could have been longer reducing any tendency to rock, “O” well live and learn.

I proceeded with a lot more caution for the 3rd covering board batch.
DSC_0100.JPGDSC_0103 (2).JPG

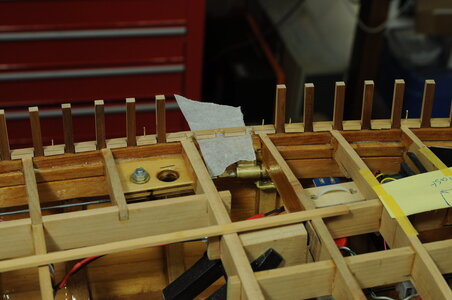
It was bound to happen, I broke a covering board while opening up the slot. The grease proof paper indicates where the breakage was glued back together. Good thing that the board was pinned in position. :)
DSC_0106.JPGDSC_0108.JPG

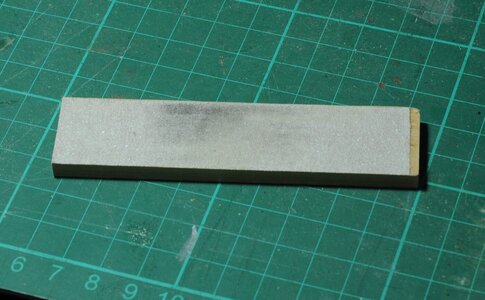
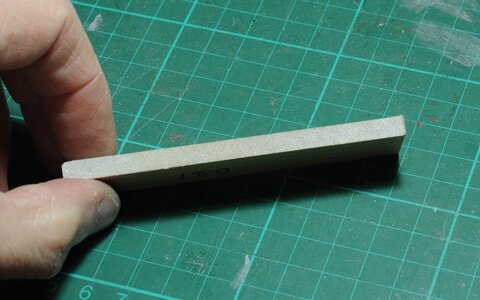
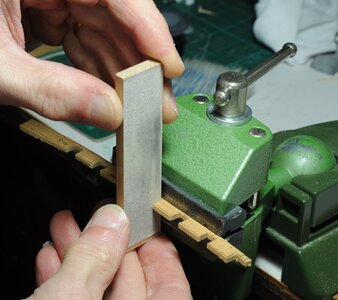
I made up some custom sanding blocks for finishing the notches in the covering boards. Using double sided sticky tape (in my opinion an indispensable thing to have in any workshop) to stick some sandpaper to a block of wood.
DSC_0085 (2).JPGDSC_0088 (2).JPGDSC_0084 (2).JPG

Thanks for having a look.


Cheers,

Stephen.
 
Covering Boards continued. 5.


And so the process continues, rinse and repeat.
DSC_0111.JPGDSC_0115.JPGDSC_0118.JPG

I have tried to make the length of covering board to what I think would be possible in real life so the longest boards are around 20 feet long and from material that is not very wide the boards with a lot of curvature are shorter but wider.

A couple of problems have arisen, the first one I noticed a few weeks ago, this being that there is a gap between covering board and stringer because of the deck camber, bit of an oversight on my behalf. I had a few ideas one was to use filler to build up this area though I think it better to use strips of wood glued down then fared with a file or sanding block.

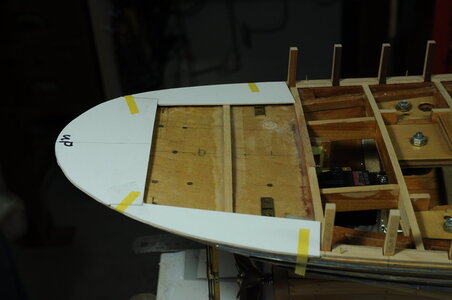
The other problem is how to make the tug stern this presents some challenges along with a rethink of build procedure, I originally thought I would make and fit the stanchions + covering boards then plank the bulwarks and lastly plank the deck, this has been scrapped and currently I am thinking of fitting covering boards and deck planking then fit stanchions and lastly plank the bulwarks, subject to change.

One reason for this is the aft stanchions lean inboard considerably therefore cannot be done the same way as the rest, if I tried to I would drill a hole through the hull not a good idea, some of these stanchions also have knees that straddle the covering board and a bit of the deck planking so as in real practice according to Ted Frost’s book the deck needs to be laid first.

In Ted Frost’s book he says the stern covering boards were made from 4” thick Oak due to this area being subjected to large amounts of pressure at times when going up to or in port, this being the whole reason for the tug stern.

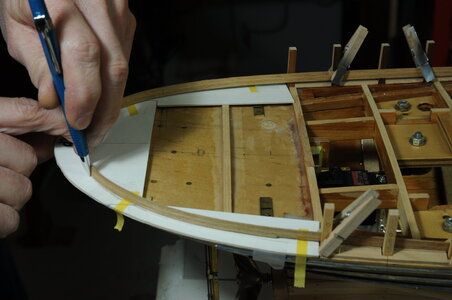
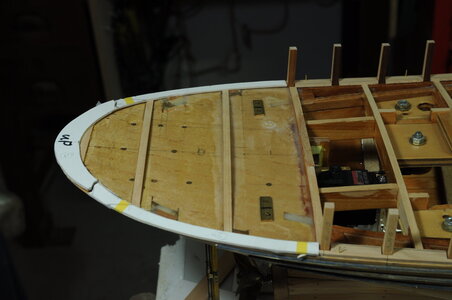
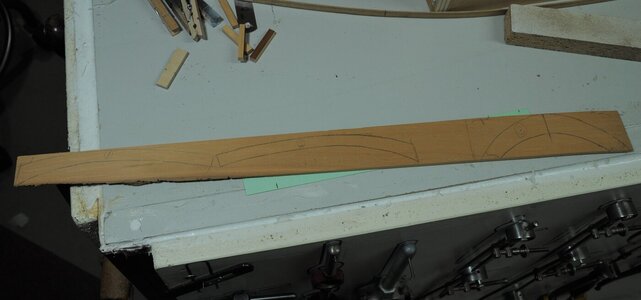
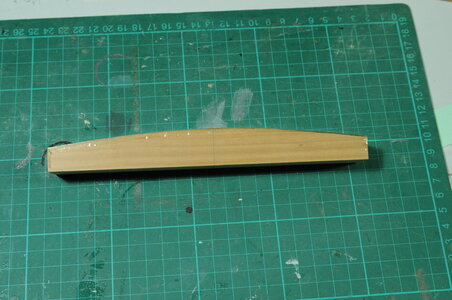
I made a card template of the 3 last covering boards and glued them together to form one.
DSC_0119.JPGDSC_0121.JPG

Then cut my interpretation of the scarf joint that joins the 3 pieces together, I am not sure if it is right though I think this joint might help prevent the pieces moving inwards if pushed from the outside.
DSC_0122.JPG

DSC_0123 (2).JPG

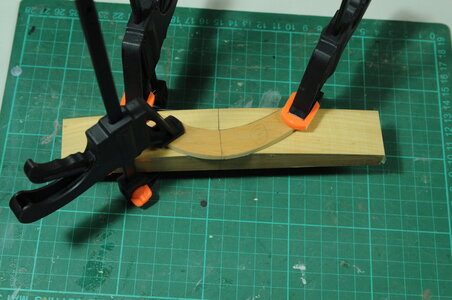
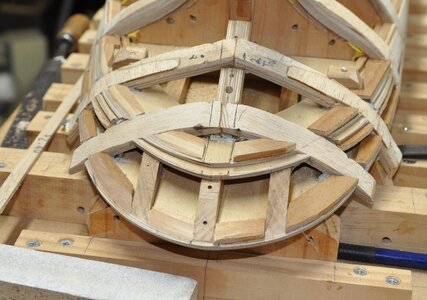
I made a former to steam bend the center section on.
DSC_0125.JPGDSC_0124.JPG


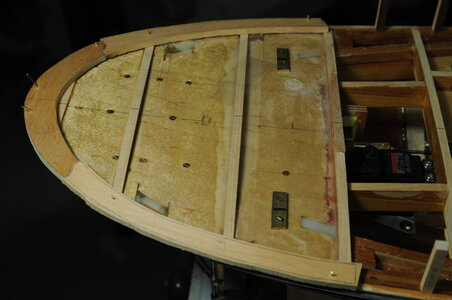
At the end of the day I had cut and pinned the 3 pieces in position though there is still some material to remove, better to sneak up on the final shape.
DSC_0127.JPG

One thing that has been troubling me is the difference in thickness between most of the covering boards and these beefy stern boards, my main concern being how did the deck sit up against the thick boards was it flush?

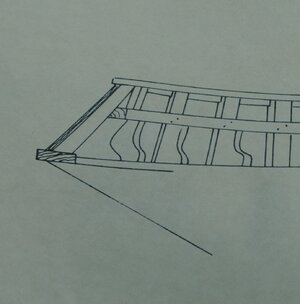
The plans show a raised stern piece.
DSC_0135 (2).JPG

I was going to simply put a chamfer on to blend the two together, then while packing up for the day I looked at one of the sketches in Teds book and to my horror/surprise:eek: the thicker boards remain at deck level the extra 1.5 inches being let into the hull. Why hadn't I noticed this earlierRedface, the only concession is nothing is glued in place yet.
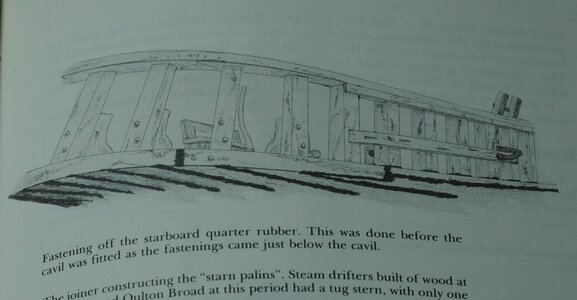
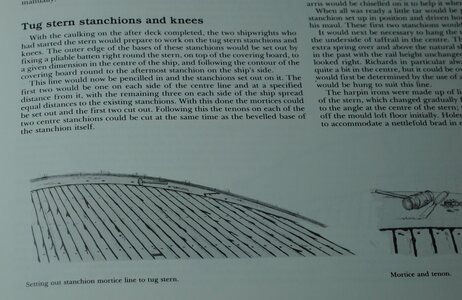
DSC_0129 (2).JPGDSC_0131 (2).JPG

From old photos earlier in the build, ( I had forgotten what I had done ) I should be able to remove some material without compromising the strength.
1246 (2).JPGDSC_1142 (2).JPG

That’s it for the moment, thanks for having a look, stay safe.

I welcome any helpful comments and suggestions.

Cheers,

Stephen.
 
Covering Board continued. 3.


Both Knightheads temporally fitted.
View attachment 250223

Drilling pin holes for Stanchions, I was having trouble keeping the drill from not moving when I turned it on, this problem was reduced by using a foot switch instead of the switch on the drill.
View attachment 250225

The first of the Stanchions and Knightheads temporally fitted, at this point I am very happy with progress, using the jigs I have made.
View attachment 250226View attachment 250227

I have roughed out the covering board, using a scroll saw.
View attachment 250228

Fitting the covering board.
View attachment 250229
View attachment 250230

I made a filler piece to give the first two covering boards and deck planks somewhere to rest on.
View attachment 250231

So far so good. :)
Thanks for having a look.


Cheers,

Stephen.
Your combination of the drill press and ways to use it to locate and set the stations is exemplary. Your progress is a lesion all along the way for us. Very nice work. Rich (PT-2)
 
This is an absolutely superb tutorial in how to execute (as accurately as possible) a very challenging part of the build. On a kit this would already have been a formidable task, but on a scratch-build it is an area of the build that requires patience and a good dose of creativity. You seem to have both in abundance and the build is progressing very promisingly.
 
Hi Heinrich,
Thanks for your vote of confidence, exactly what I need after todays not so good workshop session, discovering some more errors. :eek:Redface
I am going to take a sideways step on the build and rectify the problems.
Cheers,
Stephen.
 
Covering Boards continued. 6.


More surprises and a sideways or backwards step.

After I had worked out that I needed to alter the stern, which was a something of a shock another thing I found later is that a long time ago I had cut the stem too short!!!! How I managed to do that I have no idea, can’t blame the apprentice.

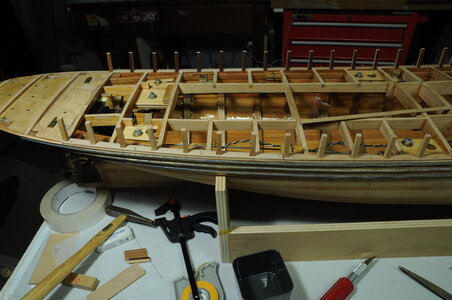
I thought I would check how fare the stanchions were by removing the covering boards and using a long piece of spruce to check them, now there is always a chance when you check things that a problem will show up and it did. I was expecting there was a fault as I had done a quick check earlier but I wanted to remove the covering boards to do a proper check. I ended up replacing 18 stanchions and I may still replace some more, “O” the joys of scratch building.
DSC_0137.JPG

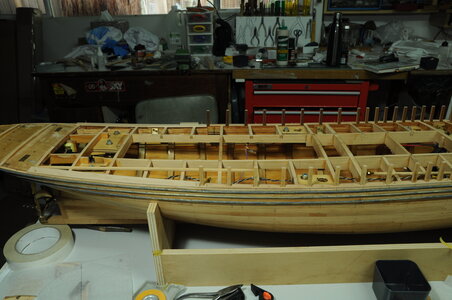
After I had recovered from all that shock and unhappiness, without placing any progress expectations on myself, next job was to make and fit packing blocks this was a fairly simple process and went smoothly, I allowed the glue to set overnight before faring using a file and sanding blocks.
DSC_0138 (2).JPGDSC_0141.JPG

Next day I went back out to the workshop without much of an idea on how best to remove the 1.5mm from the stern any ideas I had had were going to be quite difficult to do.

Before that I trimmed of the three stern covering boards.
DSC_0142.JPG

Marked out where to cut.
DSC_0143.JPG

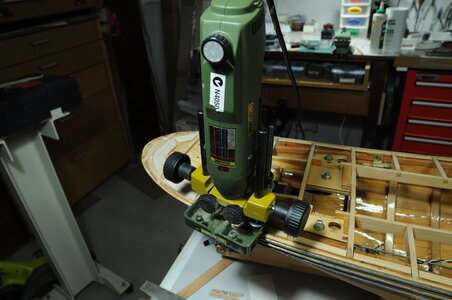
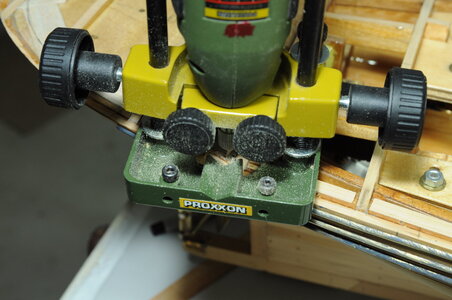
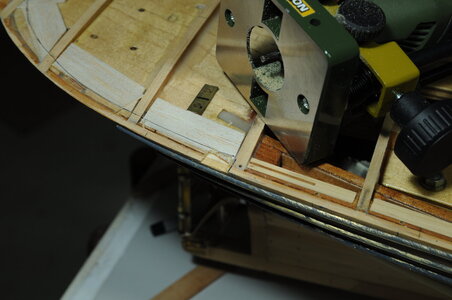
Then remembering I have a Proxxon router attachment I dug it out and found a 1/8” Carbide burr, I know that is quite a small cutter but my limited experience says that it is better to use the small easy to control cutter than a large hard to control cutter when doing this sort of free hand work.
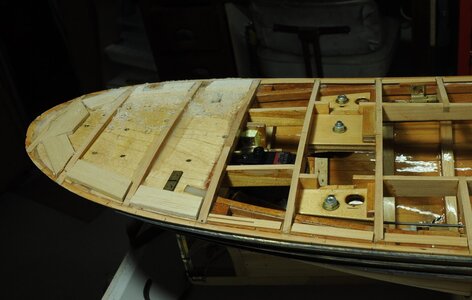
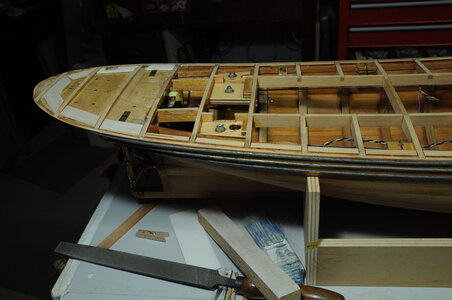
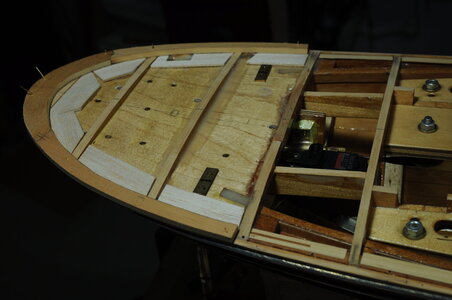
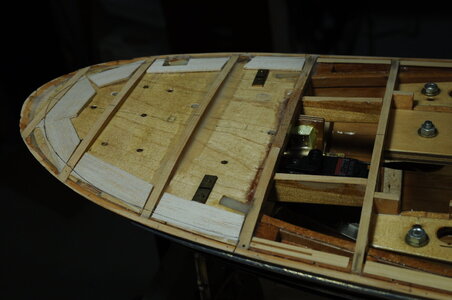
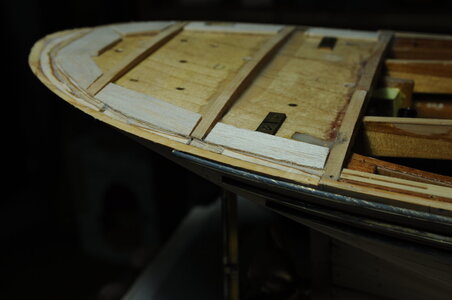
After carefully setting the depth, this method turned out to work wonderfully in removing most of the material followed by several hours of hand fitting and refitting. Unfortunately I had removed a bit too much depth right aft so some packing was glued in place.
DSC_0145.JPGDSC_0146.JPGDSC_0147.JPGDSC_0151.JPG


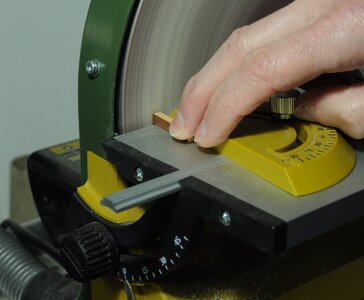
With the new packing pieces fitted the stanchions didn’t sit well so I set up the sander and trimmed the bottom edge, I wanted to do this now to make sure they sit down in place. Next I tried refitting the covering boards I will have to trim most of them, unfortunately the two forward boards weren't going to work, even though I did try opening up the clearance between the board and stanchion there was too big a gap worst of all there wasn’t enough material to trim on the inside edge, so I will need to remake those at that point I had had enough for the day, even starting to think about other jobs I could work on.
DSC_0152 (2).JPGDSC_0154 (2).JPGDSC_0152 (3).JPG

Nice and flush now. :)
DSC_0155.JPG


That’s it for the moment, thanks for having a look.

Cheers,

Stephen.
 
A great rebuild, Stephen. With a big wow-factor: with a router / burr on the bow! Inspiring of a saw ….. ?
But the result looks very good!
Regards, Peter
Your patience to work and re-work is a good reminder for me to do the same whenever I need to which is more often that I would like. Your tool box is well loaded to provide what you need to do the job. Nicely recovered. Rich (PT-2)
 
Great work Stephen. Again the lack of notification updates has almost made me miss your post. By reading my build-log you will see that do-overs, lateral stepping and backwards stepping are all part of my repertoire! However, I do believe that these stem from a desire to do better and that is the commendable part. So ... not to fret my friend ... I can only imagine how tricky things can get with a scratch-build. You are doing a great job so please don't beat yourself about re-tracing some steps. You will have a magnificent model - of that I have no doubt!
 
A great rebuild, Stephen. With a big wow-factor: with a router / burr on the bow! Inspiring of a saw ….. ?
But the result looks very good!
Regards, Peter
Hi Peter,
Thanks, not quite out of the woods yet, I know you are familiar with pain of re-doing things as well, hopefully the decision to rebuild might get easier, you set a high bar with your Robert E Lee.

Cheers,
Stephen.
 
Back
Top