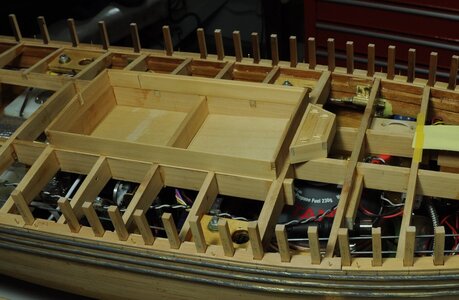
Working Steam powered wooden Drifter trawler, Formidable LT100, 1:24th scale

Hatch cover Handles.


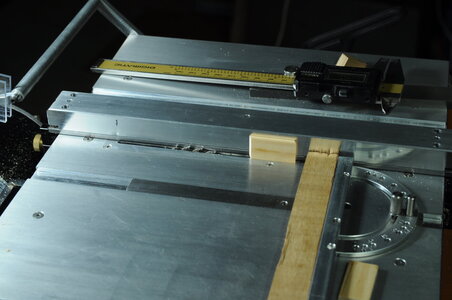
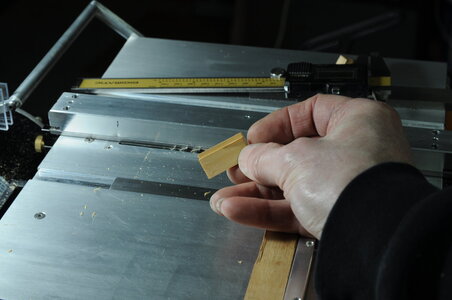
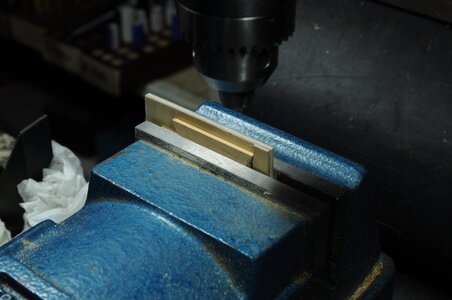
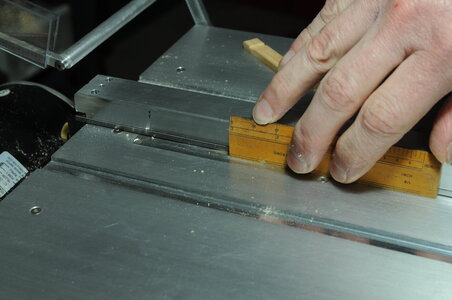
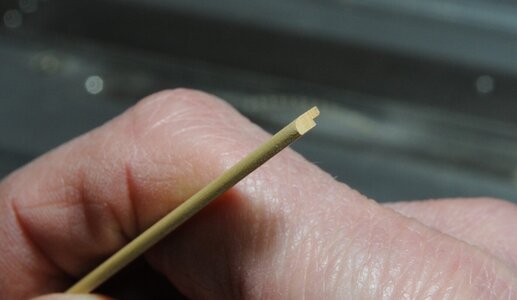
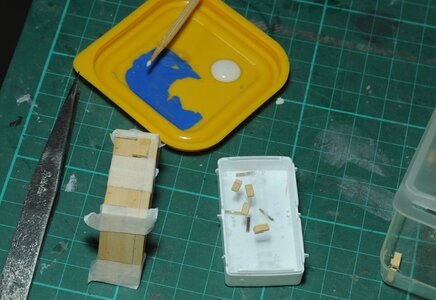
The hatch cover handles started by cutting a small groove using an even smaller woodruff cutter than before to rough out the width and length, reusing the jig made for making the recess.
View attachment 259862

One little trick to find out when the cutter is getting close to touching the job is to use a piece of paper, as you slowly move the job towards the cutter it will start to grab the paper then you know you are getting close.
View attachment 259863

I set the stops on the mill to give me a repeated slot length, this was done with a bit of back and forth try a bit and check taking my time, even though I had a couple of spare pieces I didn’t want to stuff any up.
View attachment 259864

Next thing was to get some brass strip that was 1.3mm x .5mm something I didn’t have in stock, though I had some Brass sheet .5mm thick, all I had to do is cut some strips 1.3mm wide. I know from previous experience that cutting such thin strips is problematic I therefore decided to use one of the zero clearance saw table inserts I bought with the saw.
View attachment 259865

Using a .5mm wide slitting blade I cut through the insert until I got to a height I was happy with then removed the insert and carefully added a very small amount of clearance so the slitting blade would not rub.
View attachment 259866

When it came to cutting the .5mm sheet I stuck it to an old piece of ply wood using double sided tape to provide some support, set the required thickness and cut a few strips.
View attachment 259867

After cleaning up the double sided tape which was by now getting quite ordinary because of the cutting oil I used when cutting, I started cutting it into the required lengths.
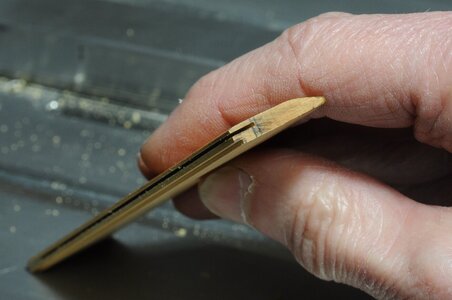
To do this I used 2 pieces of scrap to trap and support the strip while I cut it, this preformed 2 functions one to prevent the piece from deforming the other to prevent it flying across the room at the end of cut, these 2 things I have learnt the hard way in the past.
View attachment 259868View attachment 259869View attachment 259870

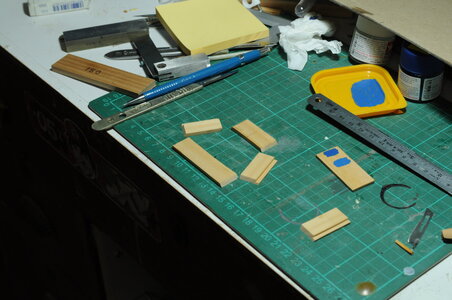
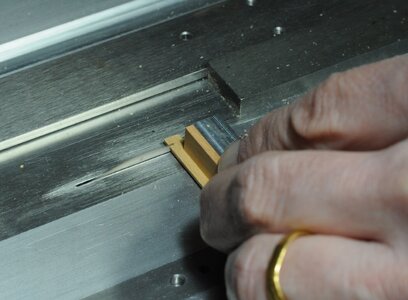
Now I had the handles made and having roughly cut the slots on the mill for them to sit in I needed to finish off the slots, after making a bit of a mess of the first one, I then had a look around the workshop trying to find a suitable tool with no luck. Then I decided to modify a scalpel blade and turn it into a little chisel, this was quite easily done using a bench grinder, being careful not to overheat the blade.
View attachment 259871View attachment 259875

Then the process of cutting all of the slots to size began, this took me quite a while as I wanted a good fit for all of them.
View attachment 259878View attachment 259879View attachment 259880

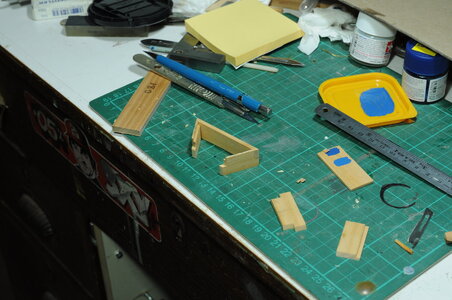
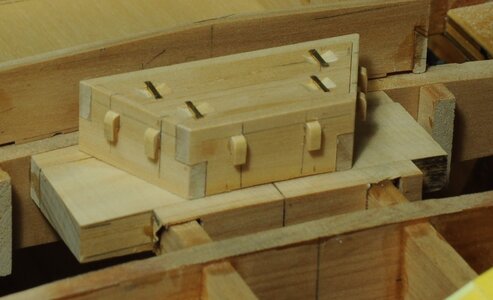
Once all the slots were finished off I began gluing in the handles using Titebond 3.
View attachment 259881View attachment 259882

There are a couple of workers that came along in their Sunday best for a photo in the ship yard, they are quite happy with the progress. :)
View attachment 259883

At the end I am quite happy with the end result even though the handles seemed like a bit of an anti climax, what seems like a lot of work for little reward.

Still some more work to do on the Hatch coaming, and eventually painting blue.

Next up Fore room Hatch coaming and covers.

That’s it for the moment, thanks for looking in and stay safe.

Cheers,

Stephen.
Hi Stephen,
Thanxs for sharing how you solved this ‘problem’. By thinking logically how your tools can help you find the solution. A big help for me.
The modified scalpel is a ‘eye opener’.
Regards, Peter
 
Absolutely in love with the way you work, and how much attention you put into each detail you are working on. It is not just what you do, it is the structural methodology and the way you process each and every step prior to execution.
 
Absolutely in love with the way you work, and how much attention you put into each detail you are working on. It is not just what you do, it is the structural methodology and the way you process each and every step prior to execution.
Hi Jim,
Thanks for your comments. I had a bit of a laugh at reading; (it is the structural methodology and the way you process each and every step prior to execution.) To be honest things are not always as well planned as they may appear on my blog, but I thank you for the sentiment and that you enjoy my blog.

Cheers,
Stephen.
 
Dear Stephen - it is an absolute joy to follow your log. It contains all the elements of your careful planning, exquisite execution and all the helpful tips that go with it. It is truly commendable!
 
Thanks Heinrich,

I am very happy that you and others are enjoying this build log and getting something out of it, I sometimes wonder if the effort that I put into writing is worth it, in future I will come back to comments like the one you have made to reassure myself there are people who do enjoy my blog.

Cheers,
Stephen.
 
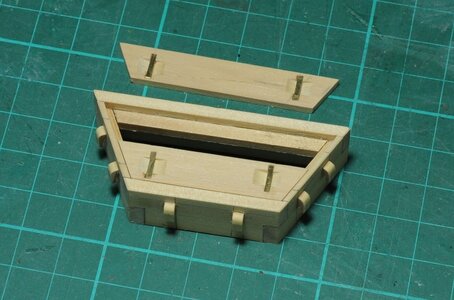
Foreroom Fish Hatch.


With the main hatch almost done I turned my attention to the Foreroom fish hatch and it’s covering boards.
IMG_1895.JPG

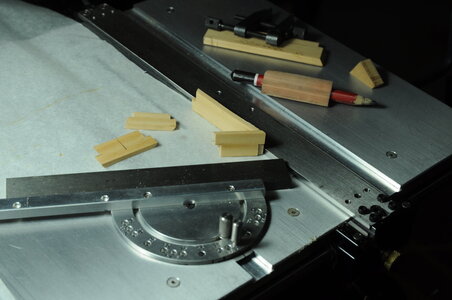
Starting with the Coaming I decided to have another go at doing something of a joint, with the experience gained from my last attempts it turned out quite well.
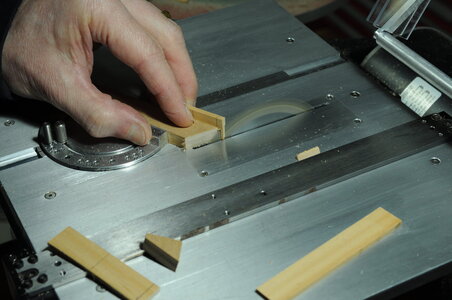
Firstly I found the angle using the protractor off the saw then cut 4 pieces to length allowing enough length for the joint to be cut.
DSC_0244.JPG

Then I cut a rebate on the side pieces for the covers to sit into using the saw, with the optional fence extension.
DSC_0245.JPGDSC_0246.JPG

Next back to the saw to cut most of the material away, finishing off the joints by hand.
DSC_0247.JPGDSC_0248.JPG

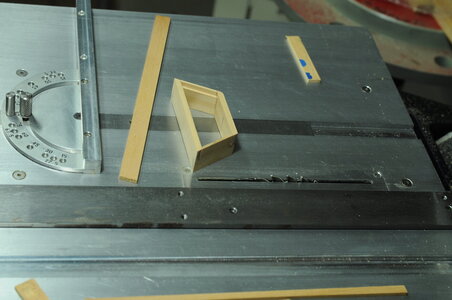
When it came to assembly I didn’t want some sort of weird shape with unequal angels so I set the assembly up on my saw and with a bit of fiddling got the result I wanted.
DSC_0250.JPG
DSC_0251.JPG

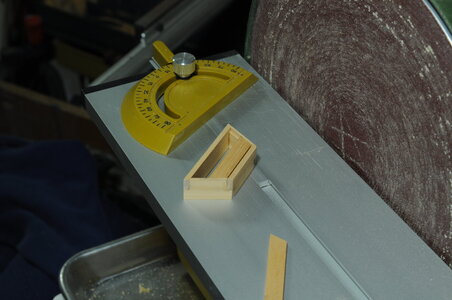
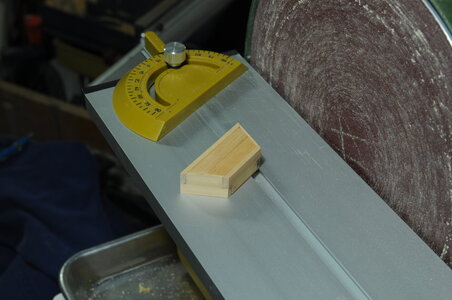
Once the glue had dried work started on the covers, these need to be a nice fit so care was taken when measuring and cutting, making then slightly longer and using the sander to carefully trim, I am quite happy with the fit hopefully enough clearance for paint.
DSC_0256.JPGDSC_0257.JPG

Next up cutting the recesses and grooves for the handles re-using the jig for main hatch boards. This went much the same as last time however I wasn’t able to hold these ones very well due to there smaller size consequently some chattering occurred causing a poor machined finish.
DSC_0259.JPG
DSC_0261 (2).JPG
DSC_0260 (2).JPG

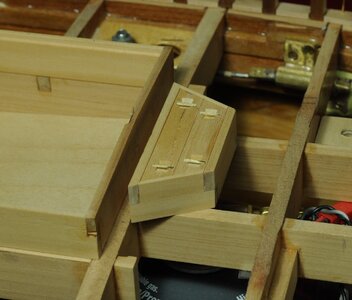
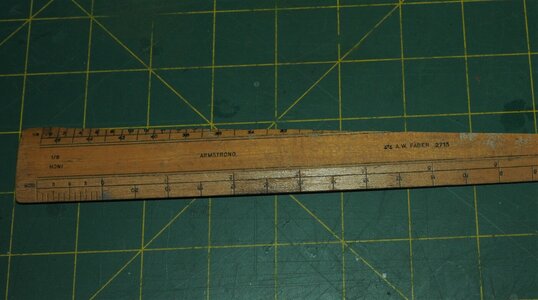
All sides were sanded and cleaned up then the finishing touch of making up “cleats”. These need to be made from stronger material than either Pines I have been using, one thing dad told me was that old good quality wooden rulers were made from quality wood even Boxwood, dad saved old rulers and I still have them.
DSC_0264 (2).JPG

Now I don’t know if the wood I used is Boxwood but the stuff I used is very fine grained and quite strong. The donor ruler was cut in a way to make a profile that could be then cut to length making more than enough “cleats”, the only down side is the grain isn’t running the best way for strength, so much for my bright idea, luckily the wood is quite strong enough even with the grain running the wrong way.
DSC_0267.JPGDSC_0269 (2).JPG

Before cutting to length a radius was sanded on.
DSC_0274 (2).JPG

After setting up the saw cutting off “cleats” was easy, the photo doesn’t show it but I put a piece of scrap over the “cleat” to prevent them flinging off into who knows where.
DSC_0276 (2).JPG

With enough “cleats” cleaned up I marked their positions as per drawing and added some masking tape to help align what are quite small parts, then they were glued on.
DSC_0280 (2).JPG
DSC_0281 (2).JPG

That’s it for the moment, thanks for looking in and stay safe.

Cheers,

Stephen.
 
Foreroom Fish Hatch.


With the main hatch almost done I turned my attention to the Foreroom fish hatch and it’s covering boards.
View attachment 264411

Starting with the Coaming I decided to have another go at doing something of a joint, with the experience gained from my last attempts it turned out quite well.
Firstly I found the angle using the protractor off the saw then cut 4 pieces to length allowing enough length for the joint to be cut.
View attachment 264412

Then I cut a rebate on the side pieces for the covers to sit into using the saw, with the optional fence extension.
View attachment 264413View attachment 264414

Next back to the saw to cut most of the material away, finishing off the joints by hand.
View attachment 264415View attachment 264416

When it came to assembly I didn’t want some sort of weird shape with unequal angels so I set the assembly up on my saw and with a bit of fiddling got the result I wanted.
View attachment 264417
View attachment 264418

Once the glue had dried work started on the covers, these need to be a nice fit so care was taken when measuring and cutting, making then slightly longer and using the sander to carefully trim, I am quite happy with the fit hopefully enough clearance for paint.
View attachment 264419View attachment 264420

Next up cutting the recesses and grooves for the handles re-using the jig for main hatch boards. This went much the same as last time however I wasn’t able to hold these ones very well due to there smaller size consequently some chattering occurred causing a poor machined finish.
View attachment 264421
View attachment 264422
View attachment 264424

All sides were sanded and cleaned up then the finishing touch of making up “cleats”. These need to be made from stronger material than either Pines I have been using, one thing dad told me was that old good quality wooden rulers were made from quality wood even Boxwood, dad saved old rulers and I still have them.
View attachment 264425

Now I don’t know if the wood I used is Boxwood but the stuff I used is very fine grained and quite strong. The donor ruler was cut in a way to make a profile that could be then cut to length making more than enough “cleats”, the only down side is the grain isn’t running the best way for strength, so much for my bright idea, luckily the wood is quite strong enough even with the grain running the wrong way.
View attachment 264426View attachment 264427

Before cutting to length a radius was sanded on.
View attachment 264428

After setting up the saw cutting off “cleats” was easy, the photo doesn’t show it but I put a piece of scrap over the “cleat” to prevent them flinging off into who knows where.
View attachment 264429

With enough “cleats” cleaned up I marked their positions as per drawing and added some masking tape to help align what are quite small parts, then they were glued on.
View attachment 264431
View attachment 264430

That’s it for the moment, thanks for looking in and stay safe.

Cheers,

Stephen.
You really do know how to use your table saw for precise joinery. The trawler is coming along very well. Rich (PT-2)
 
Thanks Rich,

I hope I am giving some tips/ideas to others as well, probably more like showing how to suck egg's.
Moving forward most of the time, long way to go yet.

Cheers,
Stephen.
Have you ever tried to suck an egg???? I tried long ago without any success. Not enough lung power I guess. I don't recall why other than a challenge to do so. Rich.
 
Hi Rich,

No I haven't tried to suck an egg, I could imagine myself attempting such a thing after a few scotch's when I was a younger bloke, and probably regretting it quite quickly.

Cheers,
Stephen.
I think that I was turning blue in the face or maybe red!!! Getting a good lip seal was part of the trick, I think, which was also why I gave up trying to learn to play a bag-pipe with my lips getting cramps on the chanter as well as complaints about the noise that was being produced. . . louder than the egg!!! Rich
 
Hi Stephen. Once again I can only marvel at your woodworking skills - and just like Rich said: you have tuned that Byrnes into an indispensable companion it seems. Even if I had a saw like that, I wouldn't know half the stuff of what it is capable of. Yours, is just great work my friend!
 
Hi Stephen. Once again I can only marvel at your woodworking skills - and just like Rich said: you have tuned that Byrnes into an indispensable companion it seems. Even if I had a saw like that, I wouldn't know half the stuff of what it is capable of. Yours, is just great work my friend!
Thanks Heinrich,
I would agree the Byrnes saw is indispensable, you know we tend to limit ourselves by thinking "I can't do that before even trying" you don't know until you try, maybe this blog will give people some ideas of one way of doing things.
A lot more to come.

Cheers,
Stephen.
 
Finishing off some stuff and building Wheelhouse Coaming.

I should point out that I intend to plank the deck in as close to original as possible, okay I know there are nowhere near enough deck beams, but....

On most working models more sensible people put a ply sub deck usually without camber and plank over it, I don’t want to do that, bending ply in two directions at once I don’t think that’s a good idea and if you hadn’t noticed I like to do things a bit differently.

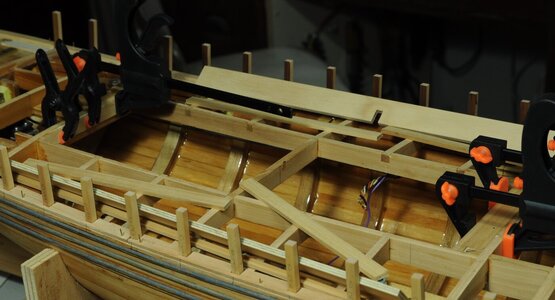
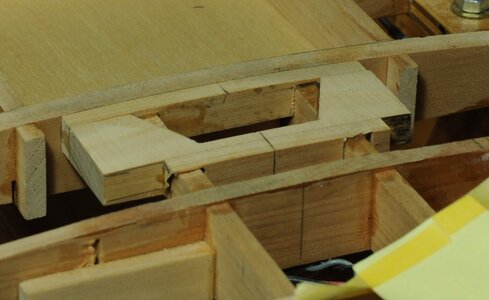
Planking the deck as close to the original as I can, means in my mind I need to support each end of the plank and seeing I don’t have a full complement of deck beams I need some other way of supporting each end of any deck plank, therefore with deck penetrations like the Foreroom coaming/hatch I need a support for planks around it.

This leads me to make up a support that I can glue into place and plank up to the edge of the structure. Referring to Ted Frosts book (I don’t know what I would do without it) most of these penetrations were cut into the deck after planking, so I want it to look like that has been the case.
DSC_0282 (2).JPGDSC_0284 (2).JPGDSC_0285 (2).JPG

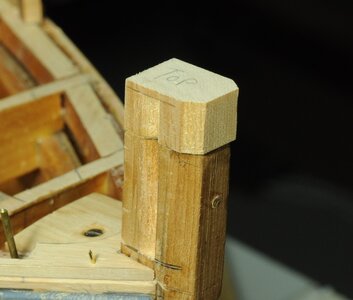
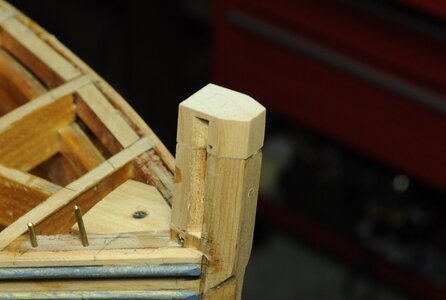
I made a piece up to extend the Stem to it’s correct height then glued and pinned it in position.
DSC_0283 (2).JPGDSC_0321 (2).JPG

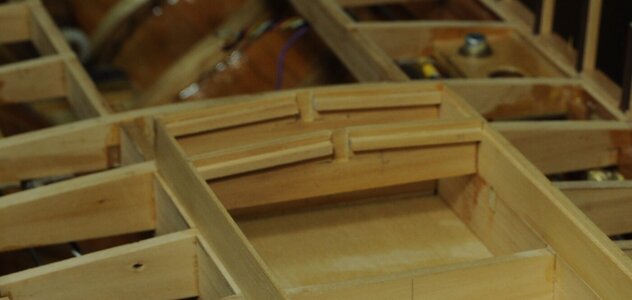
Back to the Main Hatch, I glued in the dividing wall, unfortunately I forgot that there was a bit of slop in the groove it slid into something I did know, I remembered the next morning when I went to put the smaller of the hatch covers in finding they were quite tight, no real problem a bit of sanding fixed that. I made up and attached some support beams on the inside face of the main fish hatch end pieces.
DSC_0285 (3).JPG

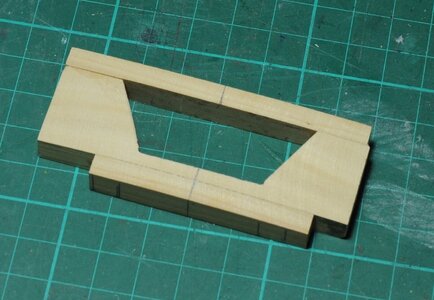
Next up was the Wheelhouse Coaming, after some head scratching and thinking about how I intend to build this structure. The main thing that had me stumped initially was the radius at the forward end, I decided to make a ledge for this to sit on this ledge is flat and extends around the periphery, this means the Wheelhouse will sit on this ledge.
IMG_1913.JPGDSC_0290 (2).JPG

I next made up the coaming from ply.
DSC_0291 (2).JPGDSC_0292.JPG

I don’t intend to remove the Wheelhouse normally but I want to be able to if something goes wrong with my locking mechanism this should never happen considering the lengths I went to in manufacturing the mechanism, though if it can go wrong it may do some day.

Next instalment, Aft accommodation light/ventilation box, okay I don’t know what you call it.


That’s it for the moment, thanks for looking in and stay safe.

Cheers,

Stephen.
 
I will be following your progress on the deck planking carefully. Knowing you, there will be many interesting ideas and a lot to learn.
 
Thanks Heinrich,
There is still quite a lot of work to be done before deck planking can start, and there could be some false starts along with some reworks along the way.

Cheers,
Stephen.
 
Aft cabin skylight and vent + weathering Deck planks.

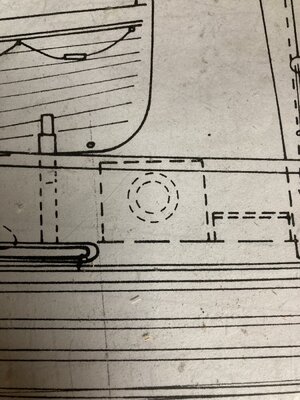
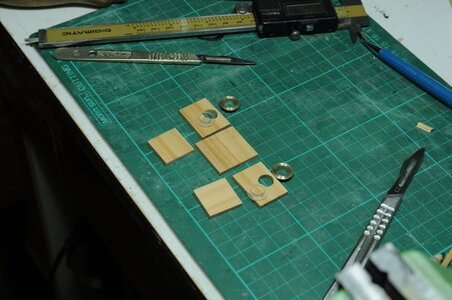
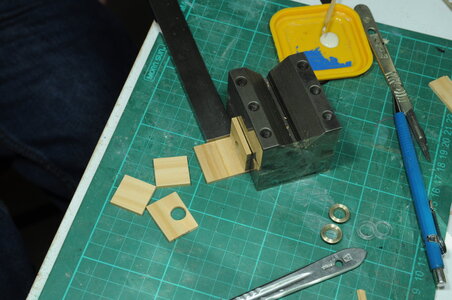
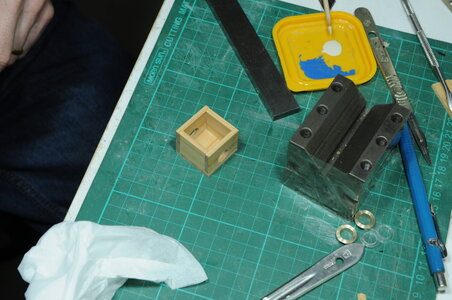
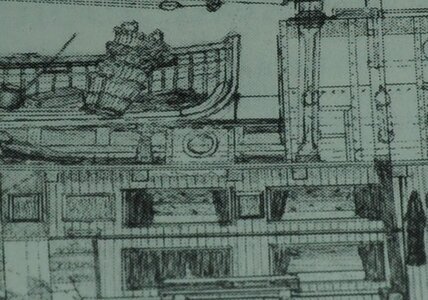
Aft cabin skylight and ventilation (still not sure what it is called), on the plan this is shown as a simple box with 2 portholes one either side.
IMG_1906.JPG

I didn’t think the simple box was quite right thinking that the skylights would probably be angled towards the sun. I did a quick check in my collection of other Drifter trawler photo’s, I could only find photos of models that showed some were a simple box while others were not, this indicated to me that a simple box might have been right….

I decided to make the portholes first.
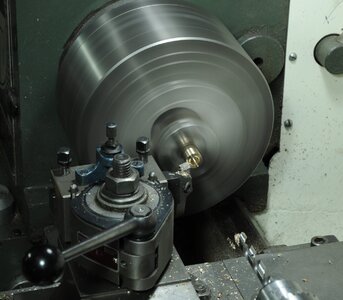
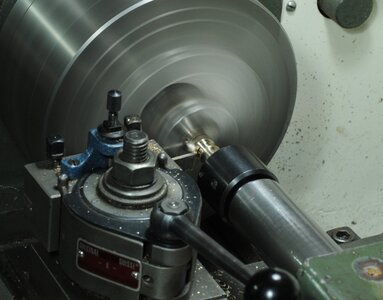
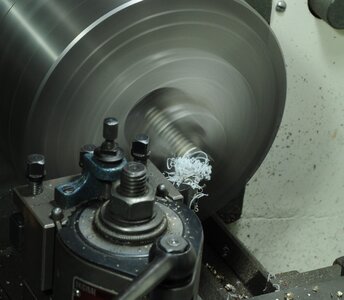
Some brass bar was put in the lathe chuck and turned to the required shape.
DSC_0299 (2).JPGDSC_0302 (2).JPG

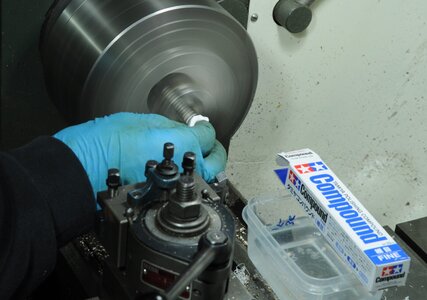
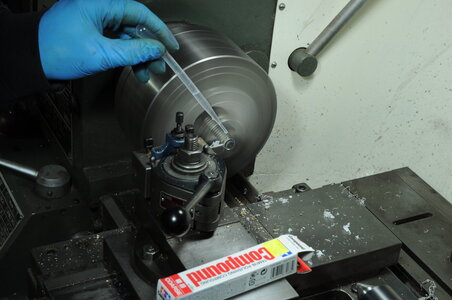
Next some Acrylic/Perspex bar was put in the lathe and machined, to get a nice clear looking window I sanded with wet & dry then polished both ends, finishing off using Tamiya polish to quickly achieve a nice finish.
DSC_0303 (2).JPGDSC_0305 (2).JPG

When I was parting the Acrylic/Perspex I used a pipette to drip water to prevent overheating.
DSC_0306.JPG

I then set about making a simple box from Kauri pine.
DSC_0308.JPGDSC_0310.JPGDSC_0311.JPG

When it was finished I thought it wasn’t bad until I red Ted Frost’s description in his book on page 135, describing the Skylight as being of steel construction with a pitched roof, rounded top with 2 portlights either side and a Mushroom vent at the forward end. One problem with this was Teds side elevation sketch on page 164 of Formidable at sea shows only one porthole, not that I wish to question Teds memory but it is possible that some of these details are not quite right and unfortunately I don’t have any photographic proof to prove either way….
DSC_0345 (2).JPG

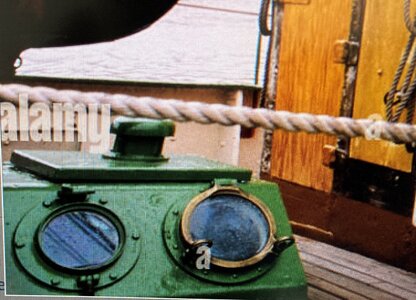
Then I remembered there is a restored Steel Drifter called the Lydia Eva, maybe I can find some photos of her Aft Skylight, the photo shows clearly a pitched roof, flat top with 2 portlights either side and a Mushroom vent towards the forward end, bugger!!
IMG_1911 (2).JPG


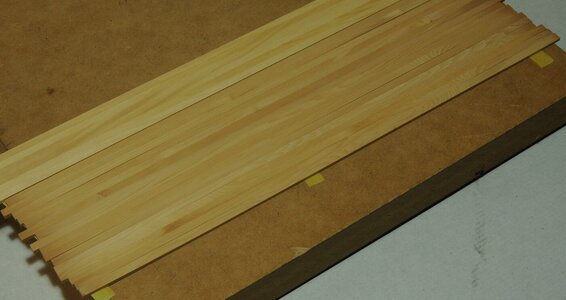
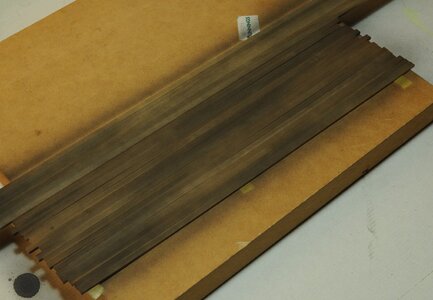
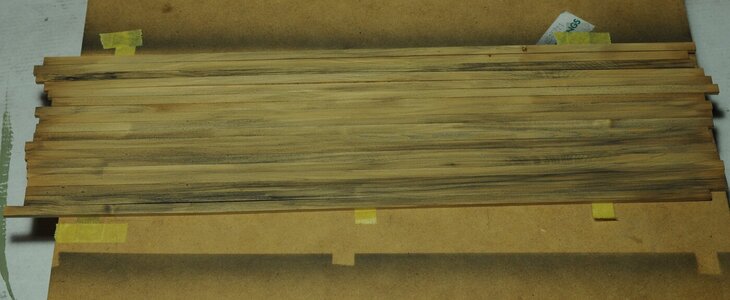
Moving on from that for a moment, I thought I would have a go at ageing some deck planks using a very diluted mixture of SMS’s Black lacquer paint, my initial quick test a while ago showed great promise using an airbrush but then when I tried to do it again now it didn’t look anywhere as good, don’t know if it is just me but that seems to happen a bit. I thought I would try a soft brush instead of airbrushing, this worked quite well. I also found that using a Scotchbrite pot scrubber I could remove some paint where needed.
DSC_0314 (2).JPGDSC_0315 (2).JPGDSC_0316 (2).JPG

I started adding some White to the Black, my thinking at the moment is to make several shades of Grey for painting the deck planks and mix them up at the end so there is not a uniform colour, this is because in photos I have looked at there doesn’t seem to be much reason to which deck planks are dark or light, my initial thoughts were that shady areas would be darker than exposed areas while this is partly true it doesn’t seem to be a hard and fast rule.


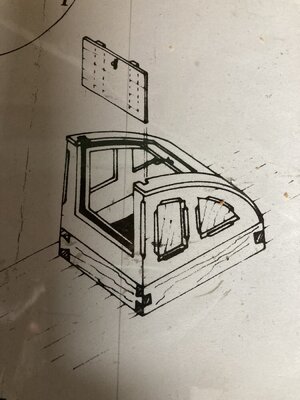
I have started on the forecastle hoodway and nearing final assembly I have run into a similar problem to the Aft cabin skylight.

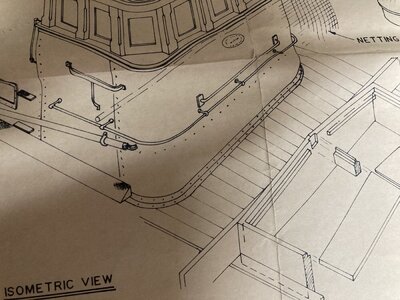
So I have a question which sketch is more likely for the Forecastle hoodway, both are possible. I started making mine to the isometric sketch on the plans.
IMG_1915.JPG

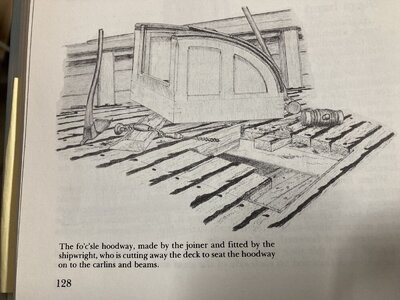
Then there is an isometric sketch on page 128 of Ted Frost’s book, the main difference and point of contention is how the sliding hood is represented. On the plan it is shown to slide under the fixed portion which works but how do they stop rain/spray finding it’s way into the Forecastle accommodation?
IMG_1914.JPG

Where in the books sketch the sliding part seems to overlap the problem for me is this is probably more vulnerable due to the outer part not being supported?

Or maybe I am getting too anal about the whole thing, then again I like to try and present something that would have worked in reality and once it is built it is there for a long time...

Next well you know what is coming ,Forecastle hoodway.

That’s it for the moment, thanks for looking in and reading my ramblings or just looking at the photo’s and stay safe.

Cheers,

Stephen.
 
It is absolutely fascinating to follow your build and research. Looking at your skylight and portholes, I was going to say WOW! and then you dropped the penny. That is a bummer indeed - however, it does not take anything away from those brilliantly turned portholes. Can you still use them in the steel constructed that is bound to follow? In Dutch there is a saying "Ik ben benieuwd" which roughly translated means that I am anxiously watching ... I can't wait to see your metalwork...

As to the hoodway, it seems there is some research that needs to be done. Also there, I am anxiously waiting your solution!
 
Back
Top