YQ Bluenose Ted R

The whole exercise was certainly worth the effort.
I am much happier with the outcome. Realigned three frames for elevation. Did some preliminary sanding.
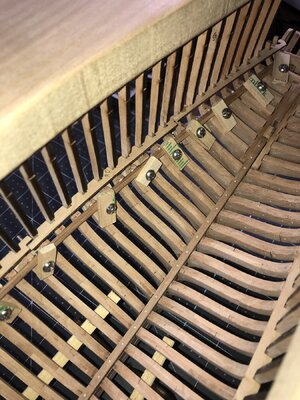
Starting to check the keelsons for fit.
 
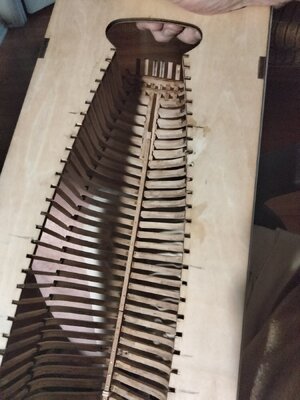
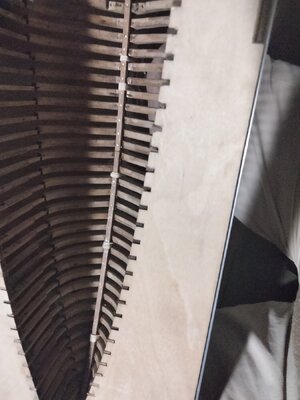
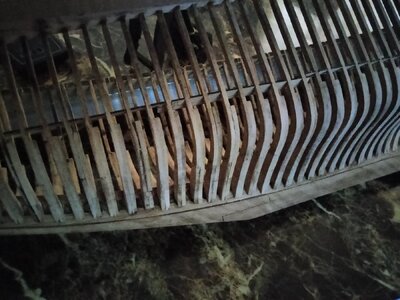
The port side temp spacers 24-28 went in really easy. Gives some positive feedback to the frame spacing. The last, number 29 isn't even close. I don't know what glue to use to place these temporarily. 17158791815115421638838259141632.jpg
 
Same thing goes for the starboard side. Everything went in really smoothly except for part 29. I saw another build log having the same problem so I don't know it it is my fault or not. Pressing on with sanding but have not glued the temp parts in place as I don't want to damage them for later.
Ted
 
Same thing goes for the starboard side. Everything went in really smoothly except for part 29. I saw another build log having the same problem so I don't know it it is my fault or not. Pressing on with sanding but have not glued the temp parts in place as I don't want to damage them for later.
Ted
Like I said, I had to remake parts 29, for similar reasons. Back then my assumption was that I placed the two spider legs slightly out of tolerance, causing the the entire aft section, from frame 49 to the stern, being rotated slightly more upwards. This in turn caused parts 29 no longer fitting the as-build situation.
I continued with the build, luckily I was able to overcome the issue, but it required some effort...
Thank you. I'll look to doing the same. I take it that remaking parts 29 is better than tearing out the aft section and trying to rebuild it to fit. It was nice to see parts 24 to 28 fit with only very minor filing needed on three or four frames. Having no experience; would it be better to hold off remaking of this part until fitting it on the installed deck or make it now to fit the frames?
Always grateful for your support and instructions.
Ted
 
Do parts 102 or 103 require wetting or steaming for installation. Or for that aspect is any steaming needed later on for planks, etc.?
 
Thank you. I'll look to doing the same. I take it that remaking parts 29 is better than tearing out the aft section and trying to rebuild it to fit. It was nice to see parts 24 to 28 fit with only very minor filing needed on three or four frames. Having no experience; would it be better to hold off remaking of this part until fitting it on the installed deck or make it now to fit the frames?
Always grateful for your support and instructions.
Ted
I remade parts 29 prior to installing the deck. At that point in time it was to me the most sensible thing to do.
 
Thanks Daniel.
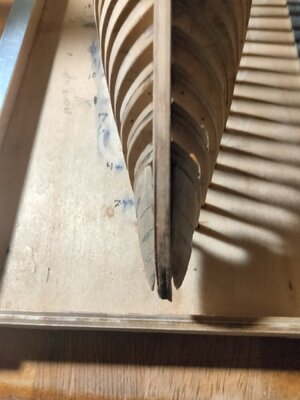
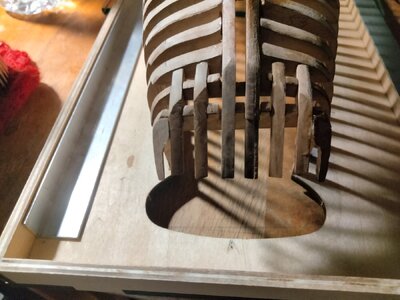
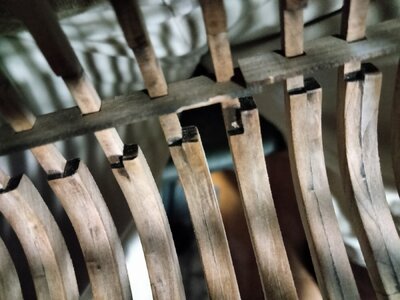
I don't understand the notch at frame 27. Does it mark the step up for the aft load bearing beam and the step on the deck. Or do the load bearing beams fit into the notches. See photo 1
I remade parts 29 prior to installing the deck. At that point in time it was to me the most sensible thing to do.
Thanks. That's what I was thinking too.
 
I don't understand the notch at the center of frame 27. Does it mark the step up in deck?


View attachment 447766
The waterway does drop down right there but I would suggest not trimming any waterway boards at this time. You only need them for proper rib spacing while glueing in 102 and 103. Once you finish with that carefully remove the waterways for final use a bit down the road. Then you should clearly see what if any trimming adjusting needs to be done.
 
Last edited:
I understand that part. For the life of me I can't figure out why frame 27 has that little notch.
Have I missed something
Ted
 
Back
Top