YQ Bluenose Ted R

On translated instructions page 16-2 figure 90. Is the top of part 45 supposed to be level with the lower or upper deck.
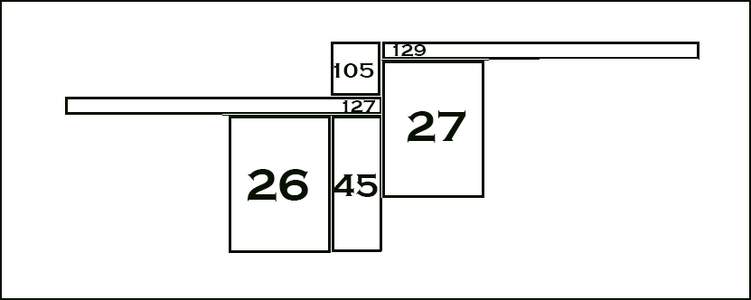
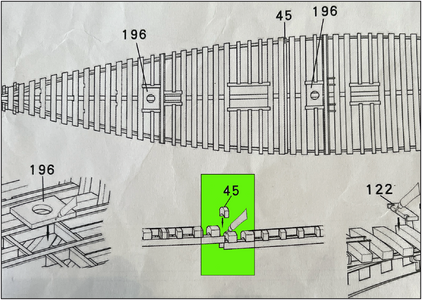
Hi Ted. Part 45 is behind the last deck beam of the lower deck, beam 26. It must be sanded flush with that beam, because ..... see below the inserted picture.
We spoke to that part earlier: See post #371 on pag. 19 of your own build-log.
But fig. 13 on plan 8-1 shows it also:
1718211409488.png
After that you can see in fig. 14 and 15 of the same plan 8-1:
-The front deck planking piece 127 will be placed till over that beam 26 and part 45. And fits to the front of beam 27, the first beam of the upper aft deck: Manual pag. 17-1, picture 96.
-The aft deck planking piece 129 will be placed till the front of beam 27. And part 105 is placed in front of that beam 27 and planking piece 129. And is resting on the end of deck planking piece 127. Part 105 must be sanded flush with the aft planking part 129: Manual pag. 18-2, picture 109.
Ps: hopefully I have now posted the right documented information ....... ;) (Checked, checked and double checked.)
Regards, Peter
 
Hi Ted. Part 45 is behind the last deck beam of the lower deck, beam 26. It must be sanded flush with that beam, because ..... see below the inserted picture.
We spoke to that part earlier: See post #371 on pag. 19 of your own build-log.
But fig. 13 on plan 8-1 shows it also:
View attachment 453118
After that you can see in fig. 14 and 15 of the same plan 8-1:
-The front deck planking piece 127 will be placed till over that beam 26 and part 45. And fits to the front of beam 27, the first beam of the upper aft deck: Manual pag. 17-1, picture 96.
-The aft deck planking piece 129 will be placed till the front of beam 27. And part 105 is placed in front of that beam 27 and planking piece 129. And is resting on the end of deck planking piece 127. Part 105 must be sanded flush with the aft planking part 129: Manual pag. 18-2, picture 109.
Ps: hopefully I have now posted the right documented information ....... ;) (Checked, checked and double checked.)
Regards, Peter
I made a quick drawing for you:
1718214567847.png
Regards, Peter
 
Hi Ted. Part 45 is behind the last deck beam of the lower deck, beam 26. It must be sanded flush with that beam, because ..... see below the inserted picture.
We spoke to that part earlier: See post #371 on pag. 19 of your own build-log.
But fig. 13 on plan 8-1 shows it also:
View attachment 453118
After that you can see in fig. 14 and 15 of the same plan 8-1:
-The front deck planking piece 127 will be placed till over that beam 26 and part 45. And fits to the front of beam 27, the first beam of the upper aft deck: Manual pag. 17-1, picture 96.
-The aft deck planking piece 129 will be placed till the front of beam 27. And part 105 is placed in front of that beam 27 and planking piece 129. And is resting on the end of deck planking piece 127. Part 105 must be sanded flush with the aft planking part 129: Manual pag. 18-2, picture 109.
Ps: hopefully I have now posted the right documented information ....... ;) (Checked, checked and double checked.)
Regards, Peter
Luckily both you and Dan had some recollection of this part, I definitely didn't have an active memory anymore of part 45.
 
Hi Ted. Part 45 is behind the last deck beam of the lower deck, beam 26. It must be sanded flush with that beam, because ..... see below the inserted picture.
We spoke to that part earlier: See post #371 on pag. 19 of your own build-log.
But fig. 13 on plan 8-1 shows it also:
View attachment 453118
After that you can see in fig. 14 and 15 of the same plan 8-1:
-The front deck planking piece 127 will be placed till over that beam 26 and part 45. And fits to the front of beam 27, the first beam of the upper aft deck: Manual pag. 17-1, picture 96.
-The aft deck planking piece 129 will be placed till the front of beam 27. And part 105 is placed in front of that beam 27 and planking piece 129. And is resting on the end of deck planking piece 127. Part 105 must be sanded flush with the aft planking part 129: Manual pag. 18-2, picture 109.
Ps: hopefully I have now posted the right documented information ....... ;) (Checked, checked and double checked.)
Regards, Peter
It's perfectly clear to me now.
I see that I need to adjust beam 27 forward very slightly to align the upper and lower finished deck junction. Thank you for the clarification. It sank in this time.
I looking ahead I have parts 122 and 123. I know where they go but find nothing on the finished deck plan 8-3 that coincides with these openings. I see the post for the mainmast boom rest bit don't see any corresponding opening on the finished deck part
 
I made a quick drawing for you:
View attachment 453133
Regards, Peter
Well that's different than what I was thinking. Now I understand it's function as a run joust for the finished upper deck and a finish molding for the lower deck.
I had it the same location but the top of 105 below the forward finished.deck. your drawing is a much more elegant solution.
Ted
 
Well that's different than what I was thinking. Now I understand it's function as a run joust for the finished upper deck and a finish molding for the lower deck.
I had it the same location but the top of 105 below the forward finished.deck. your drawing is a much more elegant solution.
Ted
Beam 105 is also a kind of protection beam. It protects all ends of the upper deck planks that now end behind this beam. Otherwise, all those ends will be under the influence of, for example, overflowing spray or objects that hit this upright deck.
Regards, Peter
 
I had already glued 105 in again of beam 26 fitting on under the finish deck.
I'm going to leave it there as backing and have made a net 105 and fitted it as per your drawing.
This might be a common point of confusion with other builders. Your drawing should be posted on the build info page to help everyone else.
Thanks for taking the time to draw it.
Best regards,
Ted

Ted
 
I'm late in a addressing the finish for my Bluenose. However I would like to get it started prior to installing the decks.
I don't have a lot of money to to try a bunch of samples.
So far I have selected minwax water based amber stain and satin finish.
I'm trying for the finish I saw on Deans, Peter's and rdn's models
Do you think I'm on the right track?
Best regards
Ted
For the frames and deck beams I indeed used a stain and a semi-gloss finish. The stain was cherry-colored, but it's a very personal choice. I especially like the dark reddish glow of the stain.
Still, it's a rather personal choice.
 
For the frames and deck beams I indeed used a stain and a semi-gloss finish. The stain was cherry-colored, but it's a very personal choice. I especially like the dark reddish glow of the stain.
Still, it's a rather personal choice.
Your model is beautiful. I'm trying to achieve a more amber finish on the pear wood.
What paints did you use for the other finishes.
Best regards,
Ted
 
I purchased some minwax water based stain in amber along with the satin clear finish this morning.
I like the color of the stain on the bottom of the finish deck part but it seems to cloudy on the frames I tested.
I'm going to this out the stain and try again on the frames later today.
Just clear is alongside the stain samples.
Best regards
Ted
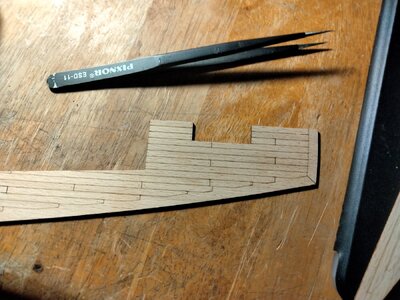
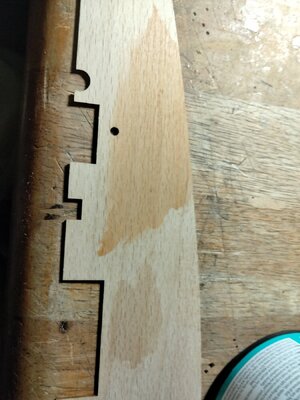
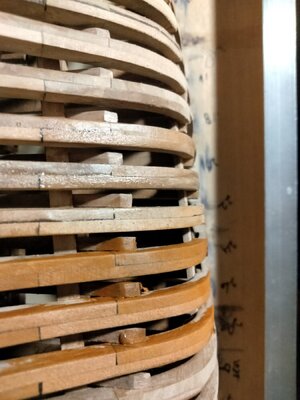
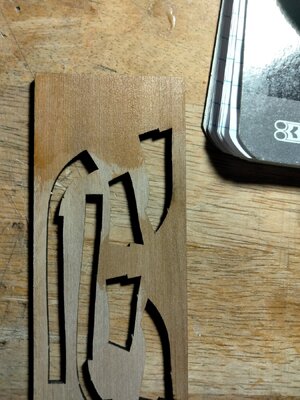
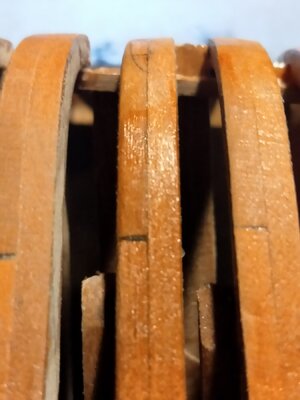
1718470665069151651712264618957.jpg17184706977814654270592000316565.jpg
 
I used undiluted stain and a semi-gloss varnish, water based.
Stain has to be applied very carefully to ensure even distribution. Often two or three layers are necessary to obtain the required result.
 
Back
Top