- Joined
- Oct 1, 2023
- Messages
- 1,206
- Points
- 393


Daniel,
Where I had brass, I painted it in steel. I also bought aluminum wire for all the block stropping.Daniel,
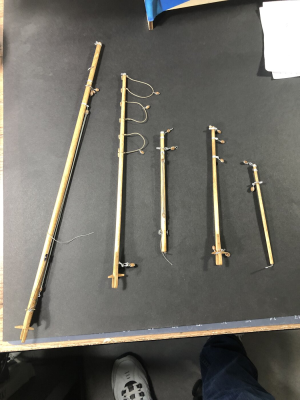
Did you paint all of the eyebolts steel colored on the remainder of the mast parts ie foresprit sailing mast
Best regards
Ted

Thanks, I stropped the blocks on the cross trees with wire but it was braided. Will look to see if I have some solid aluminum wire around. What gauge wire worked for the stropping. I'm using the 3.5 mm blocks from Drydock Models.Where I had brass, I painted it in steel. I also bought aluminum wire for all the block stropping.


Very nice those faces on itPs- check out the crazy Frankenstein pumpkins for sale here in LA.

Good job TedForesprit spar complete

Special to read thisI also bought aluminum wire for all the block stropping.

Thank you Hank. Recently I have become less anxious about my modeling. I am trying just as hard to get everything as close to perfect as I can but am more relaxed.Good job Ted
I really appreciate your perseverance, I know from my own experience that sometimes two steps back and one step forward

Thank you. Got the technique from Dean.Special to read this
When I started experimenting with blocks I also tried iron binding wire to bind the block
After turning it with a needle I made an eye
But I got stuck after I cut the eyes to size to find a way to attach it in such a way that it would stick well to the mast
But this may have to do with my way of thinking ...
I decided not to do it this way
I think it is special that you attached everything in this way
Regards
Henk
You could not have picked 3 better BN builders for mentors Ted.Thank you. Got the technique from Dean.
It seems Dean, Peter and RDN have become my mentors on this project.
Best regards
Ted

Not to worry Ted, you actually did pick the top 3 BN builders as far as I'm concerned. I would not have had near the success were it not for these 3 individuals.I'm so embarrassed I blushed Your assistance, Daniel, is at the top of the list. I wouldn't put my name on a plaque for this model without listing yours too. I didn't used to have these moments of confusion.
If you look at my notepads l, every listing is from your build and then I wrote Dean.
Please forgive my rudeness.
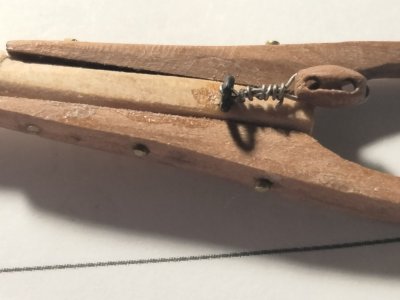
Btw I'm improving at your stropping technique.
Best regards
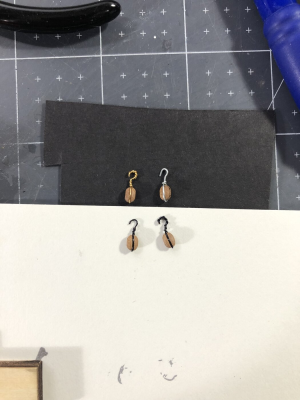
Ted View attachment 478081View attachment 478082


Thank youNot to worry Ted, you actually did pick the top 3 BN builders as far as I'm concerned. I would not have had near the success were it not for these 3 individuals.
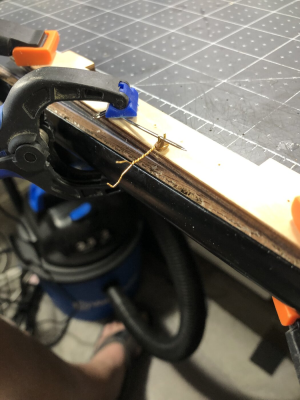
To me your metal stropping needs some improvement, it just takes practice. I spent several days with this before coming up with what I called acceptable appearance. Starting with this.
View attachment 478086
and ended up using the one on the top right. For me the key was holding the tiny sheeve study (hands free) so I could concentrate on the twist and finish trim.
View attachment 478088
I see what you did with the wire. I got some PE hooks from Drydock but am now confused how to use them.Not to worry Ted, you actually did pick the top 3 BN builders as far as I'm concerned. I would not have had near the success were it not for these 3 individuals.
To me your metal stropping needs some improvement, it just takes practice. I spent several days with this before coming up with what I called acceptable appearance. Starting with this.
View attachment 478086
and ended up using the one on the top right. For me the key was holding the tiny sheeve study (hands free) so I could concentrate on the twist and finish trim.
View attachment 478088
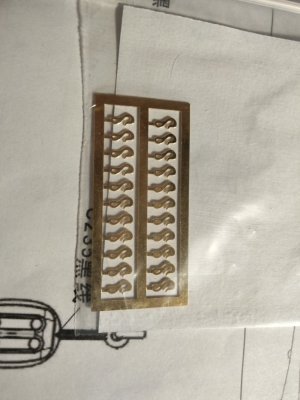
maybe the below images will helpThank you
I see what you did with the wire. I got some PE hooks from Drydock but am now confused how to use them.
Do all of the C171 bolts get a hook?
TedView attachment 478114
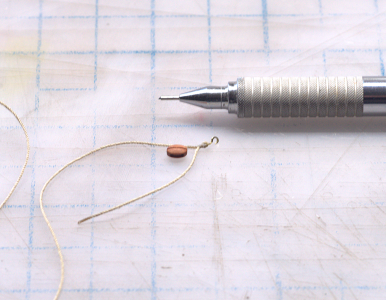
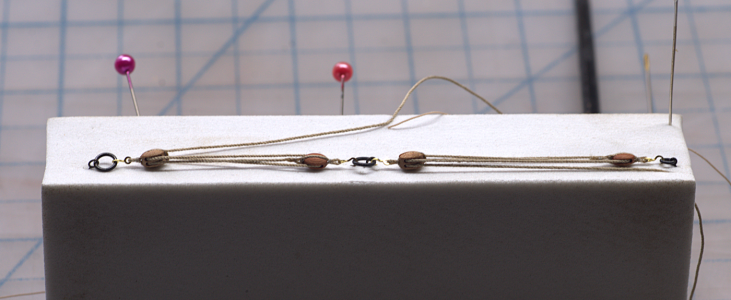
Ted, all of us whom you follow show how we did this in detail within our build logs. I encourage you to do your own research. Once you have done that and still cannot find the result you're looking for, then ask for help. I went back through my build log (researched) and found this post.Which detail do I use?
