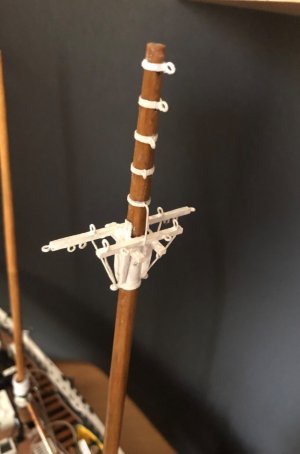
YQ Bluenose Ted R

Here you go, Ted:


Thank you @dockattner
 
Hey Ted,
Well, this is getting somewhat messy, but I think the situation is still salvageable.
If I understand correctly, you deviated from the YQ plans by ordering custom blocks of varying sizes. This in itself is not an issue, but simultaneously implies you'd have to order the appropriately sized ropes, since the diameters of the holes in the blocks will be different than the holes in the YQ supplied blocks and thus unusable with your purchased blocks.
My suggestion would be for you to determine where to use what size block, this will also determine the rope size. This will require quite some work, namely to mark every single block and rope on the drawing, before doing anything else.
As illustration, for my BN I used block sizes 3, 4, 5 and 6mm and thread sizes 0,3, 0,4, 0,5 and 0,6mm, colored dark brown for the standing rigging and beige for the running rigging. To ty off ropes I exclusively used serafil 0,012mm thick.
Follow Dan's advice; sit back, relax, take a deep breath, a nice glass of wine and start re-planning your rigging and don't do anything to your hardware until you've gotten yourself a complete, well thought through plan.
 
In a previous post of you I saw that you had spread out the big 1:1 plans on your table, Ted. With the parts on it where you was working on. That’s very good. :) Spread the plans with the rigging and place all the block you needed on those plans. Perhaps fix them with a little piece of tape. It are buggers that jumps in all directions. ;)
Then you get a overview of the rigging. I idea is to give all the separate lines your own number on the plans.
Now you can determine what rope sizes you need between the specific blocks. And measure the length of the needed ropes between the connection points and through the blocks.
Start also to make a list with all the line-numbers with some columns for the thickness, lengt and color and fill that list line by line by line. At the and you have a overview of all the needed ropes. Advice: add some extra length, you never know …sometimes a scissor leads a life of its own ….. :rolleyes:
Daniel and Johan gave already the advice to choose for 3 or 4 rope and block sizes.
Let all the advices sink in for a moment and then make your plan. Rigging is serious business and not easy. When you understand the function of each line and can visualize it, you are on the right track.
There are plenty on this forum who pointed rigging on the lowest part of the refun-list. I do love it, the more rigging the better!
Regards, Peter
 
Last edited:
Hey Ted,
Well, this is getting somewhat messy, but I think the situation is still salvageable.
If I understand correctly, you deviated from the YQ plans by ordering custom blocks of varying sizes. This in itself is not an issue, but simultaneously implies you'd have to order the appropriately sized ropes, since the diameters of the holes in the blocks will be different than the holes in the YQ supplied blocks and thus unusable with your purchased blocks.
My suggestion would be for you to determine where to use what size block, this will also determine the rope size. This will require quite some work, namely to mark every single block and rope on the drawing, before doing anything else.
As illustration, for my BN I used block sizes 3, 4, 5 and 6mm and thread sizes 0,3, 0,4, 0,5 and 0,6mm, colored dark brown for the standing rigging and beige for the running rigging. To ty off ropes I exclusively used serafil 0,012mm thick.
Follow Dan's advice; sit back, relax, take a deep breath, a nice glass of wine and start re-planning your rigging and don't do anything to your hardware until you've gotten yourself a complete, well thought through plan.
This is exactly the information I was looking for.
 
I'm still struggling with the appropriate rope sizes for the blocks I have. Along with where the block sizes vary. I don't know enough about rigging and nomenclature to use Peter's spreadsheet.
I think the smallest block I can work with is 3.5mm.
Best regards
Ted
 
While Bluenose is not used as an example, there are several charts of block sizes for all the blocks on a number of fishing schooners such as Columbia in Chappelle's American Fishing Schooners book. True it is not Bluenose and these are American vessels, but lacking better information this may be a good source for you. As to rope sizes, in earlier years which should still be close, the rope circumference would be about 1/4 the length of the block. A 12 inch block would thus have a rope about 3 inches in circumference or about one inch in diameter. From James Lees' Masting and Rigging, page 189, Again his figures are for English ships of war so may be off, but at our scales should be pretty close. Other contemporary based information on fishing schooners would be best, but hopefully this may be a little help.
Allan
 
Thank you @AllanKP69 for the information and time helping me.
My skills have not reached those of most members of this site. Whereas historical ill struggling through the accuracy is desirable I'm struggling through gaining the basic skills on building a model. Witnessed by frequent demolition and rebuilding.
My current problem came from not being able to make any reasonable blocks from the little charred chunks of wood provided by the kit. I wasn't able to make two that looked alike, nevermind in different sizes. I found beautiful blocks on Drydock Models and ordered a range of sizes for experimenting. This led to the problem of rope sizes, in the kit, not fitting. It is now obvious that anyone using the smaller blocks must be making their own ropes.
I'm quite happy to use one block size throughout the build if it allows me to learn how to strip, seize and terminate the rigging of properly.
This probably disqualifies me from this site. (Ship's of Scale)
But I beg forbearance. Hopefully my skills will improve and my knowledge set come up to the standards represented by my colleagues.
Best regards
Ted
 
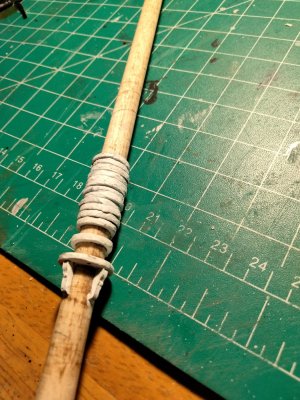
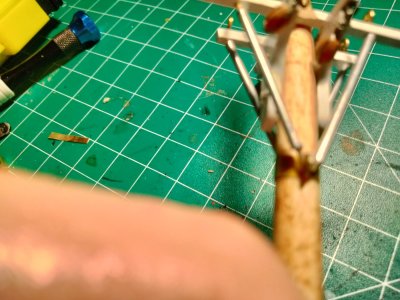
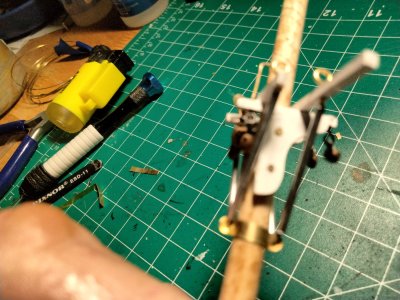
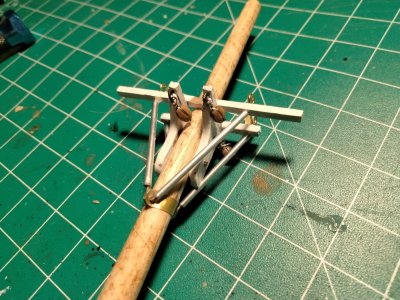
The demolition crew will be in shortly.
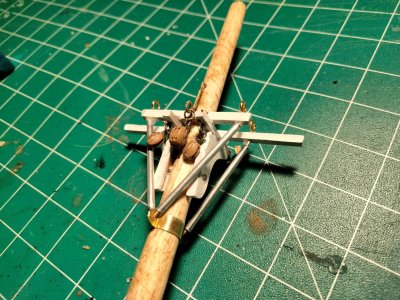
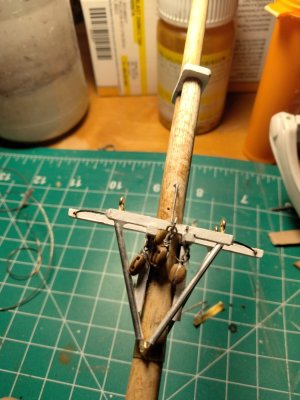
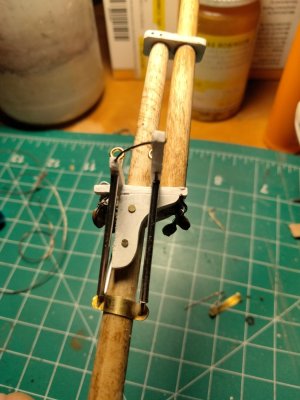
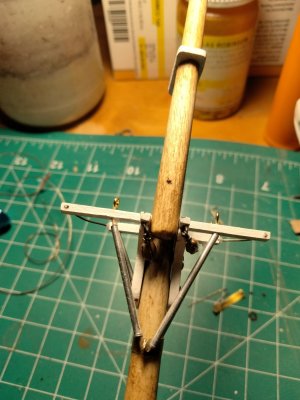
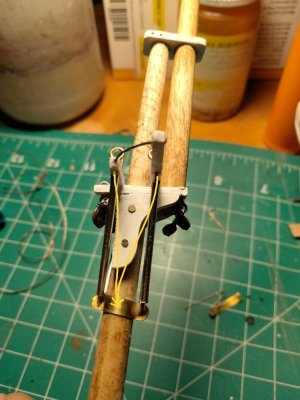
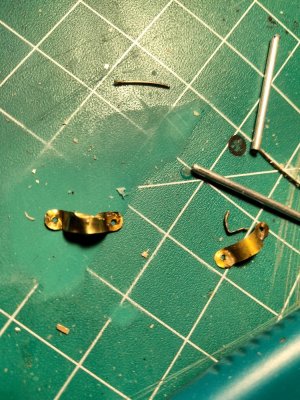
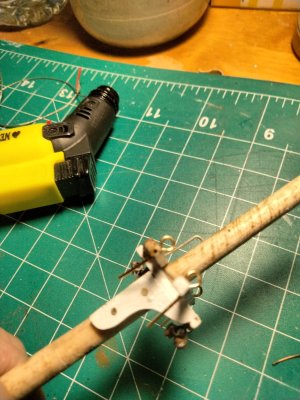
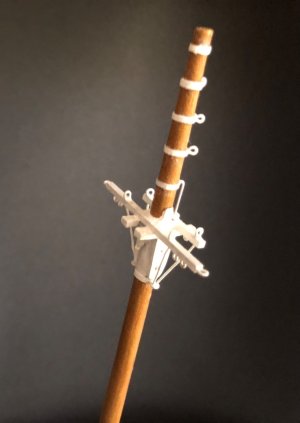
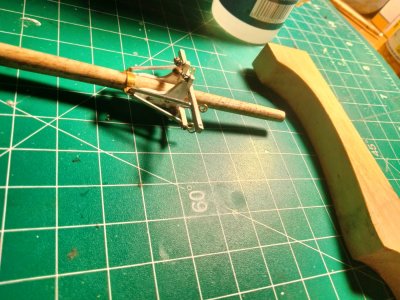
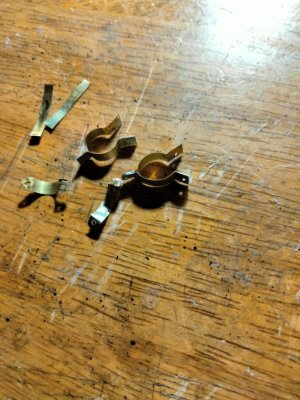
Once again, the end results of my mini project are unsatisfactory. Everything is twisted and unrealistic.
After completion I suddenly see where I made my mistakes and improvements come to mind.
I will soon return with hopefully less cringe worthy results.
Happy modeling
Ted IMG20241101070400.jpgIMG20241101070423.jpgIMG20241101070410.jpg
 
The demolition crew will be in shortly.
Once again, the end results of my mini project are unsatisfactory. Everything is twisted and unrealistic.
After completion I suddenly see where I made my mistakes and improvements come to mind.
I will soon return with hopefully less cringe worthy results.
Happy modeling
Ted View attachment 481503View attachment 481504View attachment 481505
It's something I have to tell myself continuesly: the drawings are your best friend. Make sure you fully understand them and focus on the details you're working on. When working on the main mast, it's no use worrying about the bowsprit.
 
Back
Top