- Home
- Forums
- Ships of Scale Group Builds and Projects
- Bluenose PoF Group Build
- Bluenose Group Build Logs
You are using an out of date browser. It may not display this or other websites correctly.
You should upgrade or use an alternative browser.
You should upgrade or use an alternative browser.
YQ Bluenose Ted R
- Thread starter Ted Robinson
- Start date
- Watchers 19
- Joined
- Oct 1, 2023
- Messages
- 1,138
- Points
- 393

I can't think of the number of times I've relied on our surveyors during construction. It's impossible to build major structures in today's age without you I slept well at night knowing the surveys on shoring piers and deck elevations proved correct.Thats fantastic Ted, that's what modeling should be all about. I suspect we all try at one point or another to translate our professional carriers into our modeling aspirations. The types of mistakes I have made in modeling with all the do overs would never have been tolerated in my professional carrier. As s a senior survey manager I was responsible for all our precast concrete bridge beams (very expensive) fitting correctly on top of the bridge bents that I laid out. Never had a situation in 40 years where they did not fit. Stay with it we are here to support you.
Thank you for the encouragement
T d
- Joined
- Oct 1, 2023
- Messages
- 1,138
- Points
- 393

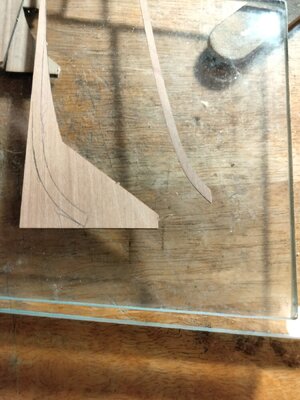
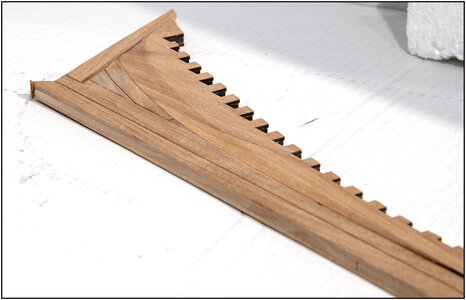
Thanks, got itNo, that is an area called dead wood where your hull planking will lay on top of the piece you're showing and butt into the stern post. At this point all you need to be watchful for is sanding from the reference line, laser burn line to the knife edge run out.View attachment 433043
- Joined
- Oct 1, 2023
- Messages
- 1,138
- Points
- 393

- Joined
- Oct 1, 2023
- Messages
- 1,138
- Points
- 393

- Joined
- Oct 1, 2023
- Messages
- 1,138
- Points
- 393

- Joined
- Oct 1, 2023
- Messages
- 1,138
- Points
- 393

- Joined
- Oct 1, 2023
- Messages
- 1,138
- Points
- 393

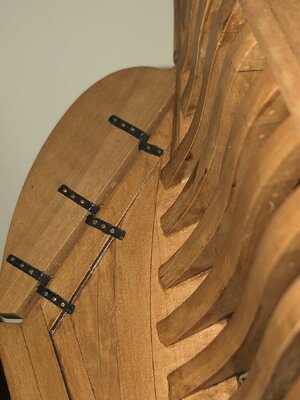
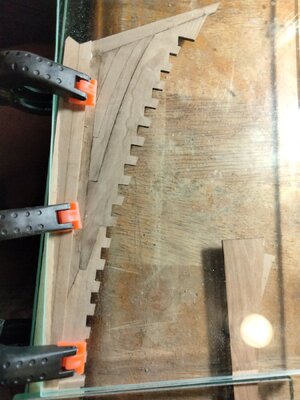
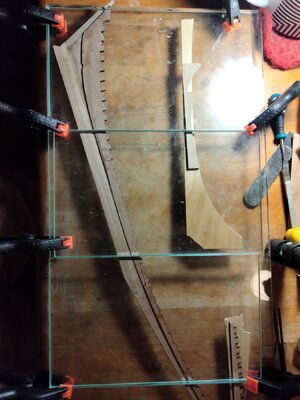
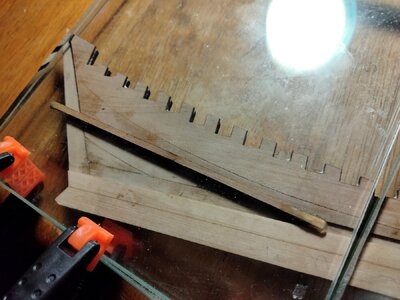
I was waiting to chamfer part 20 after it was glued in place. I totally missed part 20. Which side chamfers the top or the bottomHi Ted. 2 points for you attention:
Be sure that the bevel at the parts #18 have a smooth transition to the deadwood.
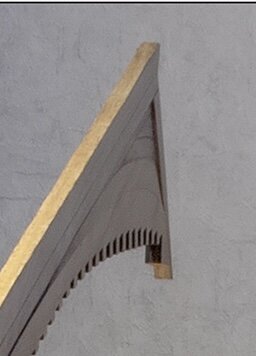
Be sure that the bevel on the top of the parts #21 is on the inside:
View attachment 433210
The bowsprit is laying inside that |\_/|
Regards, Peter
- Joined
- Oct 1, 2023
- Messages
- 1,138
- Points
- 393

I meant missed part 21. I'm trying to figure the best way to put in the bevel now. Should I unglue the part or do it in place.
- Joined
- Oct 1, 2023
- Messages
- 1,138
- Points
- 393

I'm setting the model aside and dedicating the next day or so to studying the plans.
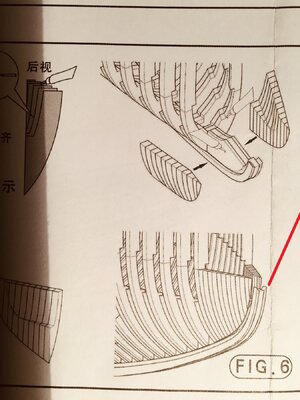
Part 21 in post #108 has a left piece and a right piece. The red line showing from Peters picture shows what direction the tiny bevel at their ends goes. This bevel If I remember is already made for you.
- Joined
- Oct 1, 2023
- Messages
- 1,138
- Points
- 393

I've got that part. I missed the bevel on part 21. I've already glued it to the starboard side. Should I attempt this bevel in place or remove it firstPart 21 in post #108 has a left piece and a right piece. The red line showing from Peters picture shows what direction the tiny bevel at their ends goes. This bevel If I remember is already made for you.
I would not try to remove it. The other side bevel will be reversed as well when you glue it on. The nice thing about working with wood is you can glue extra wood on then sand it down to where you needed it in the first place. You know, just glue a tiny piece on then sand it down to the correct bevel.I've got that part. I missed the bevel on part 21. I've already glued it to the starboard side. Should I attempt this bevel in place or remove it first
- Joined
- Oct 1, 2023
- Messages
- 1,138
- Points
- 393

I'm confused. Which way does the bevel go, up toward the deck or down to the bottom of the keel I can't find a section in the plans
- Joined
- Oct 1, 2023
- Messages
- 1,138
- Points
- 393

Thank you I believe I finally understand
That a good idea, take your time, got the translated manual and the plans. Spread them on the table, have a coffee or a nice whiskey, relax and start. Look always a few steps ahead and starts with a chapter when you understand ‘the why’.I'm setting the model aside and dedicating the next day or so to studying the plans.
A confessions: I walked through the complete manual and plans before I started. Some parts of the beginning have influence on later chapters.
Regards, Peter


