YQ Bluenose Ted R

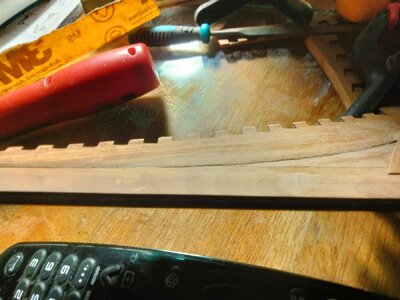
Hi Ted, A=the dark shadow indicates the bevel is still not quite there yet. You should only see a thin line or what I call a knife edge against the deadwood.
B= There should not be a shadow here either, this joint should be flush.


View attachment 434265
Thank you Daniel.
I know. I'm trying to figure out the best way to finish this chamfer with damaging the deadwood.
On arrow B I'm going to have to cut out a bit and glue I a square piece.
 
Hi Ted, A=the dark shadow indicates the bevel is still not quite there yet. You should only see a thin line or what I call a knife edge against the deadwood.
B= There should not be a shadow here either, this joint should be flush.


View attachment 434265
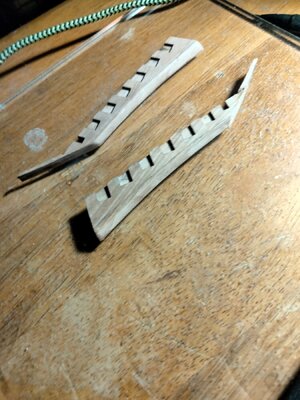
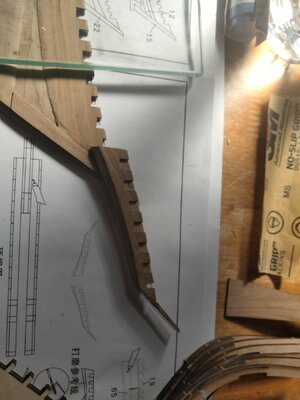
I have to figure out a way to chamfer at "A" with out damaging the deadwood.
I can splice in at "B"
Thanks
 
This being my second model after the Dory and pram exercises from Model Expo; I'm going to use the .6mm brass nails I ordered from dockyard models as treenails. All of the cathedral photos I see in the build log seem cleaner than mine. I'm afraid to over sand the frames and haven't applied any finish. 17103047333915944956187340619641.jpg am I being overly cautious? Should I use a clear satin varnish or polyurethane to protect the wood at this stage?
Ted
 
I have a bunch of .6mm x 10mm brass nails left over fro the Swift build ( approx 75). These being the same diameter as the ones i ordered. I could start treenails on the frames. Do I drill completely through the frames and nail through/then cutoff. Or do I cut the nails down and just drill 1/3 to 1/2 the way through doing both sides separately. I'm really looking forward to this.
 
This being my second model after the Dory and pram exercises from Model Expo; I'm going to use the .6mm brass nails I ordered from dockyard models as treenails. All of the cathedral photos I see in the build log seem cleaner than mine. I'm afraid to over sand the frames and haven't applied any finish. View attachment 434690 am I being overly cautious? Should I use a clear satin varnish or polyurethane to protect the wood at this stage?
Ted
I wouldn't recommend any finish being applied at this stage. It also depends on the finish. Oils, like Danish oil, can only be used if no bonding has to be done afterwards. If you use stains, you can start applying finish to areas which become inaccessible later on in the build. Be ready for touch-up.
 
I have a bunch of .6mm x 10mm brass nails left over fro the Swift build ( approx 75). These being the same diameter as the ones i ordered. I could start treenails on the frames. Do I drill completely through the frames and nail through/then cutoff. Or do I cut the nails down and just drill 1/3 to 1/2 the way through doing both sides separately. I'm really looking forward to this.
I used toothpicks for treenails and tried not to drill through and through; in the thicker frame part stacks I couldn't push the toothpick through and through. With nails it might be different, but you might want to watch the splice locations fwd and aft of the frames.
 
Last edited:
I have a bunch of .6mm x 10mm brass nails left over fro the Swift build ( approx 75). These being the same diameter as the ones i ordered. I could start treenails on the frames. Do I drill completely through the frames and nail through/then cutoff. Or do I cut the nails down and just drill 1/3 to 1/2 the way through doing both sides separately. I'm really looking forward to this.
I suggest you try some experimental treenails on the blanks from the frame pieces. That way you will know exactly what you will have. Glue the blanks up in double fashion and sand them just like the real frames then start your testing.
 
I wouldn't recommend any finish being applied at this stage. It also depends on the finish. Oils, like Danish oil, can only be used if no bonding has to be done afterwards. If you use stains, you can start applying finish to areas which become inaccessible later on in the build. Be ready for touch-up.
Than you, I understand.
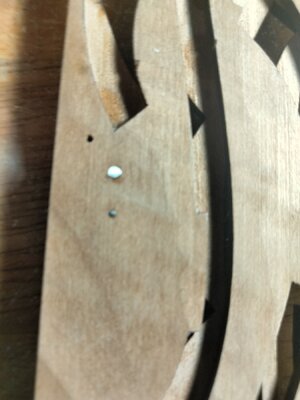
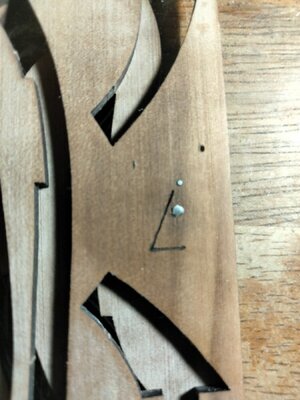
Below is a sample using the .6mm brass nail. The small nail was inserted from the other side and cut off. I believe the large one is ok for the frames but don't know if it won't be too large for the sister keelson or the keelson.
Hope I'm using the correct nomenclature. The small side protruding through would be effective where a small bolt is indicated but barely visible and maybe not worth doing.
I put a coat of Model Expo clear satin poly on the first photo. Put a coat on golden oka. Danish on the second.

17103521764487968887082147290482.jpg

17103522045846378225520795762118.jpg
 
Just learned something. I was burning the glue between frame halves using my battery powered sander.
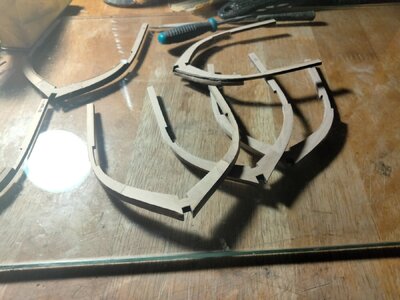
Try to measure from the keel aft most bottom point to a measurable point on these transom parts and compare those with the measurements from the drawing.
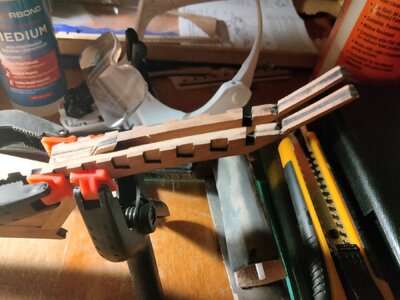
Okay, did the layup on the plans.for the first half. It came out perfect. The braced the second half using square blocks in til glue adhered. Lastly I used the clamps to provide more pressure during curling. Will remeasure as you suggested when it is cured
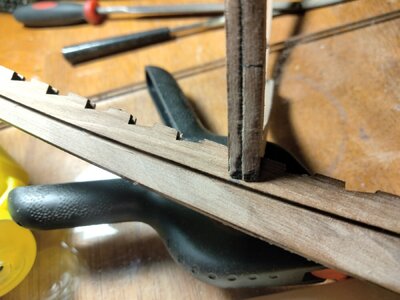
 
Dog gone it. I had bothe stern pieces perfectly aligned. I let the glue set for fifteen minutes and the clamped it to get a stronger glue joint. When I checked A few minutes later it had shifted.
Pulled the second side off and will retry.
This has happened to me before. These clamps must apply a torsional pressure in addition to clamping.
I really don't know how to prevent this. Sorry didn't get a photo prior to removal but it shifted about 3 mm.
Try and drill two holes through and through and use two nails to prevent shifting.
 
Ok, I was hoping for some neat trick to prevent it. I measured the first side and it is accurate to .1mm.
 
Back
Top