YUANQING BLUENOSE - Heinrich

We will accommodate all. I am not prejudiced against anyone or any organization. We have proved that we are real and legitimate and that is all that matters! So get frying those sausages and eggs. And please ... some real toast and marmalade for me! You guys have no idea how much I miss real bread. China does not make bread - they bake cake which they think is bread! ROTF
We could try to ship you some fresh bread, but by the time you get it, it will be like sailors hard tack!
 
Good morning my dear friends. I will try to the best of my ability to explain the jig. On any jig, the main purpose is to support/guide and ensure alignment of most the upper part of the ribs. On a normal-style build, that would require a "high" jig with a proper floor, substantial sides and "roof" section into which the upper parts parts of the ribs will be inserted. Because of the severe curvature of Bluenose's keel which is not a flat or level keel, the normal build-style cannot be used - hence it is built upside down. With the jig placed upside down, the floor lies absolutely flat on working surface and the upper parts of the ribs indeed fit into the slots of the jig until they are flush with the underside - i.e. until they press flat against the working surface (table).

View attachment 197935

All the ribs go into the provided slots of the "upside-down" jig and protrude all the way through the floor section until they press flat against the working surface. The keel at the bow and stern end though, do NOT go into the jig, but are "suspended" above it.

Let us now re-look at the picture @Dematosdg Daniel mentioned, to explain the above drawing more clearly.

View attachment 197936

The black arrows point to where the ribs go through the floor of the building jig and press flat against the table. The two red arrows indicate the bow and stern sections of the keel which are both suspended and do NOT go into the jig.

If we take the above picture and turn it the right way up, it looks like this:

View attachment 197937

Here you can see the fully-supported ribs extending all the way through the floor.

And from another angle:

View attachment 197938

@Kkonrath Kurt, I hope that explains everything.

@Dematosdg Daniel, thank you for your well-considered question! Thumbs up It forced me to have another look at everything and make sure that I pass on the correct information!
As the old song goes " I can see clearly now the rain has gone", great photos and explanation of this style jig and frame build up.
 
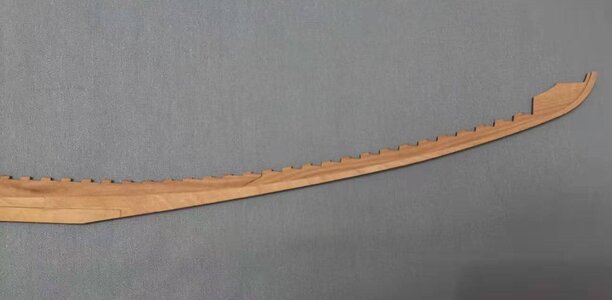
The last part that needed to go on to complete the inner keel assembly was the sternpost of the keel.

Build 28.jpg

Starboard Side

Build 29.jpg

Port Side

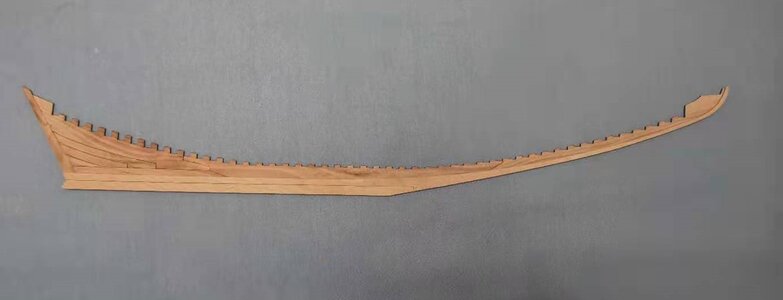
And here is the complete Inner-Keel Assembly

Build 30.jpg

Starboard

Build 31.jpg

Port Side

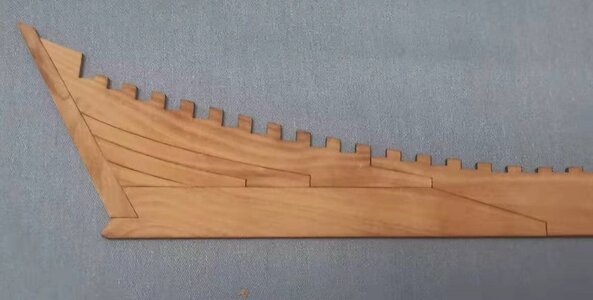
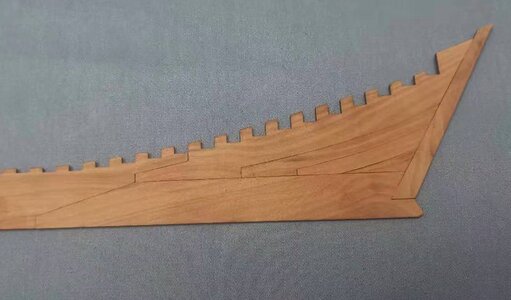
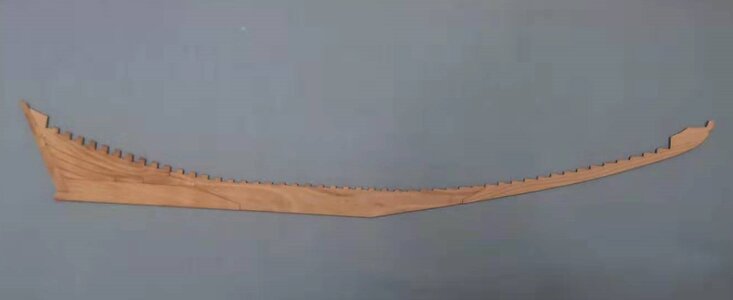
It is hard to believe when looking at this seemingly one-piece of wood, that it actually comprises of 8 different pieces joined together. Viewed normally without macro enlargements, the joints are hair-thin and even in close-ups, you can see how they small they really are.

Without doubt this is the most accurate and cleanest that I have ever built, but all credit for that needs to go the manufacturer - they have done a sterling job. Next up are the keel cheeks our outer sides of the keel, but that will be for next time. Now I have to don my teacher's hat and look at what classes I'm teaching tomorrow!

Thank you all so much for watching and following. Your support has simply been amazing. Thank You!
 
@DonRobinson Hello Don. Remember, only the jig is Sycamore. Everything about the keel is in Pear. The second part of the keel is also Pear, but another kind with a different colour. However, I fully agree on the fact that it looks very good - that keel assembly is turning out wonderful. Let's hope I can keep it up.
 
We will accommodate all. I am not prejudiced against anyone or any organization. We have proved that we are real and legitimate and that is all that matters! So get frying those sausages and eggs. And please ... some real toast and marmalade for me! You guys have no idea how much I miss real bread. China does not make bread - they bake cake which they think is bread! ROTF
Hello Heinrich, Just a thought on your toast, Maybe you should put in a request for a Bread Maker for Christmas, this way you could make your own Bread.
Regards Lawrence
 
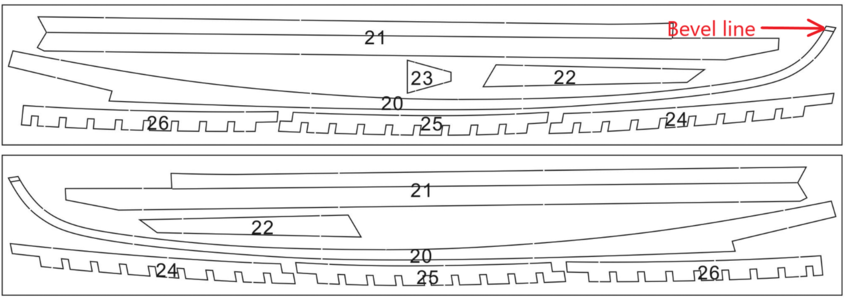
It was @Dean62 Dean who said that he thinks he may be addicted to building. After such a long time when I have just idled along, and with Bluenose being such a wonderful build, I think I can say the same. :) So let's or the start with those outer keels or cheek keels. For the purpose of this post we will use the following inventory drawing and will only concentrate on Parts #21 and #20 on the Starboard side - so we will use the top drawing.

NB! Please note that the line on Part #20 indicates a bevel line. TAKE NOTE!

Untitled.png

I started off by removing Part #21 from the sheet and sanded away all the laser tabs to make sure that it is smooth.

微信图片_20201210171956.jpg

This part needs to aligned to the BOTTOM of the keel and from the STERN! Once, you are happy with the dry-fit, glue, clamp and leave it to dry. The result can be seen in the following picture.

微信图片_20201210202305.jpg

You have to look carefully, but you will notice that the newly attached piece has a slightly different colour (lighter) to it.

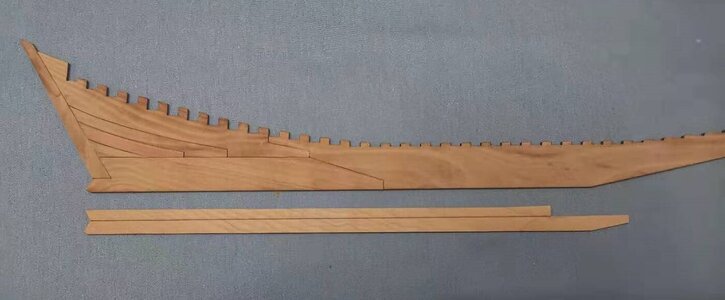
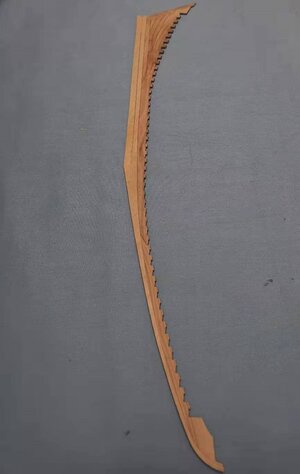
The following picture shows Part #20 removed from the sheet and placed below the keel indicating the position where it will go.

微信图片_20201210171948.jpg

This is now the part that needs to be beveled. TAKE THE UTMOST CARE! This part is very fragile at the tip and you need to exercise the greatest care when beveling it. I used a small diamond file for this purpose. In retrospect - after I had mounted this piece - it is probably a better idea to glue it to the keel first, wait until the glue is properly dry and then bevel it on the keel. This is what I will do on the Port Side.

微信图片_20201210202314.jpg

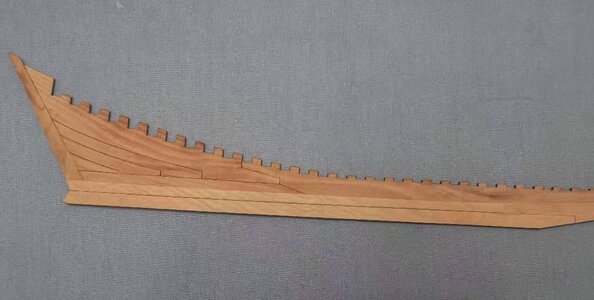
There is Part #20 fitted to the Starboard Side of the keel. This part is obviously at the scarph joint with the already-installed Part #21 and at the bottom of the keel where it just follows the natural curvature of the keel right to the tip.

微信图片_20201210202324.jpg

And that is what the keel looks like with the bottom outer cheek installed on the Starboard Side.

微信图片_20201210205155.jpg

And I leave you with a final shot and a different angle of that GORGEOUS keel! At least this picture gives you a clearer indication of the outer cheek mounted on the centre keel.

Now to all the casual members who may be tempted to think that this build log just features a seemingly endless collection of keel shots, please bear in mind that this build log is also a tutorial for future builders. So yes, I am explaining step-by-step and one thing at a time, but that way I make sure that I give you the best possible advice on how to build your Bluenose.

Now, I am ready for your comments and questions - so go for it!
 
Hello Heinrich, I wish to Congratulate you on Your new Position as Bluenose Moderator, a well earned position, WELL DONE.
Regards Lawrence
Thank you very much Lawrence. It is an honour for me to represent my family here. SOS has been absolutely wonderful in the way that they have supported not only this project and me, but has also become a shrine for free-thinking individuals who cherish the right to exercise their options.
 
@Canoe21 Hello Lawrence. Breadmaker you say? Hmmmm ....
Hi Heinrich,

I guess I’m fortunate to have an in house bread maker. This time of year she makes Pumpkin or Oatmeal Bread. It would probably be best to send you the recipes versus a sample :)

Your progress so far is incredible, the pieces seem to fall together so to speak.

Jan
 
It was @Dean62 Dean who said that he thinks he may be addicted to building. After such a long time when I have just idled along, and with Bluenose being such a wonderful build, I think I can say the same. :) So let's or the start with those outer keels or cheek keels. For the purpose of this post we will use the following inventory drawing and will only concentrate on Parts #21 and #20 on the Starboard side - so we will use the top drawing.

NB! Please note that the line on Part #20 indicates a bevel line. TAKE NOTE!

View attachment 198036

I started off by removing Part #21 from the sheet and sanded away all the laser tabs to make sure that it is smooth.

View attachment 198041

This part needs to aligned to the BOTTOM of the keel and from the STERN! Once, you are happy with the dry-fit, glue, clamp and leave it to dry. The result can be seen in the following picture.

View attachment 198043

You have to look carefully, but you will notice that the newly attached piece has a slightly different colour (lighter) to it.

The following picture shows Part #20 removed from the sheet and placed below the keel indicating the position where it will go.

View attachment 198044

This is now the part that needs to be beveled. TAKE THE UTMOST CARE! This part is very fragile at the tip and you need to exercise the greatest care when beveling it. I used a small diamond file for this purpose. In retrospect - after I had mounted this piece - it is probably a better idea to glue it to the keel first, wait until the glue is properly dry and then bevel it on the keel. This is what I will do on the Port Side.

View attachment 198045

There is Part #20 fitted to the Starboard Side of the keel. This part is obviously at the scarph joint with the already-installed Part #21 and at the bottom of the keel where it just follows the natural curvature of the keel right to the tip.

View attachment 198046

And that is what the keel looks like with the bottom outer cheek installed on the Starboard Side.

View attachment 198047

And I leave you with a final shot and a different angle of that GORGEOUS keel! At least this picture gives you a clearer indication of the outer cheek mounted on the centre keel.

Now to all the casual members who may be tempted to think that this build log just features a seemingly endless collection of keel shots, please bear in mind that this build log is also a tutorial for future builders. So yes, I am explaining step-by-step and one thing at a time, but that way I make sure that I give you the best possible advice on how to build your Bluenose.

Now, I am ready for your comments and questions - so go for it!
My compliments also on your elevation to the post of Bluenose Moderatorship!!
Mike
 
Hello Jan.
Hi Heinrich,

I guess I’m fortunate to have an in house bread maker. This time of year she makes Pumpkin or Oatmeal Bread. It would probably be best to send you the recipes versus a sample :)

Your progress so far is incredible, the pieces seem to fall together so to speak.

Jan
Hello Jan. That Oatbread recipe sounds great! Thumbsup The build is idling along very nicely. I'm not hurrying anything as I spend quite a bit of time studying instructions and interpreting plans.
 
Back
Top