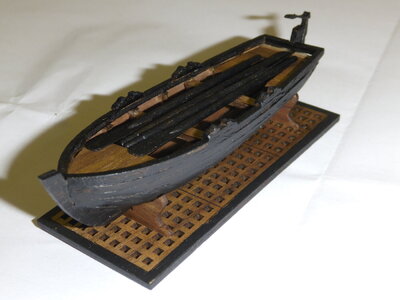
While I was waiting for the LEDs to arrive I started to plank the deck and some other small items. Only the main deck was glued in place at this time. I started from the centre working out on a 4 plank shift. As some of the bulkheads had to be cut down to deck level only the centre half of the deck can be done now. Each decking plank was cut to a length of 82mm the last piece was left long incase l needed some longer planks.
View attachment 205977
The planks where stacked up and clamped to the bench where I ran a Sharpie across the edge. Some of the planks edges marked more than others but overall I was happy with the results.
View attachment 205980
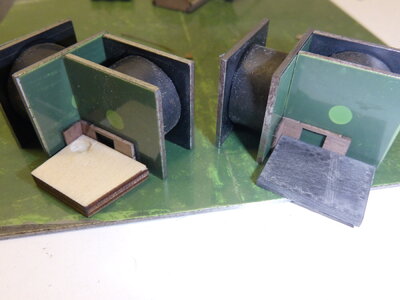
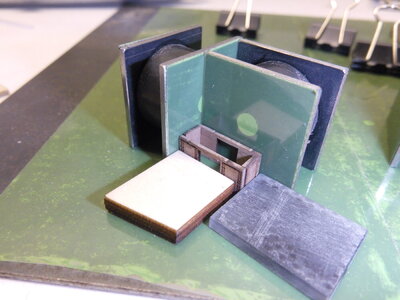
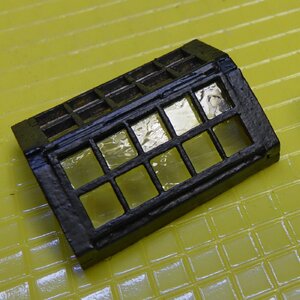
The front of the cabin was assembled and clear plastic placed behind the windows, this has to be installed before the top deck.
View attachment 205982
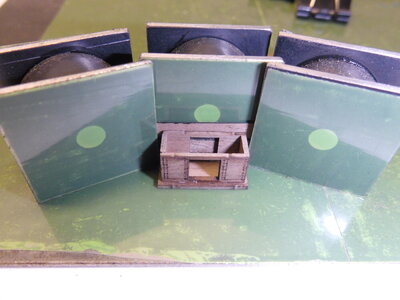
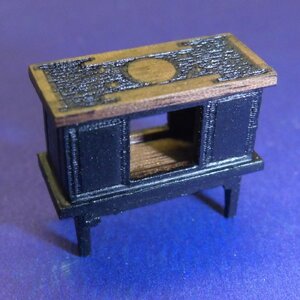
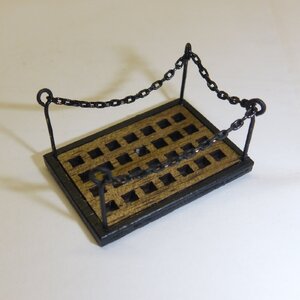
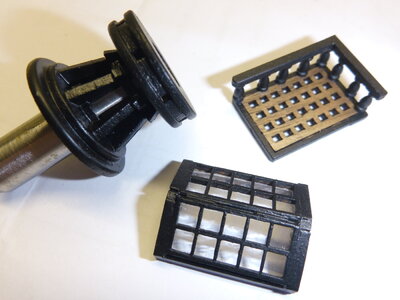
Before removing the these parts I painted the gun supports black.
View attachment 205983
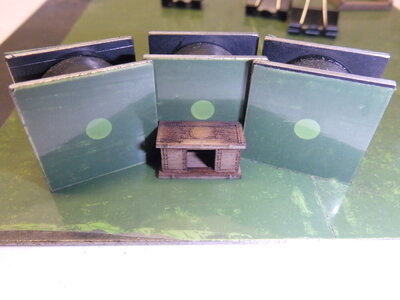
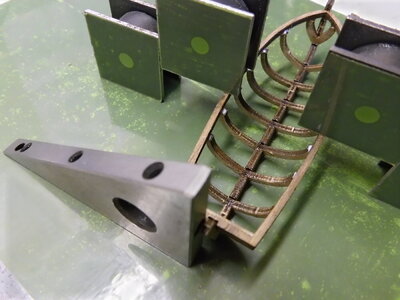
A piece of 12mm Perspex was used to assemble them, I chose Perspex because the glue does not stick to it. Only one has to be glued onto the aft port of part 23 before it's assembled. I found some of the gun ports where close to the frames so it was better to glue them on after the bulwarks where in place.
View attachment 205981
View attachment 205978
After the decks are fitted the bulwarks can be done. Check the alignment with the fore and aft frames. It is very important that part 26 only contacts half of frame 5.
View attachment 205979
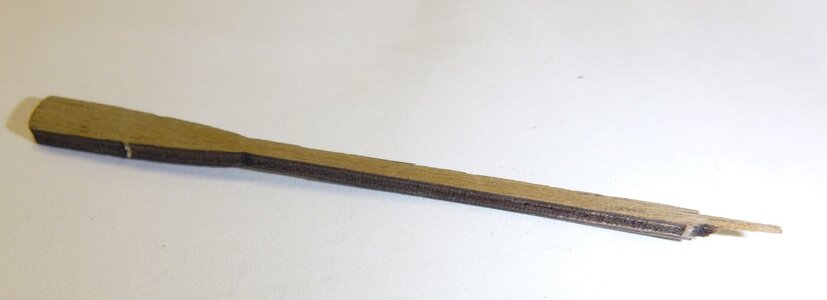
With the bulwarks in place the frames can be cut down and the decking finished. The walnut planks splintered very easily great care had to be taken while trimming around the openings.
View attachment 205988
View attachment 205987
The insides of the bulwarks are now planked , at this stage I gave the decks a couple of coats of polyurethane to protect it during the rest of the build.
