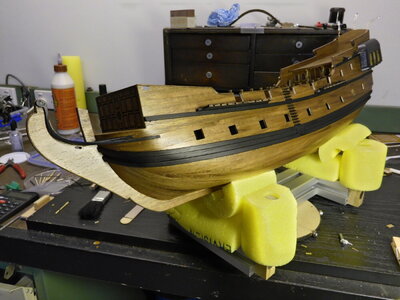
ZHL Black Pearl 2020 Golden Edition [COMPLETED BUILD]

Hello Tony. I think the size of the bell is OK, However, some of the bell parts are oversized, First of all, the 'clapper' is way too big, and the crown is really oversized. BTW, the way this crown designed the bell will not work. Take a look at the typical belfry and parts it made of. You can modify by cutting the crown and replaced with self-made. Also, make your own clapper, much smaller.
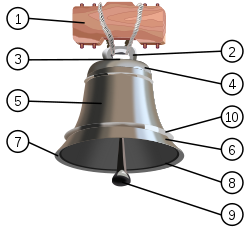
250px-Parts_of_a_Bell.svg.png

Parts of a typical tower bell hung for swinging:
1. Bell yoke or headstock 2. canons, 3. crown, 4. shoulder, 5. waist, 6. sound bow, 7. lip, 8. mouth, 9. clapper, 10. bead line
 
Hello Tony. I think the size of the bell is OK, However, some of the bell parts are oversized, First of all, the 'clapper' is way too big, and the crown is really oversized. BTW, the way this crown designed the bell will not work. Take a look at the typical belfry and parts it made of. You can modify by cutting the crown and replaced with self-made. Also, make your own clapper, much smaller.

View attachment 207713

Parts of a typical tower bell hung for swinging:
1. Bell yoke or headstock 2. canons, 3. crown, 4. shoulder, 5. waist, 6. sound bow, 7. lip, 8. mouth, 9. clapper, 10. bead line
Thanks Jimsky that's very informative, I think it would most probably be easier to modify or replace. I saw on the ZHL website that the bell is one of the new parts for the 2021 edition as my model is one of the first ones I might have got the wrong part.
Tony
 
Thanks Jimsky that's very informative, I think it would most probably be easier to modify or replace. I saw on the ZHL website that the bell is one of the new parts for the 2021 edition as my model is one of the first ones I might have got the wrong part.
Technically it shouldn't be difficult to modify. However, it could be the material this part is made of, and it will be difficult to solder. But...you can always glue the pieces together with CA.
 
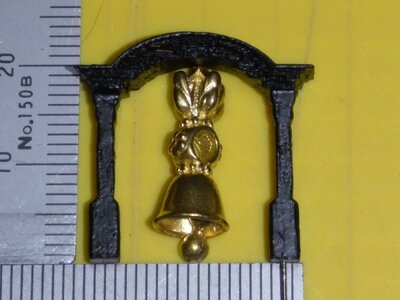
Can anyone help me I've been making up some of the small parts for the deck and found the ships bell looks to big.

View attachment 207712
I think I might have the part from the larger scale model, can anyone who has built either one check the size for me I have tried looking at photos but it's not clear. I can modify the part or message Max at ZHL if it's wrong. Thanks
The one I have in my kit is the same size as what you are showing.
 
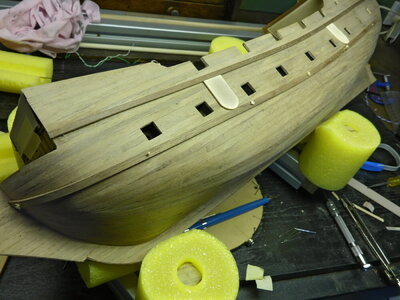
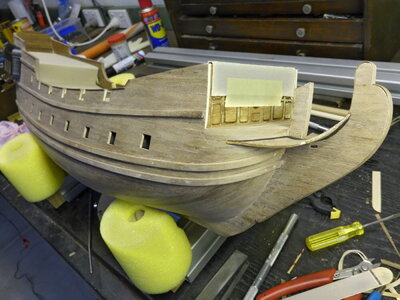
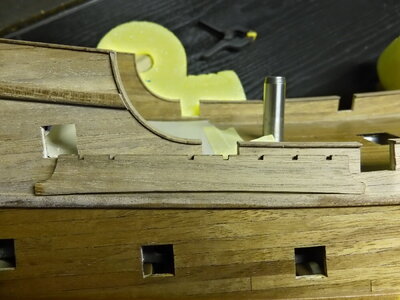
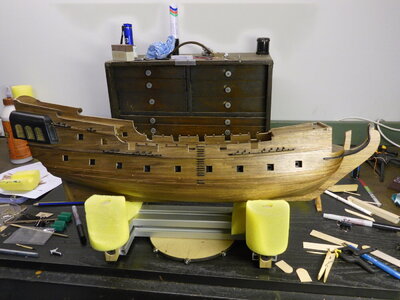
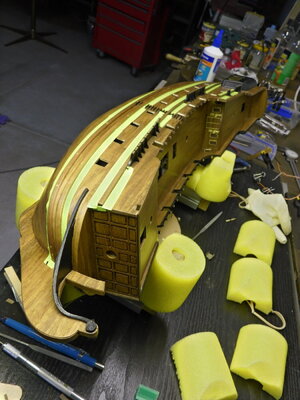
It took longer than I expected to finish and sand down the second planking, next job was fixing the whales. Bending the planks was no problem, I used a piece of copper wire bent to the radius of the hull and use that to find something to bend the plank around. I've used pipes, tins and whatever else I can find. Planks where placed in hot water for two hours before bending and clamped until dry. P1190388.JPG
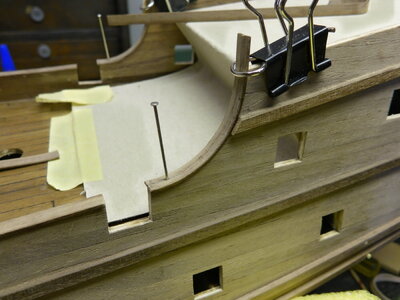
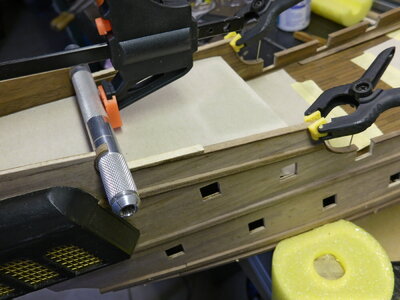
The instructions where no help in positioning the whales so I went with what looked right. Spacers maintained the distance between the two pieces the hard part was clamping them in position. The best method I came up with was to make some 1.5mm wooden dowles to hold it in place while the glue set, real functioning treenails.

P1190390.JPGP1190394.JPG
Lower rails attached.

P1190398 (1).JPG
Getting the hull ready for polyurethane finish I will do the lower part first and the rest after the channels have been fitted.

P1190431.JPG
On the main mast channel one of the deadeyes is in front of a cannon and has to be moved.


P1190494.JPG
P1190495.JPG
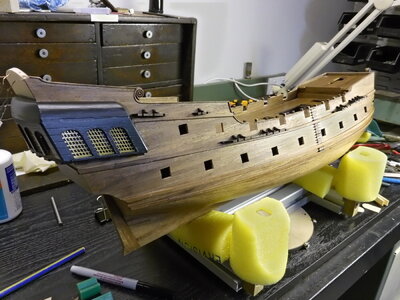
The Pearl is starting to take shape channels have been modified and fitted along with a few other parts.


P1190541.JPGP1190538.JPG
Whales painted black, I kinda wanted to do the whole ship black but I like the way it looks now. If the planks didn't go well I would have gone with the black all over.
 
Looks like master craftsmanship. I'm amazed at your inventive use of clamps and jigs! This is going to be a standard setter.
 
Hi it's time to get the rudder attached first I checked some build logs then come up with my method.

P1190497.JPG
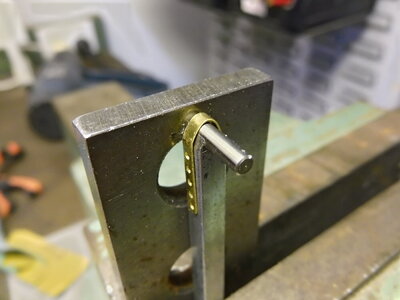
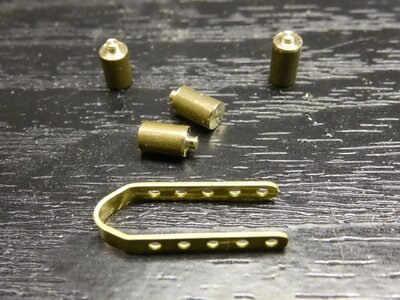
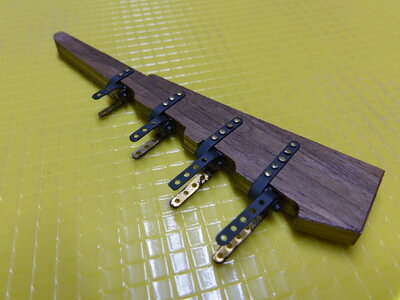
First I made a jig from 5mm square steel and a 3mm dowel pin to bend the hinge around. Care must be taken to insure the nail holes are past the rudder.

P1190503~2.JPG
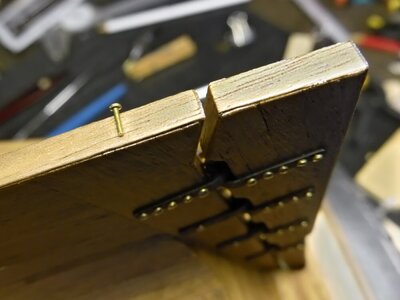
The hinges have been bent slightly off centre so the nail holes do not line up exactly and the nails will not hit one another. Next I made some 3mm pins.

P1190511.JPG
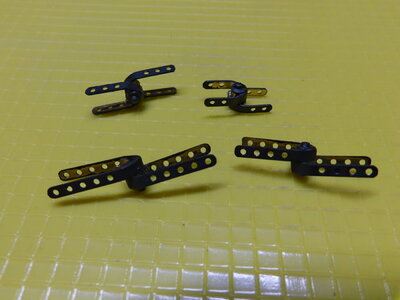
AS I didn't want the rudder to turn I glued the parts together with epoxy resin and painted them black.

P1190517.JPG
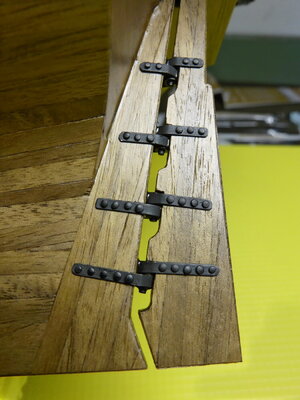
Rudder hinges fixed first.

P1190525~2.JPG
Then attached to the stern post all nails have been cut down to 4mm.

P1190529.JPG
Job finished
P1190532~2.JPG
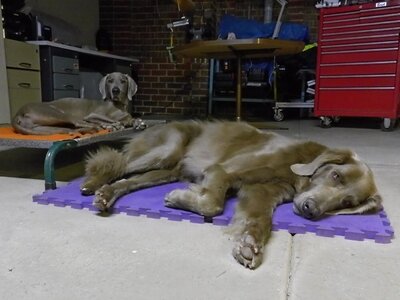
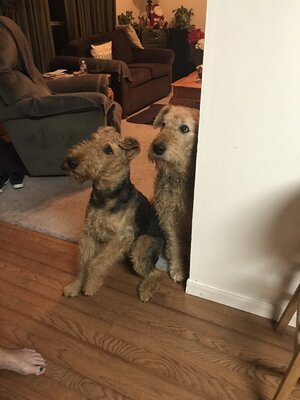
Meet the rest of the crew Nelson front and Duke back they always like to come down to the shipyard and keep an eye on me.
 
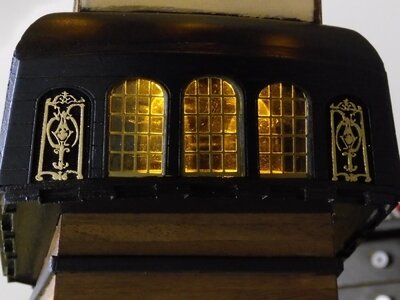
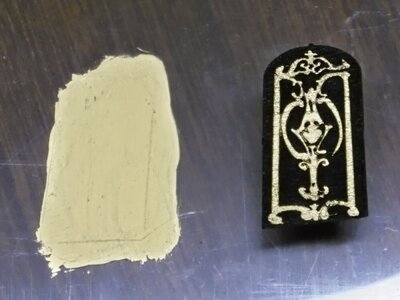
Today I noticed the windows in the captain's cabin where getting dusty on the inside so it's time to finish it by installing the two shutters on ether end. The reason this had not been done was the gold pattern needed painting and it looked fiddly.


P1190587~2.JPG
After cleaning the inside of the windows I was thinking about an easy way to do this and in the end it took less than a minute to do.


P1190559~2.JPG
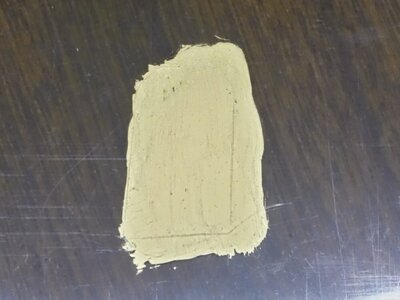
First I marked the shape of the sutter on a piece of plastic then painted it gold.

P1190560~2.JPG
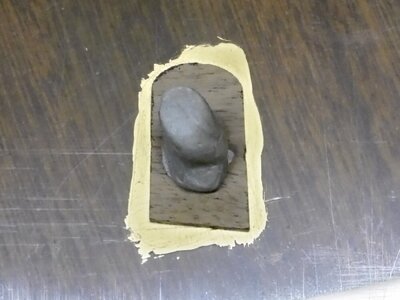
Then placed the shutter on top of the painted surface and lightly push down.

P1190561~2.JPG
Job done, if I knew it was going to be that easy I would have done it sooner.
 
Wow...that really worked...thanks for sharing the technique@Tony H...I have struggled with doing that delicate detail work freehand and it never turned out well.
 
Wow...that really worked...thanks for sharing the technique@Tony H...I have struggled with doing that delicate detail work freehand and it never turned out well.
Thanks it's the first time I've tried painting like this it saved me a lot of time. I am working my way through the deck fittings when they are all completed I'll start fitting them in place. I'm still trying to work out the best order to complete the hull without damaging it.
 
Thanks it's the first time I've tried painting like this it saved me a lot of time. I am working my way through the deck fittings when they are all completed I'll start fitting them in place. I'm still trying to work out the best order to complete the hull without damaging it.
Nice technique. I will have to keep this in mind.
 
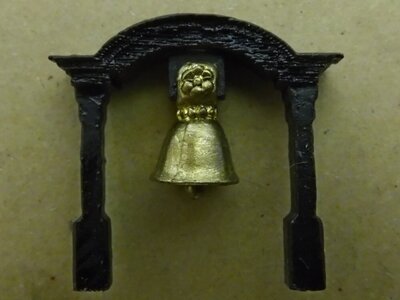
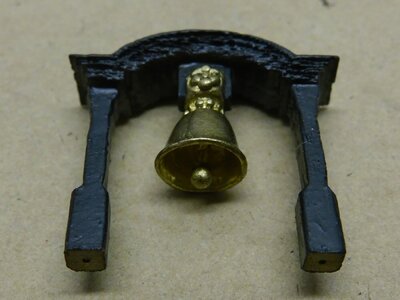
Back to the shipyard this afternoon and set about fixing up the ships bell.

P1190556~2.JPG
The supplied one was to big for the stand and had to be modified.

P1190636~2.JPG
This is how I modified the the bell, first I cut off the crown and reshaped the pivot hole so it would fit on a piece of 2*3.5mm walnut which was fitted to the top of the stand.

P1190637~2.JPG
Next the clapper was removed and a smaller one installed, this is made from a brass pin dipped in epoxy resin and formed into a small ball. Finally the bell was painted to look more like brass as I didn't like the original finish.

Overall I think it came up quite well I have been looking at photos of other BPs to see what the bells looked like but couldn't find a clear one, I'll have to see the movie again sometime.
 
Back to the shipyard this afternoon and set about fixing up the ships bell.

View attachment 213471
The supplied one was to big for the stand and had to be modified.

View attachment 213472
This is how I modified the the bell, first I cut off the crown and reshaped the pivot hole so it would fit on a piece of 2*3.5mm walnut which was fitted to the top of the stand.

View attachment 213473
Next the clapper was removed and a smaller one installed, this is made from a brass pin dipped in epoxy resin and formed into a small ball. Finally the bell was painted to look more like brass as I didn't like the original finish.

Overall I think it came up quite well I have been looking at photos of other BPs to see what the bells looked like but couldn't find a clear one, I'll have to see the movie again sometime.
Excellent modification. I think I will try something similar when I get there.
 
Back
Top