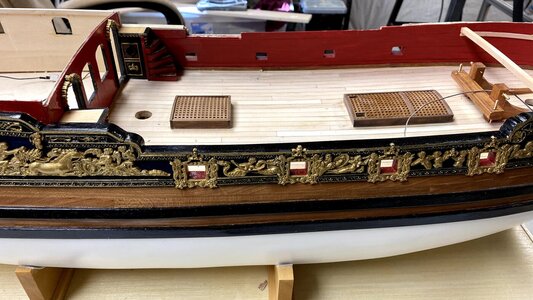
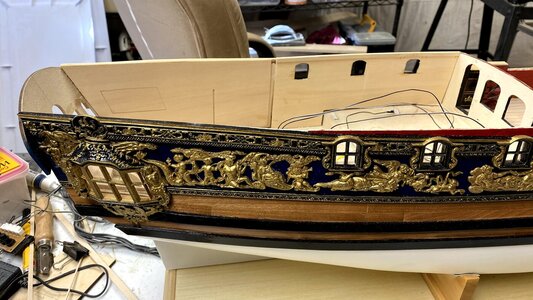
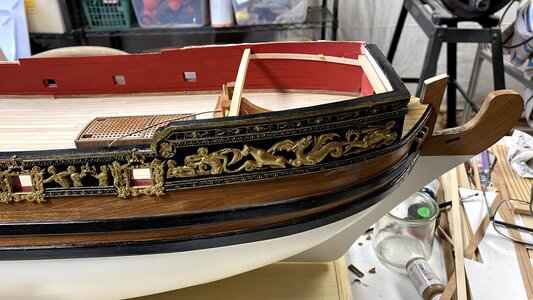
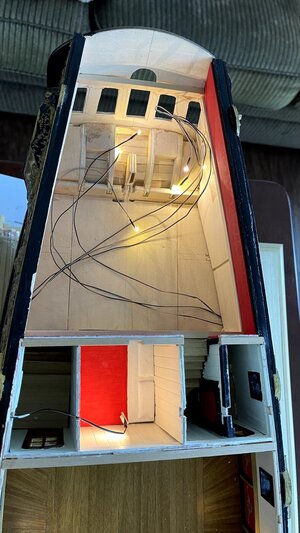
ZHL Royal Caroline

I decided to try an idea I had.
Cool idea Bob. I have used super glue (CA) as a seam filler on plastic models for years. In-fact it can be sanded so smooth as to look like glass. I have even used it to create glass lenses for wing tip lights on aircraft. But you cannot allow the CA to cure overnight as it will become too hard to sand... sanding needs to start just a few minutes after the glue has set. In this way, it remains somewhat soft (believe it or not). Another trick is, after squirting the CA into to the seam, dusting the glue with a coating of baking soda. This will create a chemical reaction that will instantly cure the glue and keep it soft enough for sanding.

Super glue (CA) is a magical thing but takes some experimenting to figure out all the intricacies for use.
 
Always good advice Bob - thank you. However, my issue is not any gaps, It is reaching that sweet spot between a painted hull that one can see has been planked with wood (in other words, maintaining the individual plank profiling) but at the same time getting it smooth as possible. (Nut not so smooth that it looks like a glass reinforced hull).
That's oh so true, and not easy to achieve. On the starboard side, I think it looks better than the port side. You can still see the outline of a lot of the planks. If the wood had been thicker, I would have beveled the edges to make the individual planks stand out but this thin stuff, which measures only .020" thick, just isn't thick enough to do so. It's somewhat of a compromise which is why I chose a satin paint. I plan to lightly sand it out with 400 grit sandpaper to lighten the look a bit more.

Bob
 
Hi Bob. Your post are my staple diet? What happened - you are awfully quiet. Is everything OK?
 
Group,

I've been working on the ZHL Royal Caroline for over a year now. I didn't take a lot of photos but here are a few of my more recent ones.

Right now I'm still detailing the back two great cabins. The forward one is the dining room and the aft one is the bedroom. I've been following the Anatomy of the Ship plans and duplicating the parquet floors for both rooms. This first one is the parquet floor in the dining room. The rug was drawn using Affinity Photo and took months to complete. It is printed on matt photo paper.
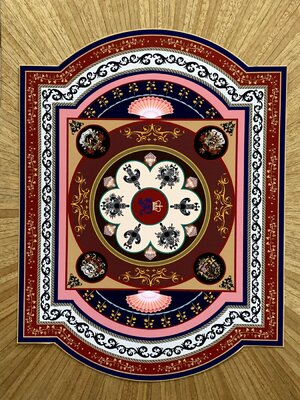
IMG_0777.jpg
The next set of photos show my boxwood carvings painted gold.
IMG_0860.jpgIMG_0862.jpgIMG_0861.jpg
IMG_0863.jpg
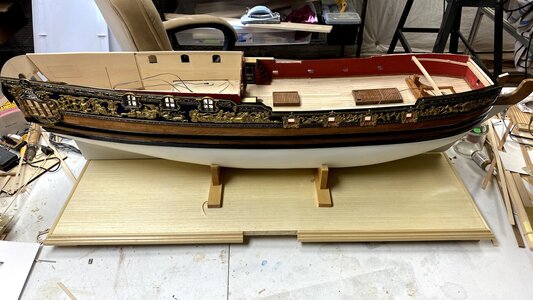
This is a photo of the main deck. I've built a few of the cannons, and have lights installed but not yet attached to the forecastle beams.
IMG_1005.jpg
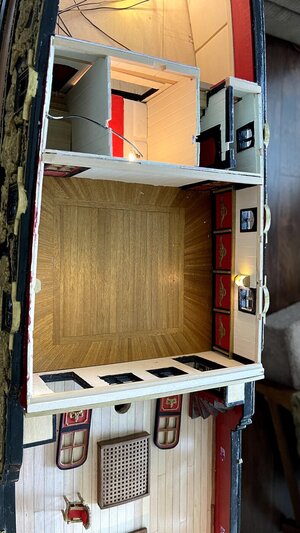
This photo shows the dining room. I've made a lantern attached to the wall with light. The rug I drew has been printed but I don't want to permanently attach it until I'm finished with all interior work for fear that I might get paint or glue on it.
IMG_1006.jpg
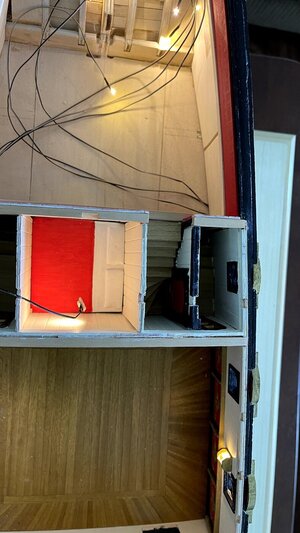
Aft of the dining room is the vestibule with the king's bed and the stairs leading down to the lower bedroom floor. I'm still working on that room and working on the parquet floor planking.
IMG_1007.jpg
The light shown over the bed will be hidden underneath a beam with a carline centered over the bed. I've also completed the spiral staircase to the right of the bed in this photo but it's rather dark so you can't really see it.
The last photo shows the bedroom which still has a lot of work to do.IMG_1008.jpg
Three of the lights you see will go in that room and three others will go in the three lanterns on the stern.

It's a work in progress. I've drawn the various rugs in that room based on the Anatomy of the Ship plans but haven't printed them out yet. They're just as detailed as the one in the great cabin.

There's still so many little things I have to do on the interior and I've been sidetracked lately with other things but I do hope to get back to work on the model real soon. I'll post more photos in the future as my build progresses.

Take care,

Bob Hunt
 
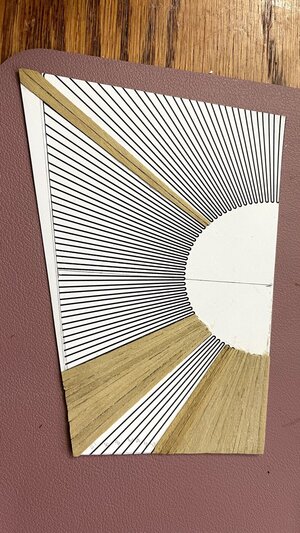
Thanks guys. Here's a new photo showing how I plank the parquet floor for the bedroom. I first used Affinity Photo (which I think is better than Photoshop and a heck of a lot cheaper) to draw the planking layout using some special tools in the application. Then I printed it out on cardstock and just plank over it with the deck planking that came in the kit.
IMG_1009.jpg
For this floor, I had to cut it in half because there was no other way to get it into the model. I first made a paper template that fits the deck perfectly, then used the paper template to make the cardstock version. I sized it in Affinity Photo to the precise dimensions I need and printed it out.

Here's a photo of the aft bedroom floor rugs that I created in Affinity photo.
Aft Room Floor.jpg
Of course it will have to be trimmed to match the template I created shown above. Creating these pictures takes a ton of time. They consist of many different layers and a lot of the things shown in the photo are drawings and such that I found on the web and integrated into the final drawing. The colored areas will be printed out on matt photo paper and glued to the finished floor later on.

Bob
 
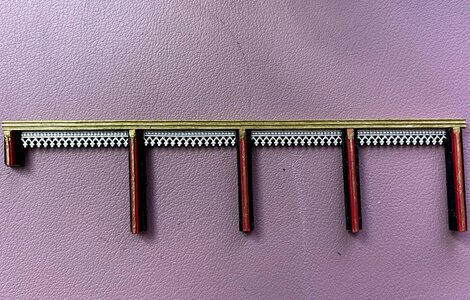
Just a quick update. I'm still plugging away on the aft great room. Got most of the stern transom area finished and have been working on the walls of that room. Trying to make them a little fancier than the dining room walls. Here's a photo of the trim work that will go on the wall. The wall itself is painted red in the lower half and beige in the upper half. The trim will cover the seam of the two colors.

I purchased some sterling silver trimwork that is installed between the supporting columns. The columns are black with red and gold mouldinigs laid against a black background strip for contrast.
IMG_1014.jpg

There will be some additional cartouche pieces between the supporting columns also purchased from a jewelry accessory company for people who make jewelry. Before I can install this, I have to finish the parquet floor which I've been working on little by little for quite some time. It will probably take me several more weeks to finish the floor and install it before I can finish up these wall trimming pieces. It's slow going when I have so many other things to do on a daily basis like honey-do projects, walking the dog, getting groceries, and dealing with cicadas.

Bob
 
Quick question Bob and forgive me it is a stupid one. How does one gain access to the King's Bedroom. To me it looks as if the bed occupies the whole floor space and I don't see any door leading into the room?
 
Quick question Bob and forgive me it is a stupid one. How does one gain access to the King's Bedroom. To me it looks as if the bed occupies the whole floor space and I don't see any door leading into the room?
On the port side the vestibule area between the dining room and the bedroom has stairs that lead down. There's a door just inside the vestibule that leads to a spiral staircase which leads up to the quarterdeck. On the starboard side, there's another set of stairs that lead down and into the bedroom. There's a photo above that shows this area between the two rooms.

Take care,

Bob
 
Back
Top