- Joined
- Oct 1, 2023
- Messages
- 2,007
- Points
- 488

 |
As a way to introduce our brass coins to the community, we will raffle off a free coin during the month of August. Follow link ABOVE for instructions for entering. |
 |
 |
The beloved Ships in Scale Magazine is back and charting a new course for 2026! Discover new skills, new techniques, and new inspirations in every issue. NOTE THAT OUR FIRST ISSUE WILL BE JAN/FEB 2026 |
 |


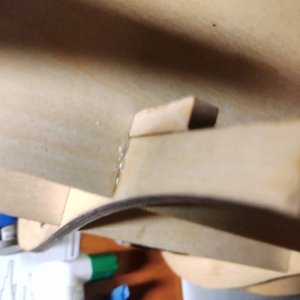


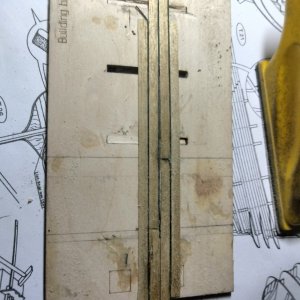
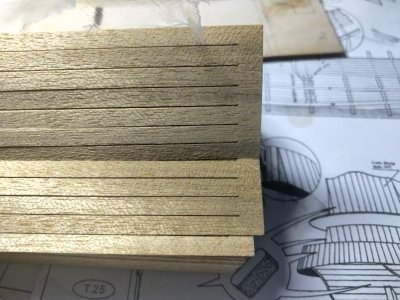

I think I would try some stain darker than the darkest area on the wood. Let it dry and put on some sanding sealer. Of course test it on a scrap piece or the back of some wood first.These planks are yellowish and uneven.
They are more even after sanding with 400 grit. I haven't got any idea how to finish them.View attachment 554187

Some of the blotchiness seems to be oxidation, some isn't.I think I would try some stain darker than the darkest area on the wood. Let it dry and put on some sanding sealer. Of course test it on a scrap piece or the back of some wood first.
Rob

I am glad the stain worked. Yes I do believe some sanding sealer would help with bleed through of CA, but it may also affect how well the cement works as an adhesive.Good suggestion @Rob444. I gave a stick a coat of Minwax Golden Pecan and it looks great.View attachment 554218

Thank you. I'm a better builder than finisher. What I'm after is a polished f finish on the wood. Not matte or semi gloss but more of a hand polished furniture effectI am glad the stain worked. Yes I do believe some sanding sealer would help with bleed through of CA, but it may also affect how well the cement works as an adhesive.
Rob
After you stain and let it dry well perhaps gloss wipe on poly would do the trick? There are some you tubes videos that may be of helpThank you. I'm a better builder than finisher. What I'm after is a polished f finish on the wood. Not matte or semi gloss but more of a hand polished furniture effect


Thank you,After you stain and let it dry well perhaps gloss wipe on poly would do the trick? There are some you tubes videos that may be of help

Varnishing Videos
A handful of videos looking at varnishing products and projects that I have done over the years. For a full in depth tutorial of the varnishing process, take...www.youtube.com
Rob


