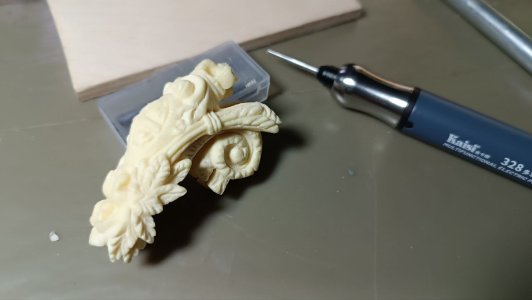
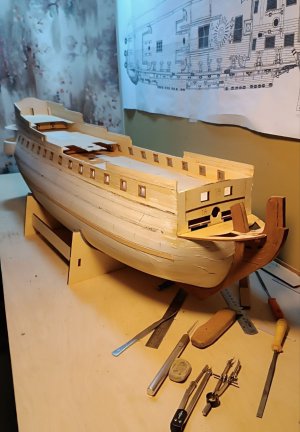
Hello. I'm new to this site. I'm from Russia, so I apologize in advance for my English, but Google Translate is helping me. If anything, I apologize for the mistakes, but this post on this site is a bit unusual for me, especially for the first time.I want to share my build of this rather popular kit from China. I turned 62 in August, and this set was a kind of birthday present from my wife and daughter. In my youth, I was interested in ship modeling, but as I got older, I had less and less time for it. I haven't done this in twenty years, so I decided to try again. I came across this website when I was looking for information about this model. I'm putting it together now, and this is what it looks like. But first things first.
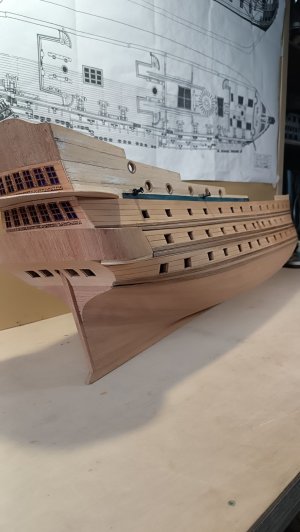
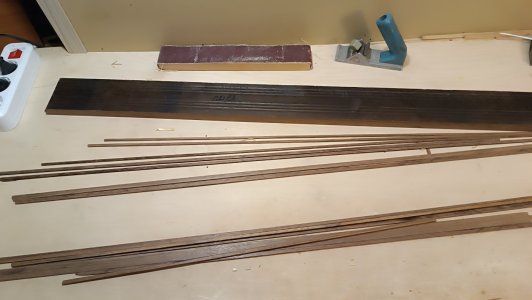
I ordered a kit from China through a Russian marketplace. It cost 185 dollars with delivery at the current exchange rate. They were delivered to our Upper Volga region quite quickly, in a little less than a month. Immediately, I purchased pink pear and sapele boards for the exterior cladding, as well as a white pear for the deck, which cost me another $70.
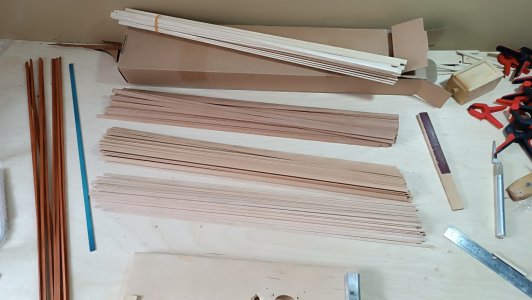
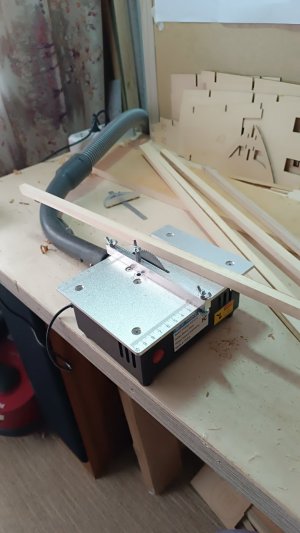
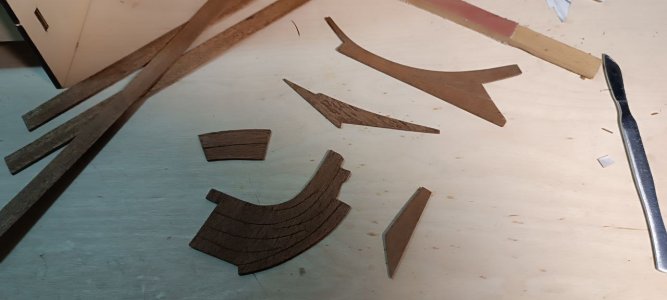
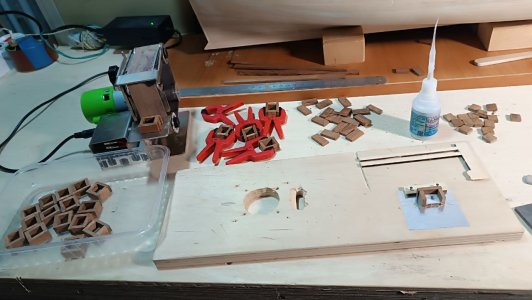
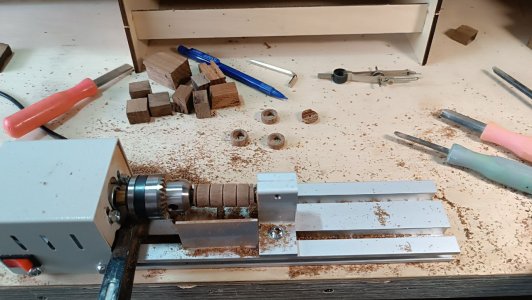
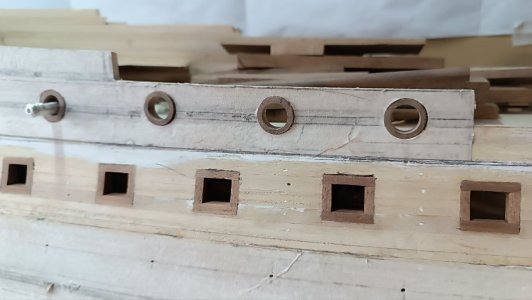
For the barkhouts, I sawed dark walnut planks from my reserves.
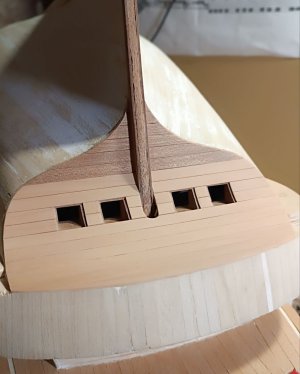
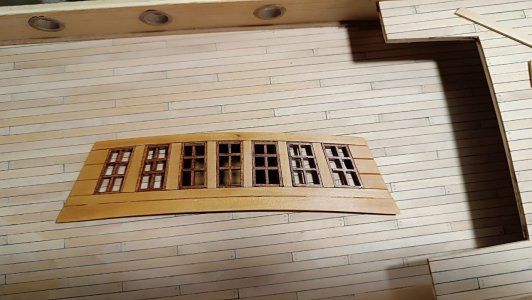
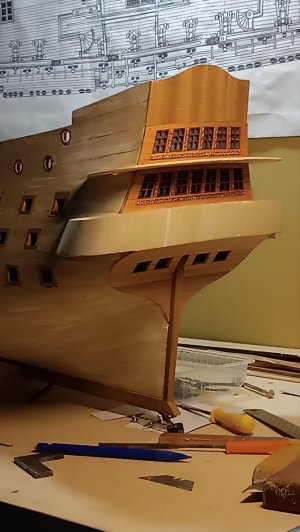
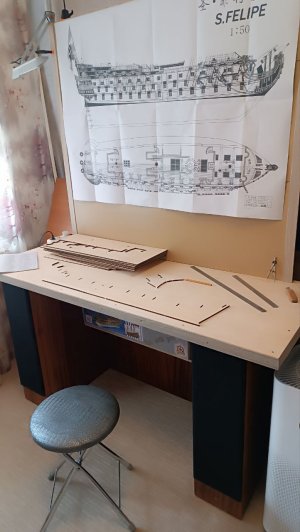
I have experience building models from scratch, not from kits. Such instructions turned out to be of little use to me, especially since they were very schematic and in Chinese. The drawing served as a kind of "bible for assembly.And, of course, I had to prepare a new workbench first; I had never built sailboat models of this scale before. The frame was assembled with almost no hitches, but we had to raise the beam line at the stern a little; the Chinese made a small mistake in some details, which greatly affects the design of the stern galleries.
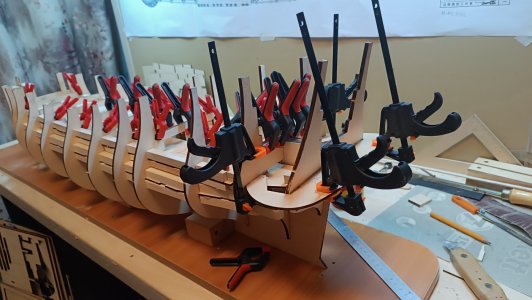
I also made linden bosses for the bow and filled the deck with linden slats for installing half-pillows, and painted everything black.
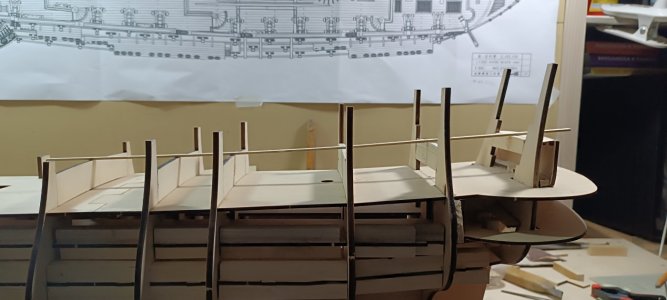
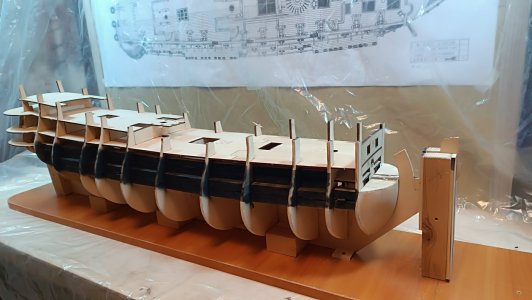
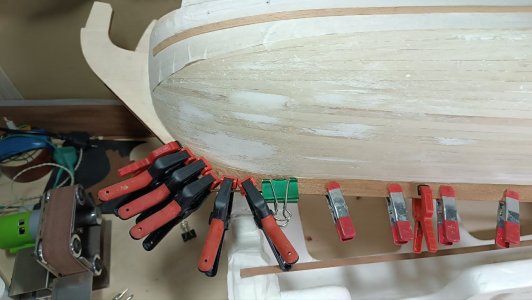
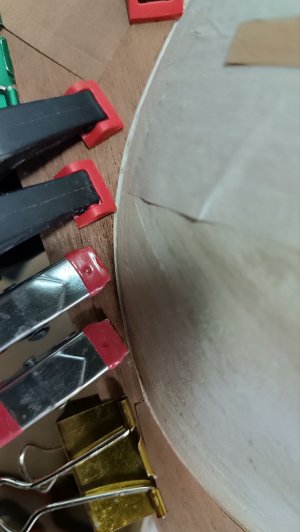
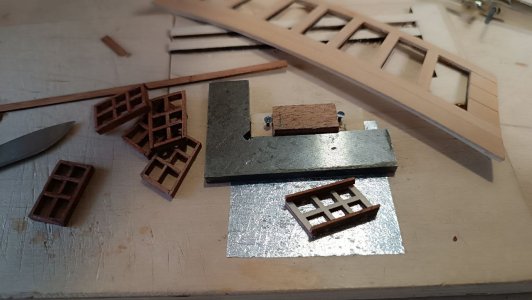
There were no problems with the roughing. However, I still haven't decided on the type of wood. It's a pity that it's not a lime tree, but unlike us, there doesn't seem to be much of it in China. The material that came in the kit is a bit fragile, but it's easy to work with — the main thing is not to sand it to holes.But before proceeding with the black plating, it is necessary to install the finishing trim and doors on both bulkheads. Otherwise, you won't be able to get to them later.
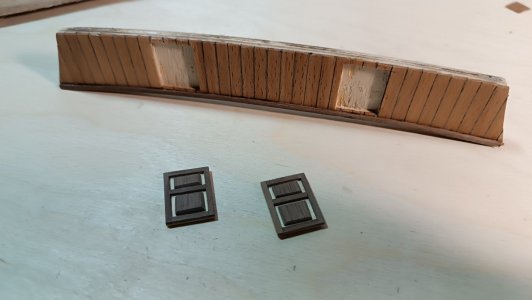
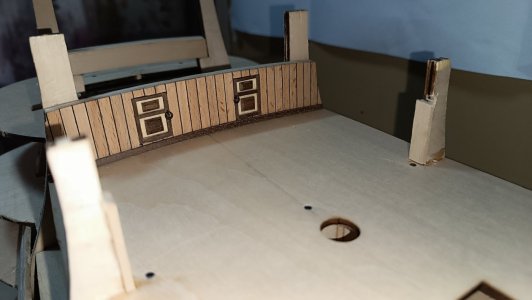
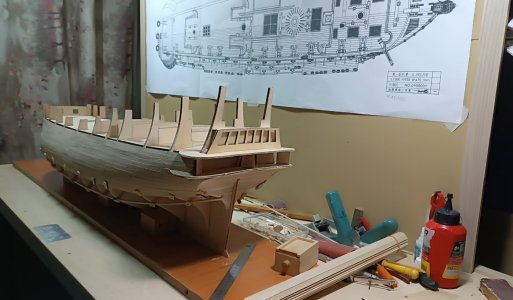
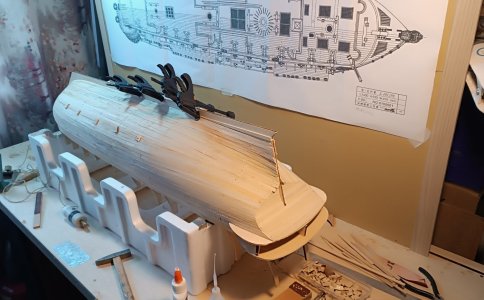
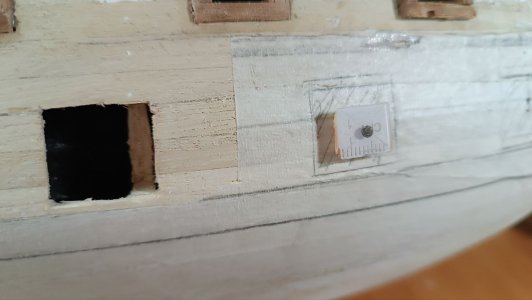
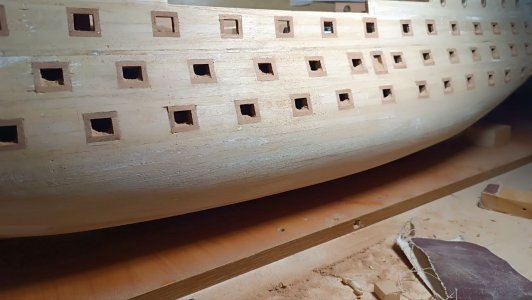
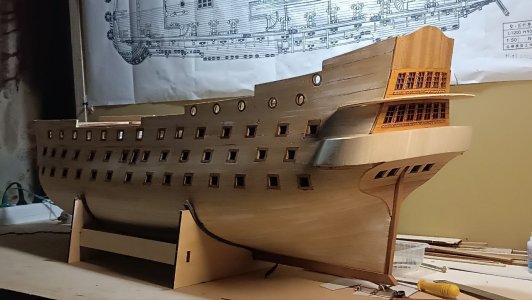
Then I started laying the deck deck, but before that I marked out a place in the hull for gun ports and slats. I took all the dimensions from the drawing; the template from the set was not used, as it slightly does not match the original.
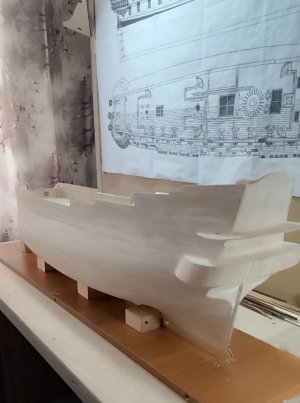
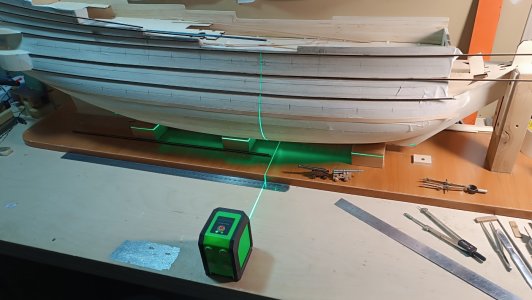
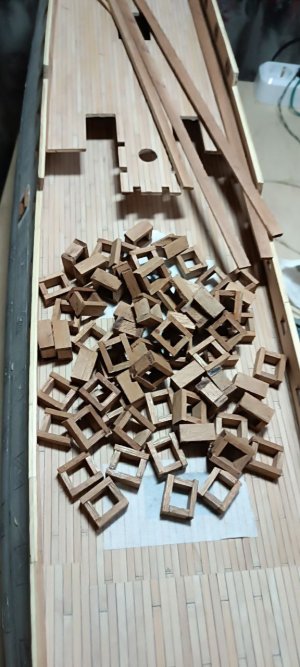
I also pre-installed the gun port racks on the upper deck.
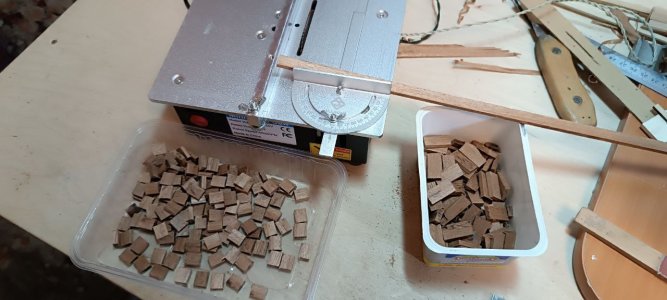
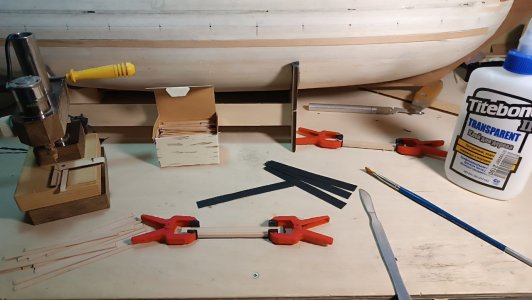
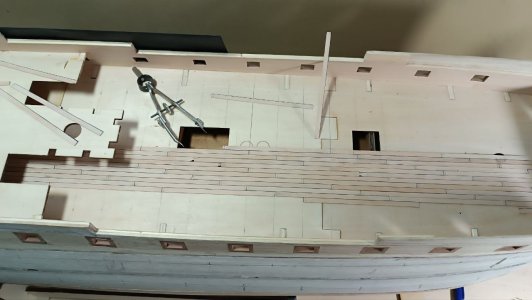
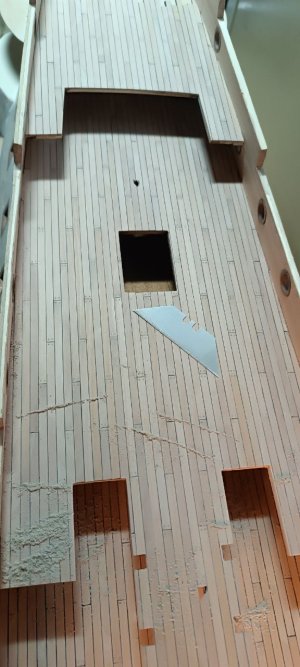
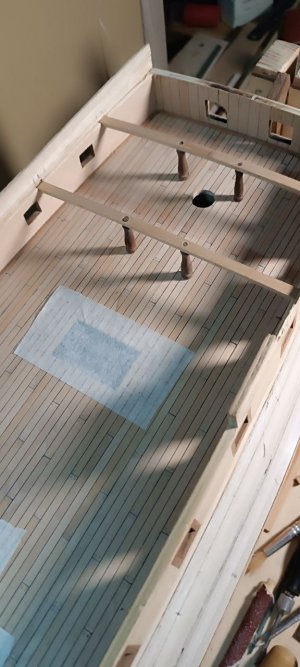
For the flooring, I used light pear planks with a thickness of 1 mm and a length of 4 mm. The length of the board was 100 mm, although 120 mm would be more accurate. I laid them in three boards with a pitch of 25 mm. I pre-modeled the sheets and unpacked the joints, and then laid them. Birch toothpicks were used as dowels, and thin black drawing paper was used for joints.
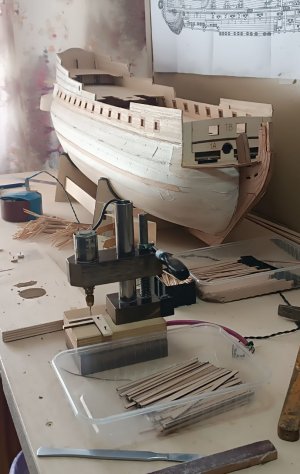
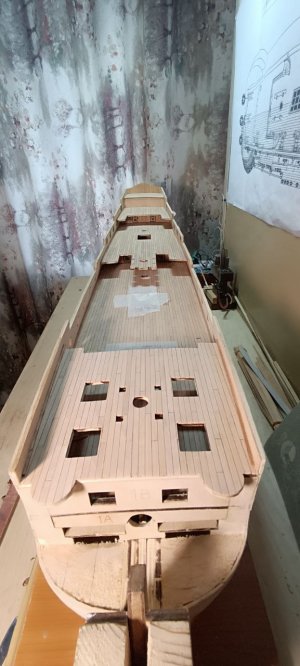
I think that's enough for today. To be continued. If you have any questions, ask, and I'll try to answer them in as much detail as possible.
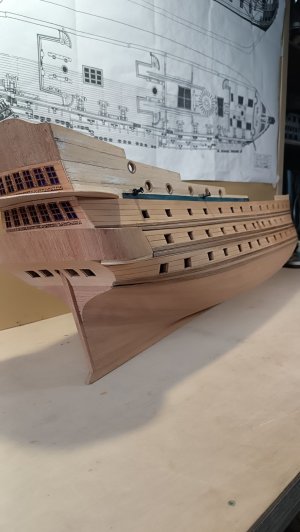

I ordered a kit from China through a Russian marketplace. It cost 185 dollars with delivery at the current exchange rate. They were delivered to our Upper Volga region quite quickly, in a little less than a month. Immediately, I purchased pink pear and sapele boards for the exterior cladding, as well as a white pear for the deck, which cost me another $70.

For the barkhouts, I sawed dark walnut planks from my reserves.

I have experience building models from scratch, not from kits. Such instructions turned out to be of little use to me, especially since they were very schematic and in Chinese. The drawing served as a kind of "bible for assembly.And, of course, I had to prepare a new workbench first; I had never built sailboat models of this scale before. The frame was assembled with almost no hitches, but we had to raise the beam line at the stern a little; the Chinese made a small mistake in some details, which greatly affects the design of the stern galleries.


I also made linden bosses for the bow and filled the deck with linden slats for installing half-pillows, and painted everything black.


There were no problems with the roughing. However, I still haven't decided on the type of wood. It's a pity that it's not a lime tree, but unlike us, there doesn't seem to be much of it in China. The material that came in the kit is a bit fragile, but it's easy to work with — the main thing is not to sand it to holes.But before proceeding with the black plating, it is necessary to install the finishing trim and doors on both bulkheads. Otherwise, you won't be able to get to them later.


Then I started laying the deck deck, but before that I marked out a place in the hull for gun ports and slats. I took all the dimensions from the drawing; the template from the set was not used, as it slightly does not match the original.


I also pre-installed the gun port racks on the upper deck.


For the flooring, I used light pear planks with a thickness of 1 mm and a length of 4 mm. The length of the board was 100 mm, although 120 mm would be more accurate. I laid them in three boards with a pitch of 25 mm. I pre-modeled the sheets and unpacked the joints, and then laid them. Birch toothpicks were used as dowels, and thin black drawing paper was used for joints.


I think that's enough for today. To be continued. If you have any questions, ask, and I'll try to answer them in as much detail as possible.


Last edited:


