Vasa - 1:65 DeAgostini [COMPLETED BUILD]

Sometimes I surprise me as well - and not always in a good direction.
BTW I am really enjoying your BN build. The POF is fascinating and your woodworking skills really shine in that environment.
Thanks Paul. My comment was based on this being your first ship! You wouldn’t know it by looking at it! You’ll be an expert by your second ship...lol. ;)
 
This week I learned how good many of you are at this hobby.

First, a confession. I love looking at other build logs and I often find myself marveling at the artistry I see. Some of the work clearly reflects years of experience that I can never hope to replicate. Other times (here's the confession part) I see someone else's work and I think to myself: Self, you could do that. In fact, you might even be able to do this or that a bit better...

WRONG!

I turned my attention this week to some of the bits and baubles that are such an important part of the overall impression of the ship. Well, working on these little things in wood is harder than it looks. Way harder. As in: throw that one in the trash bin and start over harder. As in: I think I'll douse the thing with kerosene and take up another hobby harder.

And yet, in an odd way, so much fun that I just kept plugging away until I got it right (or at least as right as I'm going to get it).

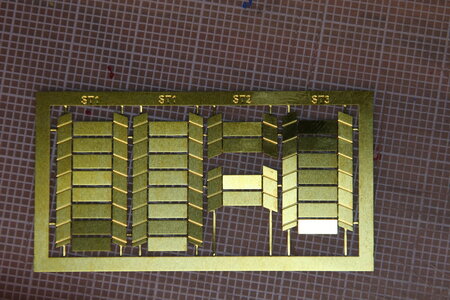
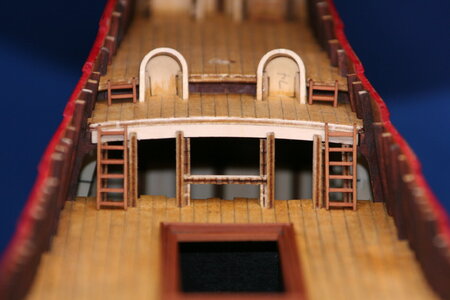
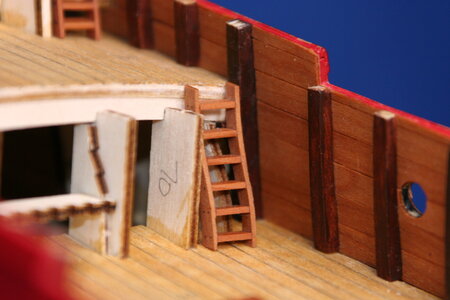
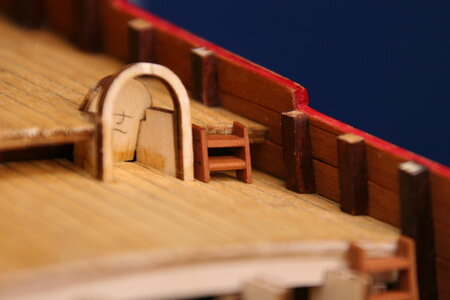
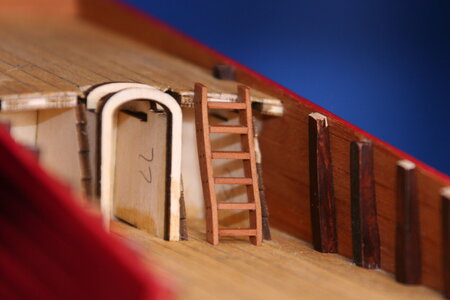
First up: ladders. The kit supplies a photo etched brass sheet that I was supposed to bend into a ladder shape, install wooden treads, and then paint brown. Thanks for nothing...

IMG_6581.JPG

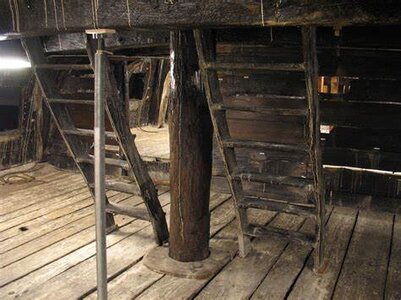
After a full day of work (yes, you read that correctly) I managed to build five ladders (two of which had only two steps). First, the goal:

OIP.jpg R0e138beb5d6c978c3d28f71a86fb3153.jpg

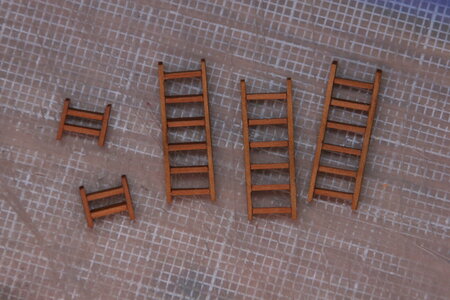
Here is what I ended up with (did I mention I spent an entire day on these?):

IMG_6571.JPG

IMG_6574.JPG

IMG_6576.JPG

IMG_6577.JPG

IMG_6578.JPG

I know what you're thinking: I bet I could do those better... :p.

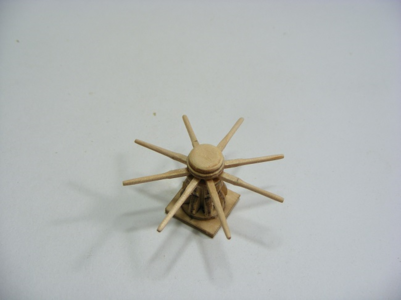
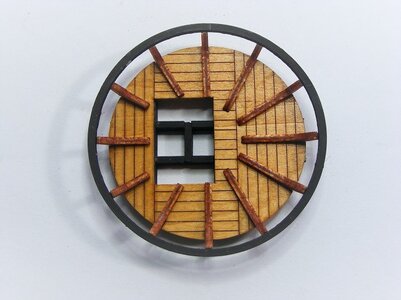
Next, I decided to build the capstan. The kit provided a nice capstan but in my research I learned that it was not correct for the early 1600's (clearly it came from the capstan parts bin at the manufacturer). Here is the kit version from the official build:

1617414648744.png

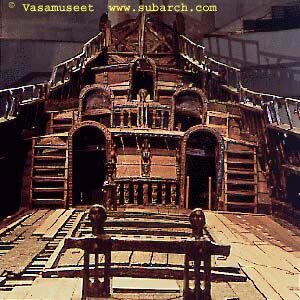
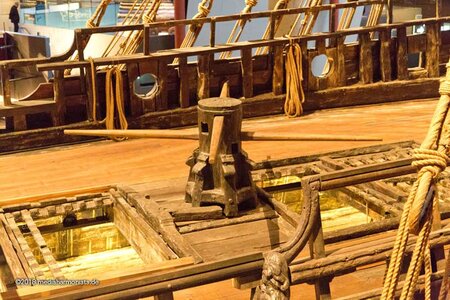
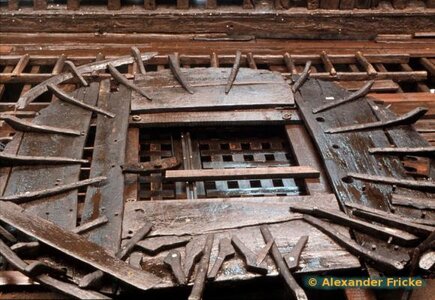
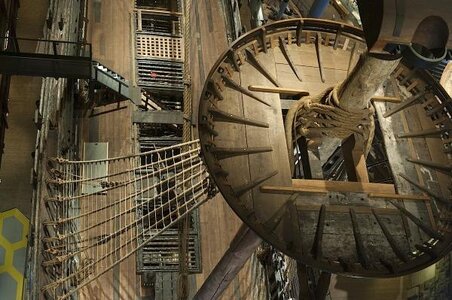
And now the goal from the mother ship at the museum (there were three capstans on the Vasa - this is the only one to have survived)...

Stockholm-180323_9072.jpg

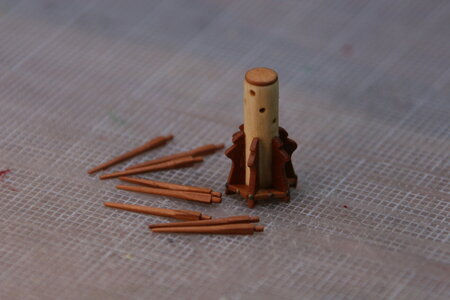
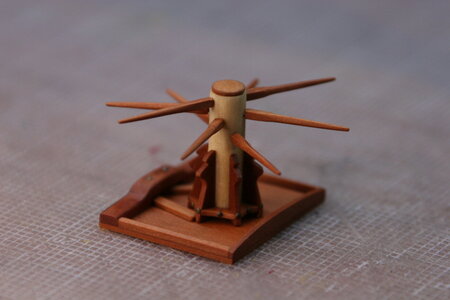
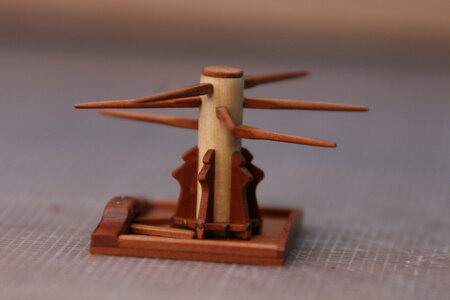
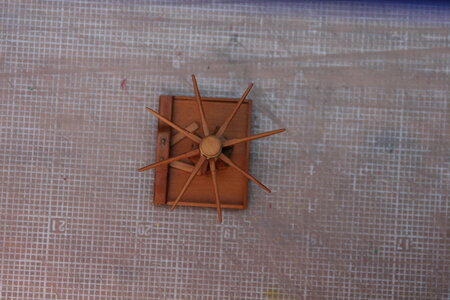
Here is what I came up with...

IMG_6568.JPG

IMG_6560.JPG

IMG_6561.JPG

IMG_6563.JPG

I intend to present the capstan with all the push bars in place so right now I will leave the round holes. If I end up leaving some of those out I will need to square off the holes and modify the bars.

In case you are wondering where all the step by step pictures are that reveal my amazing techniques...well, there's nothing to show. All wood was shaped with hand files and sandpaper (and a hobby knife). I'm sure there is a way to fabricate all the components that went into these pieces in a more precise way but this was the best I could do with the tools at hand and what I bring to the game.

I have started working on the mast platforms and fully intended to show you a prototype in this post but have not been able to overcome some obstacles so that will need to wait for another time...

As always, I appreciate your kindness in stopping by to visit my build page.

Did I mention that I spent an entire day on those ladders... Redface
 
Last edited:
This is brilliant, Paul. I love it when people can think 'outside the box.' This is the right direction towards the scratch-building. The ladders look very good and uniform so is the capstan.

Looking forward to your scratch-built 'Top' the name for mast platform. ;)
 
I often find it's the little parts that nobody notices that gives us the most trouble, but it's pleasing when they're done regardless of how much time it takes. If you start thinking about time and put a dollar amount on it how much would our models be worth?
 
This week I learned how good many of you are at this hobby.

First, a confession. I love looking at other build logs and I often find myself marveling at the artistry I see. Some of the work clearly reflects years of experience that I can never hope to replicate. Other times (here's the confession part) I see someone else's work and I think to myself: Self, you could do that. In fact, you might even be able to do this or that a bit better...

WRONG!

I turned my attention this week to some of the bits and baubles that are such an important part of the overall impression of the ship. Well, working on these little things in wood is harder than it looks. Way harder. As in: throw that one in the trash bin and start over harder. As in: I think I'll douse the thing with kerosene and take up another hobby harder.

And yet, in an odd way, so much fun that I just kept plugging away until I got it right (or at least as right as I'm going to get it).

First up: ladders. The kit supplies a photo etched brass sheet that I was supposed to bend into a ladder shape, install wooden treads, and then paint brown. Thanks for nothing...

View attachment 225044

After a full day of work (yes, you read that correctly) I managed to build five ladders (two of which had only two steps). First, the goal:

View attachment 225045 View attachment 225046

Here is what I ended up with (did I mention I spent an entire day on these?):

View attachment 225039

View attachment 225040

View attachment 225041

View attachment 225042

View attachment 225043

I know what you're thinking: I bet I could do those better... :p.

Next, I decided to build the capstan. The kit provided a nice capstan but in my research I learned that it was not correct for the early 1600's (clearly it came from the capstan parts bin at the manufacturer). Here is the kit version from the official build:

View attachment 225051

And now the goal from the mother ship at the museum (there were three capstans on the Vasa - this is the only one to have survived)...

View attachment 225047

Here is what I came up with...

View attachment 225038

View attachment 225035

View attachment 225036

View attachment 225037

I intend to present the capstan with all the push bars in place so right now I will leave the round holes. If I end up leaving some of those out I will need to square off the holes and modify the bars.

In case you are wondering where all the step by steps pictures are that reveal my amazing techniques...well, there's nothing to show. All wood was shaped with hand files and sandpaper (and a hobby knife). I'm sure there is a way to fabricate all the components that went into these pieces in a more precise way but this was the best I could do with the tools at hand and what I bring to the game.

I have started working on the mast platforms and fully intended to show you a prototype in this post but have not been able to overcome some obstacles so that will need to wait for another time...

As always, I appreciate your kindness in stopping by to visit my build page.

Did I mention that I spent an entire day on those ladders... Redface
I like the fact that you added the nails to the sides of the ladders, nice touch. The capstan looks nice too. You can actually make a jig for building ladders, which helps with spacing of the treads.
 
Thanks, everyone, for the likes and encouraging words.

@Dave Teel - yup, photoetched ladders. What did I expect for $1300??? :confused:
@Jimsky - Tops it is then. Thanks for tuning up my lexicon. The prototype has become quite an odyssey...
@Tony H - agreed, Tony. Since I don't have a timetable for completing this build any time spent is just more time doing something I enjoy.
@Dean62 - hehehe, I was going to make a jig but thought to myself - it will take longer to make the jig than it will for me to build the ladders. Hmmm.
@Daniel20 - thanks Daniel. All I need is a mill and a table saw (and the knowledge to use them) and I wouldn't have had to do all that file work...but we do what we can using what we have. The 'tops' for the masts are presenting a similar challenge. Stay tuned.
@Pathfinder65 - thank you Jan. I agree they could have come out worse (actually, they did come out worse - but those ended up in the trash heap).
 
Hello Friends,

I'm pleased to share that I was able to complete my prototype for the 'tops' today. First, let's take a look at the kit version from the official build (there are several sizes of tops on the Vasa - the sample shown next is one of the larger ones):

DSCF7178.JPG

Here is the goal from the mother ship (again, these are the larger version). I believe the one on the right must be a reconstruction - I can't imagine that surviving intact after 330 years at the bottom of Stockholm Harbor:

post-735-0-20011900-1446521958_thumb.jpg post-735-0-76999800-1454689138_thumb.jpeg

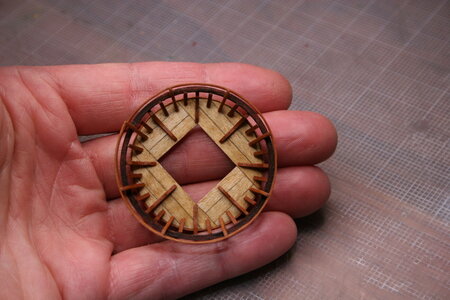
For the prototype I chose to make one of the smaller tops - specifically the one that sits at the end of bowsprit - it is about half the size of what I have been showing.

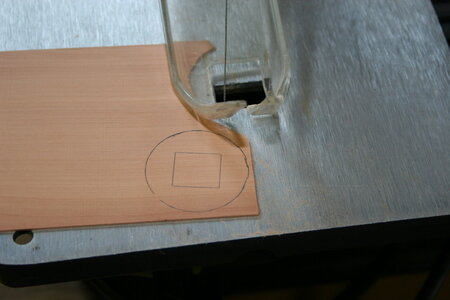
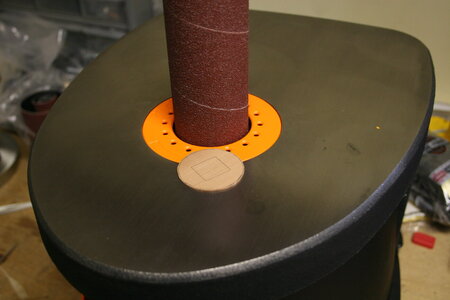
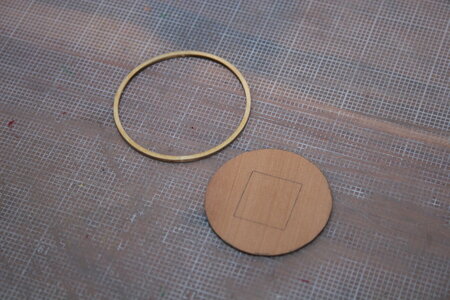
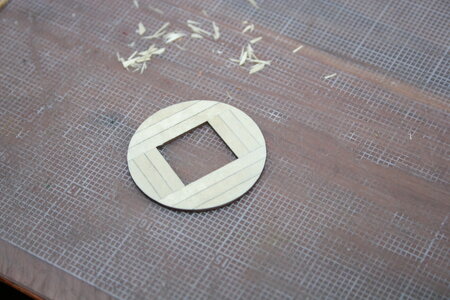
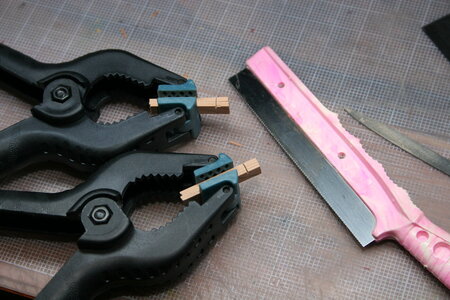
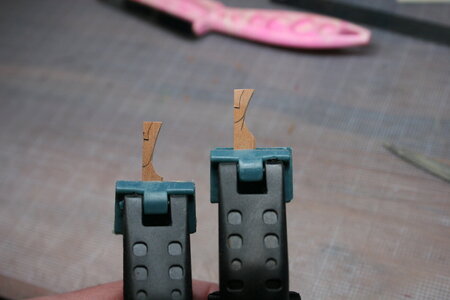
First, I cut out the base, shaped it, planked it, and repurposed the railing from the kit (I borrowed the scroll saw from my dad's house - an old Sears Craftsman model - vibrates like crazy even when it is bolted down). The spindle sander is a new acquisition...
IMG_6588.JPG IMG_6590.JPG

IMG_6592.JPG IMG_6593.JPG

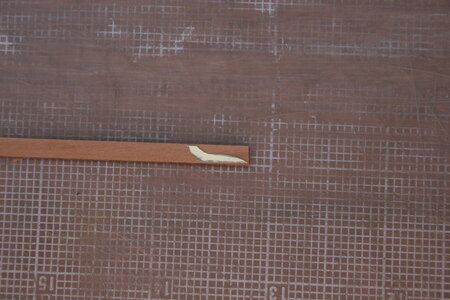
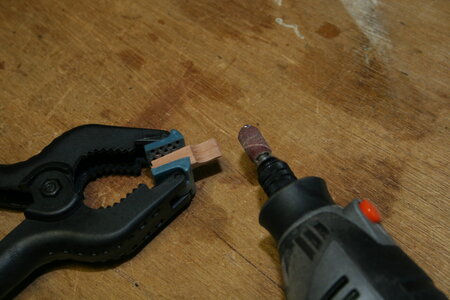
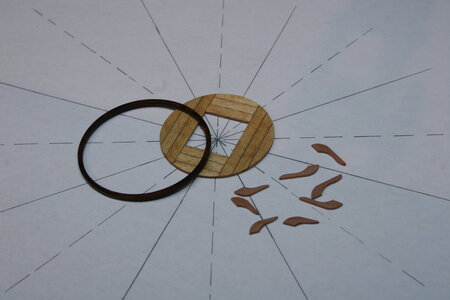
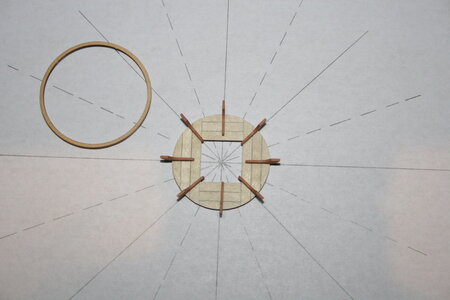
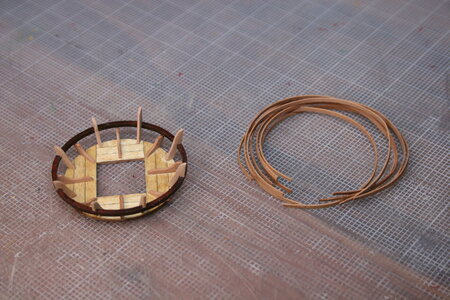
Next, I needed to fabricate supports for the main railing:

IMG_6584.JPG IMG_6587.JPG

IMG_6596.JPG IMG_6595.JPG

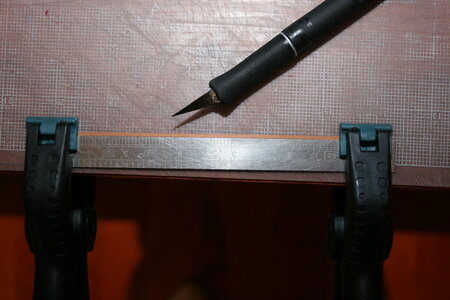
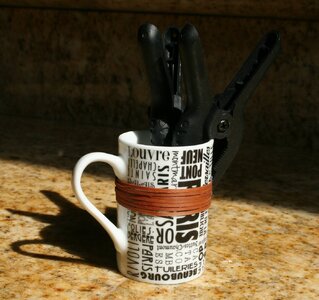
Next up was creating the upper railings (the cup is the size of an espresso cup):

IMG_6599.JPG IMG_6602 (2).JPG

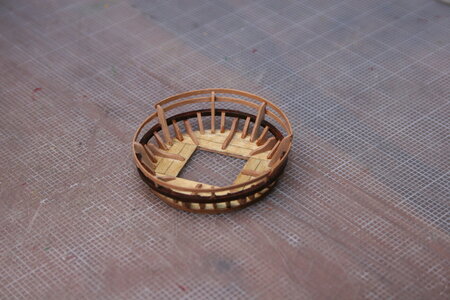
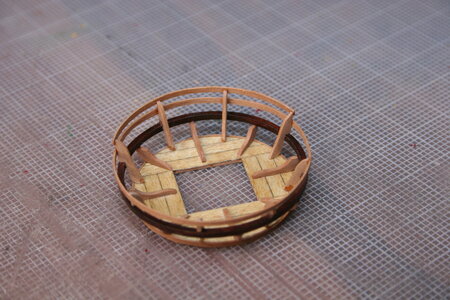
I then fabricated the upper railing supports and attached the new railings to them:

IMG_6603.JPG IMG_6605.JPG

IMG_6609.JPG IMG_6611.JPG

IMG_6613.JPG

Next, reenergized by a healthy lunch, I added some additional support bits:

IMG_6615.JPG

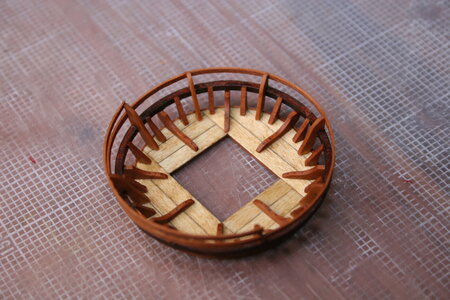
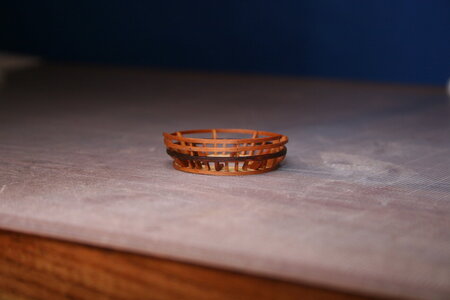
Finally, I cleaned up the glue residue (breaking my new construction several times along the way - it's quite fragile). And then dressed her up with linseed oil:
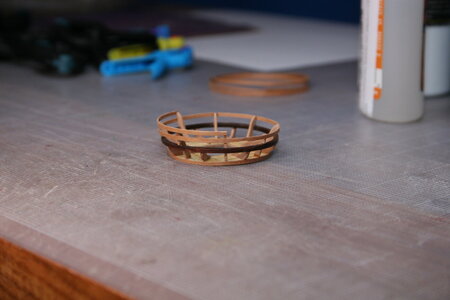
IMG_6622.JPG

IMG_6619.JPG

IMG_6617.JPG

I hope you don't mind the play by play. I normally don't do that but this was quite a challenge for me. Perhaps someone will be inspired by this tutorial to upgrade the tops on their ship one day... I now need to make three more smaller ones and two larger ones.

I have been reluctant to make a claim for kit-bashing - so I need a ruling from the forum. Can I now add that to my credentials?

As always, I am humbled by your attention and kindness extended toward me...

Oh, one more thing, Easter blessings to you if that's the side of the plate you swing from!
 
Absolutely wonderful and a great job on the 'Top' make! Thumbs-UpThumbs-UpThumbs-UpThumbs-UpI mean a dramatic change from the kit's supplying one. BTW, on the Galleons, they called top a 'Crow's nest', a partly enclosed platform high on a ship's mast for use as a lookout.

I hope you don't mind the play by play. I normally don't do that but this was quite a challenge for me. Perhaps someone will be inspired by this tutorial to upgrade the tops on their ship one day... I now need to make three more smaller ones and two larger ones.
Absolutely love the play-by-play, and would love you to continue this way!! ;)

I have been reluctant to make a claim for kit-bashing - so I need a ruling from the forum. Can I now add that to my credentials?
Absolutely! Go for it! If you want, we can change the title of your log :cool:


Happy Easter to you and your loved ones!
 
Back
Top