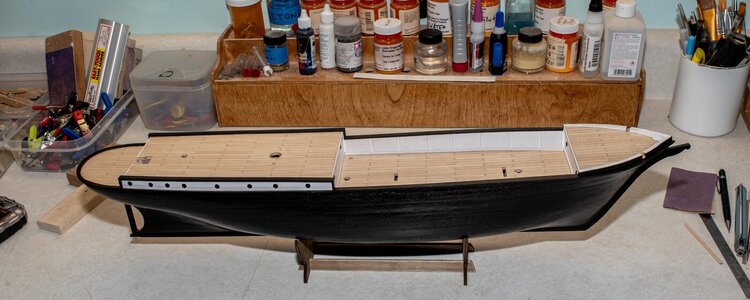
Build Log: ENDURANCE by OcCre [COMPLETED BUILD]

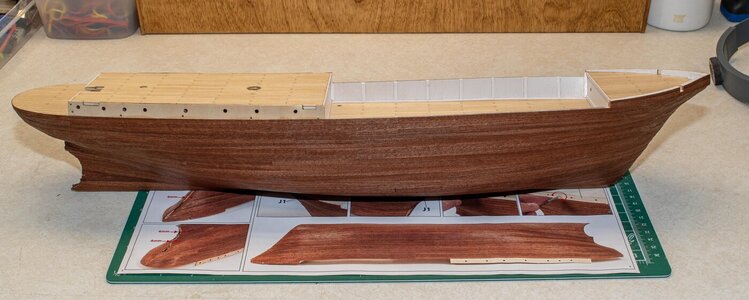
Not that I'm an expert Charlie - but I used PVA (like Weld Bond) as the primary adhesive. But since I lack the maturity to wait for glue to tack up I also used tiny dots of CA in the places of curvature to hold the strip in place while the PVA dried. If you use a medium or thick CA you do have a bit of repositioning time (and will need to hold the piece in place for 15-20 seconds because it does not set on contact like thin CA does)...

I found the combination worked well for me.
Hi Charlie, I do much the same as Paul. I use a Gorilla gel CA and also a carpenters PVA as I am planking. The gel CA is thick enough not to run like the thin stuff but sets up much the same as most CA’s.

For my POB build I put the gel on half of each bulkhead width where the plank will go. Then put a small amount half way between bulkheads on the previous laid plank. Then using the PVA in a syringe I put that glue on the other half of the bulkheads and then along the previous plank between the gel. When I place the plank the bond is quick and there’s little need for clamps (though I sometimes still use them to tighten the gluing plank to the previous one).

The benefit is I am using a combination of two glues, which settles my paranoia of planks springing off in future years.
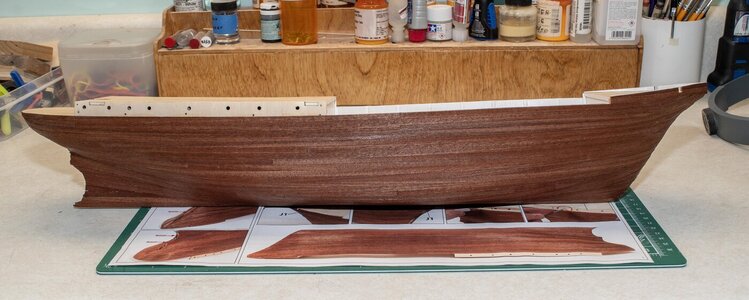
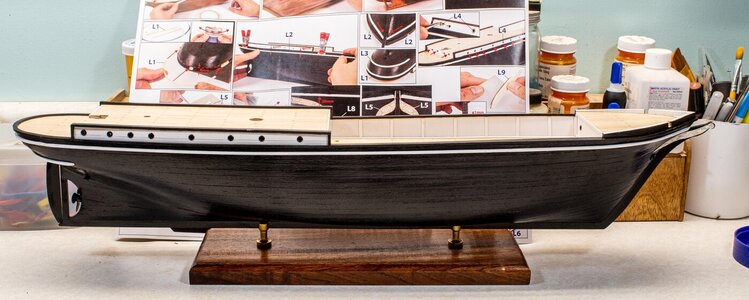
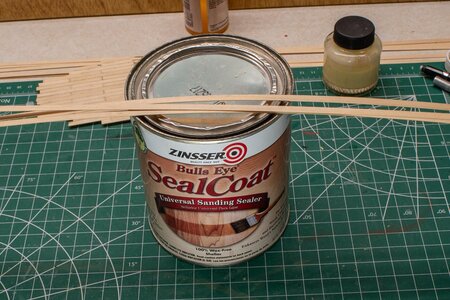
Thanks for the tip Roger - I wound up using gel at both ends of a plank, about 1/2" or so, then Weld Bond between. If I had any edges lift up I'd go back with thin CA and spot glue those areas. About ready to start with the sandpaper after I give it a good wet down with sanding sealer. The strips supplied had a tendency to split and were kind of hard to work with but so far Im pleased with the result. I'm hoping the sealer will keep things from splitting while sanding.
 
It looks fantastic Charlie. From those shots it hardly looks like any sanding is required.
 
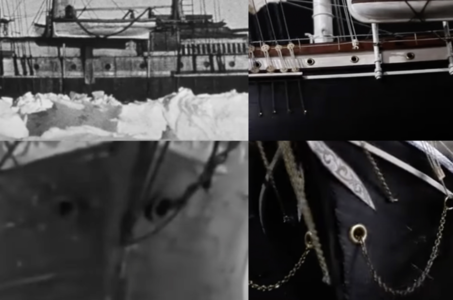
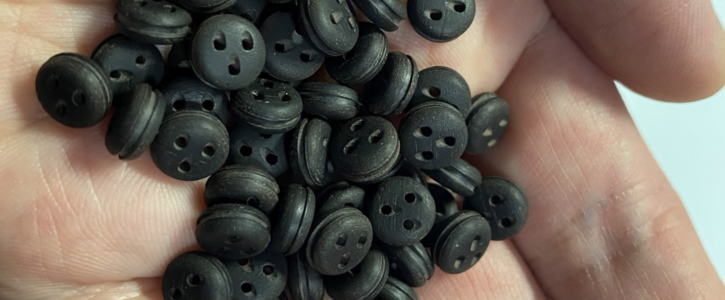
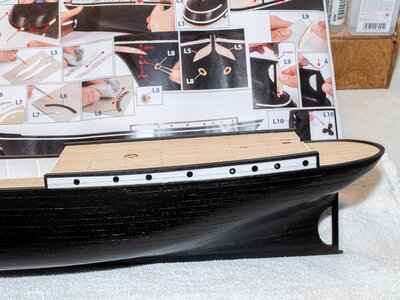
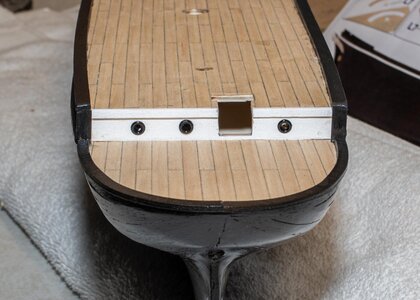
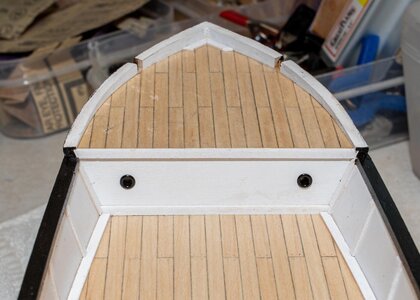
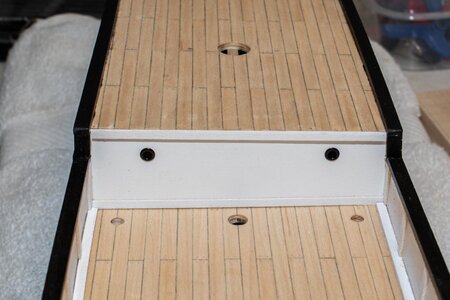
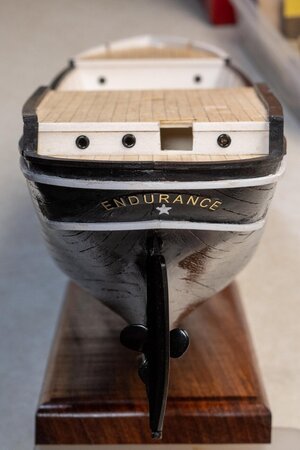
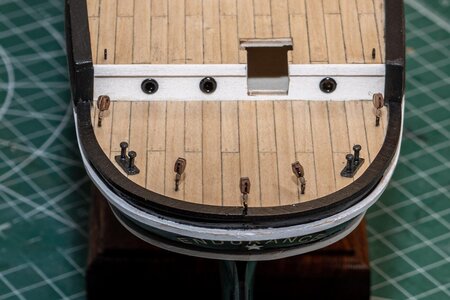
After doing some research on line and going through the photos in my Endurance book, I find a couple of differences between the original and the kit. As I'm trying to stick as close as possible to the original I'm changing the portholes and hawsepipes from the supplied brass to black. Also the deadeyes should be black so I ordered some in ebony. Got the 4mm but the 5mm are backordered. Fingers crossed they get here before I need them.

Port holes.png
Screen Shot 2021-10-02 at 3.49.50 PM.png
 
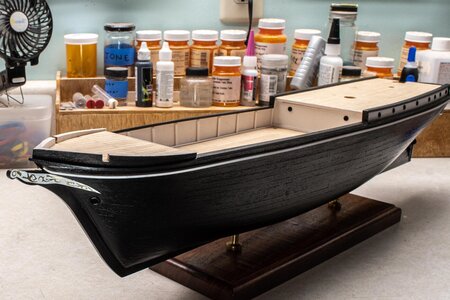
You are progressing beautifully Charlie and fast! Does the hull remain that shiny or will you finish it in a more matte look?
 
Hi Charlie. Could you provide the type of sanding sealer that you use? Thanks.
Hey Jeff. Here you go. I went to the Wood Store and this is what they recommended. That place has some fantastic exotic woods. I put on a coat then sand when it dries. Helps reduce the "fuzz" that the water based paint lifts up. If i'm not going to paint I finish with Teak oil, Tung oil, or Poly. If using stain, I do it before the sealer. So far I'm happy with the results. On the photos above in other posts you can see the base I use. Got a nice piece of Brazilian cherry for $25 and got four bases out of it.
Endurance 009.jpg
 
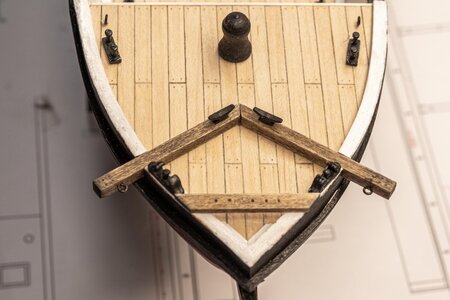
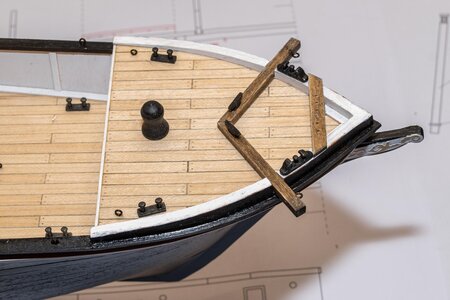
I made a slight deviation from the plans. All the eyebolts are shown in brass which I don't believe was the case. So I blackened them in JAX then put on a coat of sealer so the blacking wouldn't rub off. Also on the cathead they eyebolts at the start of the line and also the end after running through the blocks. How that would work is a mystery to me. I used a cleat on the deck end of the cathead which makes more sense.

Endurance 041.jpgEndurance 042.jpg
 
For sure, the blackened eyebolts is the way to go! Thumbs-Up
 
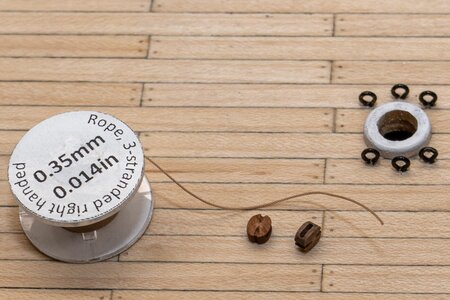
Never been a big fan of the kit supplied blocks and fuzzy rope so this time I went with third party items where possible. It looks a lot better with no fuzz on the lines and it seems to gather less dust too. Should be easier to clean in the future. Instruction sheet "M" now complete.Endurance 043.jpgEndurance 044.jpg
 
That is nice rope and a very nice color too! Who is the supplier Charlie?
 
Back
Top