Tony’s Blandford build log [COMPLETED BUILD]

In the building instructions for part 4 of the build I suggested starting with the beam arms. Making joints in curved surfaces is more difficult than straight butt joints and if the center assembly is a little long or short it is easy to make up the difference at the ends of the section.

All your deck parts look good in the dry fit, you still need to add the main mast partners it is easier to cut the notches before you start the installation.
 
Mike sorry, main mast partners ? the two parts in the center I didn't make and the square center ? Ill look at your pics again and see how you put this entire thing together. Thanks
 
Last edited:
Looking good Thumbsup
For me it is usually the best way to install and assemble this inside the frames / hull.
Starting with fixing of one outer beam (axis 1 or 9) and assembling step by step the next beam with carlings etc. - with this way you can adjust where every necessary to reduce as much as possible the open joints, here also you can take care about the correct location of the beams etc.
But this is how it is working best for me......
Yes, I'll analyze this further. I'm trying to practice not actually gluing anything until I can go no further and must.
 
Mike sorry, main mast partners ? the two parts in the center I didn't make and the square center ? Ill look at your pics again and see how you put this entire thing together. Thanks
Hi Tony, Detail C8/3 is what the mast partners look like on a fully framed model, as you can see, I simplified them for this tutorial. If you do not want to add them the model will not be unstable lol.

It is difficult to decide how much detail to show in introductory exercise like this if there is too much most first-time scratch builders will not be able to finish it so it is up to the builder to add additional details if desired.
 

Attachments

  • Mast Partners.pdf
    486.3 KB · Views: 20
Hi Tony, Detail C8/3 is what the mast partners look like on a fully framed model, as you can see, I simplified them for this tutorial. If you do not want to add them the model will not be unstable lol.

It is difficult to decide how much detail to show in introductory exercise like this if there is too much most first-time scratch builders will not be able to finish it so it is up to the builder to add additional details if desired.
Got it ! I have the book here and usually I'm good at using refs but have to learn to consult the book on EVERYTHING. Never built anything like this before so there is no doubt some confusion here and there. Ill analyze the mast partner assy and see if I want to add it. Probably will.
Today there's no progress just getting the next steps straight in my mind before I proceed. Id rather spend the time than make mistakes. I'm going to make the pillars next, modify the pump well to take the one pillar through it and then move onto getting the deck framing together in place. Thanks for all your help.
 
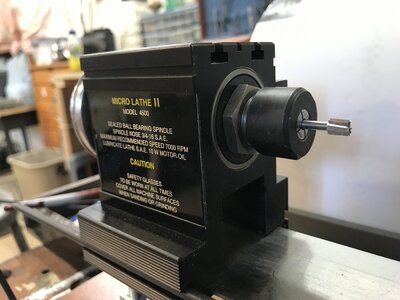
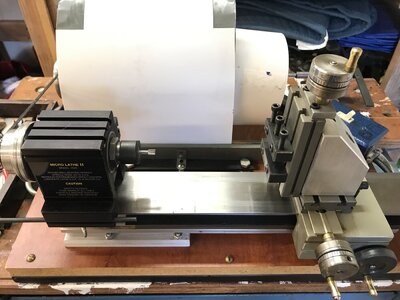
Haven't done much lately. I ordered a 4 jaw self centering chuck for my Taig so I can turn square stock turn the deck pillars and elm tree pumps and whatever else I need to. I tried turning some dowels I had here last week and failed. I haven't turned wood for almost 50 yrs. I think they were oak and they just splintered and ended up very rough with a horrible surface. Which woods are recommended for turning to get a nice smooth finish ? Should I start out with square stock and turn it down or is turning the correct type of dowels fine ? Grain direction important ?? I'm at an impasse now. Thanks
 
Hi Tony, any kind of dowel rod can be turned and sanded to a smooth surface. Make sure the dowel is secured at both ends and use sharp chisels. After sanding with fine paper, I use Danish oil and polish the dowel with a rag on the lathe at medium speed. You can use square stock, but dowels are fast and easy.
 
Hi Tony, any kind of dowel rod can be turned and sanded to a smooth surface. Make sure the dowel is secured at both ends and use sharp chisels. After sanding with fine paper, I use Danish oil and polish the dowel with a rag on the lathe at medium speed. You can use square stock, but dowels are fast and easy.
Thanks Yes I'm feeling my way through. Ill try using the machine tools instead as Donnie recommends. I have to sharpen the junk wood tools I have or make new ones.
 
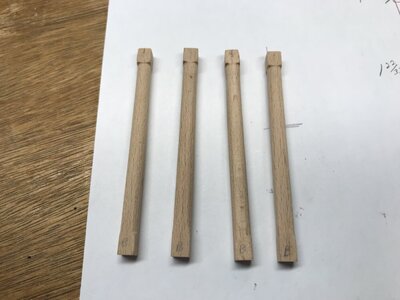
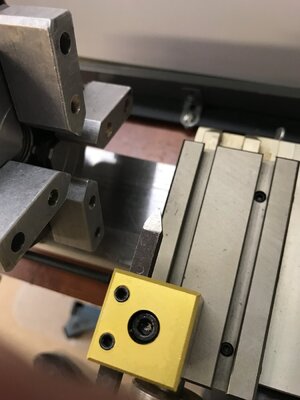
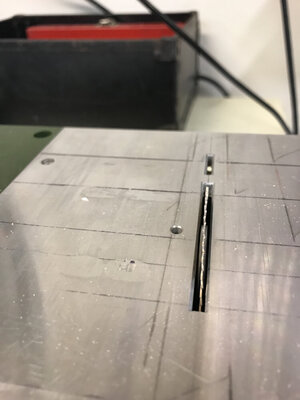
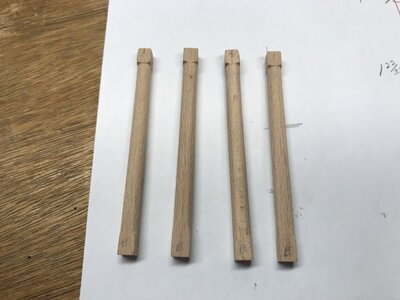
My 4 jaw chuck finally came. I turned the deck pillars and cut the hole in the well for the one. Deck assembly is next but I’m sure to take breaks to work on the Elm tree pumps to keep my sanity. Donnie yes I had good success with the round nose tool on the lathe vs wood chisels. So reading Knut log the mast is actually 9/16 I see. Going to do a 1/4 tenon as that’s the size of the mast step hole and don’t want to risk breaking the step trying to drill 3/8. As for the circ see blade for gratings. I have a Proxxon blade here I think I can just flatten the teeth so they’re all straight with the blade, no offset. Anyone done this ? I’ve seen it done somewhere before.

1158A602-9972-4AF3-8EB5-AB1419287630.jpeg8E0FBBAC-9B2B-433A-8F92-771A0CBAA721.jpeg7E0318ED-99B9-4652-9CD0-9C94A8F10CA2.jpeg2ACA0CEC-8D0C-41ED-A05E-49A974FE03CE.jpeg
 
The main mast dimensions in the 1:32 had an error. Based on the AOTS book, the mainmast diameter should be 1' 8-1/2" or 5/8" diameter. That's 15.875 mm. The plans call for tapering the mast below the lower deck, but I left it as is. Regarding the mast foot: It's inside the well and is essentially impossible to see if you plank the center part of the lower deck. You could omit it if you like, or make it large enough to have a hole for the lower end of the mast, either tapered or not.

9/16 is probably close enough!
Looking at the plans again some are correct at 9/16 and other show one inch. No matter. I have 5/8 dowel here so by the time its cleaned up sanded nice and smooth it'll be somewhere between 9/16 and 5/8 yes good enough. Doc, whats your grating method ?
 
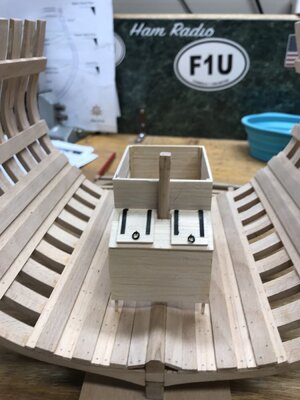
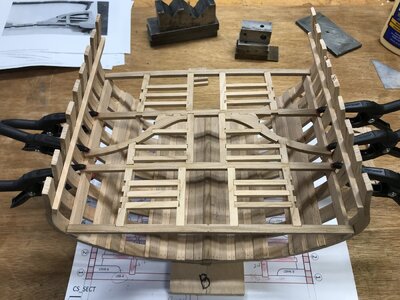
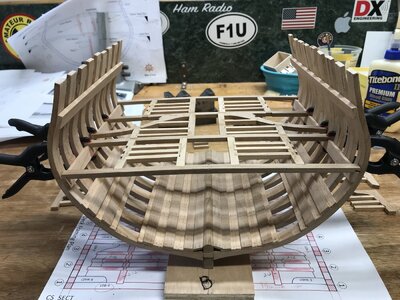
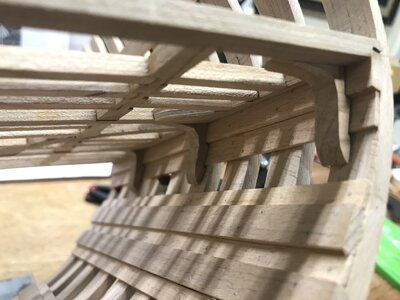
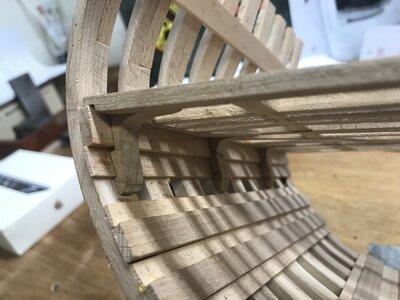
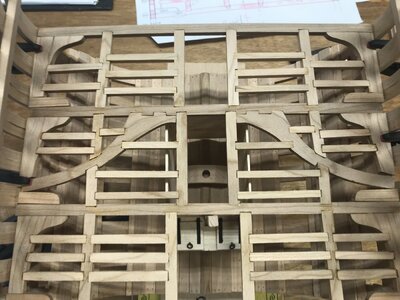
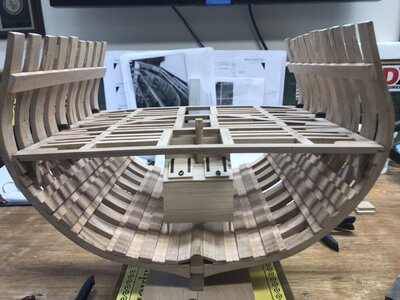
I’ve been at it indeed. Still have the elm tree pumps to make, chain pump dales, pillars etc etc to build and put in. I will follow the practice of not gluing anything until I can’t move forward unless I do. The frame is glued together the hanging knees are not glued in the assembly is dry fit in the hull. Happy with my progress. A major milestone for me was getting this first deck frame done.

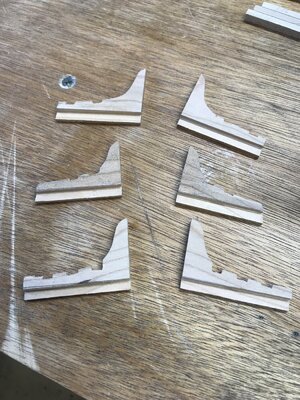
66C85844-917D-4C17-8388-E8223DBC0C74.jpeg13EFC2BA-4F7F-4FAC-931E-B70DF2B77BE9.jpeg71DEEFCE-54B1-4286-9B41-1A6C1352C7C4.jpeg9326568D-7A36-41C5-BA2F-CEAB7099DA36.jpeg63FA44E2-0325-4BCB-BA6F-EC1B7851B06D.jpegE86EFAEA-8D14-4631-A9AD-F28649B46D4A.jpeg7DEEA30B-1F71-42BA-BE48-6E256CDA33A4.jpegF05E4FC6-4632-431E-BF1C-55CEDDCC05DB.jpeg4F362908-8FCE-4CBC-9538-16570E39EAA2.jpegAA89CF23-F7B6-45EE-B2EA-52863E6AB986.jpeg77A6211A-7830-4239-8042-515C1DA613D1.jpeg
 
Hi Tony, it looks like Parts LDK-2 & 5 are a little short but nothing to worry about the framing looks very good. Your Hanging knees are well made and look great.

 
Yes thanks Mike they’re short I may make two new knees, it’s easy enough. Then again they might have planks over them and won’t be seen anyway. I cut all the parts at once from the plans and then with sanding quite a few things changed I had to make quite a few new carlings there’s still some gaps but it’s the lower deck and it’ll be partially planked. This is a total learning experience for me and I learn something everyday.
 
hi all, I'm getting to the point of figuring out gratings and planking for the lower deck. I don't see a drawing of the grating frame and grate spacing dimensions anywhere on the plans. Anyone know where they might be ? maybe I'm missing them. Edit. I think I found it but I'm still up in the air on how Il actually build them.
 
Last edited:
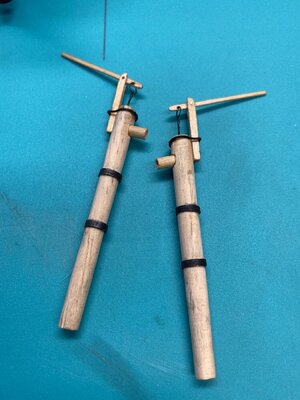
Progress on the pumps. The only difficulty I had was in using the Brass Black. Seems to rub off some with handling. Also trying to blacken on the wood failed of course. So now I’m left with having to blacken the edges of the hoops without getting more stains on the wood which I managed to remove for now. Any tips on the blacking process ??

4F23C508-6A31-41A1-B1CA-51D268D01A83.jpeg75BE25CF-C0B4-4342-8EF9-4CA286181245.jpeg
 
Nice job on the pumps. Tony!

A tip on using Brass Black: Degrease the parts in acetone, then wash in some acid to etch the surface. I use muriatic acid (HCl acid).

Dilute the Brass Black - one part Brass Black to four parts water. Soak the pieces (or paint the solution on with a brush) for 20 seconds. Rinse with water and wipe clean with a rag or paper towel. Repeat as needed until the desired color is reached. You'll have to do this 3 or 4 times, most likely. The result is not "pitch black". Rather a dark gunmetal gray. Looks cool, though!
 
Very nice pumps.
Well, I have problems w the brass black too and it seems that Doc is right as I can say that I am not following that process at all.
 
Back
Top