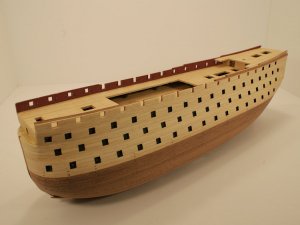
Santisima Trinidad - Occre Build Log [COMPLETED BUILD]

Re: OcCre Santisima Trinidad Build Log

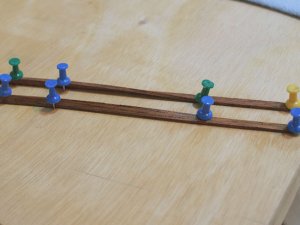
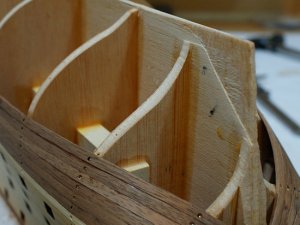
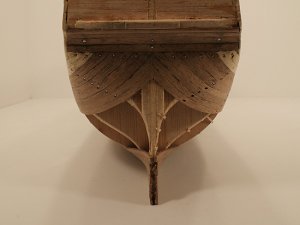
This view shows how I use a simple method of bending the two planks preparing them for placement as the Garboard Plank. You will notice the hard twist in near the middle. This view show that even though the instruction do not mention anything at all about fairing the stern, I decided to do so. It will allow for planking to fit better and to be able to sand it down to a better finish.

planking39.jpg
planking38.jpg
 
Re: OcCre Santisima Trinidad Build Log


This shows the bow section of Garboard Plank in place as a dry fitting.
planking40.jpg
 
Re: OcCre Santisima Trinidad Build Log


It is open for debate if I have my first planking started correctly at the False Keel. I think the stern part of the garboard plank might be pointing downward a little too much.

planking41.jpg
planking42.jpg
planking43.jpg
 
Re: OcCre Santisima Trinidad Build Log

Hi to all !
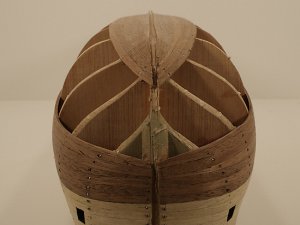
Latest building. I will probably stop at this point and figure out how to lay down the rest. I am referring to "Planking the Build-Up Ship Model" the other resources here on planking. I need to space my planking out. This ship has a Bluff Bow which in some cases can be more difficult - then again, some may find the Bluff Bow easier. I can't say that what I have done so far is right or not, but just doing the best I can. It is what it is.

planking44.jpg
planking45.jpg
planking46.jpg
planking47.jpg
planking48.jpg
planking49.jpg
 
Re: OcCre Santisima Trinidad Build Log


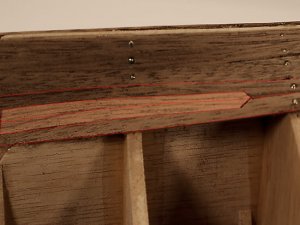
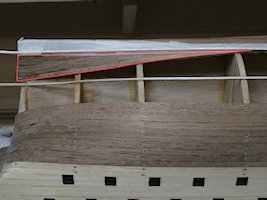
This is a first attempt at Stealers or Spilling (I need to refresh my vocabulary). I had to outline the object in red to demonstrate what I was trying to accomplish. I also highlighted the inserted piece to differentiate to see the piece that was inserted.

stealers.JPG
 
Re: OcCre Santisima Trinidad Build Log


Added more planking. It is what it is. No major problems so far. There are some things that need to be cleaned up along the way. The nails are set using a nail setter.

planking50.jpg
planking51.jpg
planking52.jpg
planking53.jpg
planking54.jpg
 
Re: OcCre Santisima Trinidad Build Log


Well, I do plan to leave the nails set. It is difficult to see it on most all images, but the nails are set about 1/2 way into the plank. I did this because I knew that I was going to be sanding as I build. I do a rough sanding with course sandpaper to "see where I am with things" as I go along. So therefore I set the nails further into the plank as I sand down, then the brass nails are not affected by the sanding, but retain the nice brass look.

Some nails have been removed. There are some planks at the upper bow that have gaps in them and I do plan to correct that to finish that off. It falls into the category of " I'll just so that later" routine.

I did have some battens laid down, but they accidentally got crushed as I was managing the hull. I plan to put down more battens and recalculate where I am with it all.

So far I have managed not to use any wood filler at all. If I happen to have a tiny gap, I have a technique of filling it in with the same wood. <br/>

In short, I take a piece of same wood and using the xacto, I will make a fine mesh of wood fibers (wet the wood first), then put a tiny amount of glue in the place to fill. Then I will "pack" the fibers into the gap. Once dried, sand down and I can not even find where I made the patch!
The wetness of the wood allows the fiber mesh to push into the gap better.
Usually, the gaps that I am talking about are about the thickness of a business card. But, I try my best to avoid that anyway.

The planks have been tapered along the length on one side only. In some cases both sides only where needed.

I am just covering all the info for all to read. I have also found that as far as bending those thick 5mm planks, well, I just turn on the very hot water at sink and run the plank back and forth for about 30 seconds, then I will hand bend the plank while it still has hot water running on it. It takes about 2 to 3 min to bend a plank instead of soaking the plank in water forever. This is the quickest way I have found.
 
Re: OcCre Santisima Trinidad Build Log

It has taken me a year to get to this point. I should have the lower hull complete by end of this year. Meaning that I should have lower planking done and some wales done too
 
Re: OcCre Santisima Trinidad Build Log

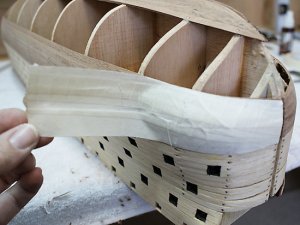
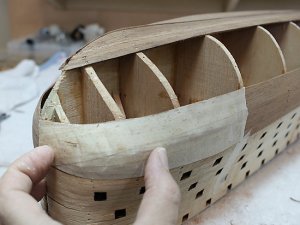
This is a technique I came up with due to myself questioning my symmetry of the hull on both sides.

Image #1 shows that I generously applied masking tape over the area that I want to compare with (the other side). I applied about 3 layers of tape to make the tape sturdy enough because I am going to pull this tape off and the important thing is that I want the tape to "maintain its shape" when I pull it off. Here you see me already starting to pull the tape off.
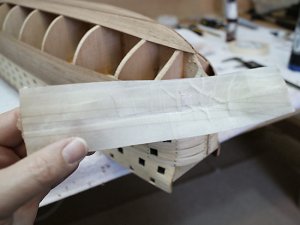
This next images just shows the "form" of the tape being held in my hand. I am now going to FLIP THE TAPE OVER and apply it to the other side of the hull.
The last image show that I now have the tape in place and yes, the STICKY side is to me and you can tack this reversed side down with more tape like I did to "shape" the hull. Then remove the tape. I have already shaped the hull on the (right of image). Please remembers something important. I used the bottom edge of the tape as a reference point. (the point where the upper hull meets the lower hull)
I hope this helps someone struggling with some of the same things I am.
planking55.jpg
planking56.jpg
planking57.jpg
 
Re: OcCre Santisima Trinidad Build Log

I am thinking about removing the area in RED. Does anyone have any thoughts that this might be a good or bad idea? My thinking is that removing the area in red will continue to allow the planks to run parallel with the Water line or is this a ridiculous idea.
battenline01.jpg
 
Re: OcCre Santisima Trinidad Build Log

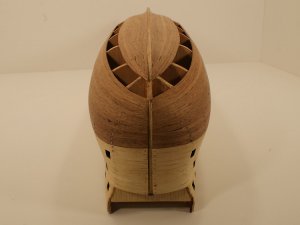
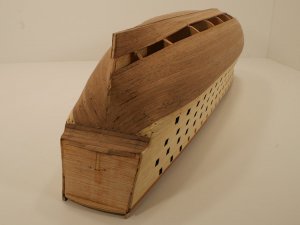
It has been a while since I posted my progress. It is what it is as they say !
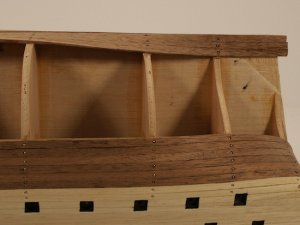
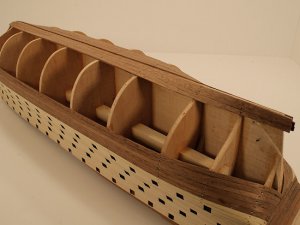
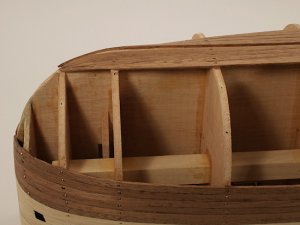
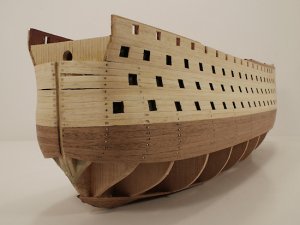
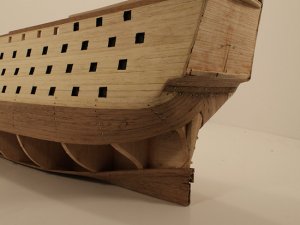
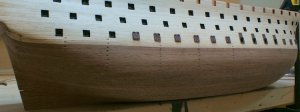
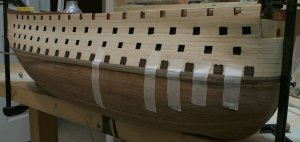
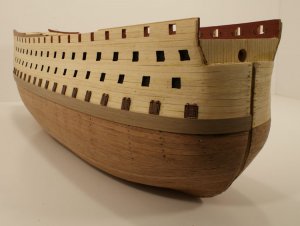
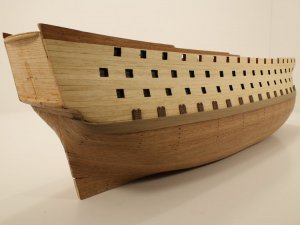
It ain't much longer before I close that gap. You will see problems and mistakes that I plan to work on after lower hull is planked up. The front of the bluff bow has some small openings. this is just where some of the wood chipped out and I need to shape a piece (form it to fit) in those tiny gaps so it will look better. So far, no wood filler used. I can say that it has been a mixed blessing having a single planked hull. First, once it is done, its done. You do not have to go back with another layer. The other part is that the 2mm thick - hard as a brick planks are a pain ! I found that just simple running the plank under near boiling water helps.
Thanks goodness for Cynoacrylate and accelerator !
hullforum01.jpg
hullforum02.jpg
hullforum03.jpg
hullforum04.jpg
 
Re: OcCre Santisima Trinidad Build Log

Well, I average about two planks per evening.
Measurements
Tapering
hot water to pre bend plank
Actually start to glue plank on while plank is soft from hot water.
glue and accelerator in hand !

About the time I do this for two planks, I have to give it up for the evening. I am glad that this is a single plank hull. I have to hand it to the guys that build the ships that you copper the hull.
 
Re: OcCre Santisima Trinidad Build Log

Here is almost the last strip going in.
I used CA and accelerator on all the lower planking and it is Sapelli.

What I do is, I only work about 3 to 4 inches at a time. Or this translates into from one bullhead section to another. I usually work with a damp plank gluing as I go. I lay down a bead of CA on the existing plank already in place while I hold the other plank out of the way some. Then I position the plank that I am gluing in place and hold it down with one hand while I use the other hand to spray the Accelerator. I also use a dremel that has the round sander (ok you all can cringe at this), but it is very controlled as I take the roughness out of it. Then I have followed with a Flap Wheel Dremel sander tool. This almost puts a polish on the wood. I also use a lot of water on a towel to clean things as I go along.

I did some reading on a book I have about planking and this was brought about on a comment Danny made that made me think about Butting the planks. We all know that in real life that there would not be a single (about 150 foot long) single plank-strake on a real ship. So therefore, my concern is do I want to go thru the trouble to "mark" a false Butt in the planking to simulate this effect of having the planks to scale about 15 or 20 feet long (on a real ship). In this case about every 4 inches or so.

I think this also comes down to preferences really. At anyrate, I just wanted to update those that are interested. There is one more thing that I forgot to mention that is of great importance, at least to me. That is "beveling" the planks "lenghtwise" only on ONE side. The TOP SIDE of all planks are untouched. I always do my cutting and beveling on ONE side only and put the beveled and cut side down. Yes, this means either taking an xacto knife and cutting the bevel ALL the way down lenghtwise of the strip or using a dremel to make the bevel. This way as the hull has the curve to it, the bevels allow for better fitment. Now, I do not bevel all the way down to a sharp edge. I leave about 1/16 of an inch or 1.5mm of board to mate next to the other and also this leaves about 1mm of sanding as I do not want to go all the way thru the hull. I am also going to remove those nails and redo them better.
planking62DDM.jpg
 
Re: OcCre Santisima Trinidad Build Log

I decided to go ahead and add the gun port lids. I read the instructions far enough in advance that it seems more logical to do this now. the lower and upper lids will be in place so that I will have a solid butt up against the ports as I lay down the rubbing strakes.

And those dang awful looking nails now. I have a better idea for those, but I am afraid that it is too late. I saw Garward using brass heavy gauge wire. I thought that was pretty cool.
cannonportsDDM01.jpg
cannonportsDDM02.jpg
 
Re: OcCre Santisima Trinidad Build Log

The upper strips had openings already punched out for the gunports, then I planked around them. It was a great effort to get all of them aligned in such a fashion. A lot of the gunports where really bad misaligned. I used a pair of dividers and calipers. That was one step that I thought I would never see the end of.
But, I knew that if the gunports that early in the stage of building were not corrected, then the rest of the build would have been awful.
Everything builds upon the next step. This is why a lot of people stress the importance of having a nice and square or trued hull and square bulkheads. Just like in your build, you caught that problem. A lot of newcomers would have really had a hard time with that one. I probably too would have scratched my head on that one for a while.
Believe, me - I accept your compliments, but I have seen other peoples work that blows my mind !!!
 
Re: OcCre Santisima Trinidad Build Log

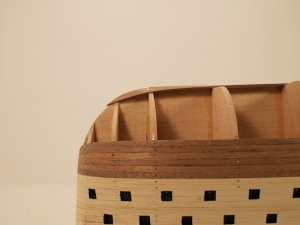
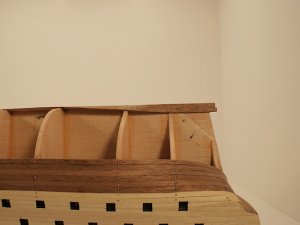
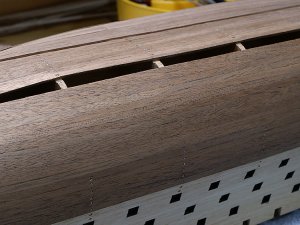
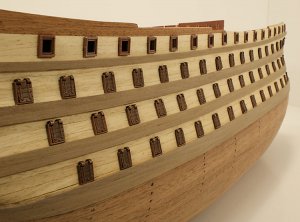
Adding the Rubbing Strakes or wales now. Some of it looks wet where I soak it and tacked it to the ship. Now that I have my Gun ports in place, I have a secure butt that I can press my wales tight up against and not have to worry about measuring everyone to make sure that after the fact, to find that my gunports do not look right in relationship to my wales. Then the top Strakes will have a small notch to interface with the hinges of the gun port lids. It will not be long and that will be demonstrated as well.
planking63Forums.jpg
 
Re: OcCre Santisima Trinidad Build Log

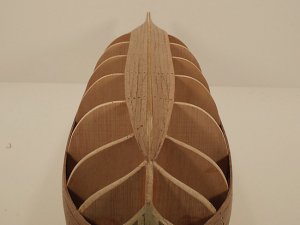
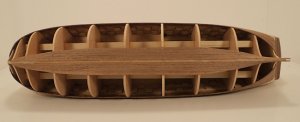
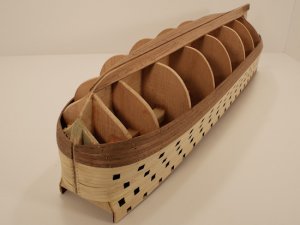
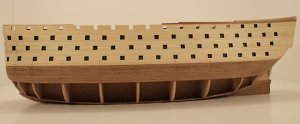
There is really nothing to note other than adding the wales. The African Walnut is much easier to work with. It is stil 2mm thick but not as wide. I still have some touch up work to do on the main hull. For any one interested. In order for me to get the entire lenght of the ship almost in focus from front to back I used the manual setting on my SONY DSLR A350 set to f22 and shutter speed to 4 seconds. Use a tripod with automatic timer to go off at 2 seconds. This way, the camera is very still. Any camera that will allow you to set your manual adjustments around f18 to 1/15 seconds down to f22 to 4 seconds should do fine. This is from a lot of experimenting. You also have to have a lot of light.
I built me a light box that has two side and two upper lights. You gotta have a lot of light and you gotta have the fStop set to very high value (either way you look at it low or high) In other words at f22 the camera lens is stopped down to a tiny pin hole. This will cover the depth of field that is needed. Ok, so much for that - did not mean to get off on the photography routine, but as long as it helps someone.

hullforum05.jpg
hullforum06.jpg
 
Re: OcCre Santisima Trinidad Build Log

This is not the best picture in the world. I was lazy and did not set up my lightbox. It has gotten late and it has been a long day.

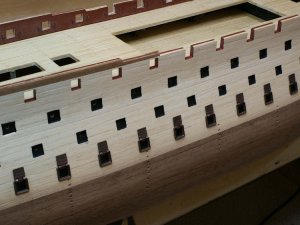
At any rate, I am just revealing why I went ahead and installed my Gun Port Frames-Lids. Not only did I have a lower edge to butt up against, now I can insert that 3rd plank and have it notched out.

It seems that all of that work in getting those openings lined up correctly a long time ago is just now paying off.

wales01forum.jpg
 
Re: OcCre Santisima Trinidad Build Log

There will be more wales added on top of each port. They will require notching out.

hullforum07.jpg
 
Re: OcCre Santisima Trinidad Build Log

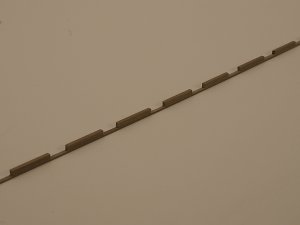
There is not much to show here other than I was able to get the entire strip notched out all in one piece without breaking it. Of course it is not installed yet, I hope I can keep a steady hand.

wales02forum.jpg
 
Back
Top