LE ROCHEFORT - Harbour yacht from 1787 1:36 by Tobias (Monograph by ANCRE)

I am happy with your help, clear explanation and fantastic photos and the piece of craftsmanship you show. In a word Fantastic
Thumbsup
Ich freue mich über deine Hilfe, die klare Erklärung und die fantastischen Fotos und das Stück Handwerkskunst, was du zeigst. Mit einem Wort fantastisch
Thumbsup
 
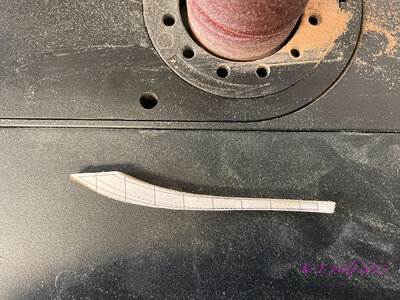
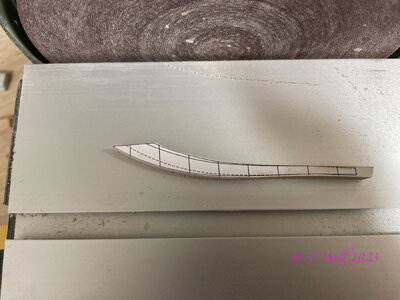
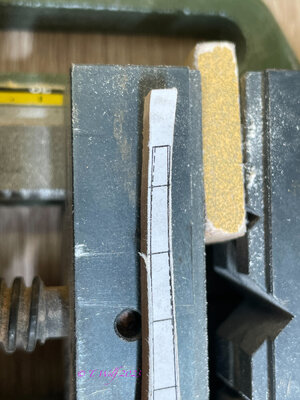
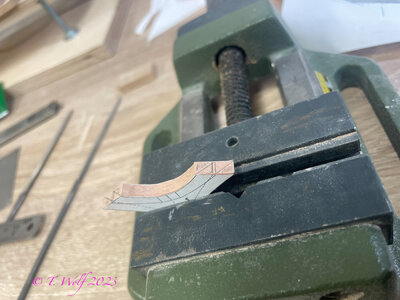
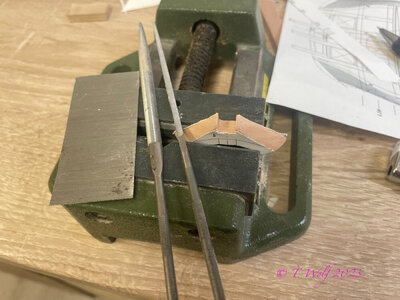
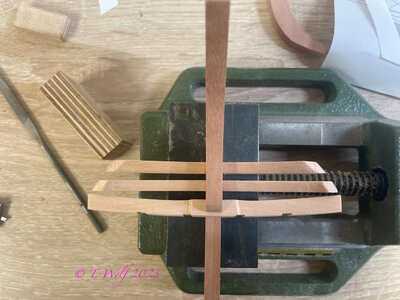
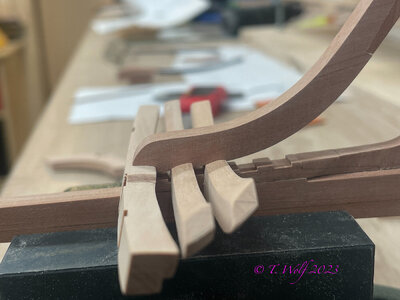
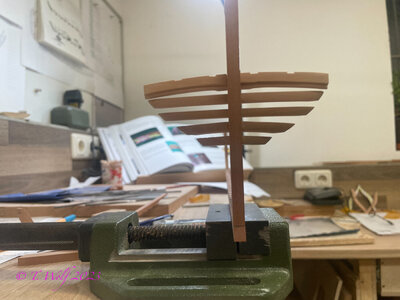
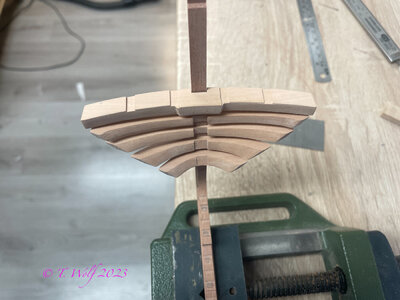
Today I worked on the crosspieces of the stern.

I cut out the individual timbers and prepared them with the spindle sander. Next I glue another template onto the back. In the next step I mill the grooves and file the bevels for the receptacles (in the groove).
Now I use the small belt sander and roughly pre-sand the bevels of the wood, then I work the rest with the file and the draw iron. Fit everything in place and take photos.

71D5FD02-0376-45F6-8827-845484853EAB.jpeg

2A193926-F1C5-4CD5-A557-A02BA03690D6.jpeg

40B3B052-3686-4030-BBB1-4CA861FBA801.jpeg

DC32ED44-6D8D-405D-888C-E42C7C7667AC.jpeg

43800ED9-A465-4687-954C-A2E61C0B9EF1.jpeg

B3102D58-D293-475C-A718-7DA50A068D49.jpeg
 
Your assistant looked like she was enjoying working with the tools, and her outfit was great.
Hi Kurt, yes the little man has a lot of fun with grandpa in the workshop, as far as the outfit is concerned he has just woken up and the first thing was grandpa - workshop - ship, so what does grandma have to do then, logically first go to grandpa in the workshop. ROTF
 
Today I worked on the crosspieces of the stern.

I cut out the individual timbers and prepared them with the spindle sander. Next I glue another template onto the back. In the next step I mill the grooves and file the bevels for the receptacles (in the groove).
Now I use the small belt sander and roughly pre-sand the bevels of the wood, then I work the rest with the file and the draw iron. Fit everything in place and take photos.

View attachment 349503

View attachment 349504

View attachment 349502

View attachment 349501

View attachment 349505

View attachment 349506
Tobias, Thanks for the updates as usual your work is exceptional! I can only hope to get to your level of expertise.
Quick question, I not familiar with the term “draw iron”. Can you elaborate? … it may be the translation app if you‘re using one.
 
Tobias, Thanks for the updates as usual your work is exceptional! I can only hope to get to your level of expertise.
Quick question, I not familiar with the term “draw iron”. Can you elaborate? … it may be the translation app if you‘re using one.
Hi Oliver to your question. Here is a photo of a drawbar or scraper, I would not want to work without this simple tool.
352C1516-1B7E-4D2E-88AE-3CB1033933CB.png
Thank you for your compliment, I am still at the beginning and still learning a lot.
 
Last edited:
Hi Oliver to your question. Here is a photo of a drawbar or scraper, I would not want to work without this simple tool.
View attachment 349611
Thank you for your compliment, I am still at the beginning and still learning a lot.
Thanks Tobias. I know them as scrapers. I have flat ones that I use on furniture but I can see that the curved ones would be handy.
 
Good evening everyone. The construction of the bow.
I hope I can explain the process to you in words and pictures. I have heard from some modelers that the bow is lighter than the stern. Well I can't say that about myself and I had extreme problems with La Palme.

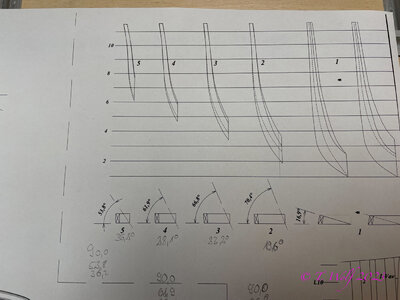
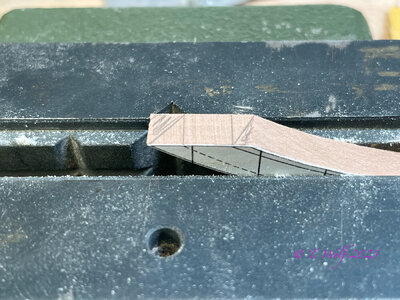
Let's start with the plan, we see degrees and notes added by me in writing, these are the degrees we need to mill. Why I show you in next pictures.
69D37C96-9F73-4ACF-BCE6-6E0E7763353B.jpeg

013DE8A6-982D-4204-A5BF-F5837FA95774.jpeg

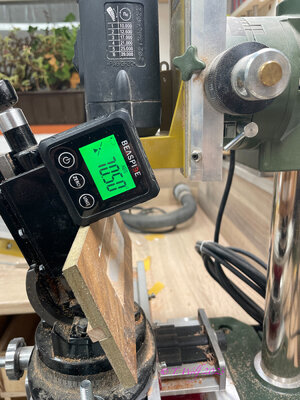
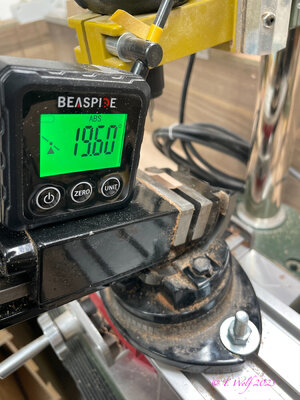
As you can see, this is very steep and you can't really mill like this without your workpiece flicking off the double-sided tape and you'll just get extremely annoyed. Therefore the conversion, turn your workpiece 90 degrees and mill it instead of 70.4 degrees with 19.6 degrees
3B8D746F-70D7-41D0-99D6-8B016663373A.jpeg

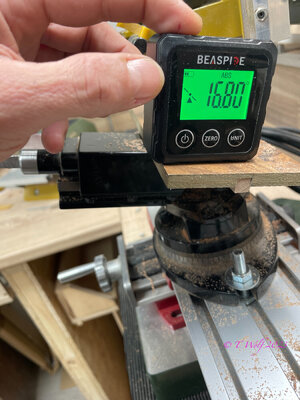
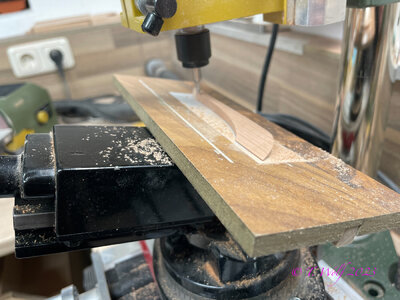
The only piece you can mill normally is #1 (16.9 degrees) but before we mill we need to cut and sand our individual woods.
I work with the spindle sander and the disc sander, more about that.
5D224E9C-22E1-4372-88BC-3C49CD9A21BD.jpeg

8FBAFDFA-4E89-4078-BA14-1E2D77DA7070.jpeg

717F15AB-481D-40B1-8121-1B9867E2BF05.jpeg

365487AE-88CD-4A89-AEAD-735C66C89D83.jpeg

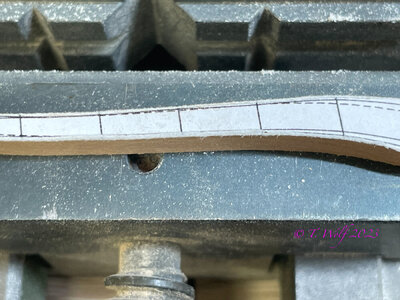
When sanding with the spindle sander is to say the following, when sanding after some time the paper sets up and we can no longer see our line. Now for a simple trick I got from our esteemed colleague Nigel ( @NMBROOK ). Take a piece of sandpaper and deburr the area and your line will be visible again.
614DD61F-2E9B-4631-B45E-CB01D8044E5B.jpeg

20044711-2E6E-45F7-97CD-7537A4D4152F.jpeg

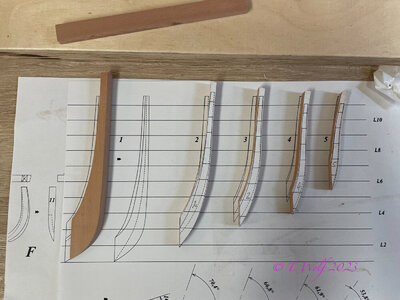
Now for the bevels that we need to sand. I mark this area to also have a lateral reference point, this is usually the widest area and I then work my way forward with a grinder.
D7A87719-D894-4B9F-842B-4CA86D778A17.jpeg

283419C3-2C82-42DE-A50E-6A003B2515D8.jpeg

After you have done everything or so and maybe for the fifth time the worst is done and looks something like this then mill your timbers as described at the beginning. Before you do that check everything again and start with one side (starboard or port). What can happen:
- you mill all parts the same, ok one is used, the other is for the stove.
- you mill them correctly but your previously ground curves are now wrong, everything is for the oven.
- you mill but it is all mirror-inverted, I just say -> oven.
What I want to say is that you will get warm with so much wood for the stove. I check everything until I'm absolutely sure.
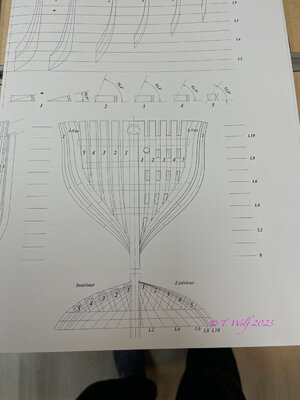
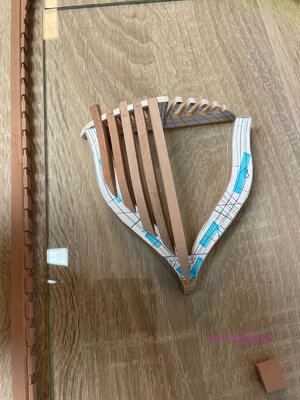
On plan no. 5 you will find a top view of the bug which you can use as a template. It would then look something like this. Now I wish you a lot of fun with the construction and wish you more success like me with La Palme which is a lot more difficult than this one. I will also describe the next steps again if you wish.
DA2E7D73-DEEA-48B2-92E5-869A8F915B19.jpeg

5EFA9CF2-E7BD-45B0-B098-E03452EF0E0E.jpeg
 
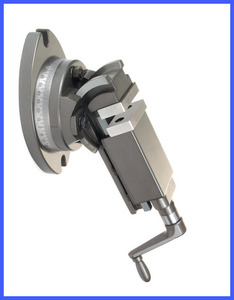
Thanks again Tobias for your clear and complete details. First I need to find or make a tilting table for my Proxxon MF70…. So far it looks like make is the only reasonable option price wise (for me)…
Me too, a repeatable angle fixture.
 
Back
Top