Santisima Trinidad Occre 1/90 scale

Joined
Mar 20, 2017
Messages
323
Points
168

Location
Santa uxia de Ribeira Galicia España
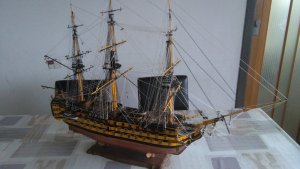
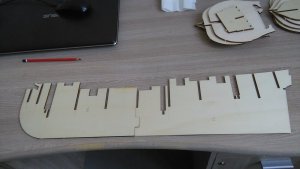
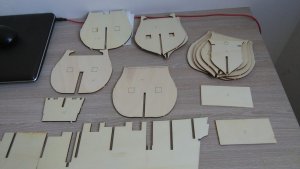
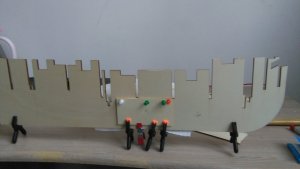
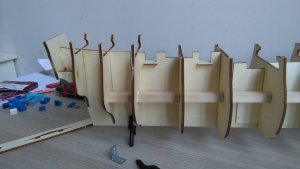
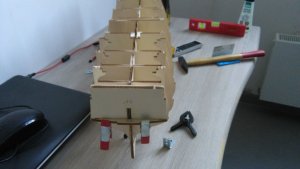
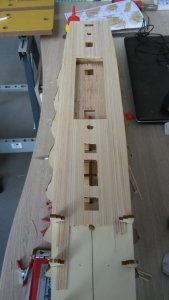
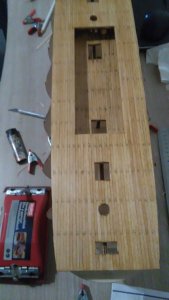
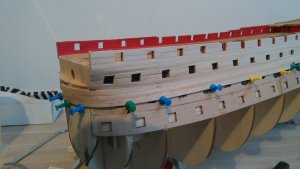
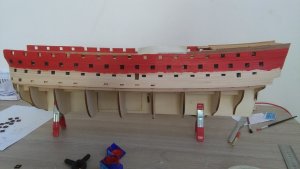
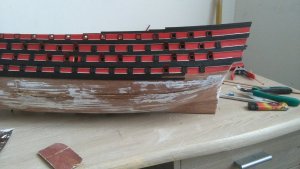
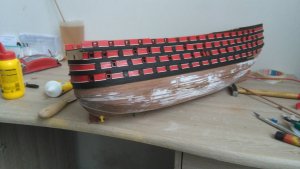
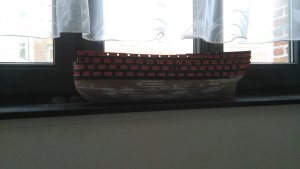
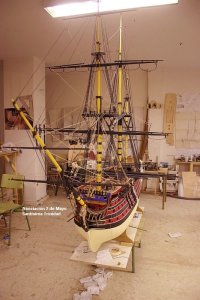
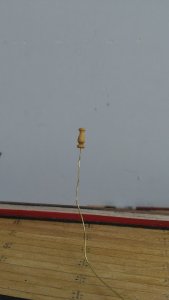
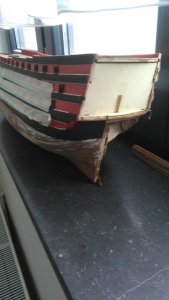
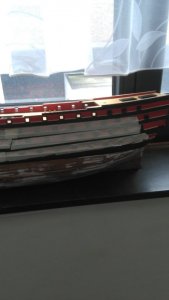
hello friends, I'll bring you my "Nuestra Señora de la Santisima Trinidad" also known as the Escorial de los mares, slightly modified from the building plans, this is my second model shipbuilding (the first was the HMS Victory) I hope you like my St enough to stand here among all those other.the first photo is one of my finished HMS Victory (january 2018) my ST I started on 15 February 2018
greetings from Ostend (Belgium)

IMG_20180105_143059 (Kopie).jpgIMG_20180212_142425.jpgIMG_20180212_142507.jpgIMG_20180212_153525.jpgIMG_20180213_153001.jpgIMG_20180213_153056.jpgIMG_20180218_162236.jpgIMG_20180218_184357.jpgIMG_20180222_183108.jpg
 
Hallo and a warm welcome here on board,
If a modeler starts with ship building with the Victory, and finalized it in the quality like you did, the building log of the Santisima Trinidad will be definitely a very interesting one.
Especially when we see already the starting photos which are showing the work of an experienced ship builder. You learned a lot on the Victory. I will follow your log with big interest.
 
So....now I know your secret of your fast progress.....you are doing everything in the same time.
Planking, painting, gunports, deck planking.....
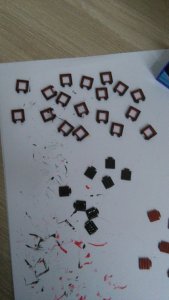
But I can understand you, that if you have to make 130 gunports at once.....this can be boring.
Great progress......is this now the actual status of the model?
Your are doing right with painting here, historical correct, in the color scheme of a certain period. It is not a question of taste.
Two more questions:
Does the model have only single, or double planking?
And
Are you showing the ST in action or with closed port-lids ?
Many thanks for this update and the photos
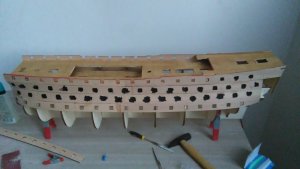
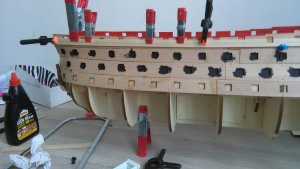
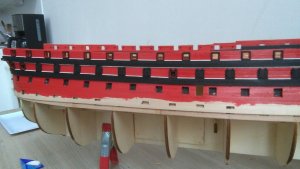
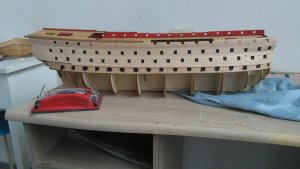
good morning Uwek, as she is on the last picture is how the progress is on the backboard side of the ship, on the starboard side I'm working on the planking and cutting of the gun holes but unfortunately had to stop me, because I've run into a problem with my right elbow (went to the hairdresser on Monday and this is not the best friend of hers and she wanted to run away, but the little creature has so much power and che twisted my elbow) so the only thing I can do now is work to finish the main deck.
to your other questions
the santisima has a single planking
I will place the cannons at a later stage because I still have too much to put the ship on its side for the planking.
ps. Uwek if you or someone else has a constructive critic during the building of the ST please let me know, because according to me this is the only way to become a good model builders I think
kind regards from Ostend
DJ
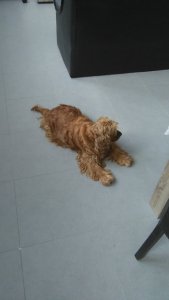
photo of my dog before and after her visit to the hairdresser so you will understand why it is not her friend

IMG_20180319_153116.jpgIMG_20180319_194849.jpg
 
I can understand your dog.....the same with ours. And our visit for haircut will be somehow also in spring. Our dog is a twin of yours - in black

I understand a community like this also not only as sharing nice words. From my colleagues and friends I expect also hints and tricks and comments to improve our work......I will do so.....
 
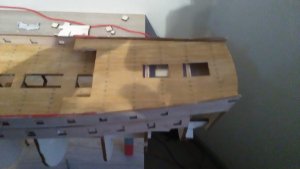
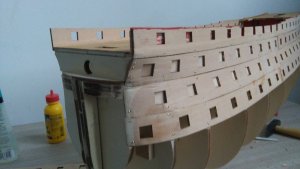
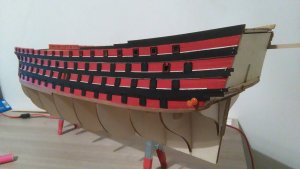
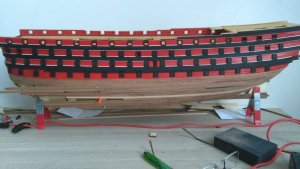
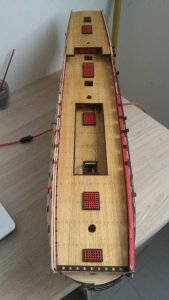
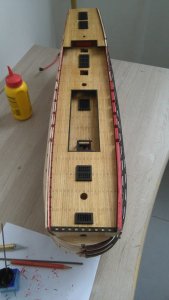
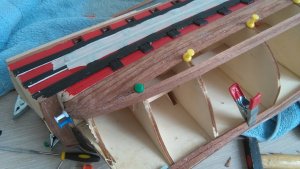
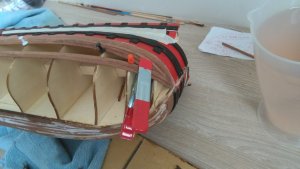
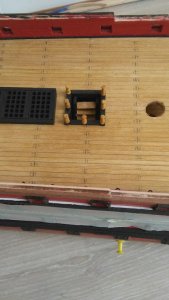
Good evening all here a small update of my ST, I'm almost done with one side of the hull, now a little bit finished with sandpaper and he's ready to paint.
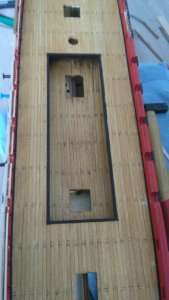
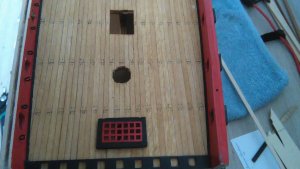
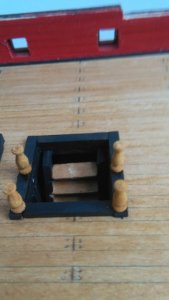
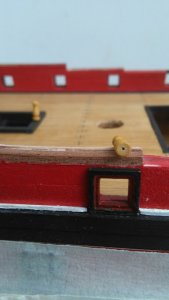
Have also been a little busy at the upper deck with some things to finish, hopefully it is a bit to your liking and so as always leave your critics and coments behind, I will receive them with great appreciation.
greetings from Ostend
DJ

IMG_20180327_160404.jpgIMG_20180327_160433.jpgIMG_20180327_183343 (1).jpgIMG_20180324_122609.jpgIMG_20180327_181009.jpgIMG_20180327_181059.jpg
 
So I hope your elbow is better, and your dog accepted the first shock with the new haircut.
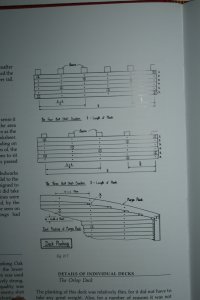
Very good progress you are showing us. The deck planking looks realy good, also with the treenails you made. The pattern of nails would be a little bit different, but it is not easy to show this in this scale of your Model. There would be not only at the ending of each plank nails but also in the middle. I have to check my books showing a correct pattern. Maybe for the next model.
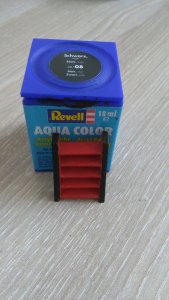
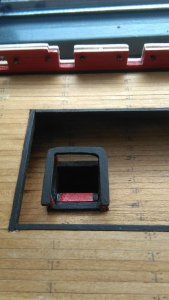
And if it is allowed to say.....I would be careful with the use of the red paint, if you want to make it historical correct. But maybe the Spanish did this on the ST. The inside of the bulkheads / railing were red painted, yes, especially not to see the blood during action. But I do not know if they f.e. painted the gratings and ladders red, due to the fact, that paint was expensive.
It is looking good, no question. But maybe it was like this.....some historic knowledge about the Spanish Armada here in the forum? I would be happy to learn something about this.....
 
» Imágenes del navío Santísima Trinidad.

1
ST_navegando_min.jpg

3

4

5

6

7

8

9

10

11

12
De arriba a abajo:
1.- Navío "Santísima Trinidad " de 140 cañones. Dibujo de Berenguer.

3.- El "Santísima Trinidad" navegando con una escuadra española. Pintura de Carlos Parrilla.

4.- El "descanso del coloso", El Trinidad anclado plácidamente. Pintura de Carlos Parrilla.

5.- El "Santísima Trinidad" pintado por el británico Geoff Hunt. De la web Art Contact.

6.- El "Santísima Trinidad" en un grabado de Berlinguero. Foto Museo Naval de Madrid.

7-8.- Las dos siguientes imágenes corresponden a una composición realizada por Luis M. Martínez. La primera con los colores atribuídos desde que se le corrió la cuarta batería y cuya única referencia es un comentario de un tripulante inglés durante la batalla de Trafalgar. La segunda imágen es la misma, pero con los colores teóricamente reglamentarios, con las franjas de las baterías en amarillo.

9.- Dibujo del Trinidad, de elaboración propia, con los colores reglamentarios con los que asistió a la batalla de San Vicente.

10.- Dibujo del Trinidad, de elaboración propia, con los colores que se supone llevaba en la batalla de Trafalgar.

11.- Dibujo del Santísima Trinidad en su fase de proyecto, de Berenguer. Este dibujo es igual que el modelo del Museo Naval de Madrid (MNM n.° 546) y que era el modelo presentado antes de iniciar su construcción.

12.- Plano del Santísima Trinidad en la época de Trafalgar. Realizado por Carlos Parrilla con motivo de un estudio sobre este navío.
Observaciones.
Para saber más sobre este navío.
Indice de la sección

So I hope your elbow is better, and your dog accepted the first shock with the new haircut.
Very good progress you are showing us. The deck planking looks realy good, also with the treenails you made. The pattern of nails would be a little bit different, but it is not easy to show this in this scale of your Model. There would be not only at the ending of each plank nails but also in the middle. I have to check my books showing a correct pattern. Maybe for the next model.
And if it is allowed to say.....I would be careful with the use of the red paint, if you want to make it historical correct. But maybe the Spanish did this on the ST. The inside of the bulkheads / railing were red painted, yes, especially not to see the blood during action. But I do not know if they f.e. painted the gratings and ladders red, due to the fact, that paint was expensive.
It is looking good, no question. But maybe it was like this.....some historic knowledge about the Spanish Armada here in the forum? I would be happy to learn something about this.....

hello Uwek, regarding too much red I think you're right, I have a bit of looking around on the internet and found it at "Todo a Babor" photo 7 and 8 show the ST with the gratings in black (although it is not is completely clear), I will wait a bit and ask around Spanish colegas, and if I do not find anything clearer, I will do the gratings in black.
 
Very nice work on your Trinidad. I have seen the Red Hull on other variations of the Trinidad and I thought about doing mine with Red, but I didn't and rather choose all natural wood tones. The Red really brings about the hull nicely.

If you wish, you can take a look at my full build log of my Trinidad here:
https://www.shipsofscale.com/Trinidad/index.html


Donnie
thanks Donnie, I have certainly already 100 times viewed your building log of the Santisima and will definitely see him 100 times before mine is finished, he was my inspiration to build the ST, but I also realize that I have a long way to go before I come close to what you have achived (sorry for my poor English but work with the G ... translater)
as far as the bottom of the hull is concerned, I think I will paint it in white (meringue white), or copper color, I do not yet know which of the two colors,
greetings from Ostend
Dj

00-21-53-SantisimaTrinidad -.jpg
 
Copper sheeting (not copper color) was introduced in around 1765 to protect the wooden hull against shipworm etc.
Due to positive effect and results, ships were afterwards refitted with copper heating.
Before this time the shipshull was painted under waterline with so called white stuff....
So if you want to make it historical correct - the ST was built in 1769, so it relatively sure, that she was copper sheathed and not white.
thanks Uwek, I think I will try it with the copper plates, but I'm not sure if I will use the copper band or the copper plates (copper is not that cheap and I need a lot of copper plates) and it is also the first times that I would do this (can not be otherwise just my second construction )
Have you already finished a hull with copper plates on one of your previous buildings?
Greetings
DJ
 
I made the Triton section with one side copper plates, but this you can realy not compare.
Much less plates than the ST and it was in 1:48, so my plates were much bigger, appr. 4 times bigger, than your build in 1:90......
I think there are suppliers with scale correct copper plates, copper bands etc.
I am in moment not sure if you can also show the nailing for the plates in this scale. It is something realy for research......usually Zoltán finds everything ot he knows already some examples.
 
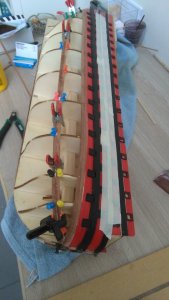
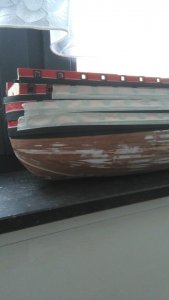
hello everyone, today I have been able to work on the ST, during the week I am busy decorating the new apartment, as you can see in the photos I started with the planking of the starboard side of the ship, and I also worked a bit on the deck, the last photos are from the waterline that I have aligned on the port side
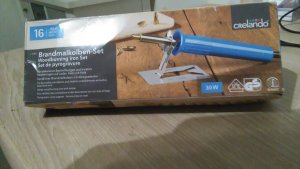
the last picture is of the device that I use to bend the shelves (purchased from Lidl for 8 € and must say it does its job well)
greetings from OoIMG_20180414_114233.jpgIMG_20180414_155027.jpgIMG_20180414_155047.jpgIMG_20180414_173040.jpgIMG_20180414_172405.jpgIMG_20180414_172640.jpgIMG_20180414_175651.jpgIMG_20180414_184357.jpgIMG_20180414_184411.jpgIMG_20180414_184441.jpgIMG_20180414_214625.jpgstende
Dj56
 
Very good progress you made in the meantime, especially during this time of moving.....
The black gratings arevlooking much better I have to say. I think it was a good decision to change the colour.
Some days ago I found some photos of another Triton Section I built some years ago.
On one side of the hull I installed copper plates. If you are interested you can take a look in the area „Media“ where I prepared an album with some photos....
 
Back
Top