• LUCZORAMA SHIPWRECK SCAVENGER HUNT GIVEAWAY. 4 Weeks of Fun • 1 Legendary Prize ((OcCre’s Fram Ship)) • Global Crew Welcome!
    **VIEW THREAD HERE**

BALDER, Vlaardingen Herring Lugger from 1912, scratch build scale 1:50 Plate-On-Frame

After each mold, it is checking whether the lines are correct:
0698 Verschansing.jpg
And I approach the more complex aft:
0699 Verschansing.jpg
Also made the handrail and that is helpful with the alignment.

After 5 versions of the last 2 molds:
0700 Verschansing.jpg
There is the nicely flowing double curved aft:
0701 Verschansing.jpg
Everything still made of paper and secured with tape.

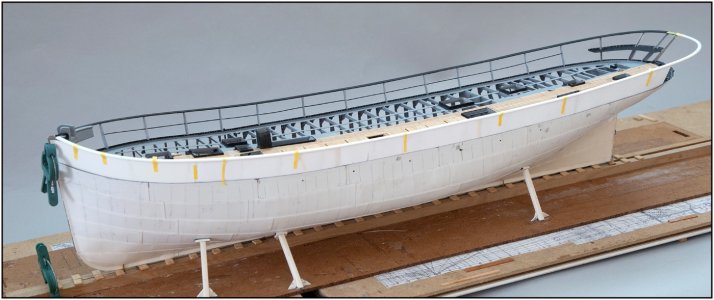
Then her final, as far as I am concerned, beautiful lines appear:
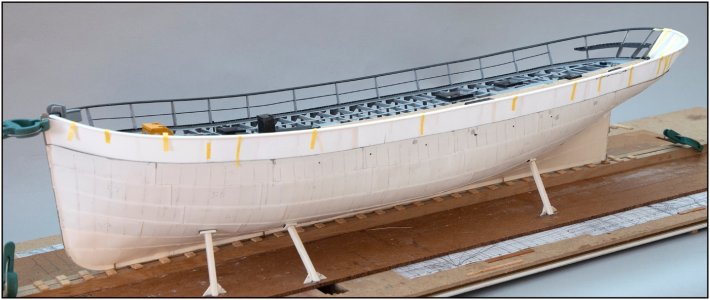
0702 Verschansing.jpg
0703 Verschansing.jpg
Where she looks different from all sides:
0704 Verschansing.jpg
0705 Verschansing.jpg
After almost 21 months of 'hard work' I can't get enough of these elegant lines.:)
Regards, Peter
 
After each mold, it is checking whether the lines are correct:
View attachment 522200
And I approach the more complex aft:
View attachment 522193
Also made the handrail and that is helpful with the alignment.

After 5 versions of the last 2 molds:
View attachment 522194
There is the nicely flowing double curved aft:
View attachment 522195
Everything still made of paper and secured with tape.

Then her final, as far as I am concerned, beautiful lines appear:
View attachment 522196
View attachment 522197
Where she looks different from all sides:
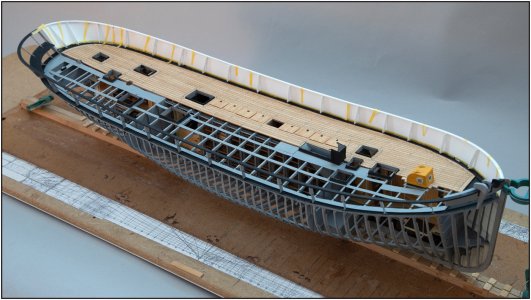
View attachment 522198
View attachment 522199
After almost 21 months of 'hard work' I can't get enough of these elegant lines.:)
Regards, Peter
Beautiful…and she splits in two.
 
With a paper template it is easy to cut the corresponding plate from Evergeen. But then the .010"/0.25 mm plate also turns out to be stubborn to give and keep its desired shape. The paper version can be easily bent into shape, but the rear plate in particular took a lot of time.
Given the flexibility of the Evergreen, the plates and the handrail must be placed on the hull without tension. A little too much deviating tension and the rest will deform.
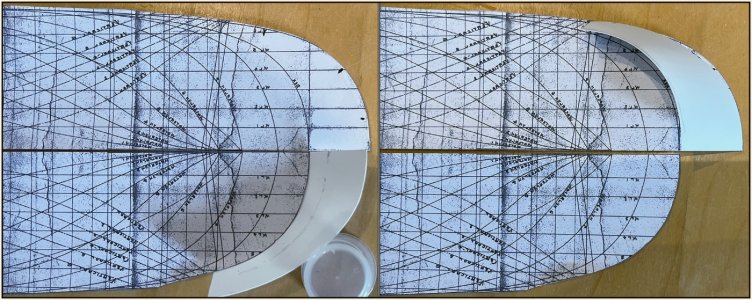
For the rear part, I kept bending and turning until the plate retained its shape:
0707 Verschansing.jpg
I used the old line drawing for this.
On the left, the bottom side on the line of the outside of the deck. On the right, the plate upside down and the top side placed on the line of the bulwark. Then it had to fit eventually, because that line drawing was the starting point of my construction.
0706 Verschansing.jpg
Here loose on the port side part.

Now it was time to draw all the parts that will be attached to the 6 plates.
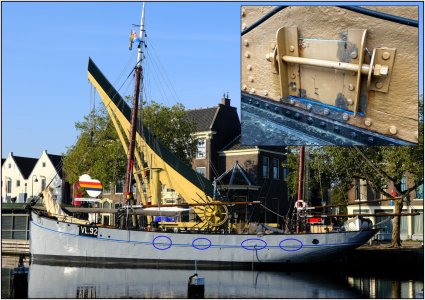
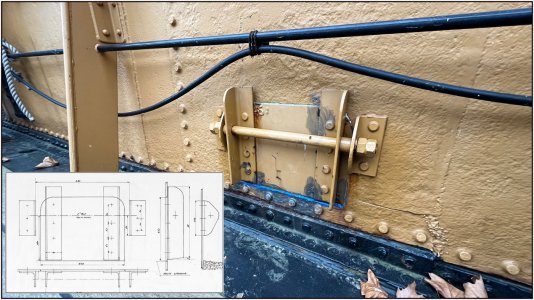
First, the 4 water valves that I had already seen on a photo of the Balder marked:
0698 kleppen.jpg
The scanned drawing from Amsterdam also included a technical drawing with dimensions of the valves:
0708 kleppen.jpg
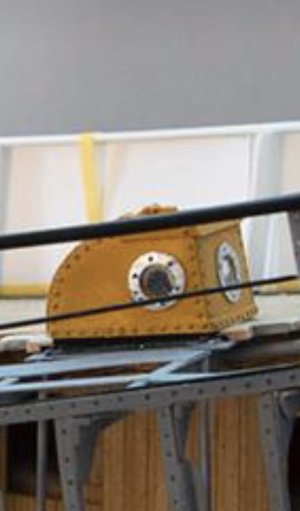
A valve of 380x265 mm must then become 7 x 5.5 mm:
0709 kleppen.jpg
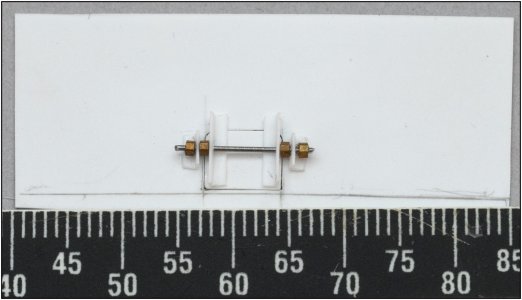
A macro shot then shows that I have to work very precisely.

This will be the construction, first tested on a test piece:
0710 kleppen.jpg
with pieces of angle iron on the valve of 6 mm long and pieces of 3 mm long as hinge points. I still have pieces of spring wire of 0.5 ø mm and nuts M 0.8. I have to cut the corners of the profiles, but that's for the later versions.
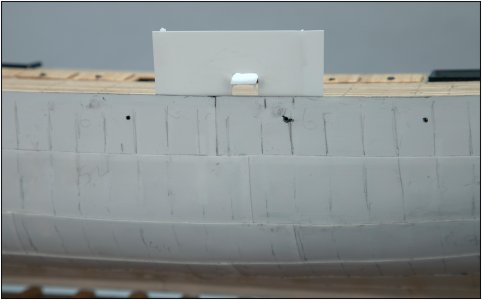
The test piece on the plating with a slightly more normal viewing distance:
0711 kleppen.jpg
Of course the valve can open:
0712 kleppen.jpg
Seen from the inside, closed:
0713 kleppen.jpg
and open:
0714 kleppen.jpg
The rivets still have to be placed on the parts.
Then my choice regarding the pre-spraying of the inside in color may also become clear: how should I mask everything off and also spray in all come into 'nooks and crannies'?
Regards, Peter
 
Last edited:
Not an easy task bending 0.25mm styrene on several plains Peter, but have made a good start. And your wash ports look the business. Love your work.

Cheers JJ..
Thanks, Jack. Almost 1 hour for that little multi curved plate ….. :confused: but at the end after 3 Evergreen plates in the dustbin ……. :)
Regards, Peter
 
A second locking bolt on either side...if you aren't running out of bolts?

I have no ideas on the paint. Very challenging!!

It is looking awesome!!
You have a eye for details, Brad.:) The double ones are for the later real versions. If I can file them a bit, otherwise they are in width a bit out of scale. Will this still be noticeable after painting and behind the railing? But now you know, I know, please don’t tell the others …….;)
Regards, Peter
 
Back
Top