• LUCZORAMA SHIPWRECK SCAVENGER HUNT GIVEAWAY. 4 Weeks of Fun • 1 Legendary Prize ((OcCre’s Fram Ship)) • Global Crew Welcome!
    **VIEW THREAD HERE**

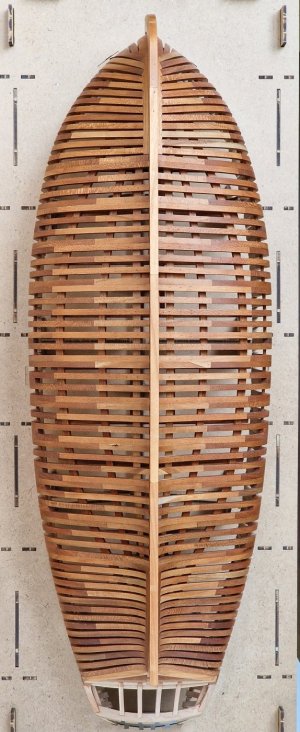
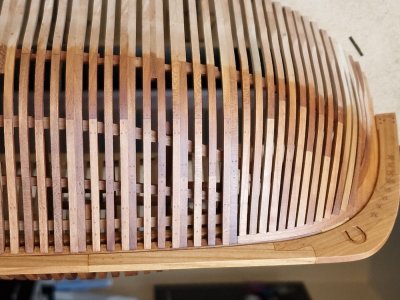
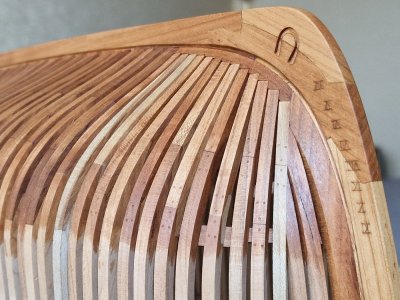
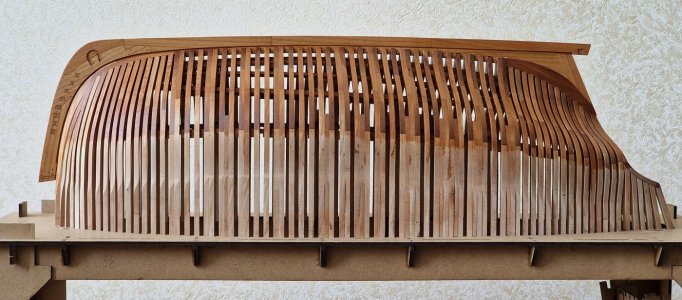
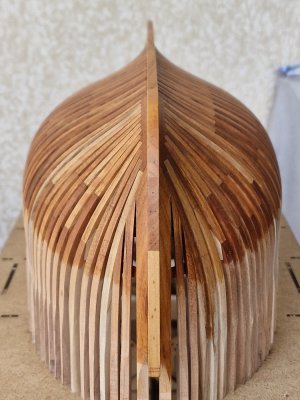
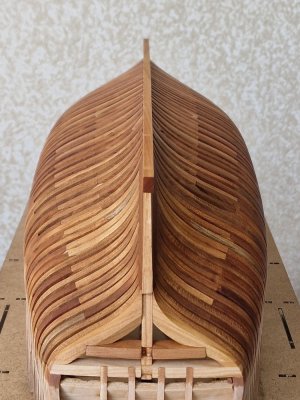
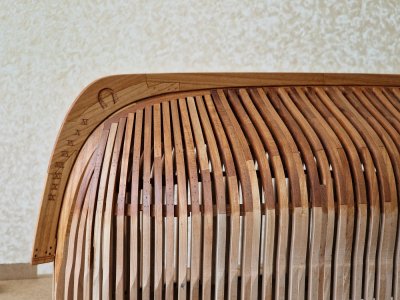
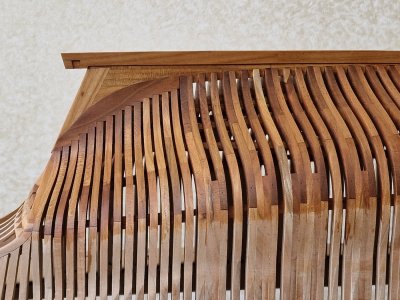
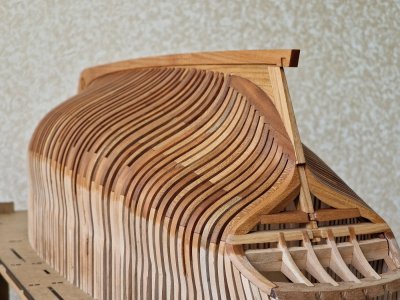
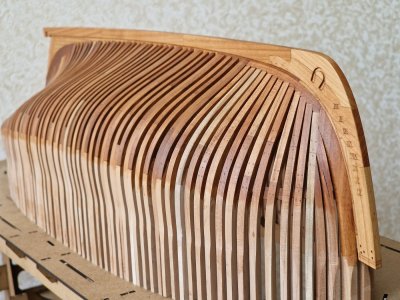
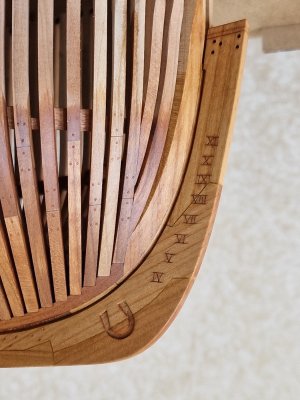
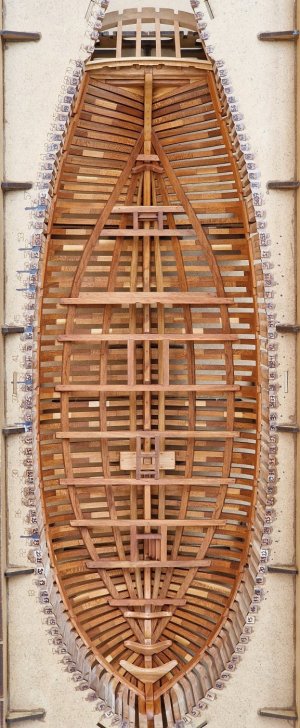
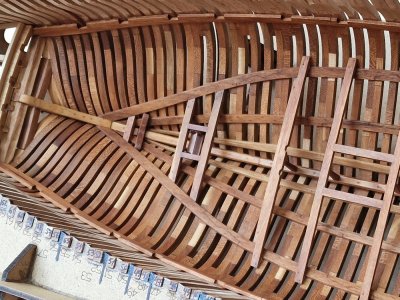
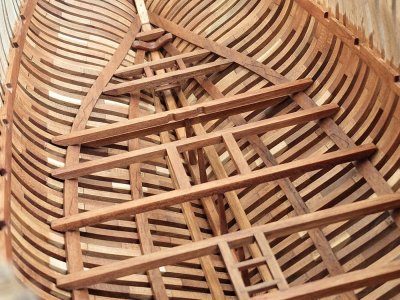
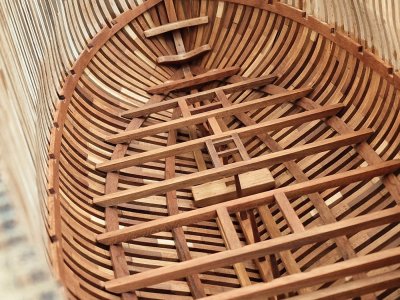
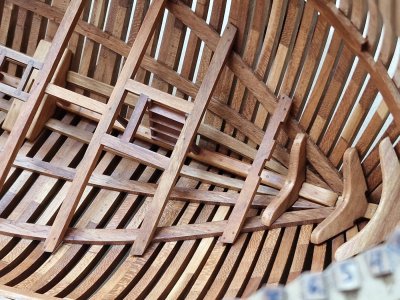
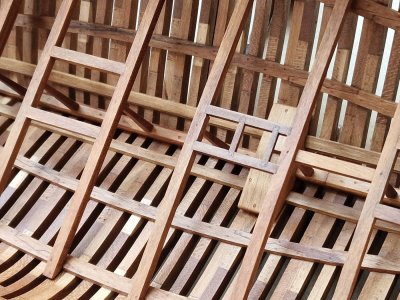
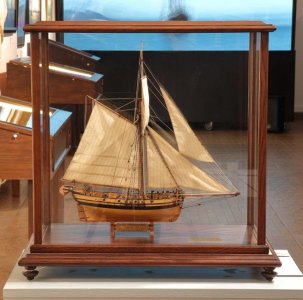
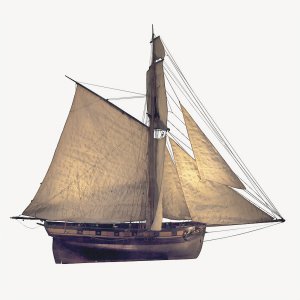
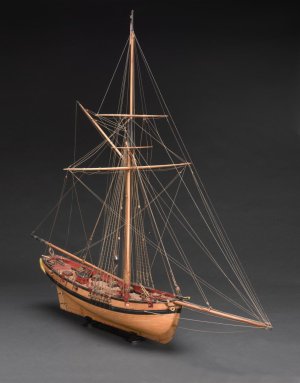
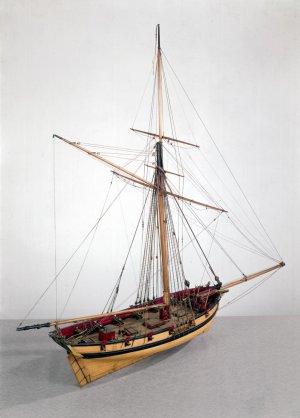
HMS Alert [1777] 1:48 POF by serikoff. (Two hulls: skeleton and fully rigged)

this illustration clearly shows how two sloops were installed on the deck. This is not something you see often.
Thank you very much for sharing your research with us. I agree that it is highly unusual to see ship's boats stacked, especially with the upper boat resting on the thwarts of the lower one. Do you know the name of the artist and date of the painting?

Allan
 
Thank you very much for sharing your research with us. I agree that it is highly unusual to see ship's boats stacked, especially with the upper boat resting on the thwarts of the lower one. Do you know the name of the artist and date of the painting?

Allan
It was the same on Alert. There were special supports on the deck for the lower one, and another support was installed on top of the lower boat, onto which the upper boat was installed.
Unfortunately, these supports are not in the drawings, but I have an idea of what they should look like, I will base it on similar ships.
 
In short, a false alarm!
1. Color... I looked at the models that I really like and 9 out of 10 are dark bitumen "museum" examples. And today I accidentally saw Alert from afar and realized - this is "it"! The deck will be a little lighter and thus will differ from the lower one (which will visually separate them), so I calmed down.
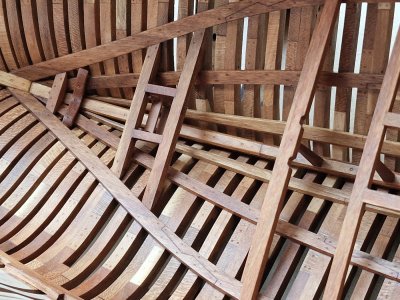
2. Smell and drying time of the oil. After a week it already stinks less and judging by the samples that are a month old - the smell will go away (at least by 90%). And the fact that tung oil dries for a long time, yes ... but I already knew that.
3. Stains... It was still necessary to dilute not 2:1 but 1:1 or even 1:2 with solvent. And very carefully wipe off the excess. But my manipulations with a hair dryer reduced the shine of the stains and their size. One good thing is that they are now difficult to see, and it will be even more difficult when the upper deck covers it all.
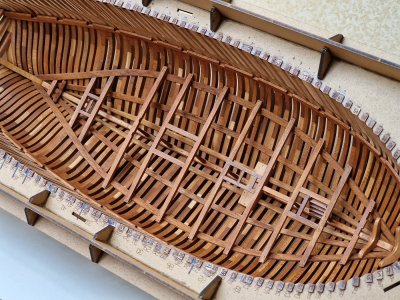
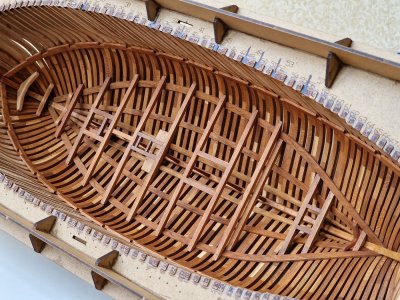
4. Take it out! Samples do not always give an accurate result, but this does not mean that they are not boring to do, but rather, on the contrary, confirms the importance of samples. I still need to test all oil options with bitumen and maybe I will give Danish oil a chance. Today I did tests with it ... and not everything is so bad. There are some moments, but everything needs to be checked with bitumen, without it there is no point in making a decision on oil. And while the first hull is drying, I am making the second, maybe in a couple of days there will be something to show ...

From time to time I look at similar models and this really motivates me to continue ...

20250705_005521.jpg
 
In short, a false alarm!
1. Color... I looked at the models that I really like and 9 out of 10 are dark bitumen "museum" examples. And today I accidentally saw Alert from afar and realized - this is "it"! The deck will be a little lighter and thus will differ from the lower one (which will visually separate them), so I calmed down.
2. Smell and drying time of the oil. After a week it already stinks less and judging by the samples that are a month old - the smell will go away (at least by 90%). And the fact that tung oil dries for a long time, yes ... but I already knew that.
3. Stains... It was still necessary to dilute not 2:1 but 1:1 or even 1:2 with solvent. And very carefully wipe off the excess. But my manipulations with a hair dryer reduced the shine of the stains and their size. One good thing is that they are now difficult to see, and it will be even more difficult when the upper deck covers it all.
4. Take it out! Samples do not always give an accurate result, but this does not mean that they are not boring to do, but rather, on the contrary, confirms the importance of samples. I still need to test all oil options with bitumen and maybe I will give Danish oil a chance. Today I did tests with it ... and not everything is so bad. There are some moments, but everything needs to be checked with bitumen, without it there is no point in making a decision on oil. And while the first hull is drying, I am making the second, maybe in a couple of days there will be something to show ...

From time to time I look at similar models and this really motivates me to continue ...

View attachment 530076
Good morning Sergey. I did a little catch up with your log last night and this morning. Your log is the most comprehensive I have ever read and I appreciate it immensely. Thank you I learn so much reading through your log. I am really happy to
 
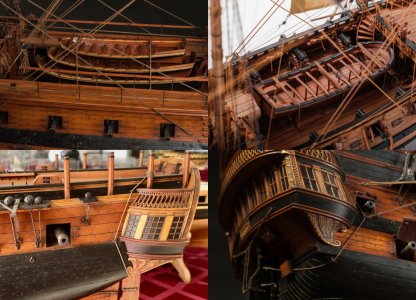
Are those images from models by Dima Shevelev?
Yes, absolutely right. 3/4 is a 74-gun ship and Belle Polle, and also Aurora Zagorulkina. I like their style and most importantly - the rigging! This is the style I will do it in on Alert.


Good morning Sergey. I did a little catch up with your log last night and this morning. Your log is the most comprehensive I have ever read and I appreciate it immensely. Thank you I learn so much reading through your log. I am really happy to
Read this mornings “false alarm”. Your Alert is magnificent. Cheers Grant (a big fan of your work)
Thank you Grant for your kind words, they motivate me to continue to add more detail to this log. I'm glad you like it. If all goes well, this log will contain two stories about assembling the kit and a full-fledged second ship based on the finished kit, but separately. I really hope that everything will work out.
 
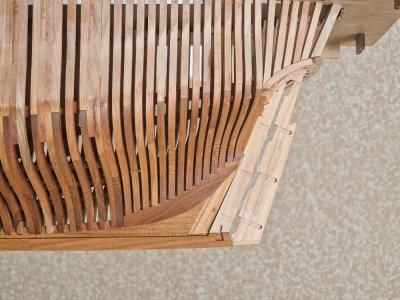
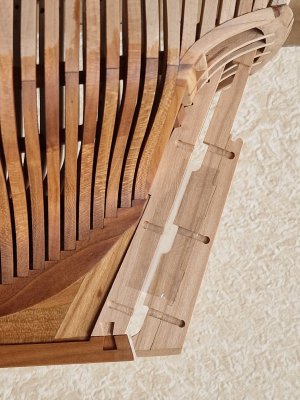
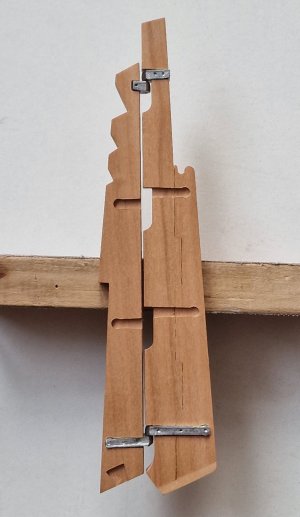
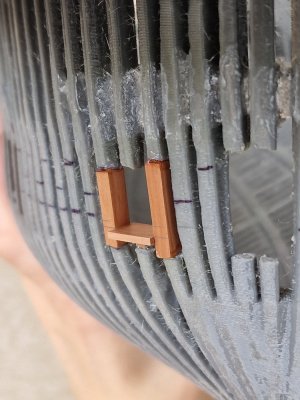
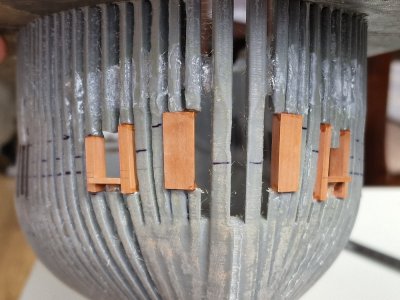
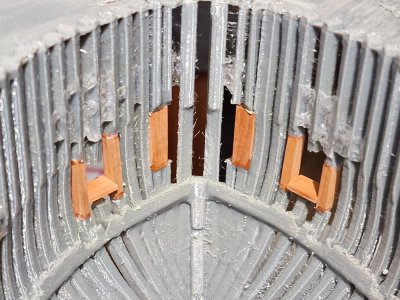
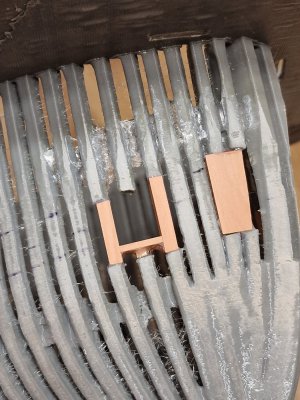
Small update with inserts.
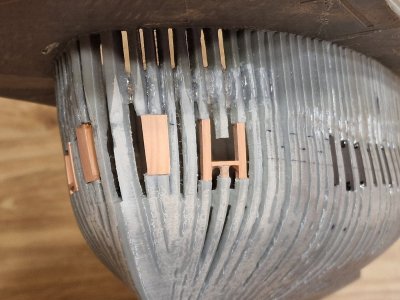
Today he finished the opposite side and made the slopes of the cannon ports in front.

Alert 1013.jpg

Unlike the railings and ports in the middle section, which are made of black hornbeam, in front these elements will be made of pear. The pear is not ordinary, but its red part, which is usually located in the core of the tree. I really like this color. And since the ports were painted red on a real ship, a pear with a red tint will be just the theme.

Alert 1014.jpg

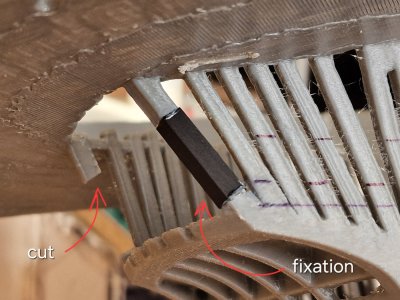
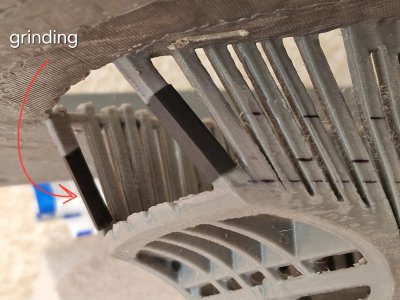
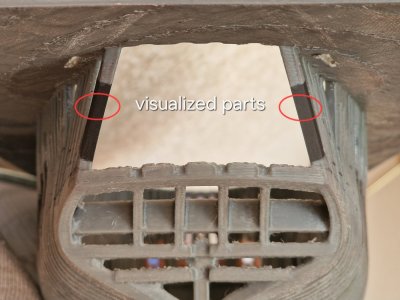
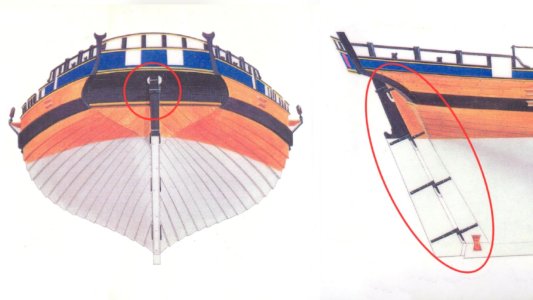
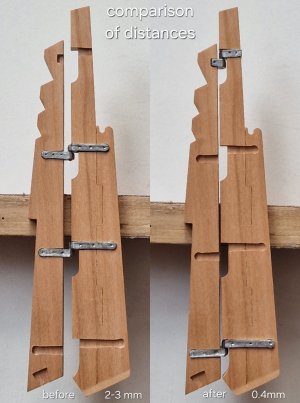
Then I made an element for the anchor rope. It goes through these 2 shangouts, But since these 2 frames are glued together with two parts - I made them whole for convenience, and then I will apply the joints with the blade, and it will seem that there is not one fragment but 4.

Alert 1015.jpg

Alert 1016.jpg

After grinding, it all looks like this...

Alert 1017.jpg

Alert 1018.jpg

There will still be a black insert in the front in the area of the rope hole, but I will do it later.

And so, a couple more inserts at the back and you can prepare the ship for applying the waterline. This stage is very important and a lot of preparatory points need to be done...

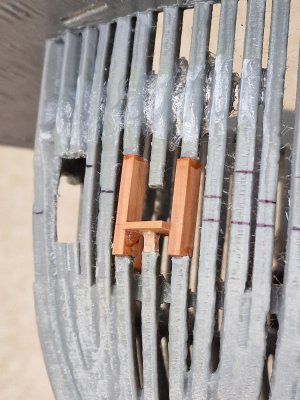
In the meantime, this fragment is already ready for cladding. The only thing is to try not to notice everything that is not made of wood on the case. I understand that it is a little dirty and a lot of unnecessary things, but as a result, everything that does not look very good will either be cleaned or completely blocked by a tree. Therefore, rough backstage - do not take into account in future beauty yet. ROTF ;)

Alert 1019.JPG
 
I continue to fight the first hull. And sort of, I'm winning... but that's not accurate ROTF

Almost two weeks have passed since the application of Tung oil (2:1 with solvent). Withdrawal! Dilute at least 1:1 and be SURE to eliminate any excess after 20 minutes. Otherwise, we are waiting for you to take into account. So learn from other people's mistakes.

Dust! Here is another blow in my direction. I did a general cleaning, the model was protected from dust, but (naturally) did not cover it, because how it would dry then. And now, after a gift of weeks, I found dust... and not just the one that is easy to blow off with a stream of air, but the one that stuck to the oil and even between the frames... Trouble:eek:. I've been messing with the hull for hours today and I thought it was all gone, but (spoiler) it wasn't!

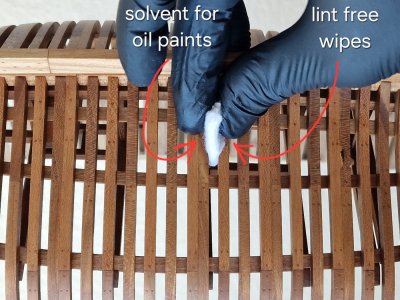
In short, I alternated between two procedures. The first is wiping with a lint-free napkin wetted in a solvent for oil paints. (and it's a very tedious, boring and monotonous job)...

Alert 1020.jpg

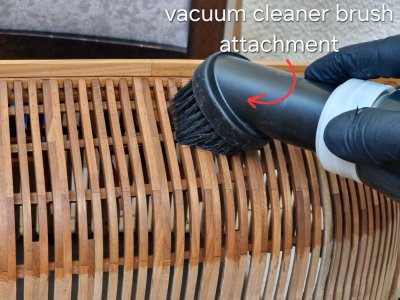
And the second procedure is to eliminate dust using a vacuum cleaner nozzle.

Alert 1021.jpg

The result was almost invisible after the first few passes, but I did not stop and after at least 7-8 runs I saw a clean hull, without dust sticking, almost without spots of glossy films and other things. And I was unrealistically glad.

I will also let him dry to the maximum (while there is something to do) and I hope that he will finally dry out (since now, there is still the impression that the polymerization is not completed). And I hope that the dust that will already appear in the process and then after grinding the upper deck will no longer stick to the surface, but will be easily eliminated by the nozzle from the vacuum cleaner. Anyway, I hope so.

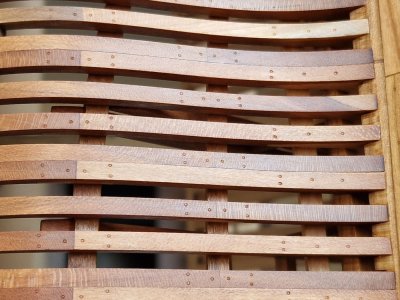
Well, so, as most likely nothing will change in appearance, I will show you how the hull looks now. And in appearance, he is like after bitumen, exactly as I wanted at the beginning. It is a pity that some fragments are a little lighter, but already as it is (it was necessary to replace them all at first) but maybe there is something in this, what do you say?

Alert 1022.jpg

Alert 1023.jpg

Alert 1024.jpg

Alert 1025.jpg

Alert 1026.jpg

Alert 1027.jpg

Alert 1028.jpg

Alert 1029.jpg

Alert 1030.jpg

Alert 1031.jpg

Alert 1032.jpg

Alert 1033.jpg

Alert 1034.jpg

Alert 1035.jpg

Alert 1036.jpg

Alert 1037.jpg

Alert 1038.jpg

Alert 1039.jpg

Alert 1040.jpg

Alert 1041.jpg

Alert 1042.jpg

P.S. I forgot to clarify a very important detail... Maybe the oil dried poorly because we had bad weather, rain, dampness and not very warm. And now on the balcony +45 is the minimum, so in such conditions, I think that the oil will dry much better.

Ship-1
 
Last edited:
What a stunning model! All the frame edges are crisp and sharp. Every joint is tight. There are no stray file or sandpaper scratches. And the oil really shows it all off. Just beautiful! So, I don't any more grumbling about how bad you think it looks. ;)
 
What a stunning model! All the frame edges are crisp and sharp. Every joint is tight. There are no stray file or sandpaper scratches. And the oil really shows it all off. Just beautiful! So, I don't any more grumbling about how bad you think it looks. ;)
Thank you very much, I am very glad to hear it. At the same time, I seriously thought several times that I had ruined everything. I hope that everything will be fine in the future. :cool:
 
Today, again, a little thoughts in the ear and some beautiful photos.

Recently revised all its links of useful sites about ships... and noticed one such bad feature, almost 3/4 of the sites simply do not exist anymore. And I kept them somewhere in 2009-2012. That is, if I had not saved myself all those photos that I liked the models, then I would not have been able to look at them again.

One drawback is that at that time I did not perceive anything less for a frigate or battleship for something worthwhile. And I now understand how wrong I was, but it's too late... how much I could save a good photo with small ships, and I regret it.

Surprisingly, with a cursory search, there are not many good models of boats on the Internet. (I do not want to offend anyone, but I do not take into account the simple models of novice masters, I am about those by which you learn, draw inspiration and knowledge... such as museum specimens or models that are museum-style by professionals).

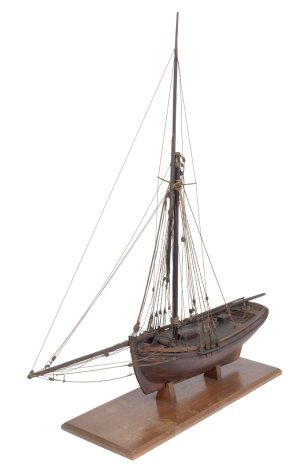
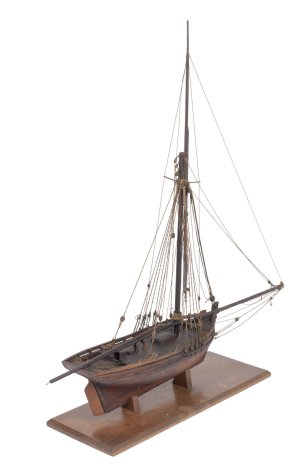
I tried looking for something inspiring and here's what I found. I add all the links to those who will be interested, for some only from the original source you can see in good quality.

First, a couple of photos from different (unknown) sources. And in the end - it will be the most interesting!

00.jpg

01.jpeg

02.jpeg

03.jpeg

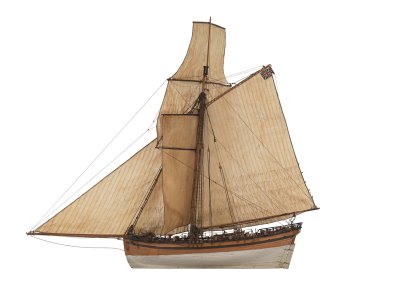
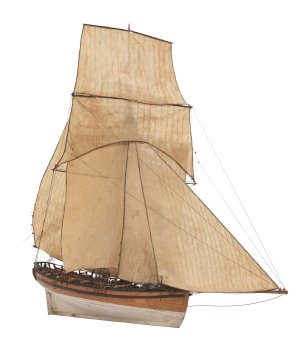
On this site, I found these museum specimens. And here, if you want to see in good quality, then follow the link.
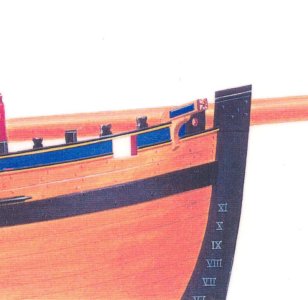
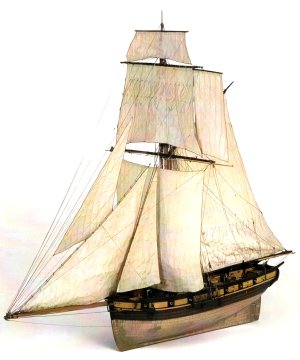
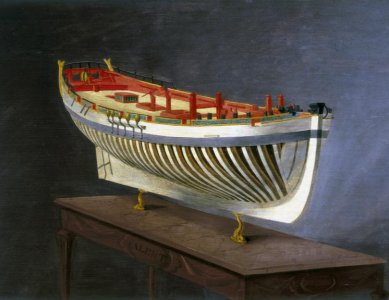
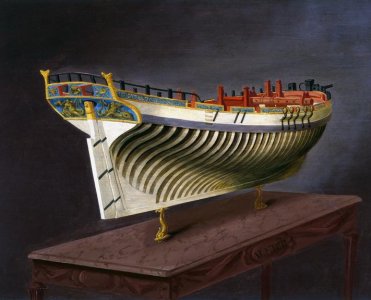
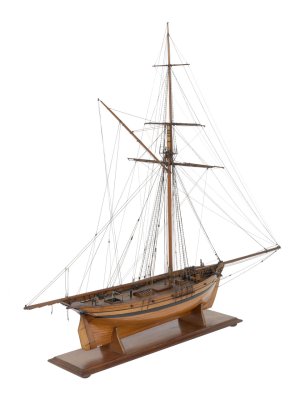
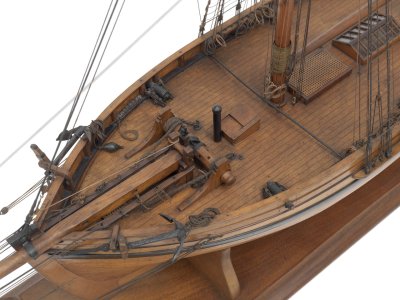
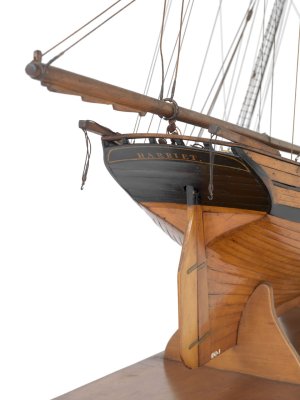
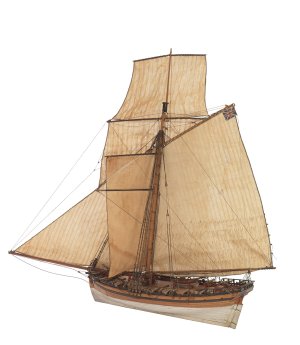
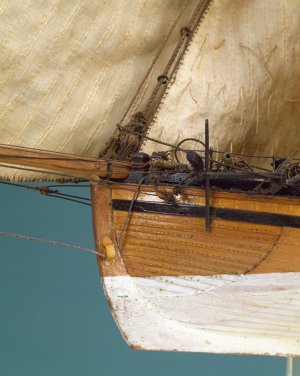
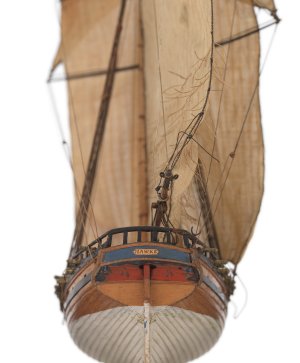
And for starters - Alert and his coloring.

04.jpeg

05.jpeg

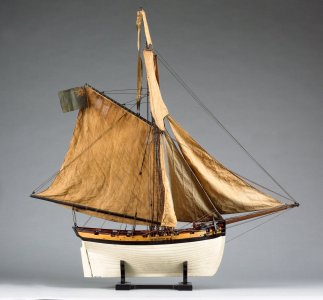
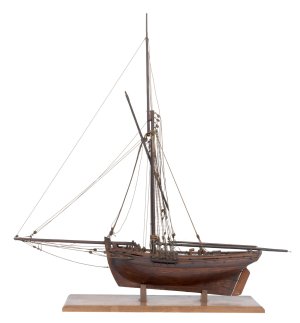
And another model of the boat, which I liked. (again, at the link above - you can see in good quality.

07.jpg

06.jpg

And on this site it is possible to download in normal quality. Here is a link to a list of all the models, but below I will share only those closer to the boats, although many deserve to see.

08.jpeg

09.jpeg

10.jpeg

11.jpeg

14.jpeg

15.jpeg

16.jpeg

17.jpeg


18.jpeg

19.jpeg

20.jpeg

21.jpeg

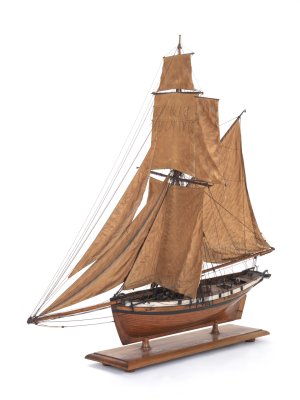
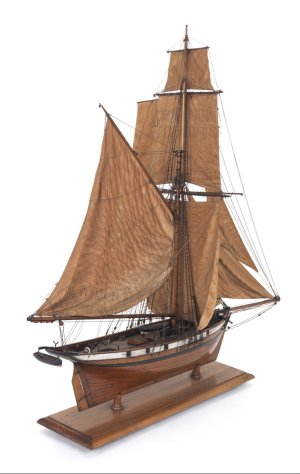
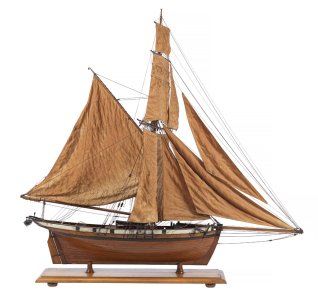
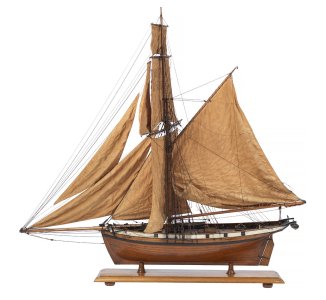
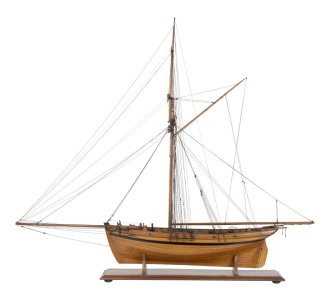
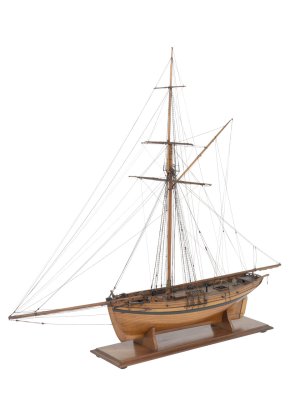
Well, in the end, the cutter Hawke, which is practically the same as the Alert. (I even used it in the first after, as an illustration of what I want to do, but so photo in a different color profile. But the model is very beautiful!

22.jpeg

23.jpeg

24.jpeg

25.jpeg

26.jpeg

It is a pity, of course, that the quality of the photo is not enough to enjoy the models in full, but which ones are. I have always tried to photograph at exhibitions as clearly and with detail as possible, but it is a pity that now I can visit museums around the world to see all this beauty... but there may be more to come.

If you have links to sites where there is a similar style and techniques of the model - write me a personal message, I will be grateful.
 
Back
Top