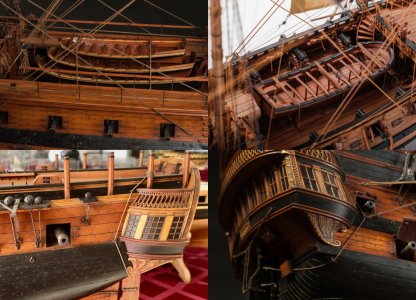
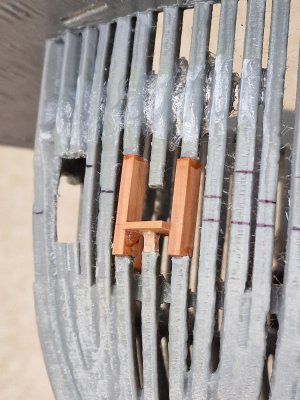
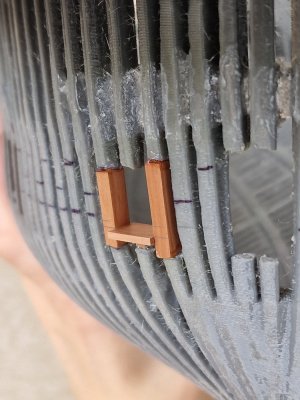
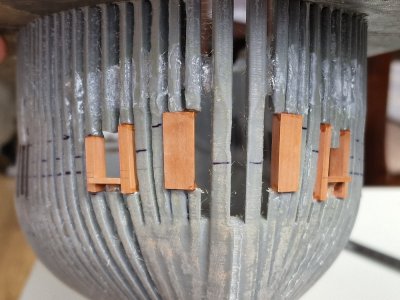
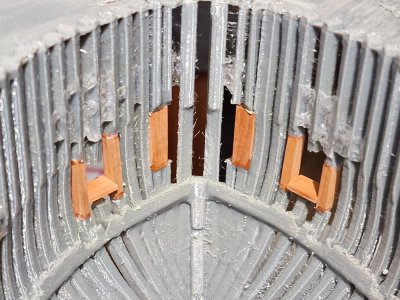
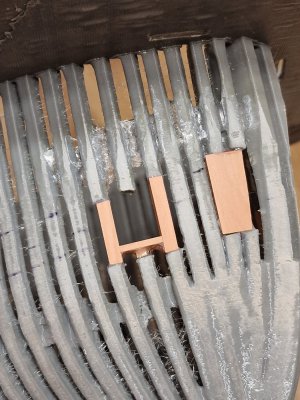
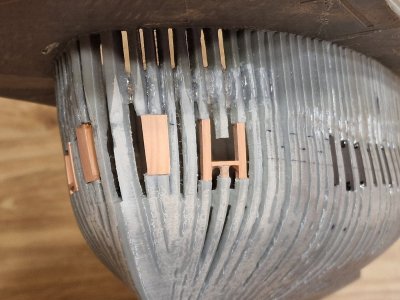
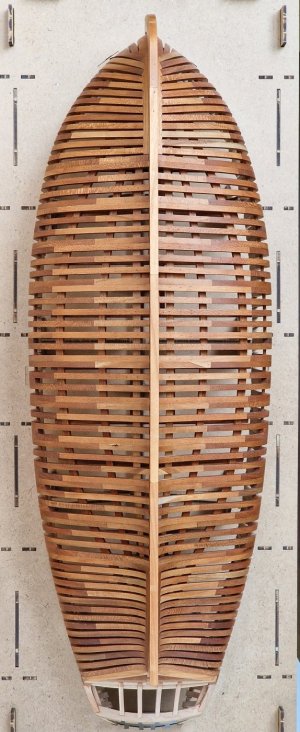
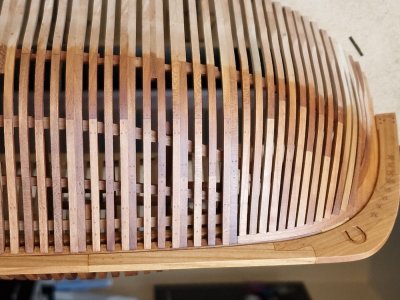
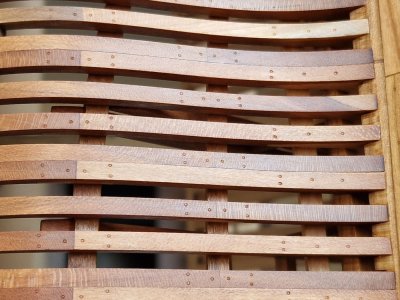
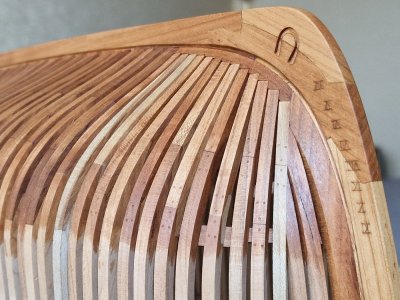
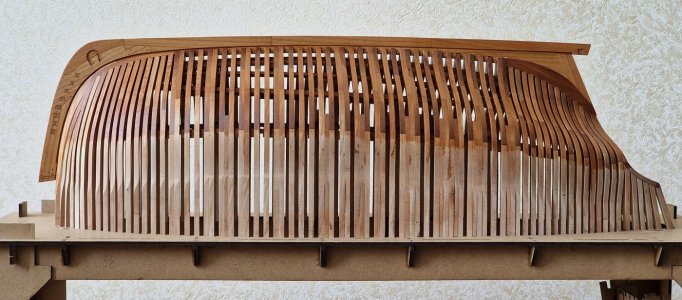
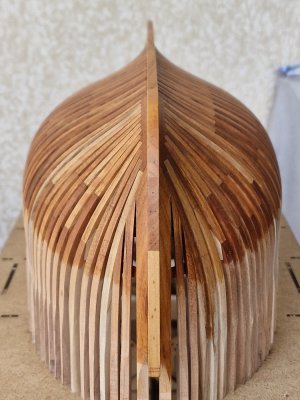
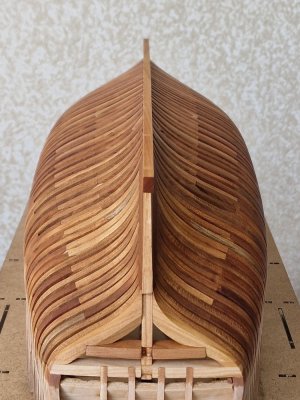
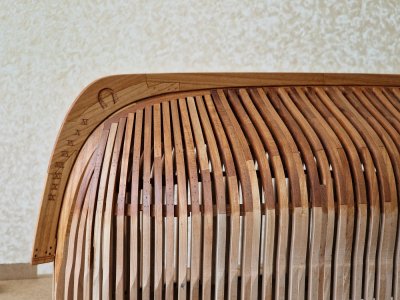
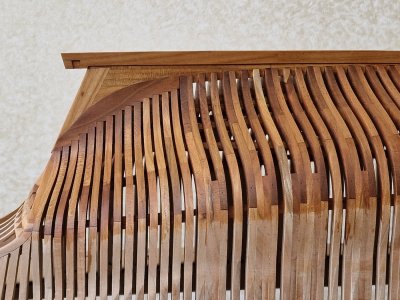
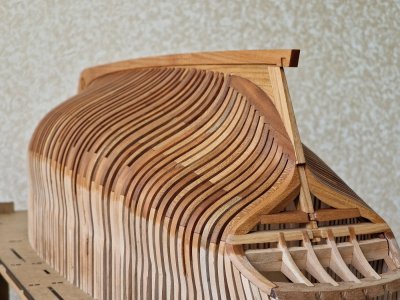
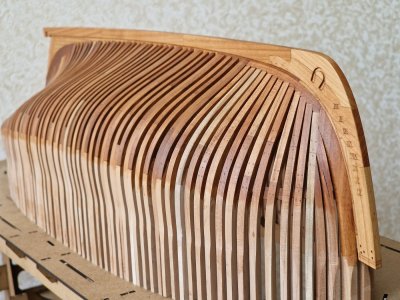
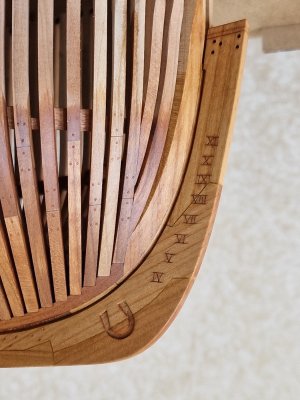
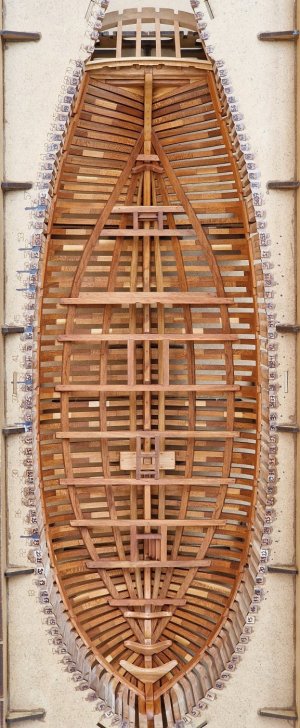
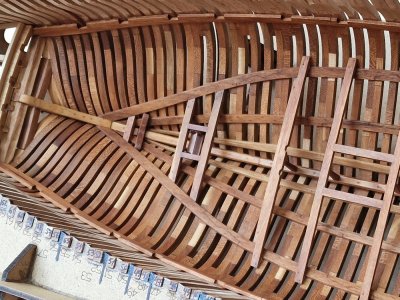
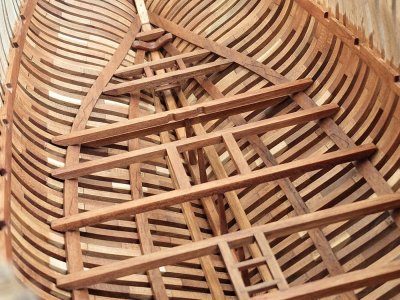
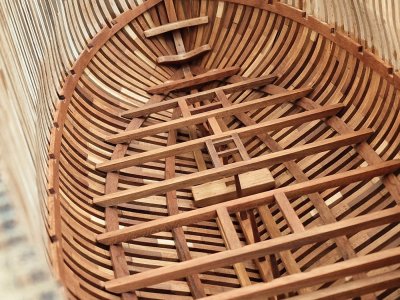
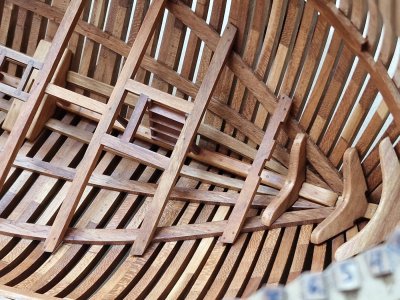
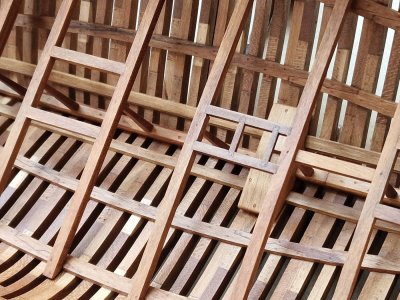
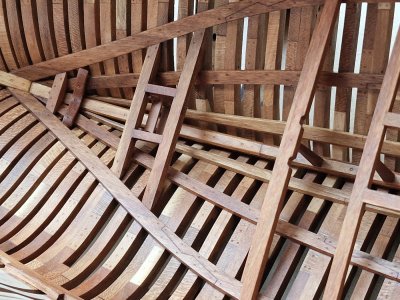
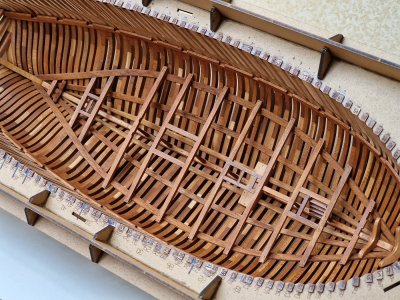
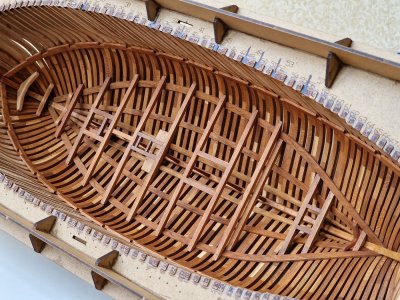
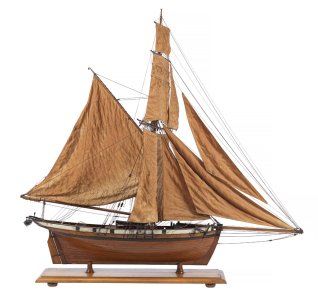
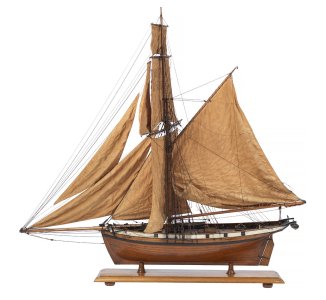
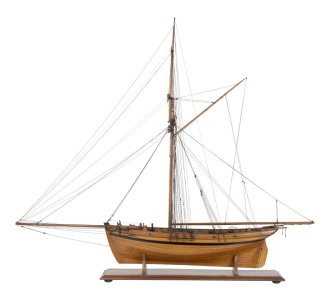
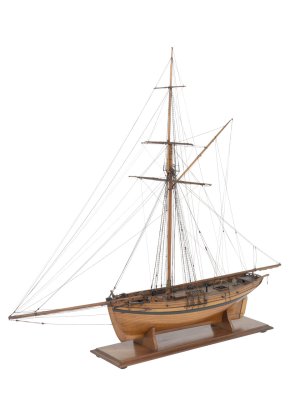
I have a couple more inserts left to stick in the aft.
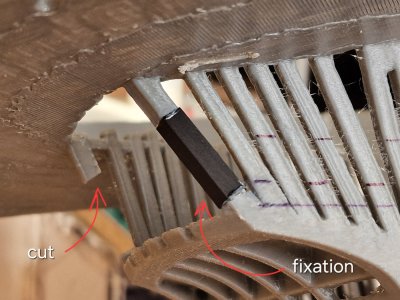
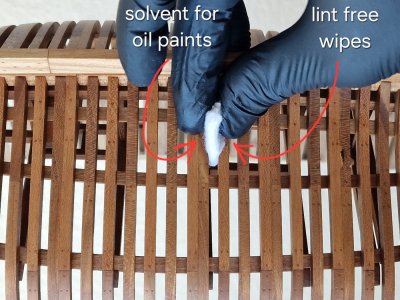
Everything is simple here: I cut off, prepared a detail according to the parameters from the first black hornbeam case, and pasted gel on the CA...
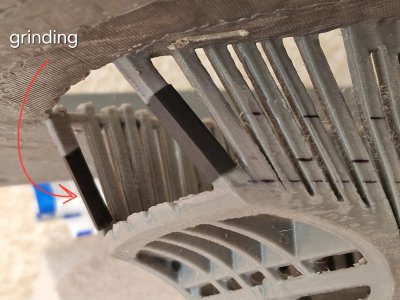
... and polished along the contours of the case. I did it as always with a margin, but only a small part of them will be visualized.
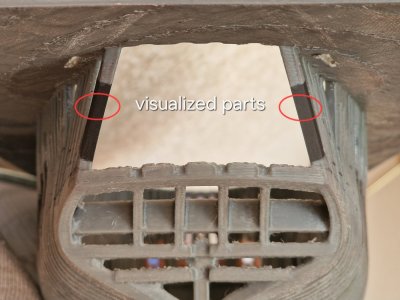
And now, in order to start sheathing the stern (or rather the space under it), I need to adapt the steering gear and make a few more inserts.
In order to then correctly arrange the hole for the steering wheel, and everything else, I began to make the steering wheel itself. As always extracted details...
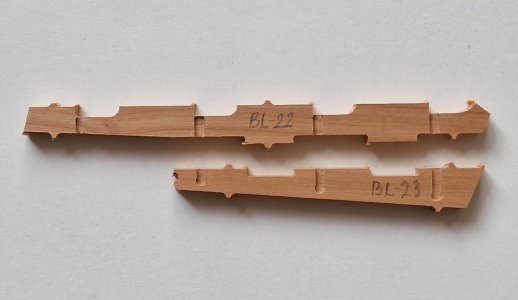
... sanded them and glued them together.
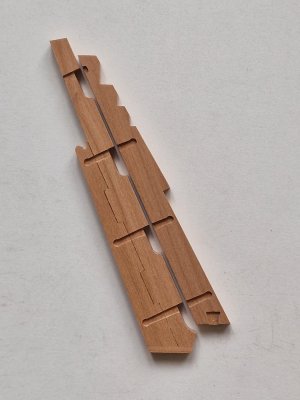
I will not make the second steering wheel on the second body prefabricated, but I will make an imitation with a blade. Less hassle and the result will be the same, but much faster.
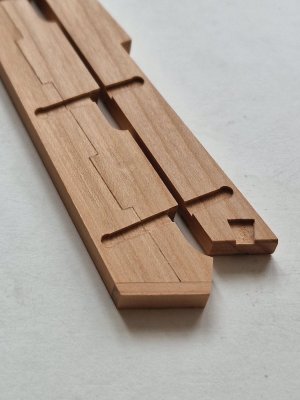
The only thing is that from below I will make this small part on the second steering wheel, since there are fibers across.
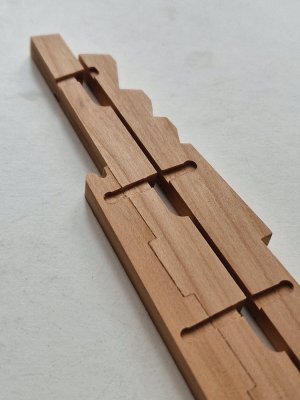
Well, I will not make slots for loops, but I will make them overhead (as they should be).
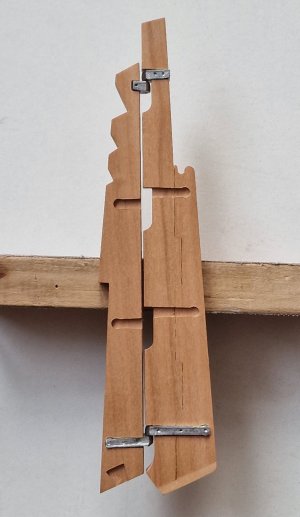
But when I applied the steering gear to the body (simulating the distance between the parts with a tape) I saw what I noticed from other craftsmen who built this model.
Don't you notice what's wrong?
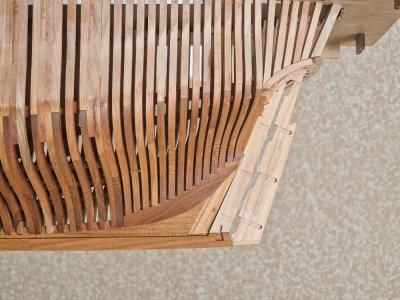
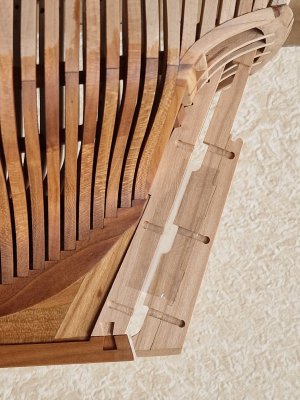
And the fact that the gap between the parts is directly unrealistic in size. In the free position, it reached 2-3 mm!!! But even there is a strong combination of them, it was still 1.8 mm.
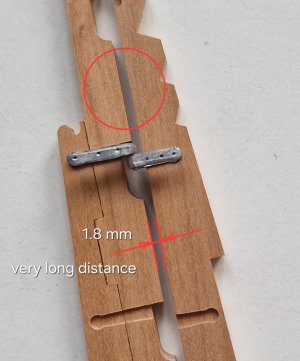
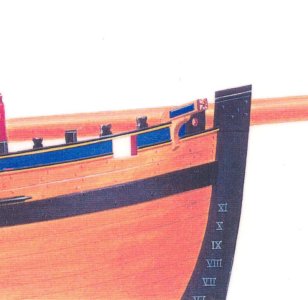
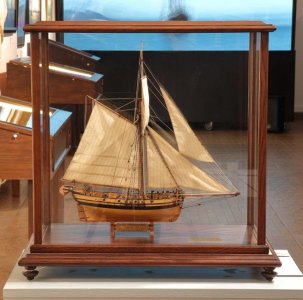
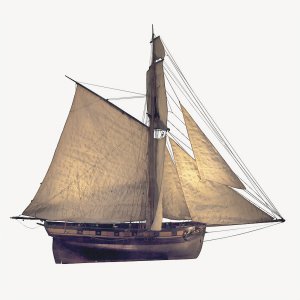
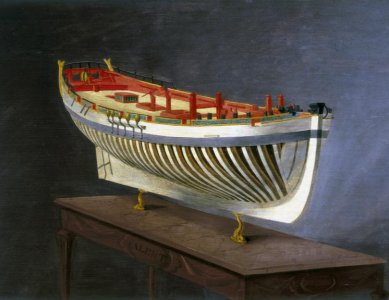
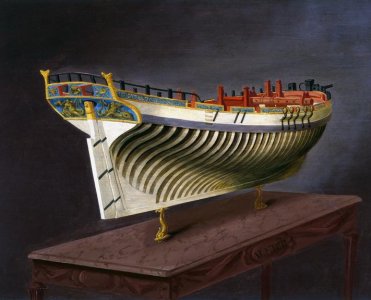
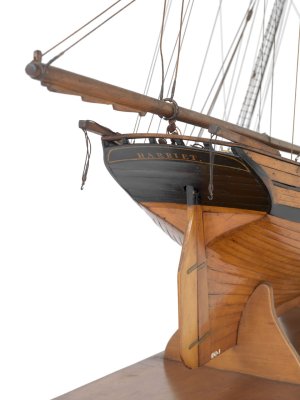
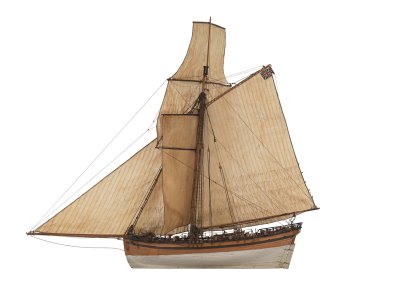
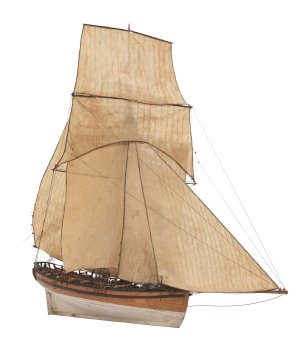
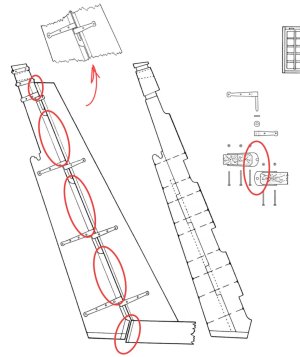
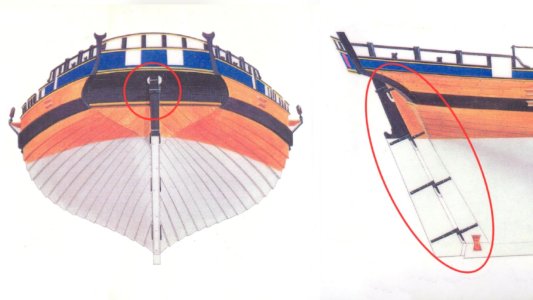
This provided that the loops had to be either shortened or the grooves widened. But I categorically did not want to leave this, despite the fact that the drawings (color illustration above) clearly show that the distance between the steering wheel and the body was negligible.
I pushed the ends of the loops and pushed them deeper, but after that the distance was still 1mm.
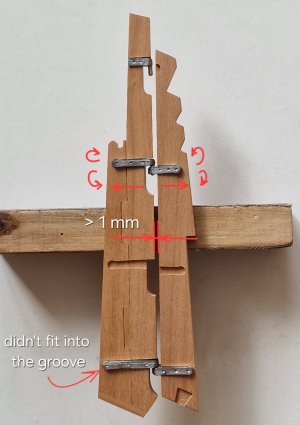
And the loops could no longer fit in the grooves, but lay on top. How I decided everything:
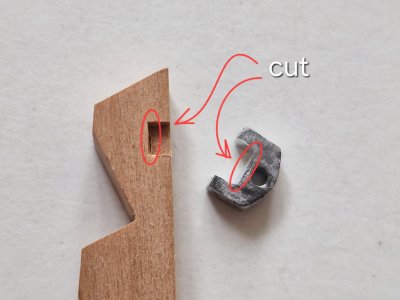
I deepened the grooves in the tree and cut off the excess from the loops, which did not allow them to move deeper.
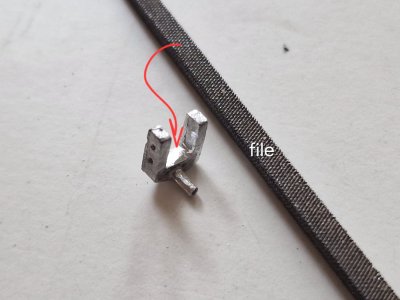
He also cut off the ends of the loops, since they could already go beyond the limits of the parts. In addition, the anatomy indicates a shape that is not round but slightly cut.
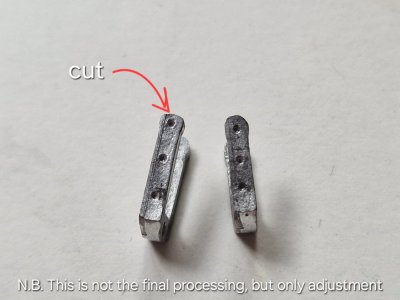
After these manipulations, the distance was reduced to 0.4 mm and it suited me.
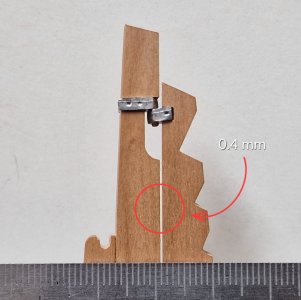
Well, finally - a comparison between the current, how it was and how it became:
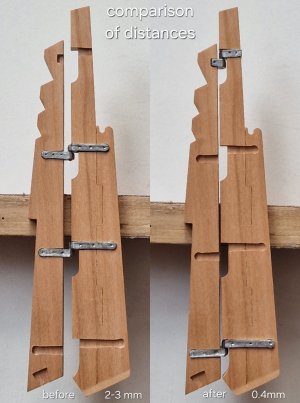
Again, I just tried on the loops, since it is not finished either. The loops will still be processed, polished and naturally blackened. My main task was to adapt it all to the hull and continue to work with the second hull.
By the way, I ordered a measuring altimeter for accurate positioning and further work with the skin of the second case. An interesting tool, one might say antiques.


