• Win a Free Custom Engraved Brass Coin!!!
    As a way to introduce our brass coins to the community, we will raffle off a free coin during the month of August. Follow link ABOVE for instructions for entering.

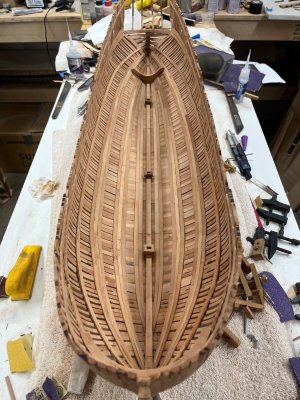
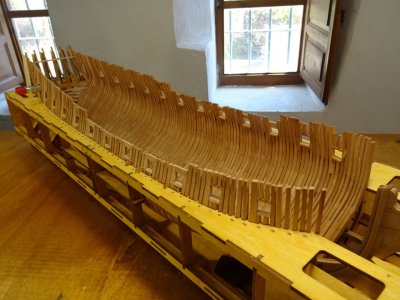
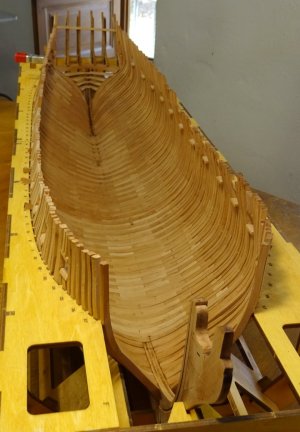
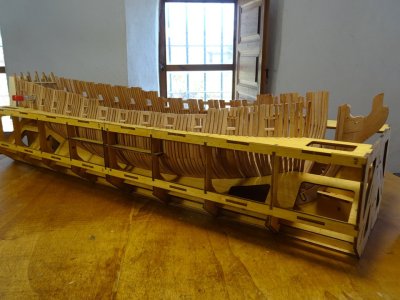
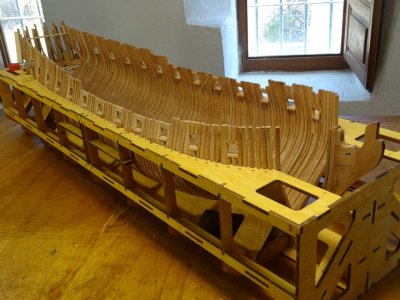
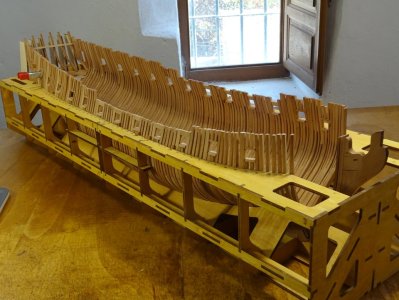
HMS ENTERPRISE by Keith 1:48 scale. New Kit from M.D.

Keef, you’re creating a beautiful piece of work. What craftsmanship you’re showing here. I certainly won’t forget your build log when I start on this kit myself sometime in the future. The same goes for the comments from the other builders who are adding to your report — it’s a wonderful complement to the construction manual. You can be proud of this.
For now, I’ll first focus on finishing my Victory.
Thank you for your comments. I'm really glad we can all be of help. Good luck with your Victory. I'm sure you will enjoy this one too
 
Richard,
I started building the Victory from Caldercraft almost three years ago. It's a fantastic kit with all kinds of beautiful materials. By now, I even make my own rope, and a few months ago I started working on the standing rigging. Feel free to take a look at my build log.
 
HI Keef hope you are feeling a bit better

think ive just managed to order a couple of pear sheets 2.4mm and 3mm hopefully ok
Wondering if i Should add some strip wood to go in between the FRames Are you using small square or Filling
 
For Keef, Corsair, or anybody else.
Gentlemen,since you are rapidly approaching the build for this question, Any thoughts?
I am progressing through instillation of all deck clamps…..lots of measuring, adjusting to get accurate. I go back occasionally to Victors
build photos and noticed a mis match between his build and instruction, specifically on clamp #8(thick) which is one of two that require #7/#6 clamps above and below for a three level clamp….l.one of two on the build.
His image indicates no instillation of #7, above the main clamp.
I reached out via PM to inquire as to why….oversight or some issue but this was several days back…..no response, thus the query.
In any event, i installed the 1mm #7 layer but still curious

P.S. got zero idea why the initial small text….zero idea what happened.
@TRS7139 What step number is this on? I'm still way back in gluing straight frames on the keel. :)
 
Unfortunately, I don't have an easy answer. It looks to me like either one could cause problems with the internal decks if you chose the wrong solution.
I think you should do some very careful measuring and use the solution that works out best with the internal decks. It's also possible that he left it off to make it easier to see some of the internal details.
No measuring needed after installing thick beam outlined in #41, both of the others locate off that.
The built up partitions sitting on the latforms have cutouts to fit around all three planks, thus, I installed them but still a divergence from plans which is why I asked Victor.
Sorry for the diversion.

Tim
 
Unfortunately, I don't have an easy answer. It looks to me like either one could cause problems with the internal decks if you chose the wrong solution.
I think you should do some very careful measuring and use the solution that works out best with the internal decks. It's also possible that he left it off to make it easier to see some of the internal details.
Well, after taking another hard look at Victors photos, it looks like his build is likely a prototype and the lower deck beams don’t follow current instruction anyway so I went with the PDF instructions.
Pretty tedious process but everything came out pretty accurate.
Using the ply beam jigs allowed pretty accurate placement and beams, side to side ended up level. Have some final sanding yet to do but all in all I’m glad to be done with all of it.

IMG_0745.jpeg
 
Back
Top