
-

SUBSCRIBE TO SHIPS IN SCALE TODAY!
The beloved Ships in Scale Magazine is back and charting a new course for 2026!
Discover new skills, new techniques, and new inspirations in every issue.
NOTE THAT OUR NEXT ISSUE WILL BE July/August 2026 -

Win a Free Custom Engraved Brass Coin!!!
As a way to introduce our brass coins to the community, we will raffle off a free coin during the month of August. Follow link ABOVE for instructions for entering.


You are using an out of date browser. It may not display this or other websites correctly.
You should upgrade or use an alternative browser.
You should upgrade or use an alternative browser.


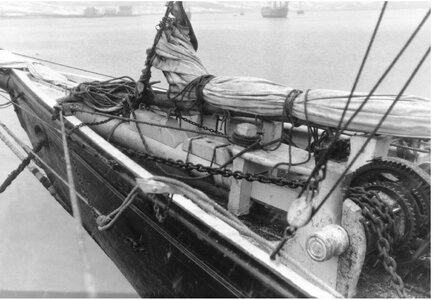
Interestingly, the nodes at the front of the Bluenose, unlike the Bluenose 2, do not converge—a situation that is statically unfavorable. This likely relates to the fact that initially only one forward stay extended downward, with the second probably being retrofitted. Since the first, forward stay was already attached at the apex of the bow curvature, only space in the inner area remained... a speculation...


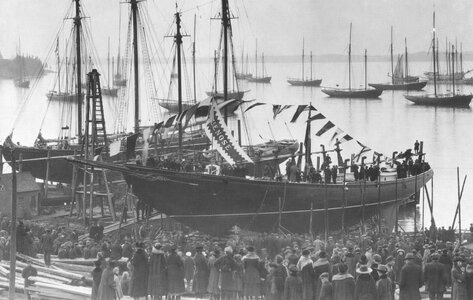
Not only a speculation, Franz. Your assumption is confirmed by this pictures, at the launch and just after the launch:Interestingly, the nodes at the front of the Bluenose, unlike the Bluenose 2, do not converge—a situation that is statically unfavorable. This likely relates to the fact that initially only one forward stay extended downward, with the second probably being retrofitted. Since the first, forward stay was already attached at the apex of the bow curvature, only space in the inner area remained... a speculation...
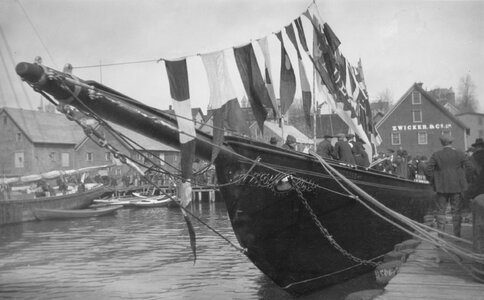
On this later picture, both are a bit in view:
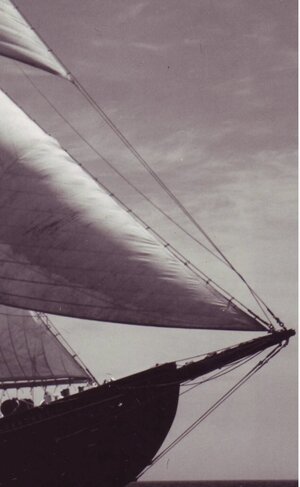
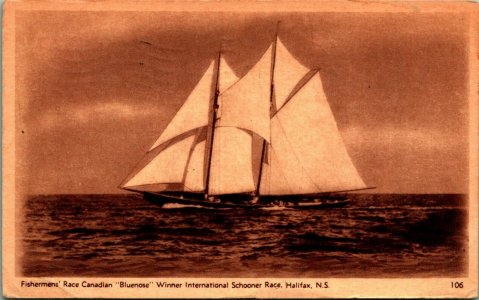
And in this a cutout of her under sail:
Regards, Peter
Last edited:
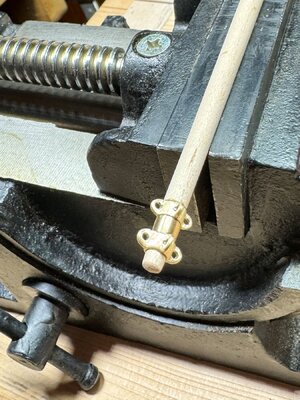
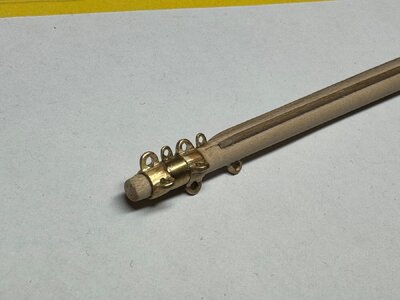
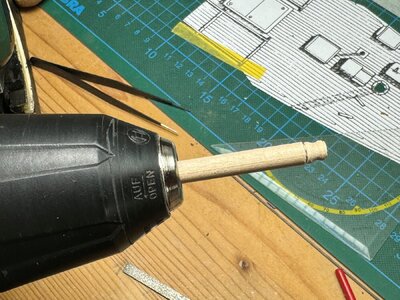
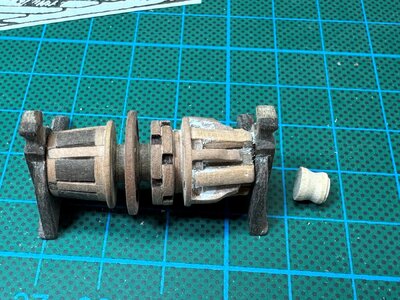
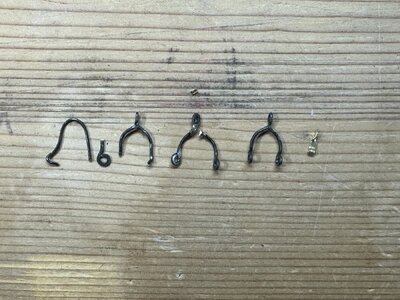
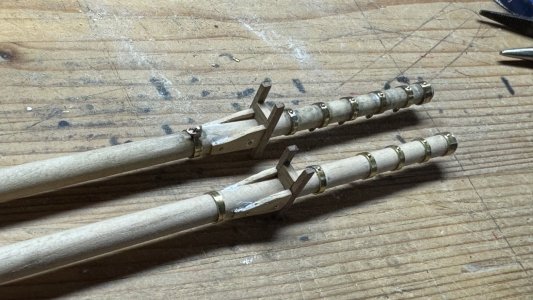
A inventive way of making the small and fragile brass parts, Franz. More solid than the ones made from small brass strips. And …… no soldering needed.For the forward attachment points on the bow sprit, I filed down the excessively large brass fittings to size and drilled new holes. The sawn-off tabs serve as individual eyes for the running rigging or the secondary rear stays leading down towards the bow.
View attachment 438132
View attachment 438133
View attachment 438134
Regards, Peter
Not only a speculation, Franz. Your assumption is confirmed by this pictures, at the launch and just after the launch:
View attachment 438884
View attachment 438885
On this later picture, both are a bit in view:
View attachment 438893
And in this a cutout of her under sail:
View attachment 438894
Regards, Peter

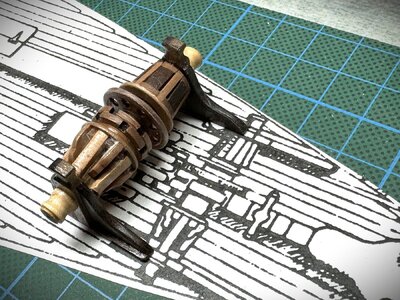
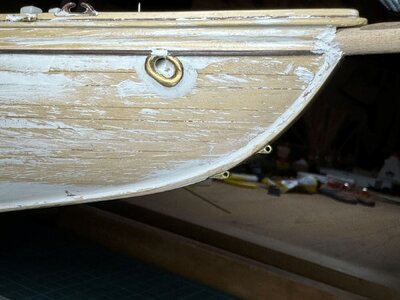
The rudder has kept me busy for a while now.
Initially, I wanted to make the steel brackets with narrow copper strips, but that didn't achieve the desired result, so I had to remove them and apply filler again.
Next attempt: I tried filing small notches to represent the fittings - again no success, so more filling and sanding.
Next attempt: I went with brass strips and small rivets and there you have it: that's what we'll use! You just can't give up.
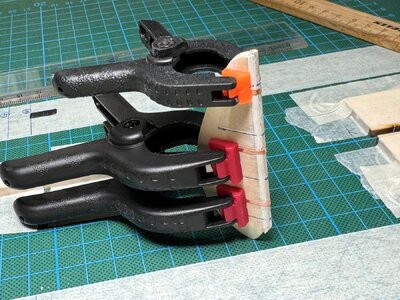
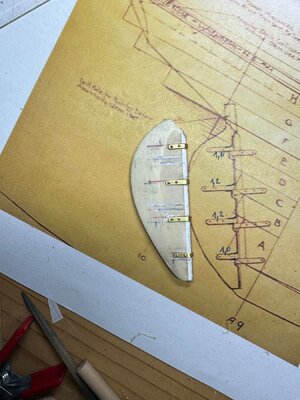
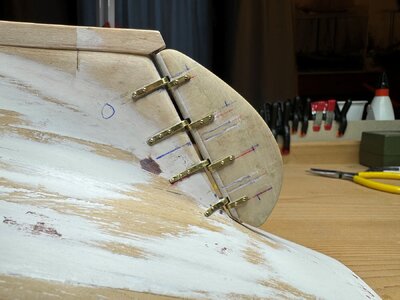
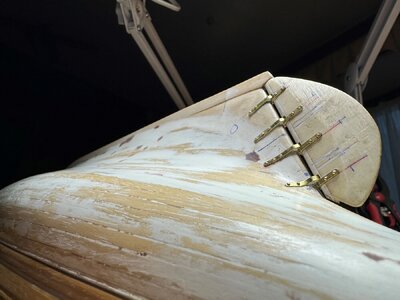
Initially, I wanted to make the steel brackets with narrow copper strips, but that didn't achieve the desired result, so I had to remove them and apply filler again.
Next attempt: I tried filing small notches to represent the fittings - again no success, so more filling and sanding.
Next attempt: I went with brass strips and small rivets and there you have it: that's what we'll use! You just can't give up.
Inserting the bowsprit:
attached to the sampson post, and on the downhaul block, the horse with the rider attached.
I crafted the rider from a brass sheet, bending it upwards with a mandrel, a reversed brass rivet. The rider has a 7-8 degree upward angle to match the jumbo beam, which I'll later attach to the reversed rivet.
When bending the bracket for the forestay, I ended up filing a brass strip instead of using wire, and it worked better. Generally, I find that thin brass strips are very easy to file, solder, and work with.
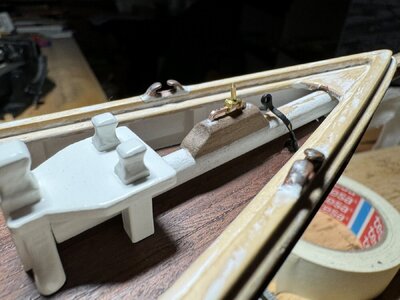
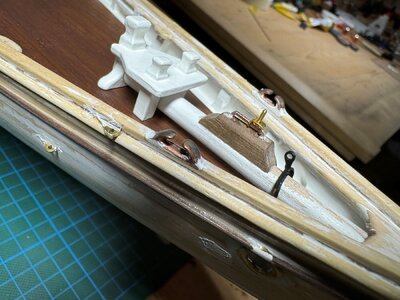
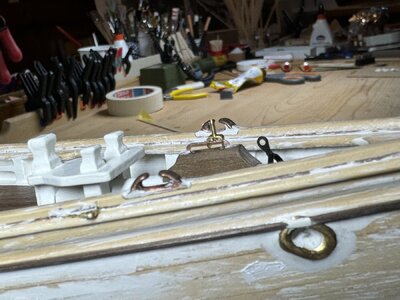
attached to the sampson post, and on the downhaul block, the horse with the rider attached.
I crafted the rider from a brass sheet, bending it upwards with a mandrel, a reversed brass rivet. The rider has a 7-8 degree upward angle to match the jumbo beam, which I'll later attach to the reversed rivet.
When bending the bracket for the forestay, I ended up filing a brass strip instead of using wire, and it worked better. Generally, I find that thin brass strips are very easy to file, solder, and work with.
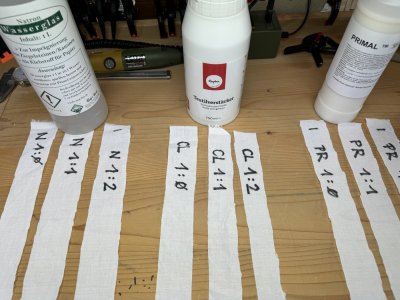
After a longer break, mainly because work kept me extremely busy, I'm finally continuing with the project.
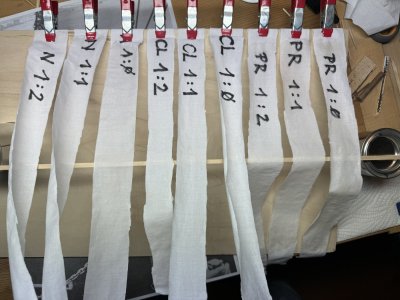
Back in April 2024, I added a few more test strips to the sails. My goal is to depict the sails in a billowing, wind-filled shape. As shown in the picture, that's the effect I'm aiming for. We'll see whether I can pull it off and how it ultimately turns out.
Back in April 2024, I added a few more test strips to the sails. My goal is to depict the sails in a billowing, wind-filled shape. As shown in the picture, that's the effect I'm aiming for. We'll see whether I can pull it off and how it ultimately turns out.
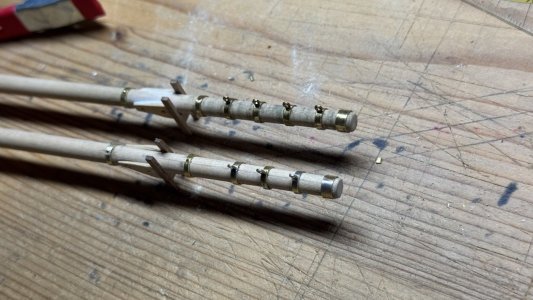


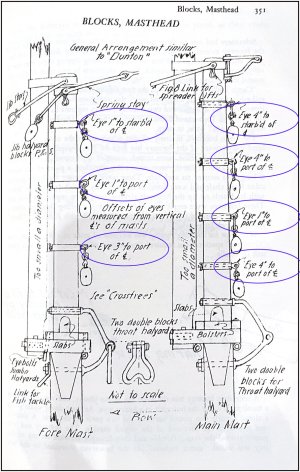
Wonderful wonderful build. If not too late I believe the eyebolts on the masts were offset or staggered a bit as show in this diagram from Peter Voogt.
Here is a you tube video of a way to make wind filled sails.
Rob


Hi Franz, I'm really enjoying going back and reading through your build and I'm glad you returned to it after a long pause! Although I'm building the Model Shipways Bluenose, you're providing a lot of ideas that may benefit my build. Wonderful work, thanks for sharing!
Nice to see you back with the build of your Bluenose, Franz. A good idea to make several samples for your sails.
Regards, Peter
Regards, Peter