Happy birthday Loracs!

 |
The beloved Ships in Scale Magazine is back and charting a new course for 2026! Discover new skills, new techniques, and new inspirations in every issue. NOTE THAT OUR NEXT ISSUE WILL BE July/August 2026 |
|
 |
As a way to introduce our brass coins to the community, we will raffle off a free coin during the month of August. Follow link ABOVE for instructions for entering. |
|


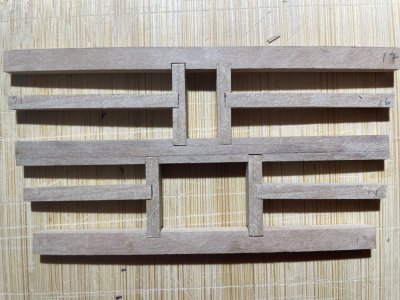
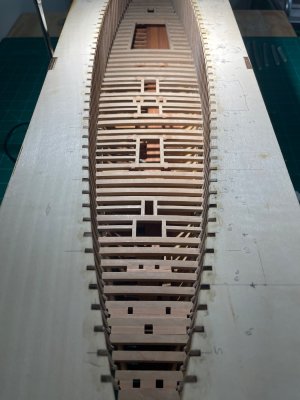
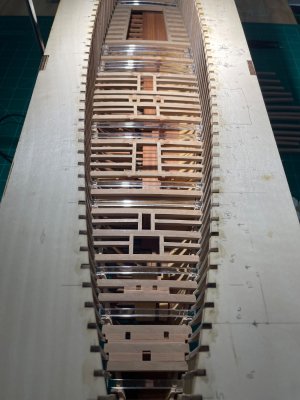
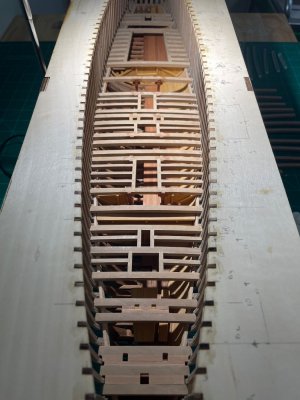


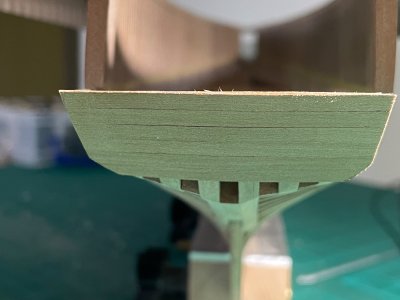
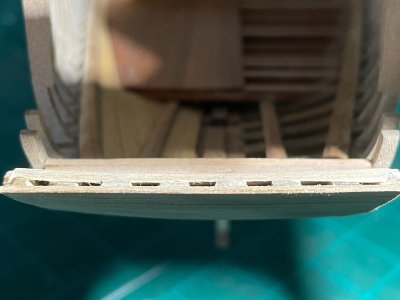
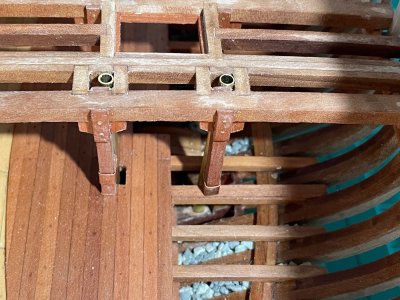
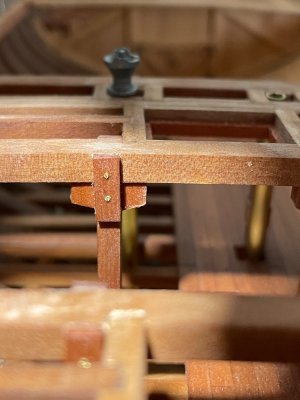
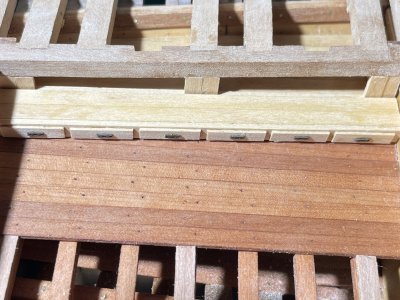
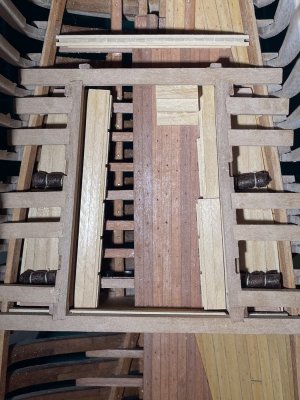
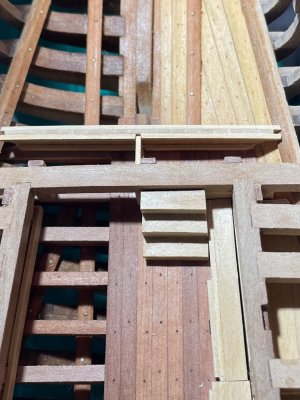
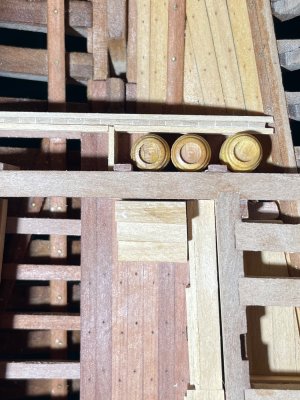
You made a great progress with all the deck and cross beams, Loracs.It has been a while since my last update... but the bluenose is progressing nicely. I have been working on the upper deck: squaring junction and testing fit. Part of the deck beams/crossbeams are now glued. Most it it is done away from the ship, with a final fit before the glue fully cure.
Until now, I was not sure of the final layout. I do want to improve the visibility of the internal work. We are working hard at it, better it be seen... at least partially. I was thinking of three options:
a) full wood deck
b) replace select beams with acrylic beam, so we can see thru.
c) the final version: just leaving selected area empty.
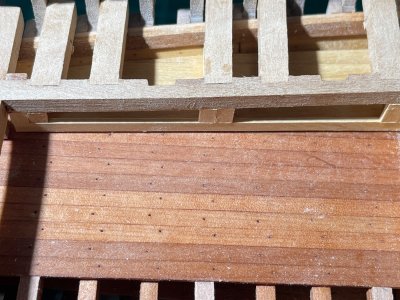
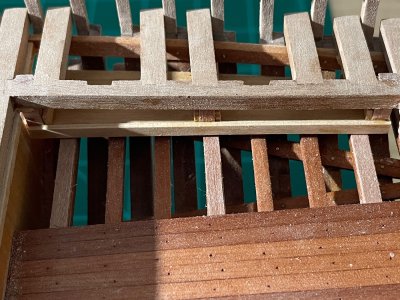
Despite all the work making the acrylic beams, I'm not fully satisfied. Mostly because of the glare it produce with lighting. I'm including pictures with all three options. The one I like most so far is.... c) simply no beams in some areas.
Note: please don't mind the unfinished look. Few stains in some areas, this is because I finish the post underneath, which will be difficult to reach once the deck is glued. The small blotches will disappear when I apply oil.
View attachment 625925
View attachment 625929
View attachment 625930
View attachment 625931
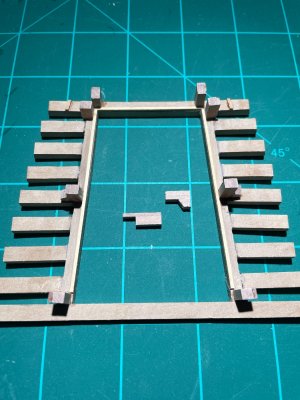
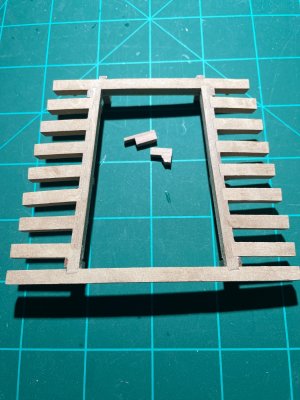
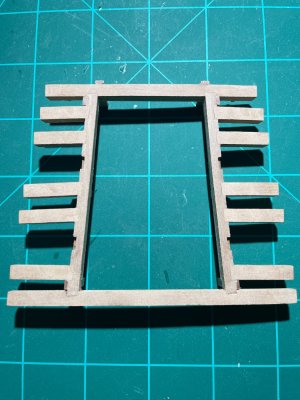
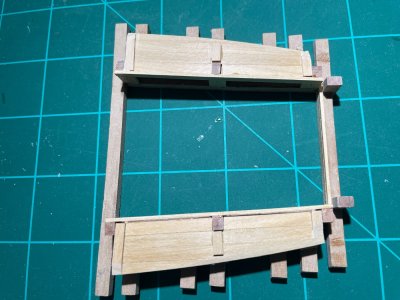
Nice to see that you make this as a ‘upside-down’ module, Loracs. A lot of dry fitting with a nice setup.The bunkbeds in the Captain's cabin are mostly done. Only missing a short sitting area/drawer in front. This took a while to do.... no square area, only angles and angles. In addition, you work on the structure upside down until ready for installation. Everything is build around the support beams so it is not moving around later. Here a view before and after installation.
View attachment 628868
View attachment 628869
View attachment 628871


What kind of sheet are you using to place magnets on? where did you purchase it? I am going to get some small magnets and use them to make the frames. thanks ! GuyFrame: starting slowly... the jig with the tiny rectangular magnets is more useful than I thought initially. They are strong enough to hold the parts in place and flexible for adjustments. You still have to be careful, as it can be moved easily when you place the second piece(s) on top. Check, check and triple check.
If it becomes an issue you can add a tiny drop of hide glue underneath to help stabilize... DON'T do that with PVA!! since it will stain the wood. Hide glue should be OK though. I will see as I go.
View attachment 548759View attachment 548760

 micromark.com