• Ships of Scale has incorportated an extra level of security when you log In. Please follow on-screen prompts to acknowledge that you are not a robot via a "Check Box" or a "Pictorial Check Box Puzzle". This is needed due to higher level of AI Activity Security.
  • SUBSCRIBE TO SHIPS IN SCALE TODAY!

    The beloved Ships in Scale Magazine is back and charting a new course for 2026!
    Discover new skills, new techniques, and new inspirations in every issue.

    NOTE THAT OUR NEXT ISSUE WILL BE July/August 2026
  • Win a Free Custom Engraved Brass Coin!!!
    As a way to introduce our brass coins to the community, we will raffle off a free coin during the month of August. Follow link ABOVE for instructions for entering.

Bluenose I - YuanQuin 1:72 - Loracs (in progress)

Thank you Peter... what a year! really happy to have SOS and all you guys as a mean to release the steam at time. Enjoy all!
 
Last edited:
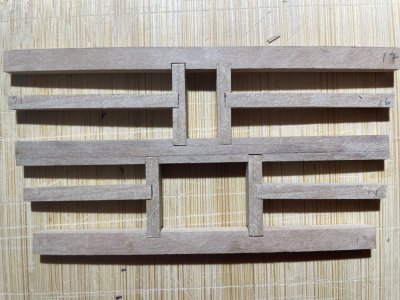
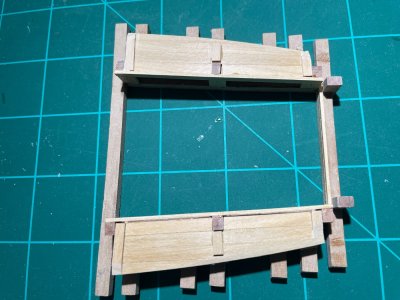
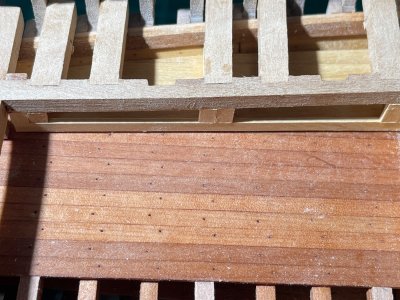
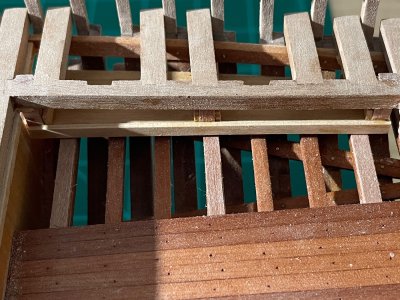
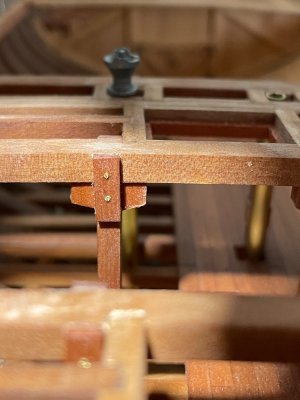
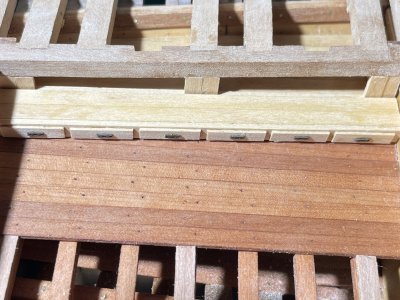
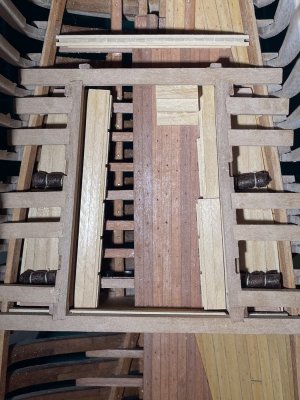
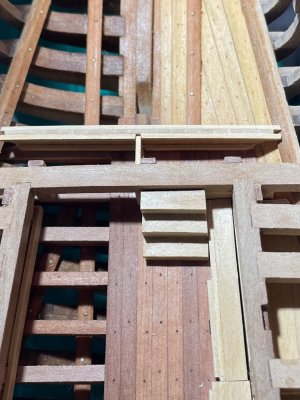
It has been a while since my last update... but the bluenose is progressing nicely. I have been working on the upper deck: squaring junction and testing fit. Part of the deck beams/crossbeams are now glued. Most it it is done away from the ship, with a final fit before the glue fully cure.

Until now, I was not sure of the final layout. I do want to improve the visibility of the internal work. We are working hard at it, better it be seen... at least partially. I was thinking of three options:

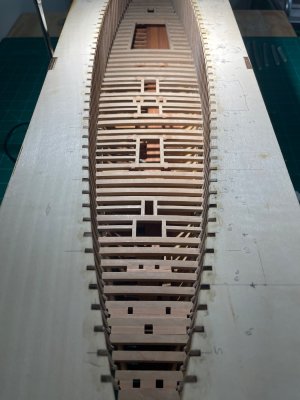
a) full wood deck
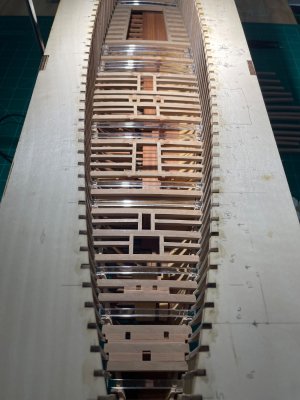
b) replace select beams with acrylic beam, so we can see thru.
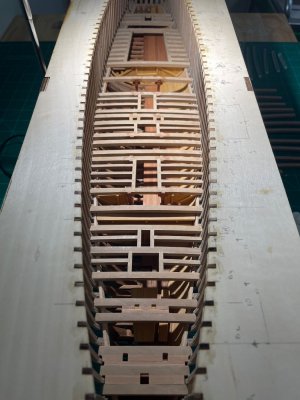
c) the final version: just leaving selected area empty.

Despite all the work making the acrylic beams, I'm not fully satisfied. Mostly because of the glare it produce with lighting. I'm including pictures with all three options. The one I like most so far is.... c) simply no beams in some areas.

Note: please don't mind the unfinished look. Few stains in some areas, this is because I finish the post underneath, which will be difficult to reach once the deck is glued. The small blotches will disappear when I apply oil.


IMG_4095.jpeg

IMG_4117.jpeg

IMG_4119.jpeg

IMG_4118.jpeg
 
Last edited:
Your model looks fantastic! I'm not a fan of the acrylic beams - they look so stark next to the beautiful wood and to your point, lighting makes them even more "obvious". My vote is for the last option. A nice peek of your craftsmanship down below would be wonderful. Again, well done!
 
thank you @TexBilly, it is nice to have an independent view on the matter. We are both reaching the same conclusion. The build is a lot of work... but HEY! more time spend on this one less money I spend. hehe!
 
It has been a while since my last update... but the bluenose is progressing nicely. I have been working on the upper deck: squaring junction and testing fit. Part of the deck beams/crossbeams are now glued. Most it it is done away from the ship, with a final fit before the glue fully cure.

Until now, I was not sure of the final layout. I do want to improve the visibility of the internal work. We are working hard at it, better it be seen... at least partially. I was thinking of three options:

a) full wood deck
b) replace select beams with acrylic beam, so we can see thru.
c) the final version: just leaving selected area empty.

Despite all the work making the acrylic beams, I'm not fully satisfied. Mostly because of the glare it produce with lighting. I'm including pictures with all three options. The one I like most so far is.... c) simply no beams in some areas.

Note: please don't mind the unfinished look. Few stains in some areas, this is because I finish the post underneath, which will be difficult to reach once the deck is glued. The small blotches will disappear when I apply oil.


View attachment 625925

View attachment 625929

View attachment 625930

View attachment 625931
You made a great progress with all the deck and cross beams, Loracs.
Option 3 offers the most creative possibilities in combination with partial deck planking.
Regards, Peter
 
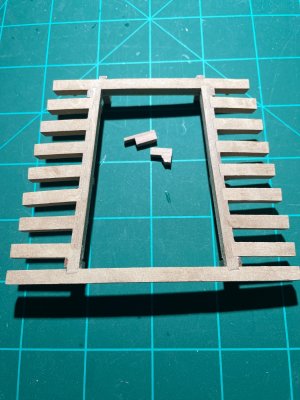
Captain's Cabin: Getting started on the captain's cabin. A fairly lengthly undertaking since the upper part may need reworking too to be able to see thru... but I just have to take it one step at a time.

From a design perspective, I think that the area should not just be floating above the lower deck but firmly secure using support beams. It does not matter for the model but I think it may be the case with the real ship. In addition, they will provide the framework for the bunkbeds and partial planking. Therefore, I decided to go that direction...

First step: secure and fit the support beams to the deck. This is a small area, roughly 10mm high or almost 3 feet at full scale. I could not go deeper when I made the cabin deck.

IMG_4128.jpeg

IMG_4132.jpeg
 
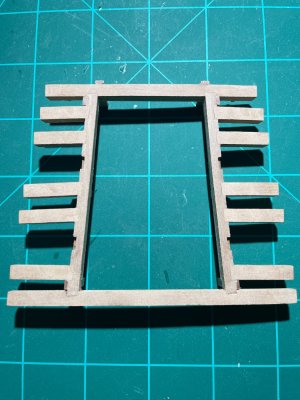
Small modification: I just realized that bunkbeds will be difficult to see with a full deck structure. I thought I should try to give it a little more visibility. One of the advantages of Hide Glue is the ease to undo for repair or oh darn! moment. This is one of them... The glued beams had cured but were easy to remove with water and heat. No damage to either pieces.

IMG_4134.jpeg
 
The bunkbeds in the Captain's cabin are mostly done. Only missing a short sitting area/drawer in front. This took a while to do.... no square area, only angles and angles. In addition, you work on the structure upside down until ready for installation. Everything is build around the support beams so it is not moving around later. Here a view before and after installation.

IMG_4137.jpeg

IMG_4135.jpeg

IMG_4136.jpeg
 
The bunkbeds in the Captain's cabin are mostly done. Only missing a short sitting area/drawer in front. This took a while to do.... no square area, only angles and angles. In addition, you work on the structure upside down until ready for installation. Everything is build around the support beams so it is not moving around later. Here a view before and after installation.

View attachment 628868

View attachment 628869

View attachment 628871
Nice to see that you make this as a ‘upside-down’ module, Loracs. A lot of dry fitting with a nice setup.
Regards, Peter
 
LOL indeed... dry fitting craziness. Regardless, I would have prefer thinner wood at 0.5mm thickness rather than 1mm. It would look slightly more at scale. It is ok though; in the larger scheme of things the area won't be that visible... but a hint of what may have been. on to the from bench/storage and back wall now.
 
Captain's cabin: Addition of few more elements: The back wall, stair going down, additional bench/drawer and finally few rolled sleep garments since the bunkbeds could be used in shift by different sailors. Still more to be done...

IMG_4139.jpeg
 
Secret room: behind the stairs, there is room for some storage. Maybe the rumors are thru and the bluenose did make some contraband late in his life... or just few hidden barrels of rum for celebration.

IMG_4142.jpeg

IMG_4143.jpeg
 
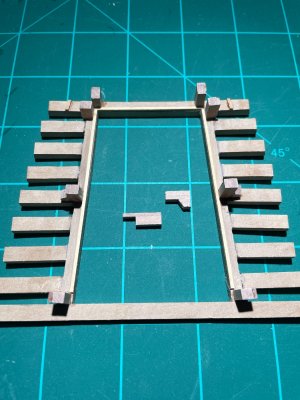
Frame: starting slowly... the jig with the tiny rectangular magnets is more useful than I thought initially. They are strong enough to hold the parts in place and flexible for adjustments. You still have to be careful, as it can be moved easily when you place the second piece(s) on top. Check, check and triple check.

If it becomes an issue you can add a tiny drop of hide glue underneath to help stabilize... DON'T do that with PVA!! since it will stain the wood. Hide glue should be OK though. I will see as I go.
View attachment 548759View attachment 548760
What kind of sheet are you using to place magnets on? where did you purchase it? I am going to get some small magnets and use them to make the frames. thanks ! Guy
 
greeting, I'm including the Jig's link below. it is a steel plate. Quite useful for the assembly of small parts.

However, for assembling the ribs, it turns out to be far easier to use hide glue. A tiny drop beneath the parts and fix directly to a copy of the plan. Hide glue can be wash away easily with water afterward and leave no mark after treatment with oils or other finish.
 
Last edited:
Thanks so much. I use hide glue almost exclusively.. never thought to do that! I will give it a try.
I am also assembling a 1/96 enterprise MD.. the ribs are tiny.. to say the least.

Guy
 
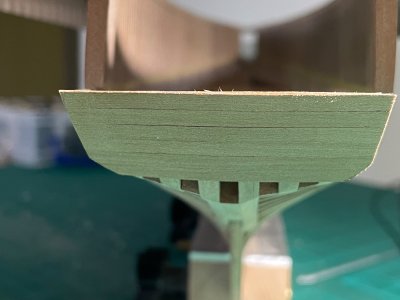
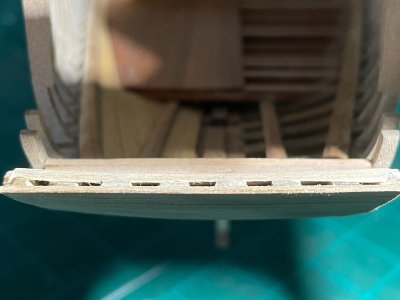
Planking at the Stern: getting ready for planking the outside of the bluenose. For better alignment, I planked the stern first, which will be follow by the outside plank over the stern area. Second, some fitting was needed at the bow. The fitting tolerance need to be as good as possible.

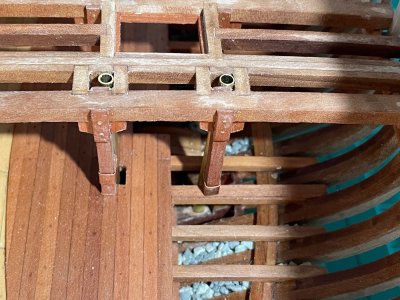
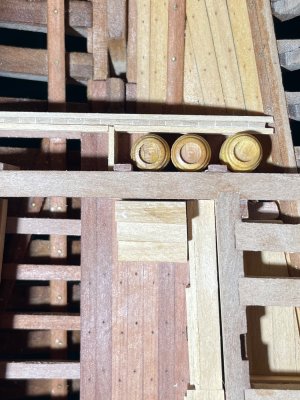
Lastly, I added the tubes for the water pump. I choose brass tubing rather than wood... just a personal preference. They will be a little hard to see but I did want to build them along the false support beams. A logical position for some protection against moving cargo and/or loading/unloading.

Note 1: Upper deck look messy because the wood underneath was treated with oil but not the top.
Note 2: The copper join was fixed but I did not bother to take a second picture.

IMG_4155.jpeg

IMG_4161.jpeg

IMG_4165.jpeg

IMG_4162.jpeg
 
Back
Top