• Ships of Scale has incorportated an extra level of security when you log In. Please follow on-screen prompts to acknowledge that you are not a robot via a "Check Box" or a "Pictorial Check Box Puzzle". This is needed due to higher level of AI Activity Security.
  • SUBSCRIBE TO SHIPS IN SCALE TODAY!

    The beloved Ships in Scale Magazine is back and charting a new course for 2026!
    Discover new skills, new techniques, and new inspirations in every issue.

    NOTE THAT OUR NEXT ISSUE WILL BE July/August 2026
  • Win a Free Custom Engraved Brass Coin!!!
    As a way to introduce our brass coins to the community, we will raffle off a free coin during the month of August. Follow link ABOVE for instructions for entering.

L'Artésien 1764 - 64 Kanonen-Schiff in 1:48 nach Plänen von Jacques Fichant

Hello everyone!

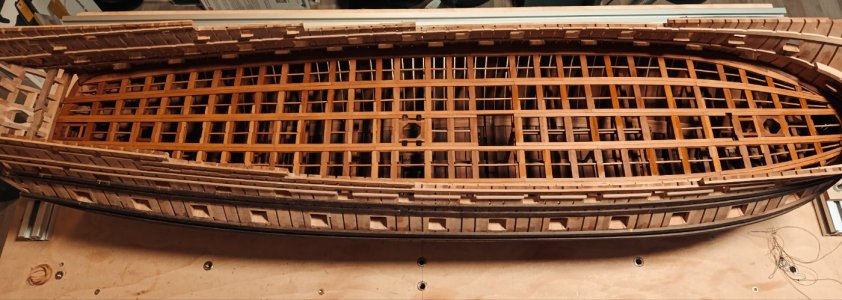
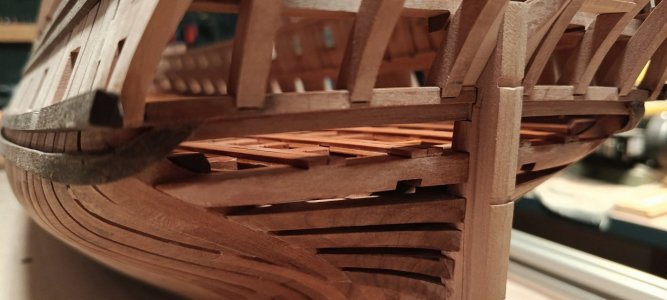
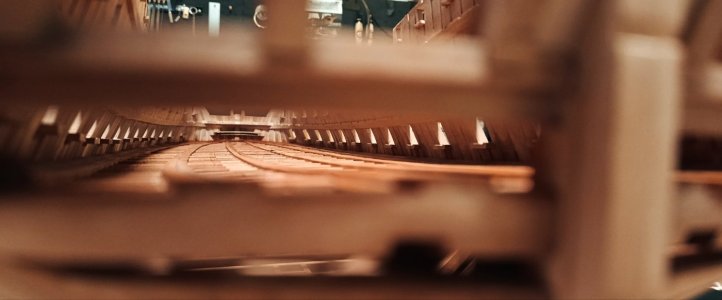
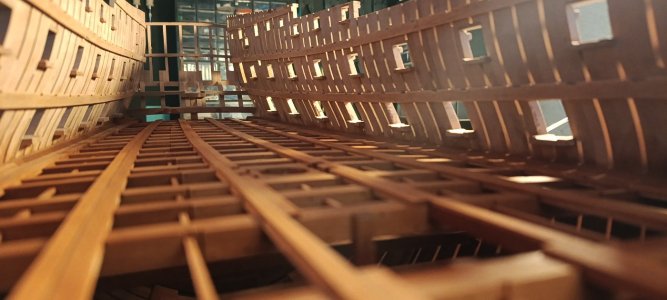
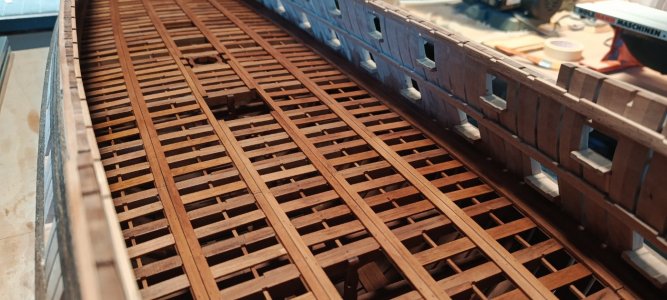
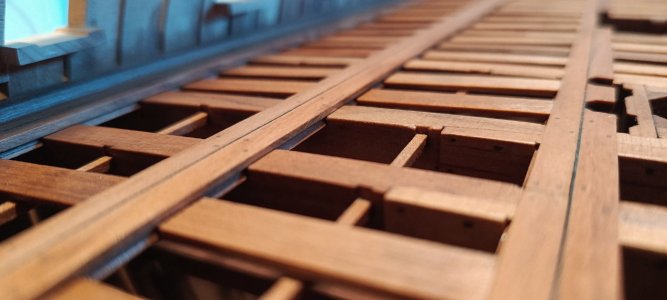
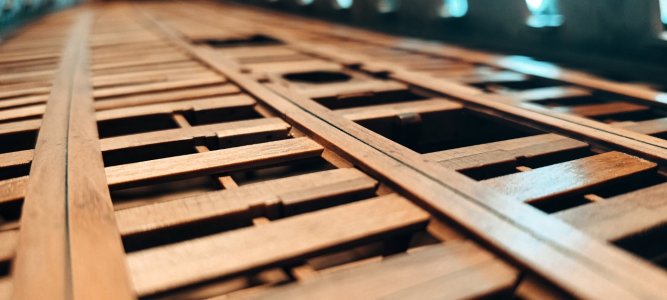
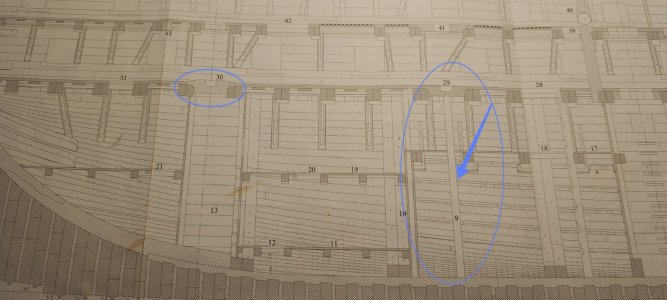
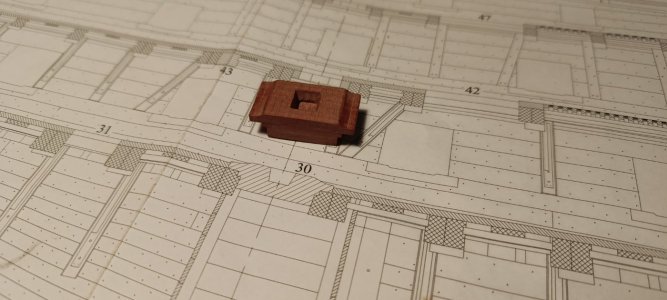
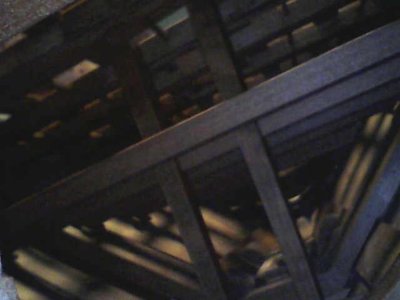
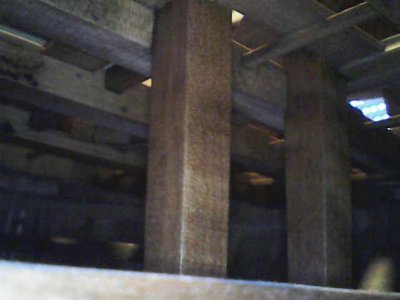
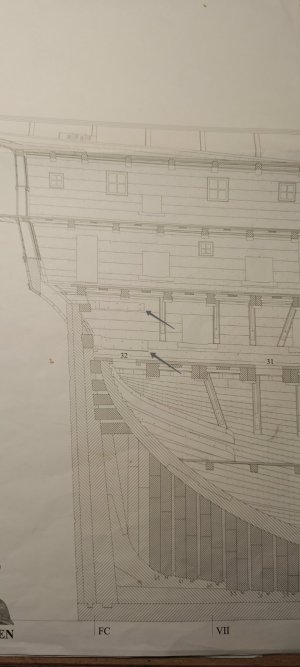
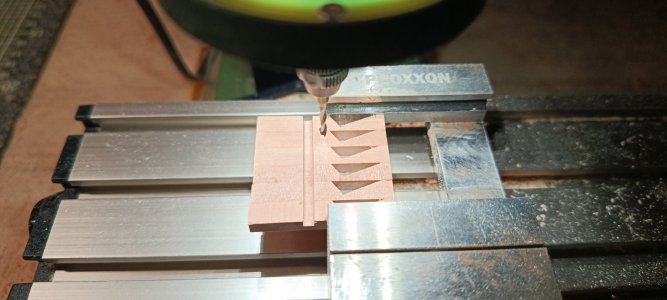
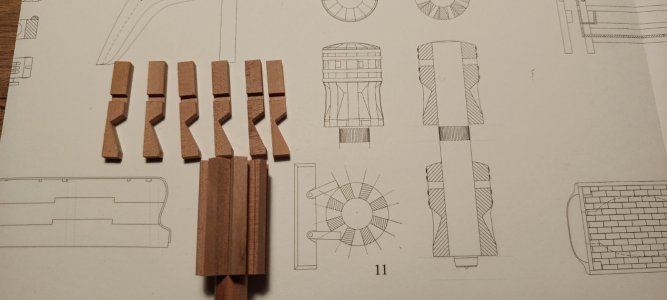
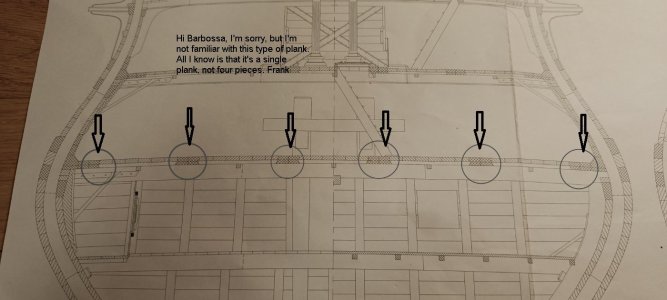
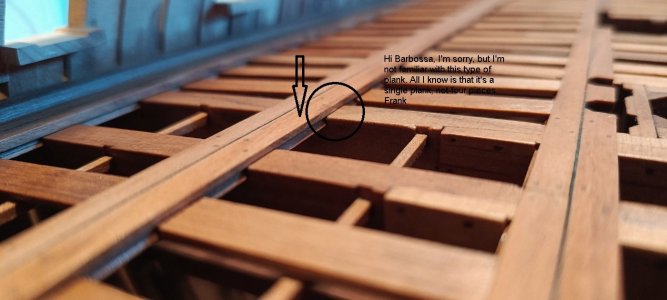
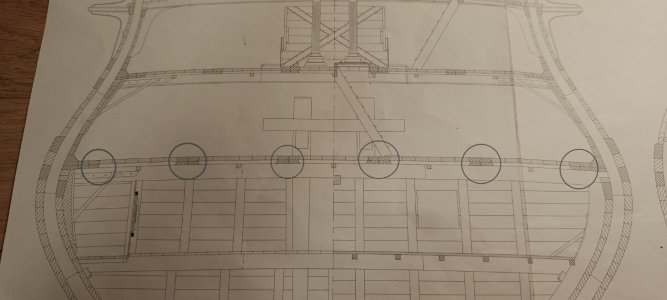
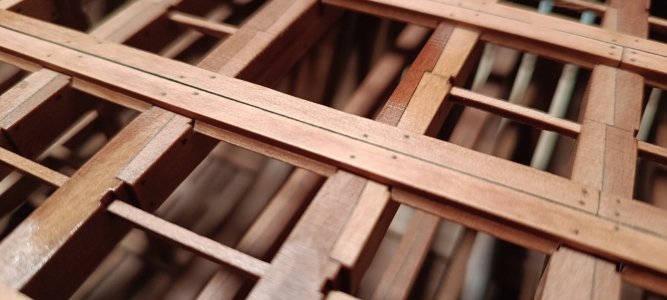
The double fish-jointed planks have been laid. The battens between the deck beams are still missing; however, the fish-jointed planks need to be prepared accordingly to accommodate them. Here is an excerpt from the plans, followed by the result:
View attachment 626034

View attachment 626035

View attachment 626036

View attachment 626037

View attachment 626038

View attachment 626039

View attachment 626040

View attachment 626041

View attachment 626042

View attachment 626043

View attachment 626044

Regards
Andreas
Dear Andreas
beautifully progress! And done excellent
 
Hello everyone!

The double fish-jointed planks have been laid. The battens between the deck beams are still missing; however, the fish-jointed planks need to be prepared accordingly to accommodate them. Here is an excerpt from the plans, followed by the result:
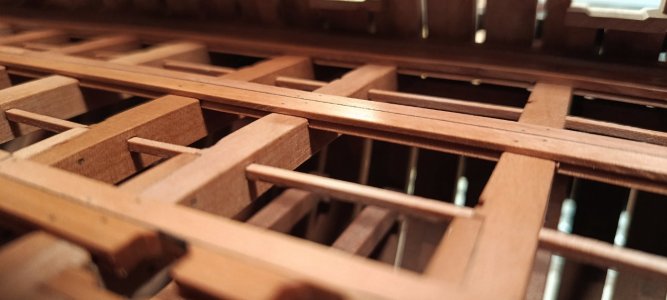
View attachment 626034

View attachment 626035

View attachment 626036

View attachment 626037

View attachment 626038

View attachment 626039

View attachment 626040

View attachment 626041

View attachment 626042

View attachment 626043

View attachment 626044

Regards
Andreas
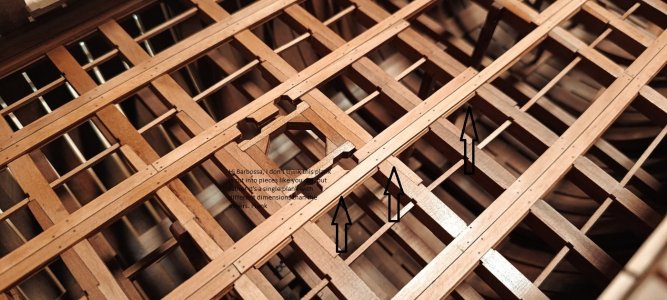
Hi Barbossa, I don't think this plank is cut into pieces like you did, but rather it's a single plank with different dimensions than the others. Frank

IMG_20260812_172050.jpg
 
Thanks a lot, Frank, for your comment and your keen eye. :-) I took another look at it, and the chamfer on this board did indeed turn out a bit uneven. It looks better in other places.

Best regards
Andreas
 
Last edited:
Hallo zusammen!

Vielen Dank für Ihr Interesse und ein verspätetes Dankeschön an Shota für die lobenden Worte.:)

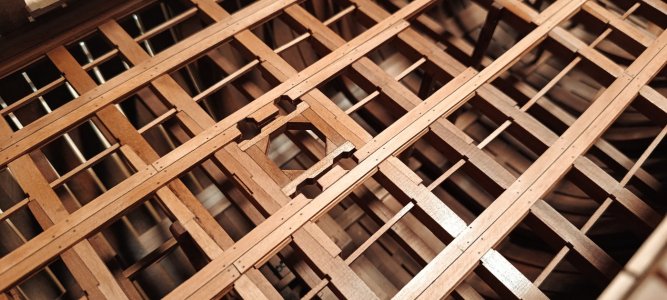
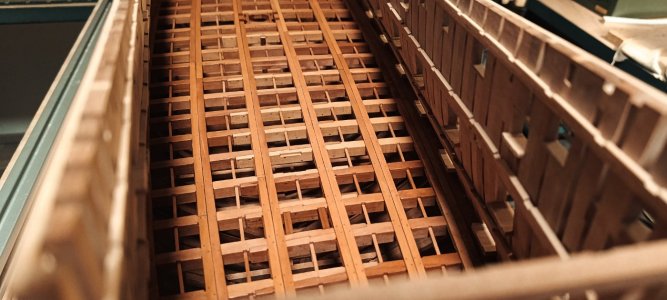
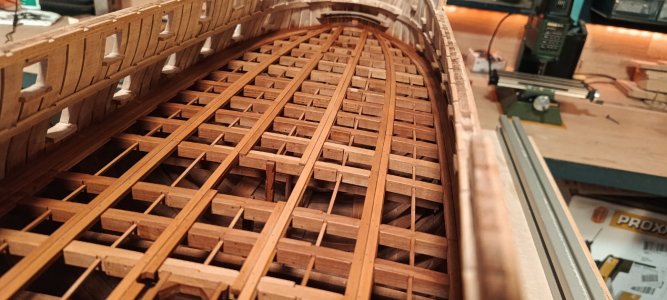
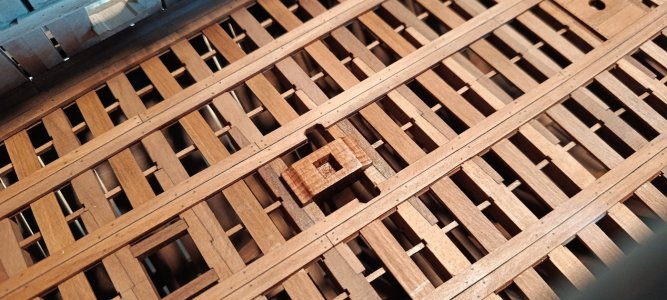
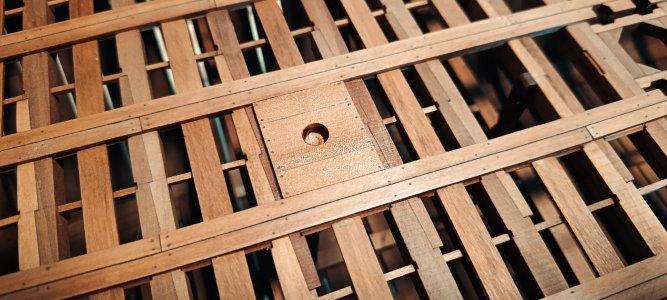
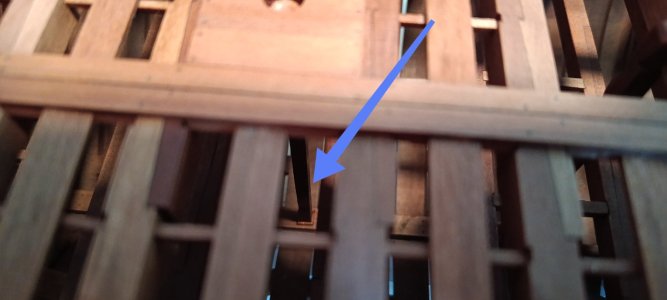
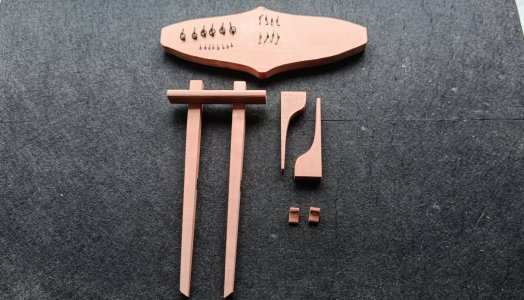
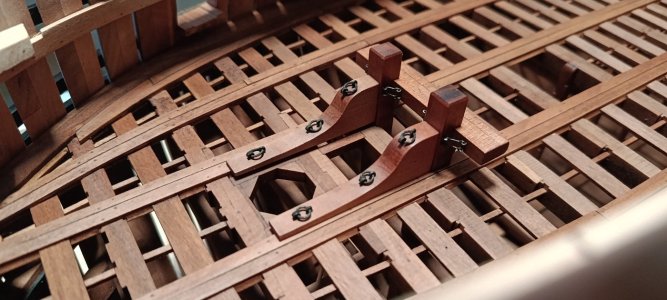
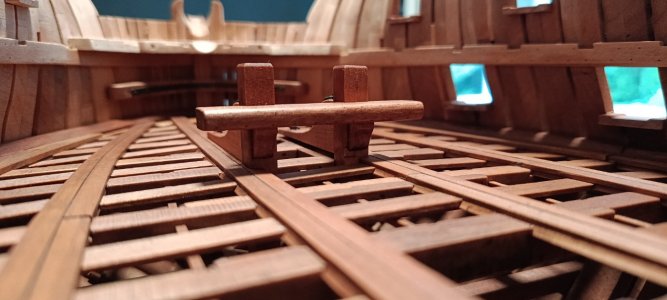
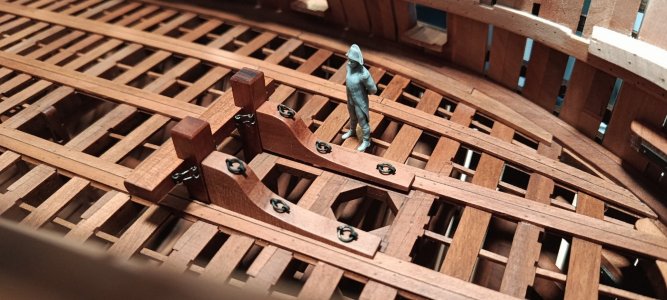
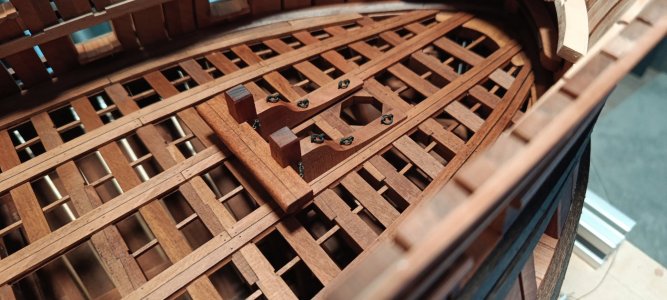
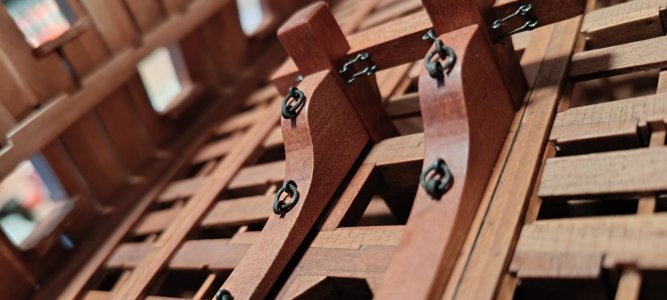
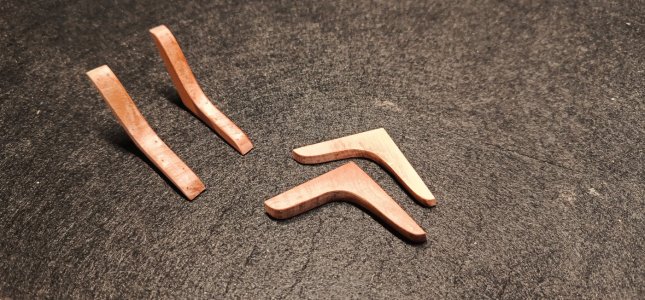
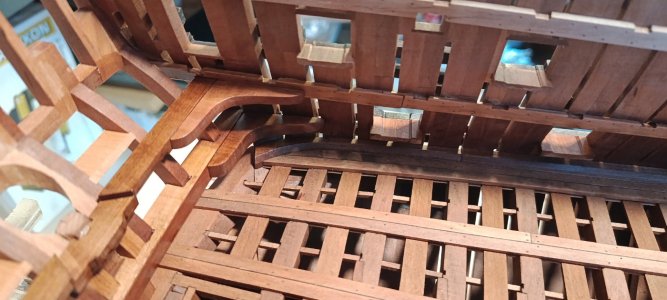
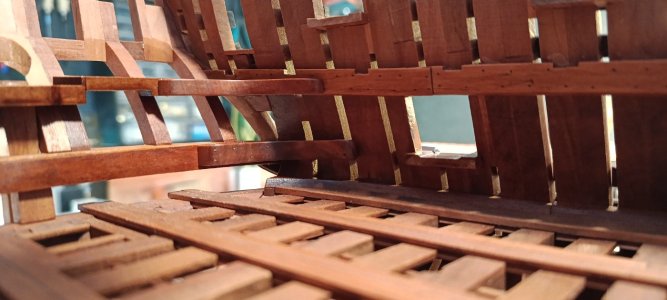
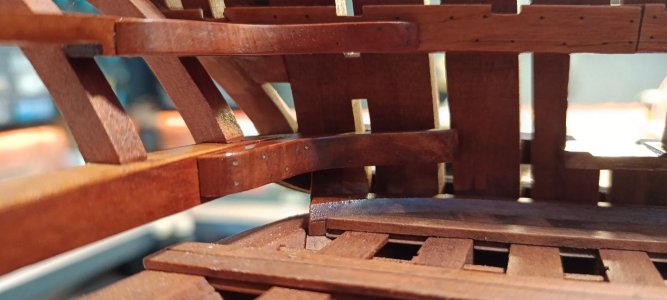
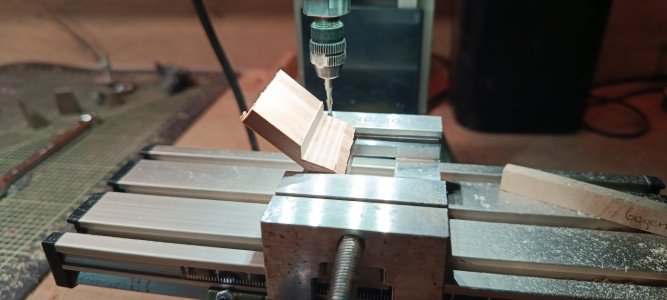
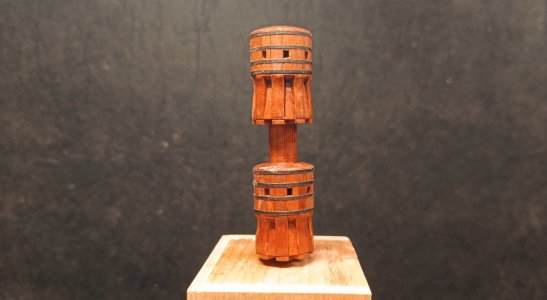
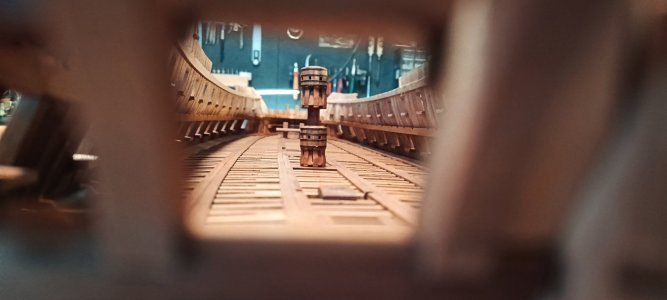
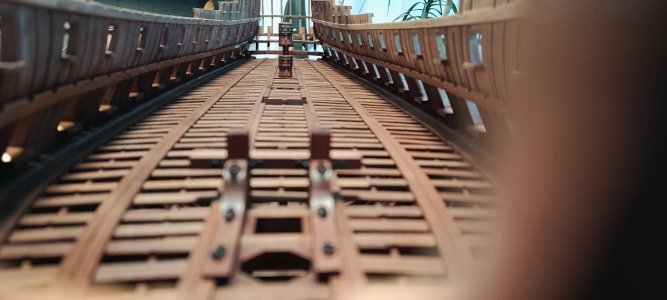
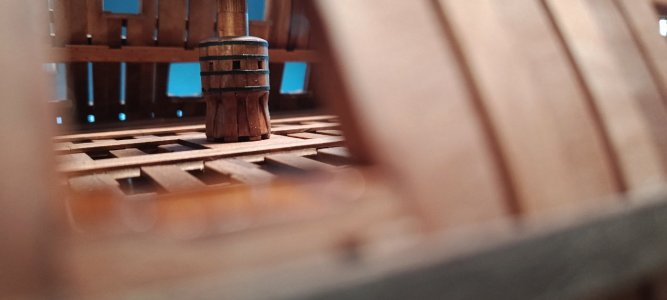
Die Leisten zwischen den Deckbalken wurden einzeln montiert. Die Detailfotos zeigen, wie sie in die schrägverleimten Planken eingepasst sind. Außerdem wurden die Besanmaststufe und die Aufnahme für den Spill fertiggestellt, anschließend vollständig geölt und mit Bitumen versiegelt.

IMG_20260815_170409.jpg

IMG_20260815_170427.jpg

IMG_20260815_170445.jpg

IMG_20260815_170630.jpg

IMG_20260815_130440.jpg

IMG_20260815_170516.jpg

IMG_20260815_170528.jpg

IMG_20260815_170557.jpg

Grüße
Andreas
 
Last edited:
Thanks for the kind words, Paul. ;) No, the build log is basically in real-time—it’s from today. I’m currently on vacation, so I’m spending a lot of time in my workshop. It’s a place where I can switch off and pursue my passion.
 
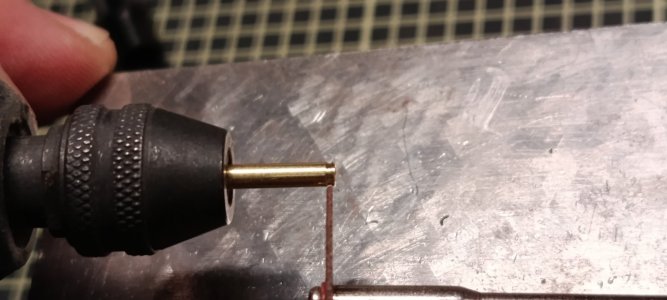
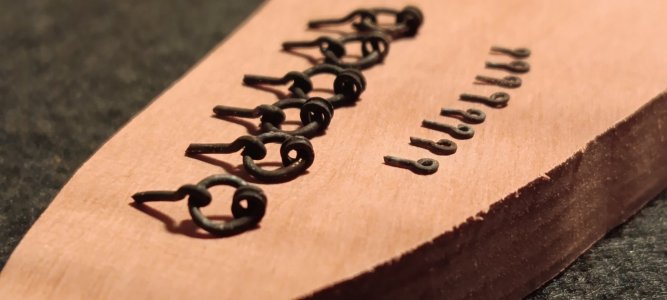
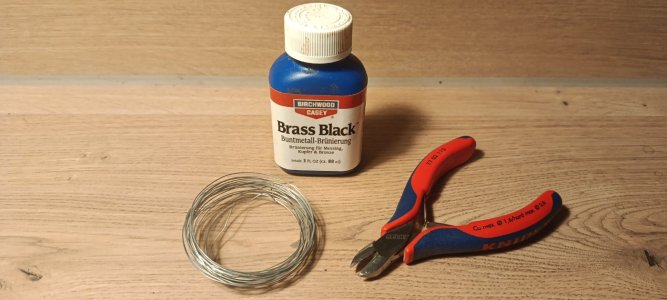
Thanks for the positive feedback. Regarding the blackening process: Generally, I use either silver craft wire or brass wire, depending on the gauge required and the fact that I don't have every gauge of brass wire on hand. I used the craft wire for the small eyelets, and brass for the larger rings and thimbles. I cut the wire using the smallest mini side cutters without any further finishing; however, for the larger rings, I did file the cut ends flat. Then, I place the parts into the solution. I skip any special pre-cleaning step. Once the desired level of blackness is achieved (after a few seconds), I place the parts on a paper towel to dry. A green patina develops after just a few minutes. However, I think most of that wore off during subsequent handling, as can be seen in the final photos of the bitts. I hope this helps.

IMG_20260825_152901.jpg
 
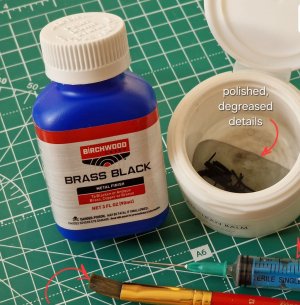
Thanks. I have a new version of this product (a new bottle), and it doesn't produce the same effect. If you use it neat, the blackening will be very black (especially if you don't remove the residue) and it occurs instantly. For example, I use my BB a little differently. I dilute it 1:5 and 1:3 and make long exposures of 18 and 9 minutes. After that, I brush off all the residue with a brush. As a result, instead of black or very dark, I get a dark graphite color of wrought iron. But no matter how I try, there is no green patina. So, please note that the product in the new bottle does not produce the same effect, and keep this in mind when buying if you run out of yours. I liked the green effect; it has something special, especially when it comes to imitation copper or bronze. But the new BB doesn't produce the same effect on either brass or copper.

BB.JPG
 
Thanks for the information about the product. I can't say why things are the way they are. I can't imagine you're doing anything wrong—if anything, you're doing *too* much right. ;-)

Maybe it really is down to the wire, because, as I mentioned, the effect isn't quite the same with brass.

Best regards
Andreas
 
Hello everyone!

The double fish-jointed planks have been laid. The battens between the deck beams are still missing; however, the fish-jointed planks need to be prepared accordingly to accommodate them. Here is an excerpt from the plans, followed by the result:
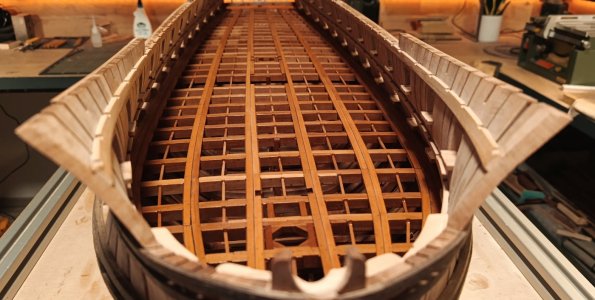
View attachment 626034

View attachment 626035

View attachment 626036

View attachment 626037

View attachment 626038

View attachment 626039

View attachment 626040

View attachment 626041

View attachment 626042

View attachment 626043

View attachment 626044

Regards
Andreas
Hi Barbossa, I'm sorry, but I'm not familiar with this type of plank. All I know is that it's a single plank, not four pieces. Frank

IMG_20260812_174204.jpg

IMG_20260815_170427.jpg
 
Back
Top