• Ships of Scale has incorportated an extra level of security when you log In. Please follow on-screen prompts to acknowledge that you are not a robot via a "Check Box" or a "Pictorial Check Box Puzzle". This is needed due to higher level of AI Activity Security.
  • SUBSCRIBE TO SHIPS IN SCALE TODAY!

    The beloved Ships in Scale Magazine is back and charting a new course for 2026!
    Discover new skills, new techniques, and new inspirations in every issue.

    NOTE THAT OUR NEXT ISSUE WILL BE July/August 2026
  • Win a Free Custom Engraved Brass Coin!!!
    As a way to introduce our brass coins to the community, we will raffle off a free coin during the month of August. Follow link ABOVE for instructions for entering.

Bluenose made in Austria :-)

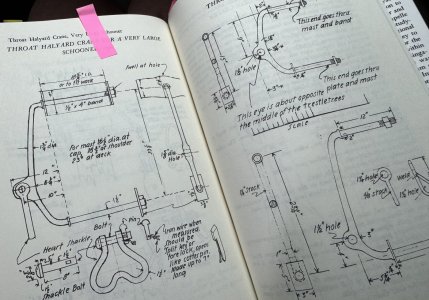
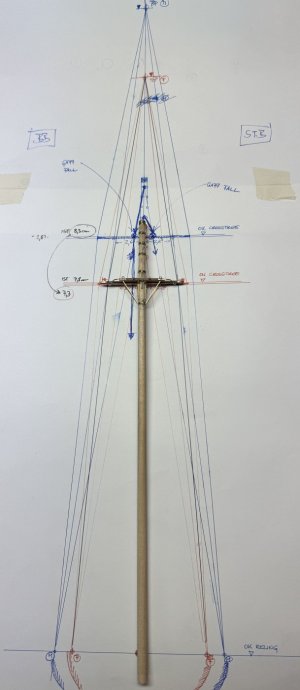
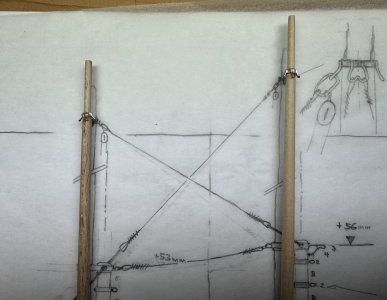
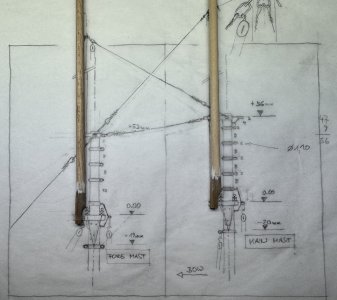
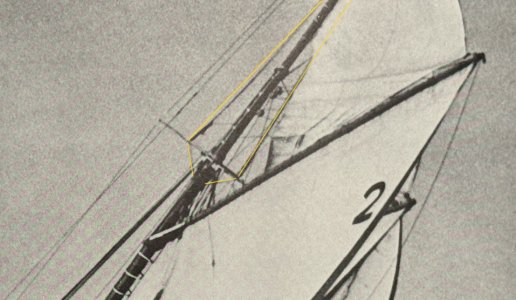
Wonderful wonderful build. If not too late I believe the eyebolts on the masts were offset or staggered a bit as show in this diagram from Peter Voogt.

View attachment 620407

Here is a you tube video of a way to make wind filled sails.


Rob
Hi Rob,

Thanks for the information!
In my opinion, the best source for understanding the construction of the Bluenose and the details of schooner building from that period is Howard Chapelle's book The American Fishing Schooners. I also found J.B. Jensen's Bluenose II drawings extremely helpful, as they include a number of details that also apply to the Bluenose. Another very informative resource is Keith McLaren's A Race for Real Sailors, which contains some excellent photographs.
The video was very interesting—thank you! I was especially intrigued by the idea of using ballast to press down on the sail and create its shape and camber. I'm going to give that a try and see if I can achieve the effect without creating any wrinkles.

Best regards,

Franz
 
Hi Franz, I'm really enjoying going back and reading through your build and I'm glad you returned to it after a long pause! Although I'm building the Model Shipways Bluenose, you're providing a lot of ideas that may benefit my build. Wonderful work, thanks for sharing!
Hi Bill,
I think there's so much to learn from everyone building ships here. Every model that's posted on this forum is full of great ideas and clever solutions.
Since this is the first ship I've ever built, I would never have gotten this far without all the information, advice, and photos shared here. Quite often, it's the simplest ideas that leave you amazed.
Best regards, Franz
 
Nice to see you back with the build of your Bluenose, Franz. A good idea to make several samples for your sails.
Regards, Peter
Hi Peter,
Thanks for the warm welcome!
I'm curious myself to see whether the sails will turn out the way I imagine them. We'll see how it goes!
Best regards, Franz
 
So, on to the next topic: the crosstrees.
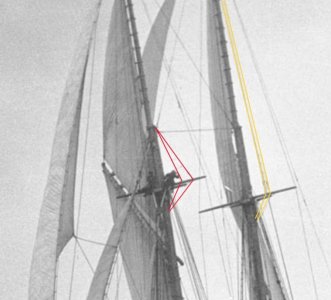
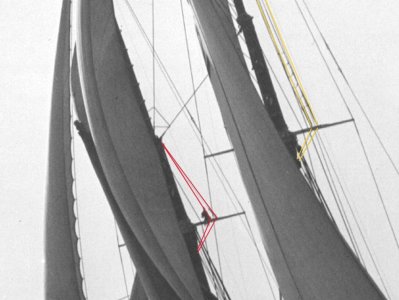
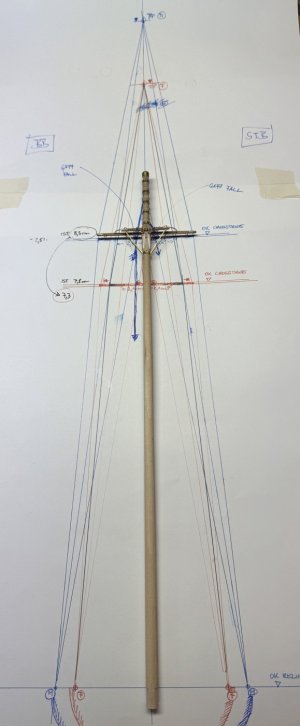
From the photos, I've noticed that on the foremast the shrouds only extend to the top of the lower mast, whereas on the mainmast they run all the way up to the masthead. The yellow lines indicate the mainmast, while the red lines indicate the foremast. Screenshot 2026-07-27 133659.jpegScreenshot 2026-07-27 133616.jpegScreenshot 2026-07-27 133523.jpeg
 
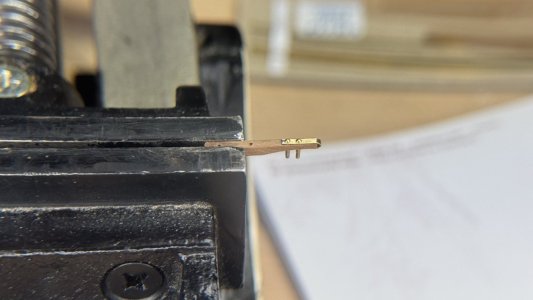
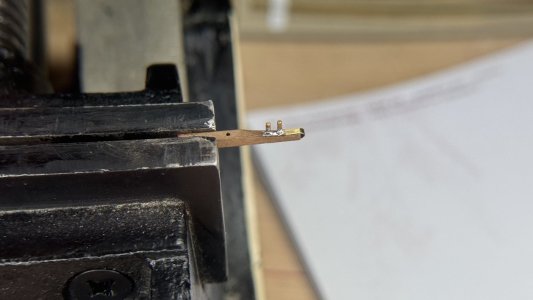
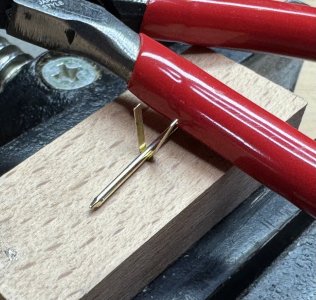
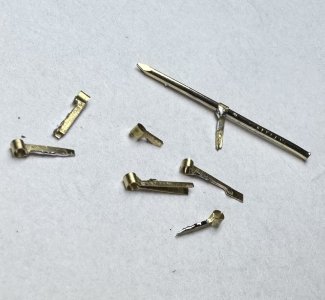
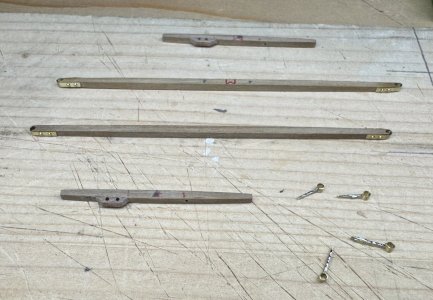
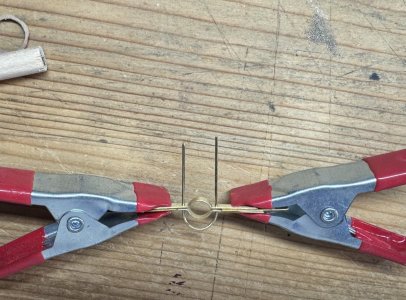
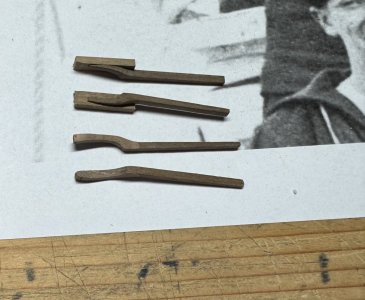
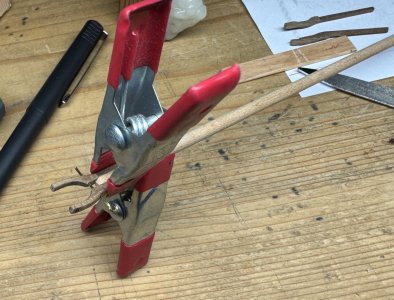
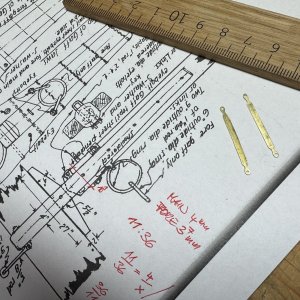
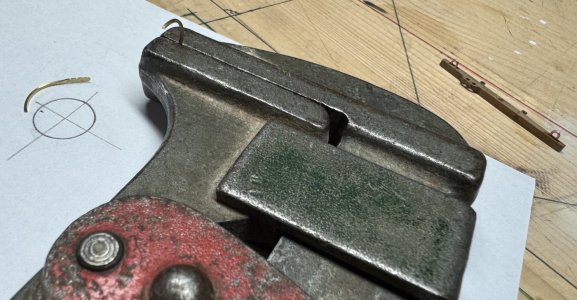
Next came the fairleads. To simplify things, I bent a small piece of brass around a tiny nail and then filed a locating pin that can be glued into the crosstree.IMG_E4757.JPG
 
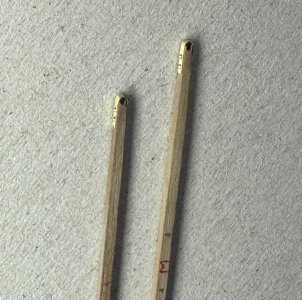
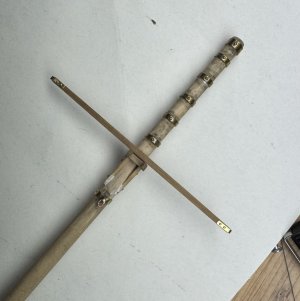
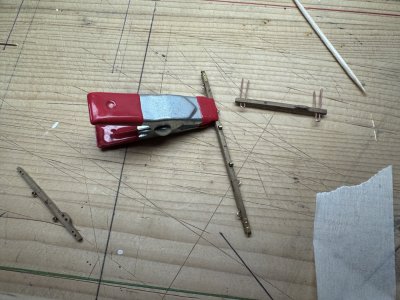
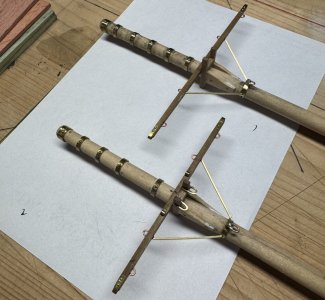
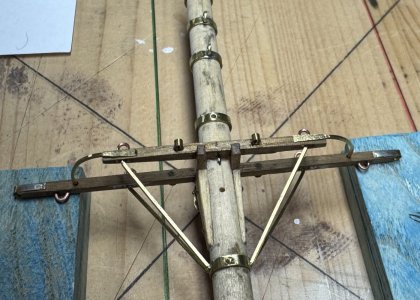
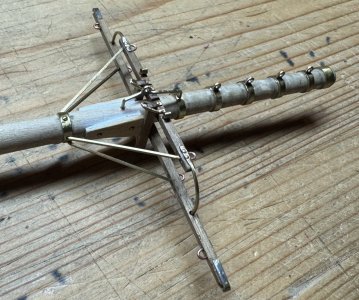
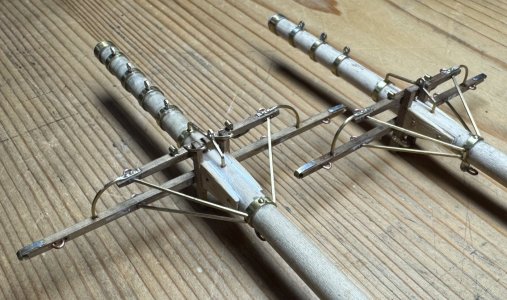
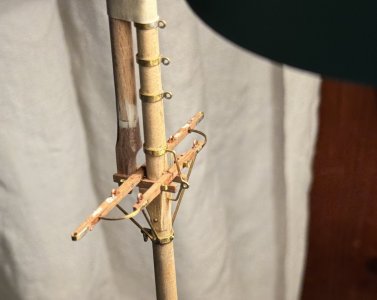
Alright, now it's time to finish the Crosstrees. This turned out to be quite a bit more work than I had expected.


Crosstree01.JPG
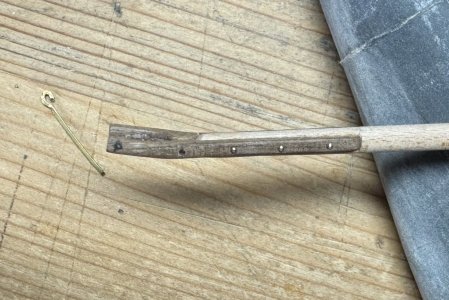
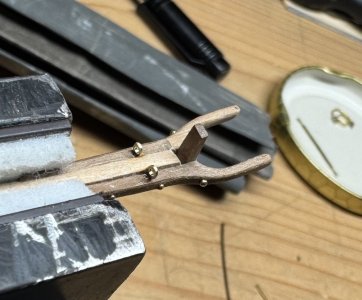
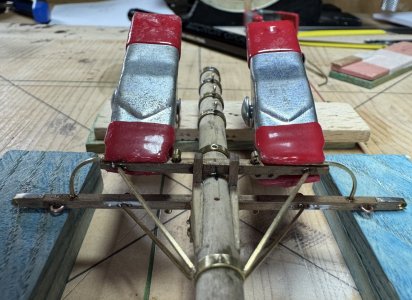
I decided not to make the fittings for the Peak Halyards as actual eyes, but simply as bent brackets. Otherwise, I would have had to make the eyes so tiny that it would have been beyond my modelling skills. So, this is a slight deviation from the original—reduced to the essential function.
Crosstree02.JPG
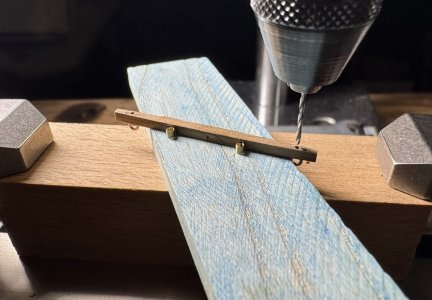
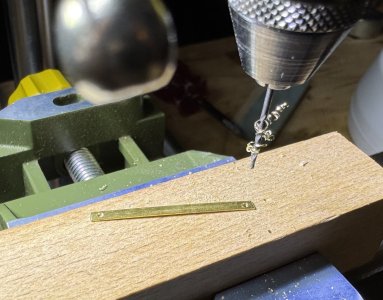
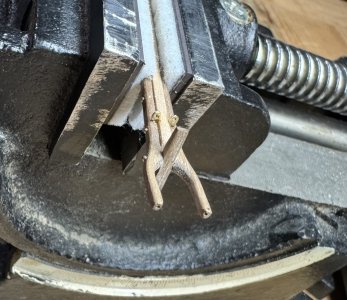
In addition to gluing them in place, I secured the bent brackets with two 0.4 mm rivets each. Drilling holes that tiny is quite funny … and on such a narrow strip of brass, rather tricky!
Crosstree03.JPG

Crosstree04.JPG
Crosstree05.JPG
 
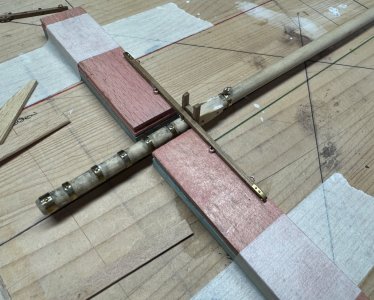
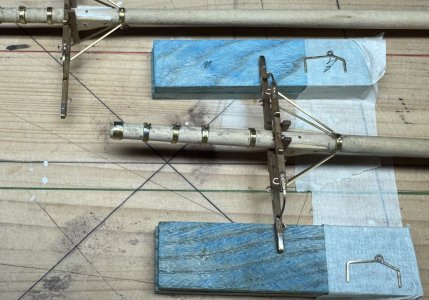
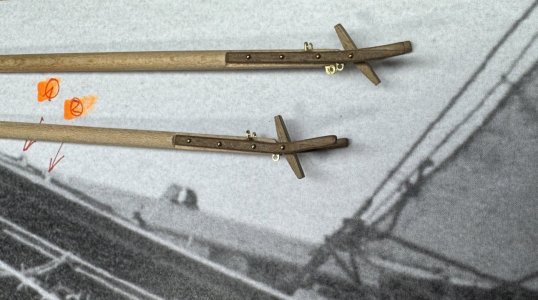
I “forgot” the fittings for the Forward Boom Topping Lifts. Originally, I wasn’t planning to include these lines, but while working on the crosstrees I changed my mind. I’m still not sure whether I’ll add the After Boom Topping Lift as well. I’m a little concerned that there might simply be too many blocks around the mast area … we’ll see.

Crosstree14.JPG
In any case, I had to fit the two brackets a little differently, since I hadn’t added them before installing the crosstrees.
Crosstree15.JPG
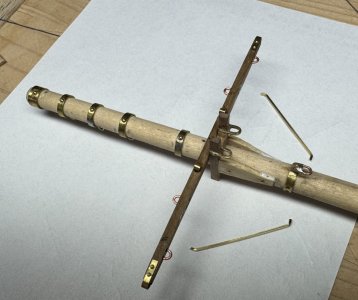
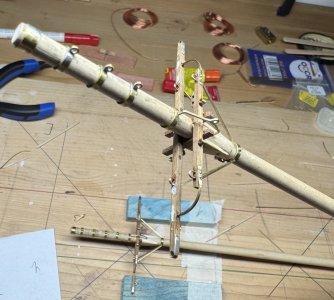
As for the size of the crosstree on the foremast, I judged it by eye based on the drawing, trying to get the proportions right. So at this point, its dimensions are based more on what looks right to me than on the actual measurements.

Thank you Peter for your support!

Main Mast:
Crosstree16.JPG

Fore Mast:
IMG_4859.JPG
 
Congratulations with this 2 mast tops, Franz. You made some very nicely detailed crosstrees!
About your concern about the amount of block: Anything that wasn't necessary was most certainly not installed. Only the functional ones. So just do it, but pay attention to the size of the blocks.
Regards, Peter
 
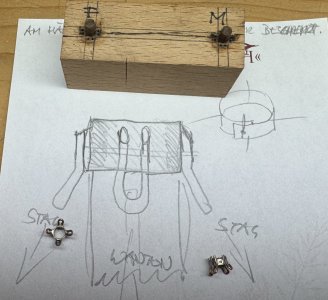
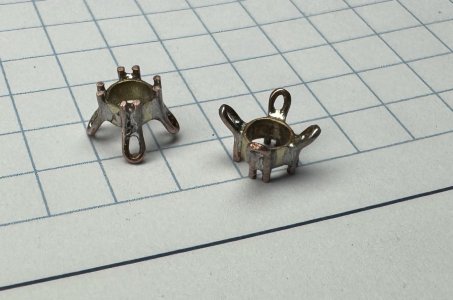
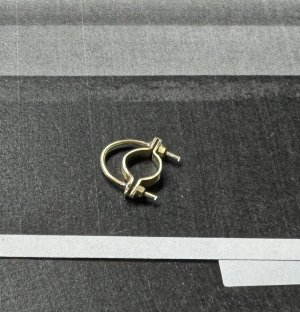
And now on to the upper sections of the masts. For the upper attachment points of the shrouds and stays, I needed to solder a brass ring to the copper straps. The problem was that as soon as the brass heated up, the joints I had already soldered tended to come apart again.
IMG_4862.JPG

IMG_4863.JPG

IMG_4867.JPG

IMG_4880.JPG

IMG_4875.JPG

IMG_4910.JPG

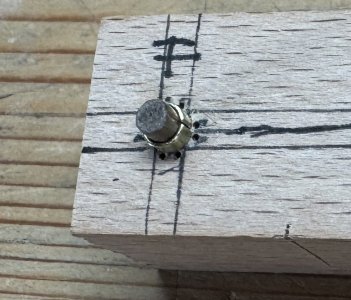
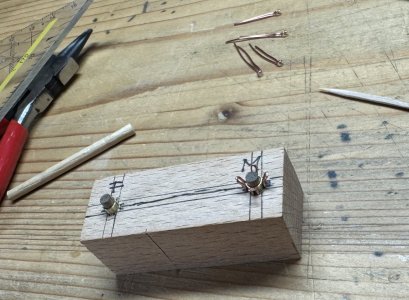
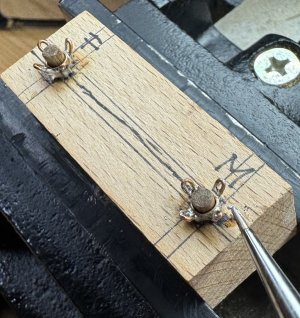
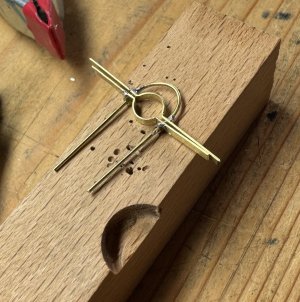
To solve this, I drilled a wooden block to hold everything in place: a round dowel in the center to support the brass ring, plus eight small holes for the copper wires. Then I simply inserted all the parts and soldered them together.
 
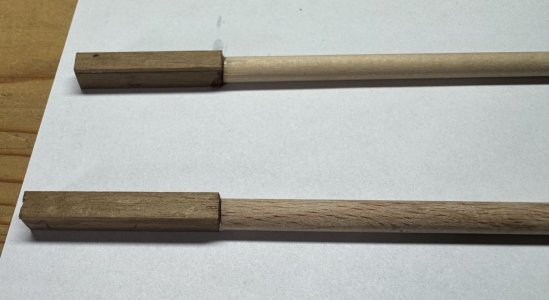
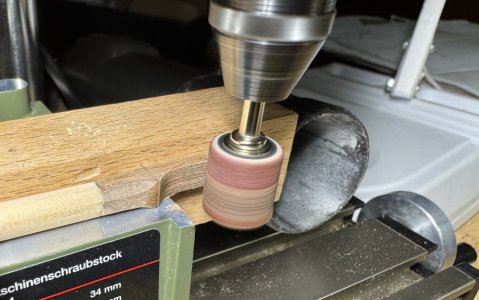
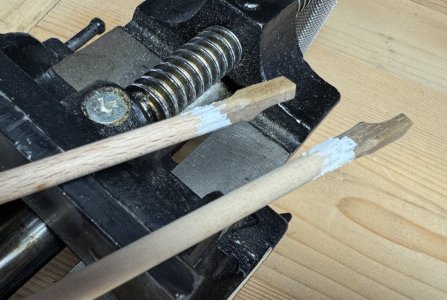
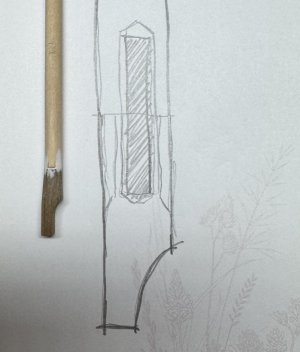
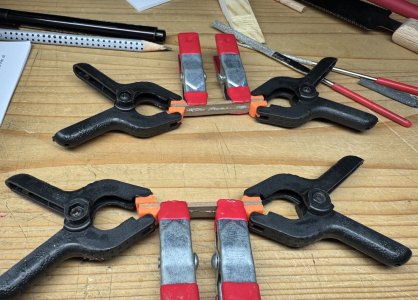
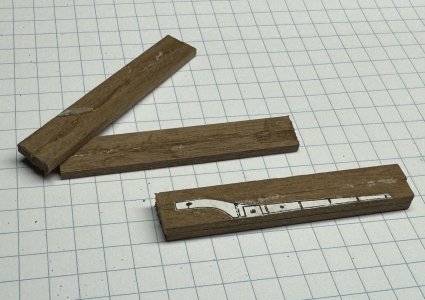
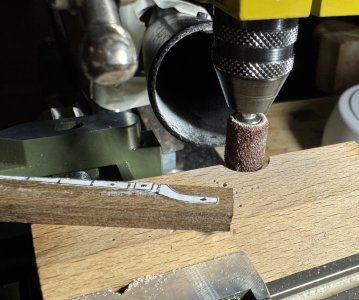
I also want the mastheads to have a square profile. When I originally turned the masts on the lathe, I hadn't thought of that yet. So now I'm adding the square sections separately, using glued-in pins to make sure they stay firmly attached.

IMG_4898.JPG

IMG_4903.JPG

IMG_4904.JPG

IMG_4907.JPG

IMG_4911.JPG

IMG_4914.JPG
 
Back
Top