• Ships of Scale has incorportated an extra level of security when you log In. Please follow on-screen prompts to acknowledge that you are not a robot via a "Check Box" or a "Pictorial Check Box Puzzle". This is needed due to higher level of AI Activity Security.
  • SUBSCRIBE TO SHIPS IN SCALE TODAY!

    The beloved Ships in Scale Magazine is back and charting a new course for 2026!
    Discover new skills, new techniques, and new inspirations in every issue.

    NOTE THAT OUR NEXT ISSUE WILL BE July/August 2026
  • Win a Free Custom Engraved Brass Coin!!!
    As a way to introduce our brass coins to the community, we will raffle off a free coin during the month of August. Follow link ABOVE for instructions for entering.

Bluenose Schooner 1921 - Model Shipways 1:64 by TexBilly

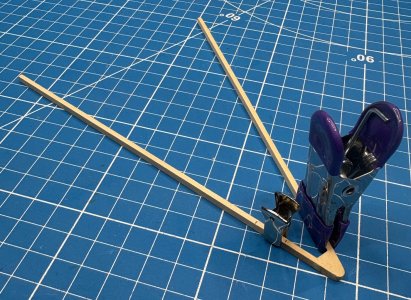
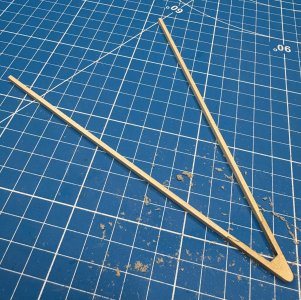
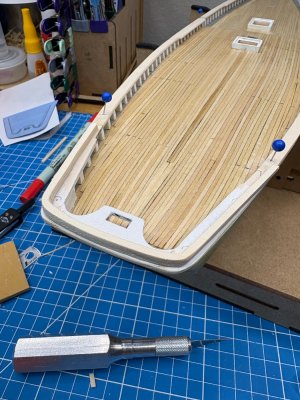
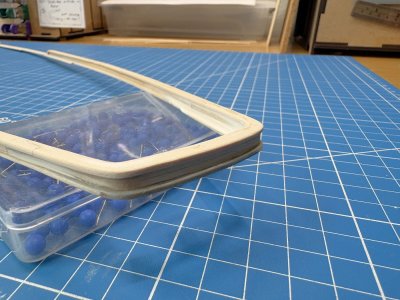
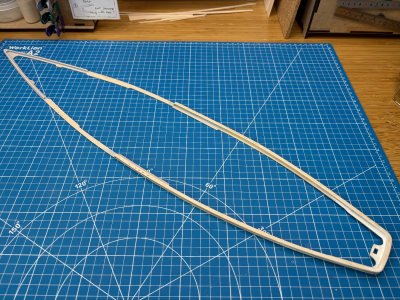
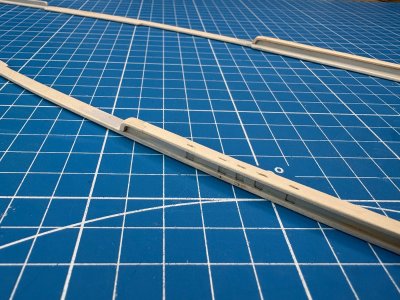
Buffalo Rail: the joints at the bow piece were a bit delicate but I adjusted and assembled the pieces without much trouble.

IMG_1674.jpeg IMG_1675.jpeg

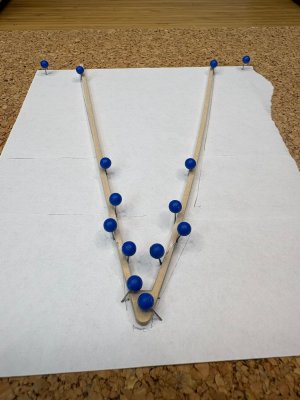
I roughly curved the rail using a quick bow tracing and will refine it soon using my full hull tracing. I'll likely use my plank bender or hot air gun to pre-curve the legs before fine tuning them when attaching to the main rail.

IMG_1679.jpeg
 
Last edited:
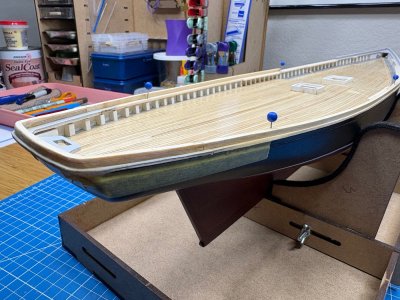
Meanwhile, we're living on the edge in Bill's workshop...

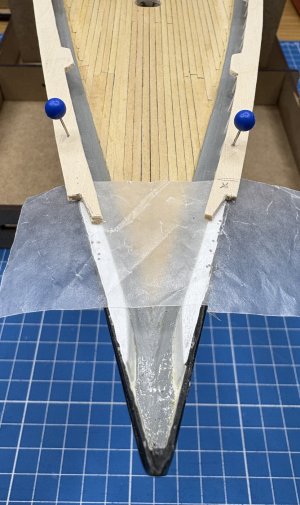
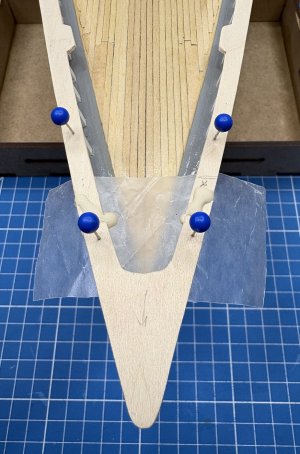
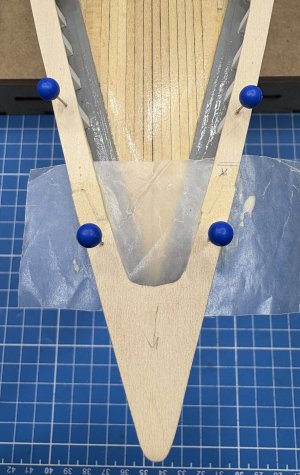
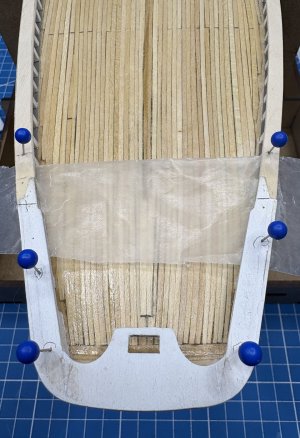
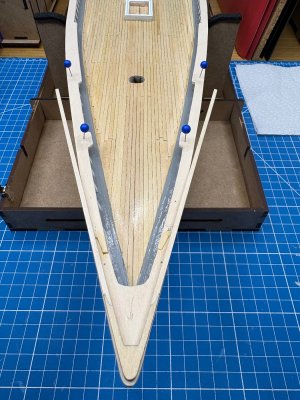
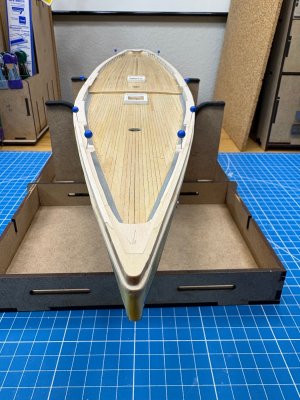
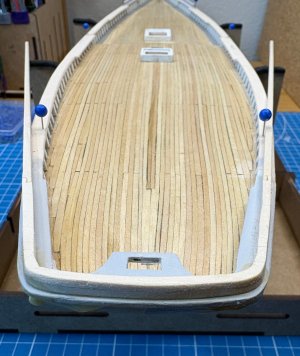
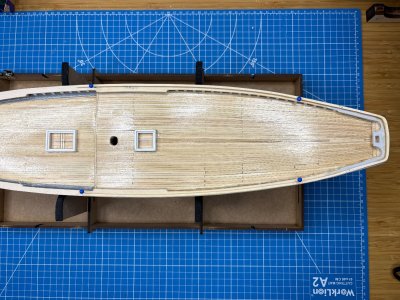
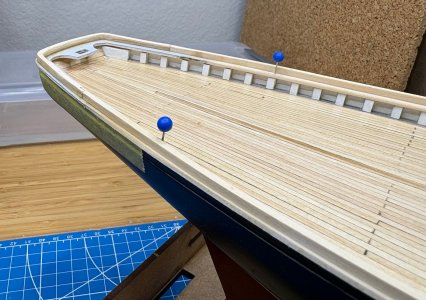
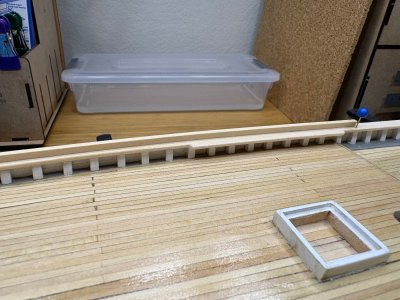
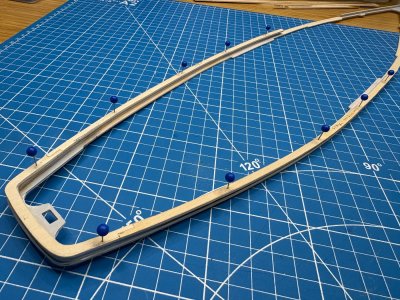
I decided to pre-glue the bow and stern pieces to the main rail as I also decided to pre-assemble much of my secondary railing in situ. (Ha!! I found a rare opportunity to use that lovely adjective! :cool:)

By doing this, I can gradually move pin placement for clearance, align and install secondary railing, then either remove the entire main rail assembly (yikes!) or cut joints and remove it in two or more pieces. I also plan to establish registration points before removal so I can return the painted assembly back to where it was. I need to think through my paint scheme (if not all white) to finalize my sequence. I only have myself to blame if this falls apart. :rolleyes:

Bow:

IMG_1683.jpeg IMG_1684.jpeg IMG_1685.jpeg

Stern:

IMG_1686.jpeg
 
Last edited:
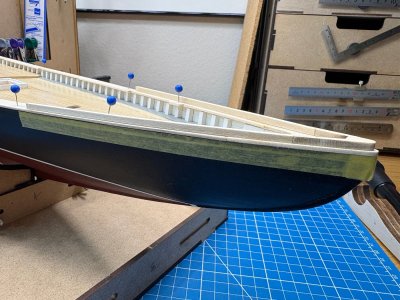
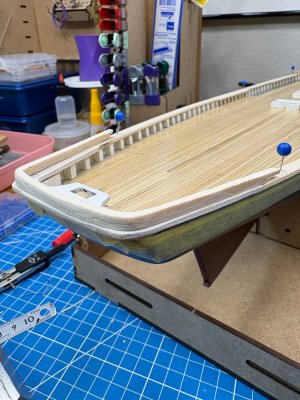
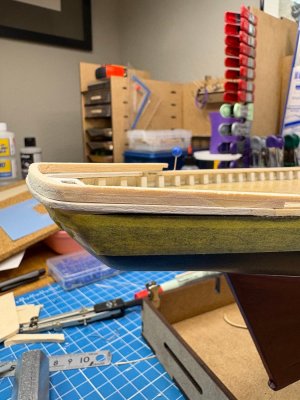
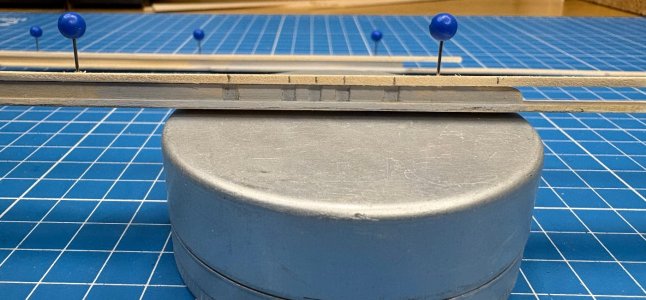
Buffalo Rail: After some light fill and sanding, I attached it gradually with CA, starting at the bow tip and working my way aft along the main rail. I had given it a modest pre-bend with my plank bender then eyeballed it in place to give me the desired reveal relative to the edge of the main rail.

IMG_1707.jpeg IMG_1705.jpeg
 
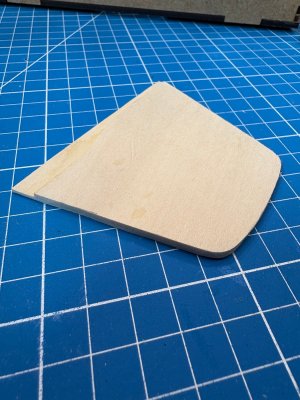
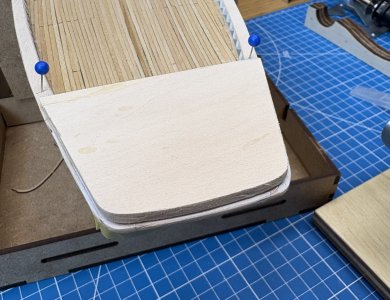
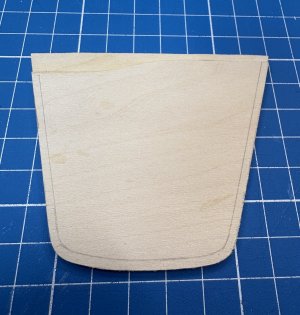
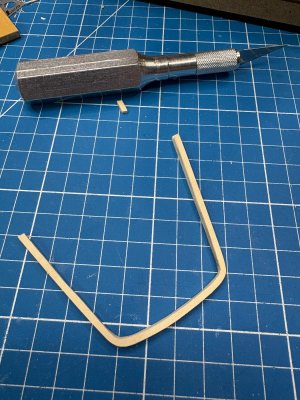
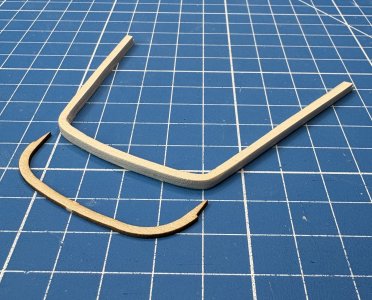
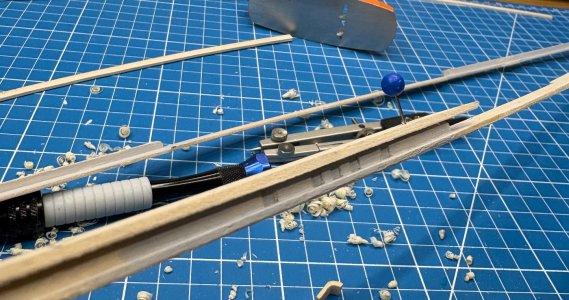
Monkey Board: Back at the stern, I did play with bending my board strips to make the curve at the transom but didn't get consistent results so I decided to cut my own out of two layers of 1/16" basswood to match the 3/32" x 1/8" strips I used for the Buffalo rail.

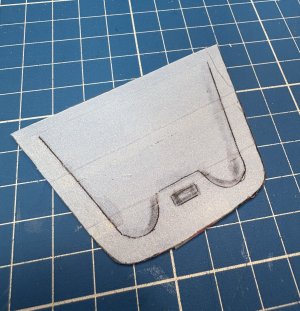
I started with a fresh tracing of the current stern profile, taped it to card stock, then trimmed its outer profile to reflect the outer edge of the monkey board (about a 1mm reveal). Attached it to my laminated basswood stock, cut the blank, then dry fitted it to make sure alignment was ok - which it was. Then I laid a line for the inner edge of the monkey board.

IMG_1694.jpeg IMG_1692.jpeg IMG_1693.jpeg

IMG_1695.jpeg

I carefully cut out the stern piece, rough sanded it, and dry fitted it to the stern.

IMG_1701.jpeg IMG_1698.jpeg IMG_1704.jpeg IMG_1699.jpeg

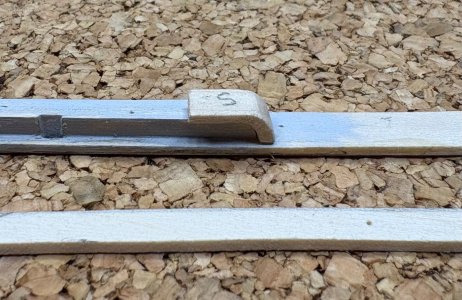
So tell me how the kit-provided part was going to work? :rolleyes:
Edit: that part is actually for the monkey rail (top) but it still won't do!

IMG_1709.jpeg
 
Last edited:
Back at the Monkey Boards, I cut joints and attached the stern piece and long boards. Once I began shaping the boards to the hull it became obvious I was stressing those joints so I carefully cut the joints and installed the stern piece on its own.

IMG_1710 1.jpeg

I then soaked/shaped/ironed the boards and rejoined the parts and gradually tacked the boards with CA. Finally, I brushed the long joints with diluted wood glue.

IMG_1712.jpegIMG_1714.jpegIMG_1716 1.jpegIMG_1719.jpeg

The Monkey Rail sits atop the Monkey Board (I chuckle every time I type those names :D) but I'm going to fit it after the main rail is attached and has its final profile.
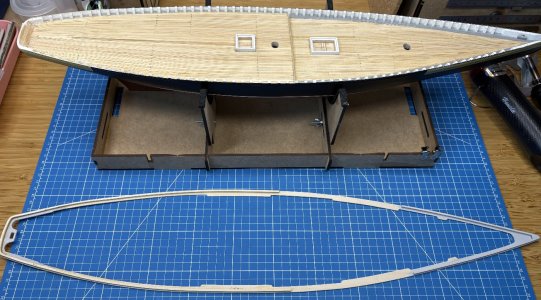
The rail assembly was now free to be removed and I'll soon move to painting (and a paint scheme). That deck looks positively naked now! :eek:

IMG_1721.jpeg
 
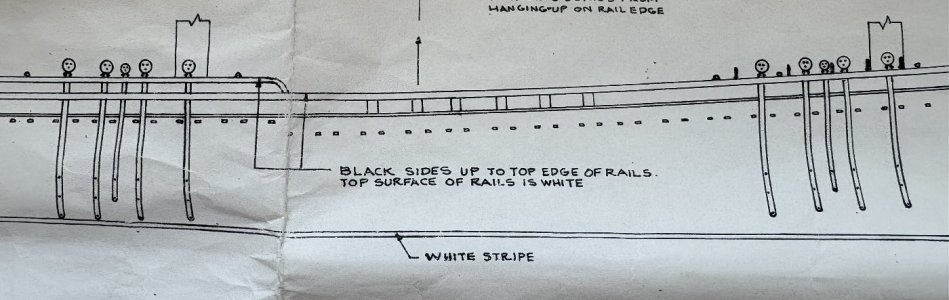
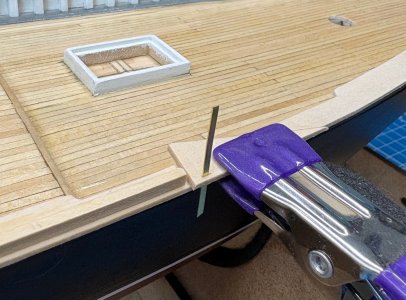
One reason I decided to delay the monkey rail installation was related to the future chain plates, which are inserted through both the monkey rail and main rail at the quarterdeck, through the main rail only at the foredeck. I simulated both the position and slot size required with a piece of scrap and though it will be a little tricky to align through the two rails at the quarterdeck, there seems to be enough real estate. The position of the main rail's edge is pretty critical though, to allow the chain plates to run cleanly down the hull, so I might cut the slots and use the brass strips to align the main rail. In my mind, this plan will work. ROTF

IMG_1728.jpeg

IMG_1726.jpeg
 
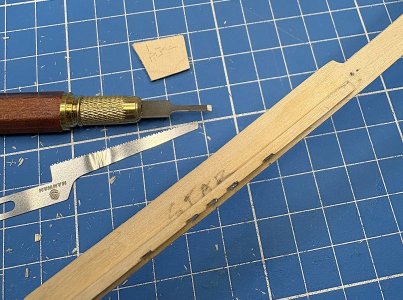
Returning to the chain plates at the quarterdeck, their slots at the monkey board are tight already and I also wanted to introduce some more wiggle room for their alignment through the two rails so I cut shallow rabbits into the monkey board. That 2mm chisel blade is just the right size and the mini saw blade helped clean up the slots. I'll give it a bit more cleanup before painting. Once the plates are installed and set back under the top rail, I think this will convey just fine. I like to think this sort of prep might be needed on the real thing. ;)

IMG_1731.jpeg
 
Last edited:
Beautiful and meticulously work. Great solution to the age old problem of the transom pieces… almost can’t believe that after so long, that it hasn’t been corrected. But then again, if it was corrected, and fit correctly, we wouldn’t have all the scratch building practice.
 
Beautiful and meticulously work. Great solution to the age old problem of the transom pieces… almost can’t believe that after so long, that it hasn’t been corrected. But then again, if it was corrected, and fit correctly, we wouldn’t have all the scratch building practice.
Thanks so much, Hugh! Yep, these kits do push us in that direction but the experience does yield benefits!
 
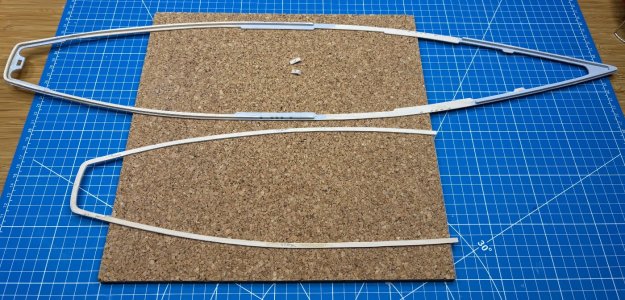
Inching closer to finishing the rails. Built and assembled the monkey rail/stern pieces as well as the arched end pieces at the ends of the rails. Just need to complete a final alignment of the rail, fit it to the end pieces, then mark and cut the chain plate holes. Then we should be ready to paint, likely in two pieces.

IMG_1756.jpeg IMG_1759.jpeg
IMG_1758.jpeg
 
It feels like a few months to get to this point on the rail assembly, considering most of it has been custom. Imagine my surprise it's only been a few weeks. Redface Still, at my pace, let's hope the next chapter of my build is more brief!
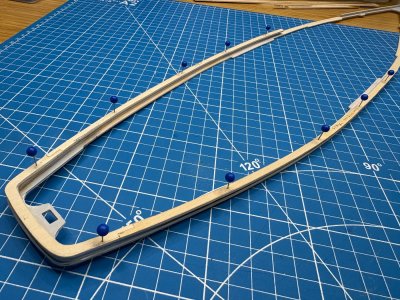
I'm finally ready for prime and paint. After multiple points of alignment and registration, I decided to preassemble the monkey rail/end pieces to the main rail. After some fill/sanding prep to the monkey board and main rail, I used my pin points and gradually glued everything together. Pretty happy with the results and feel good that final placement on the ship will be free of drama.

But first, prime and paint this weekend.

IMG_1760.jpeg IMG_1764 1.jpegIMG_1765.jpeg IMG_1763.jpeg
 
Inching closer to finishing the rails. Built and assembled the monkey rail/stern pieces as well as the arched end pieces at the ends of the rails. Just need to complete a final alignment of the rail, fit it to the end pieces, then mark and cut the chain plate holes. Then we should be ready to paint, likely in two pieces.

View attachment 631606 View attachment 631612
View attachment 631608

Bill, I am a few weeks away from this point. I was curious how you shaped those "the arched end pieces at the ends of the rails" of the monkey rails. They look wonderful and I want to shamelessly steal your technique.
Rob
 
Back
Top