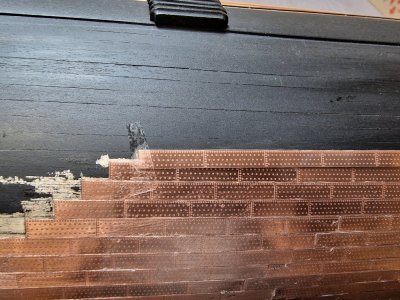
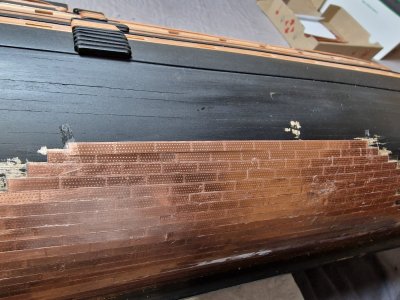
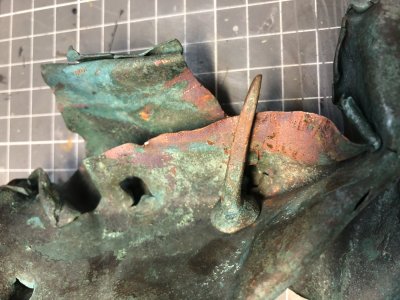
Copper... and ones more copper.
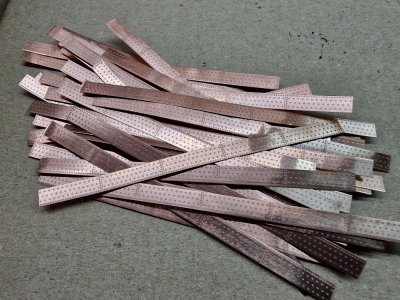
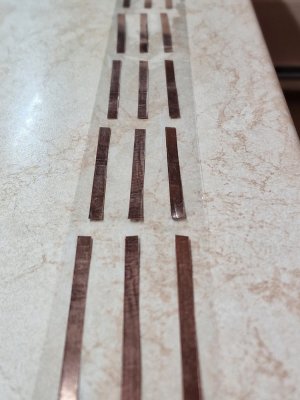
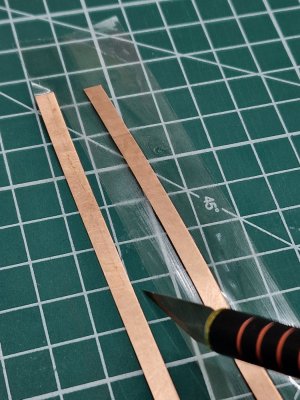
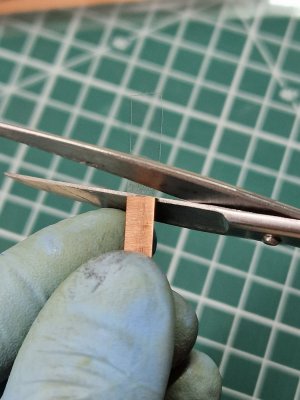
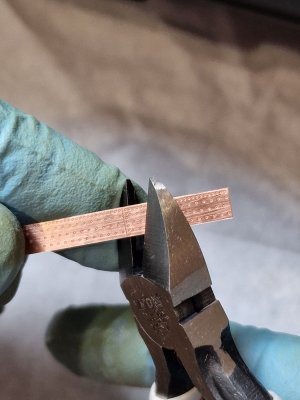
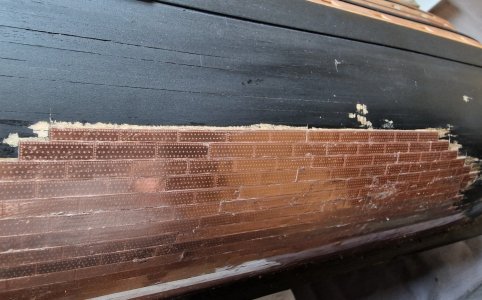
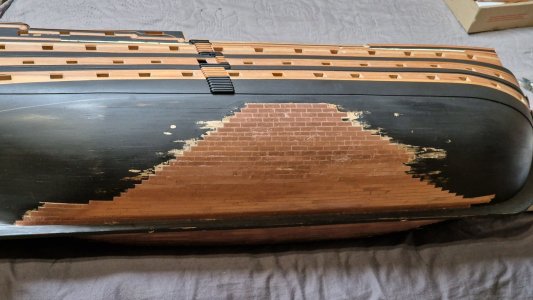
With experience, the work is progressing faster. The same routine continues: rough sanding on the inside, polishing to a shine on the outside, cutting into strips, taping them with scotch tape, and then fixing them in place.
View attachment 490432
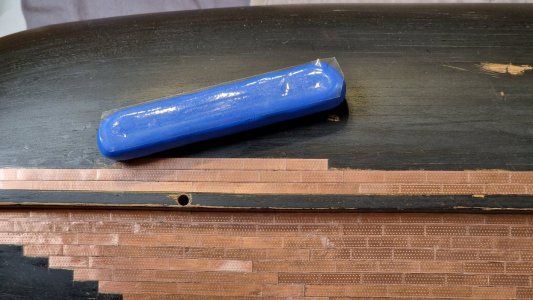
To press the copper strip against the hull while the glue sets, I came up with this tool. It’s made from air-drying plasticine (available in toy stores). I rolled it into a “sausage” and pressed one side flat against the table to create a flat surface. After it hardened, I applied tape to the flat side to prevent glue from sticking to the plasticine.
View attachment 490436
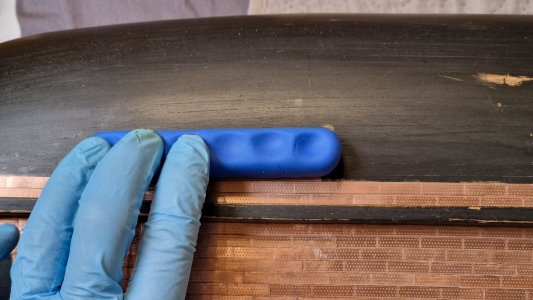
On the other side, I made indentations for my fingertips to better grip and stabilize the tool when pressing the copper strip down.
View attachment 490437
This way, I apply even pressure across the entire surface, not just at the points where my fingers touch. I replace the tape occasionally when it accumulates too much glue.
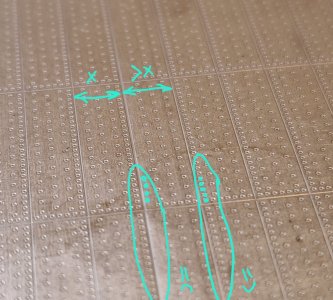
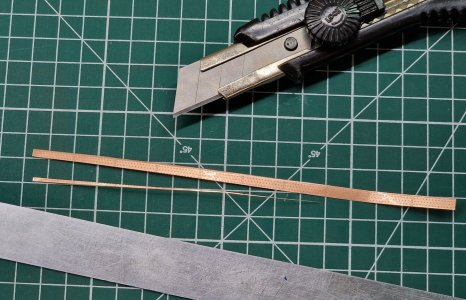
I’m working symmetrically and alternately. First, I glued half of a sheet on one side of the hull, and now I’m applying the other half to the opposite side. So far, I’ve used one of the six sheets of copper plating. The downside is that every sheet has defects. One strip not only lacks the row of nail details but is also wider than the others. Because of this, I set aside one defective and one normal strip (from the other side) to use later for the triangular sections.
View attachment 490438
I really hope the six sheets will be enough for the entire hull.
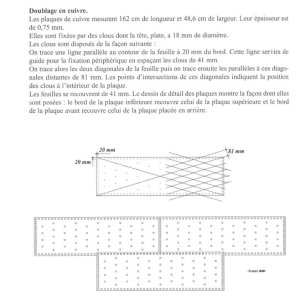
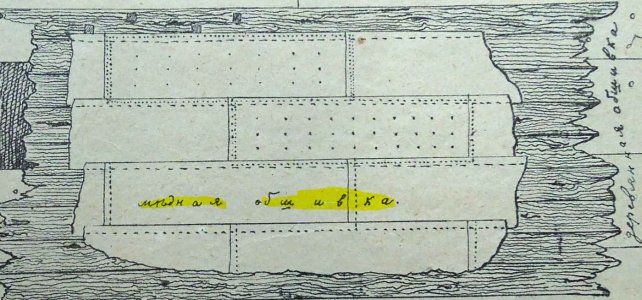
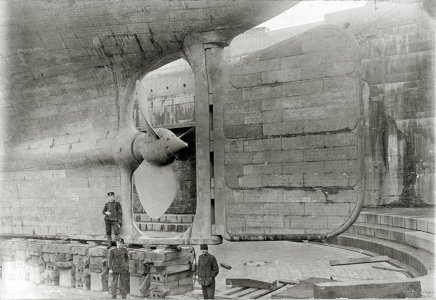
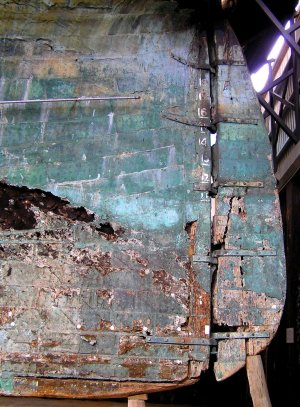
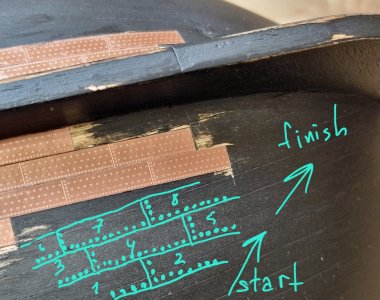
I also wanted to demonstrate the correct alignment of the nail pattern and reiterate that if plating overlaps, you should start at the stern and work downward toward forward the keel. However, if the plating is applied edge-to-edge, the nail pattern alone determines the proper orientation, meaning you can start from anywhere as long as the nail pattern aligns correctly. Starting from the keel is simply more convenient for maintaining horizontal lines.
View attachment 490439
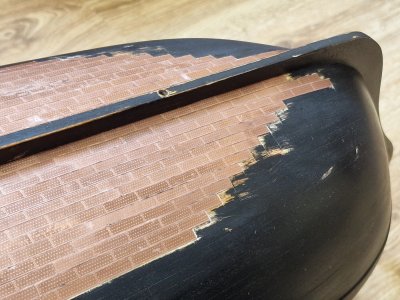
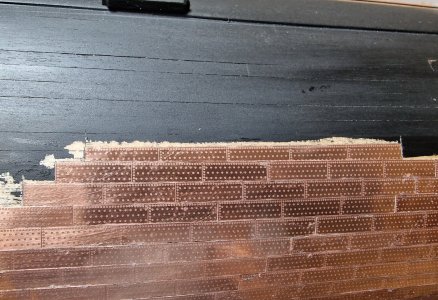
Another time-consuming part is cleaning the edges of each copper strip after it’s glued, to ensure the next strip fits seamlessly edge-to-edge. The glue seeps out from under the copper when I press it down, and I have to remove the excess with a scalpel. Some of the glue, stained with paint, also seeps through the seams, but this will be cleaned up after the tape is removed and the final polishing is done.
View attachment 490440
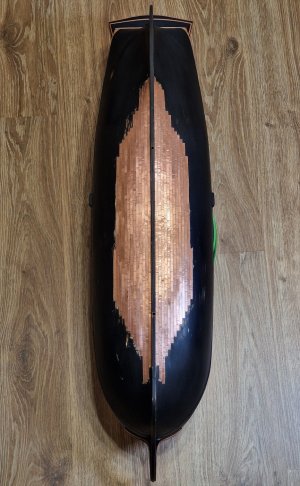
So, 1/6 is complete...
View attachment 490441
...and there are five more rounds of this dance to go. But for now, this is the easy part. Things will get more interesting when I start dealing with wedges and triangular sections!
P.S. A big thank you to everyone who has shown such great interest and attention to my build, as well as for all the numerous likes from you!!! 

...


