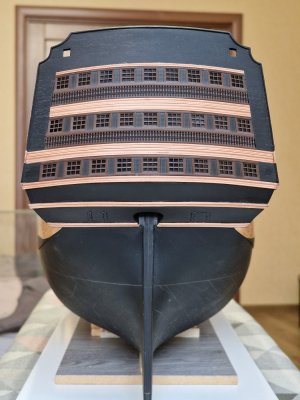
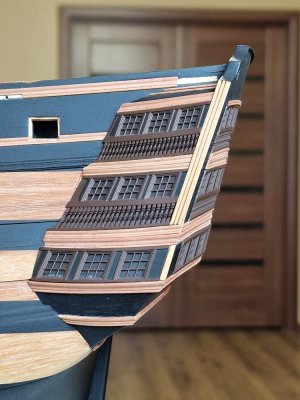
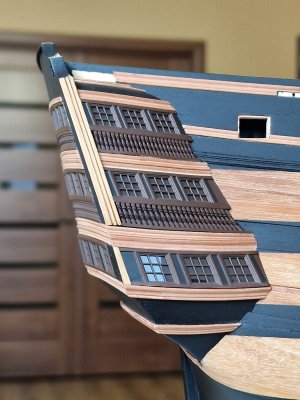
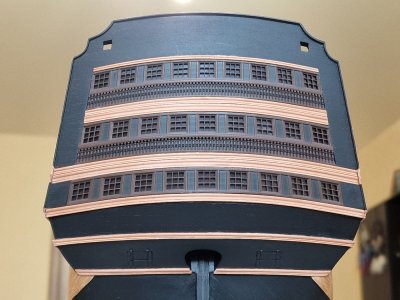
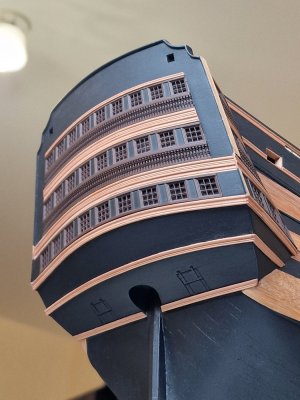
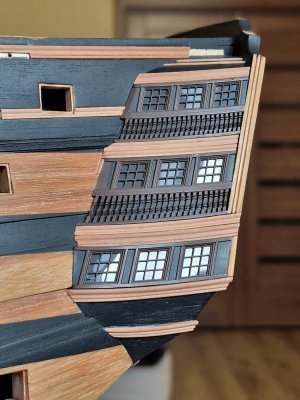
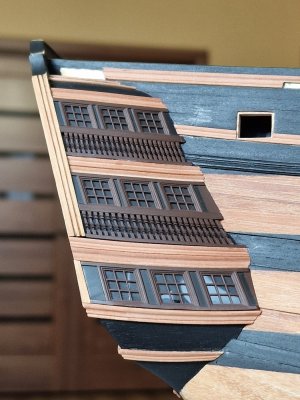
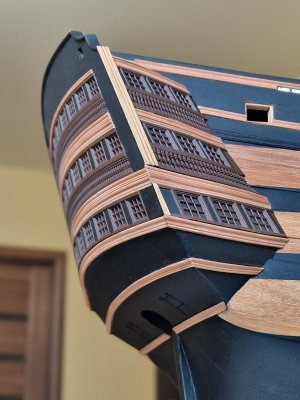
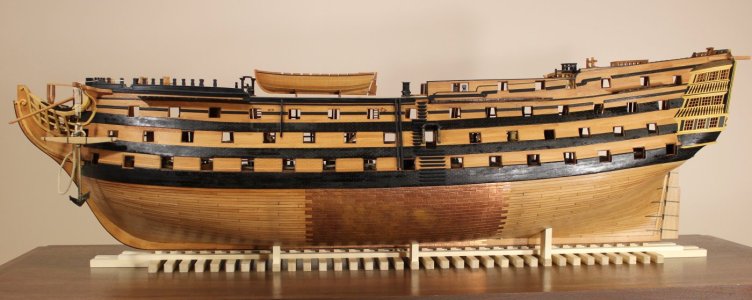
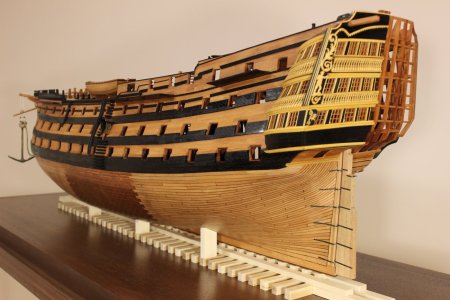
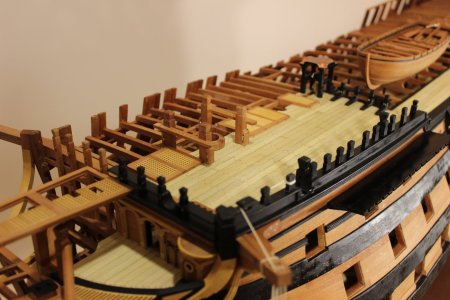
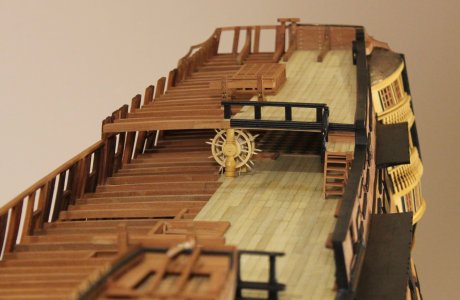
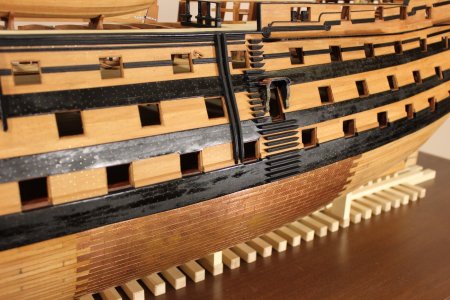
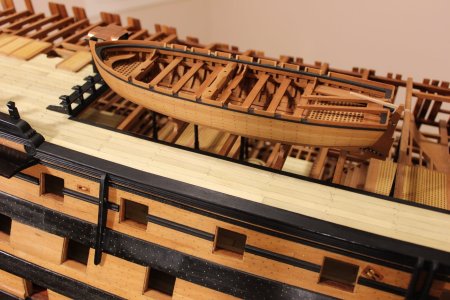
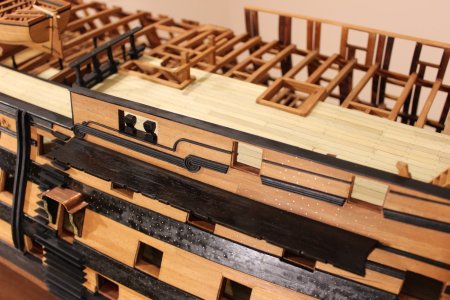
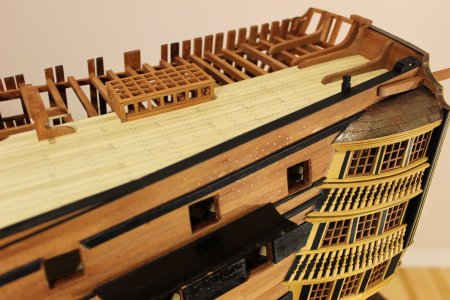
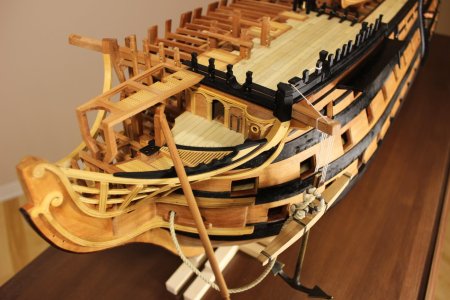
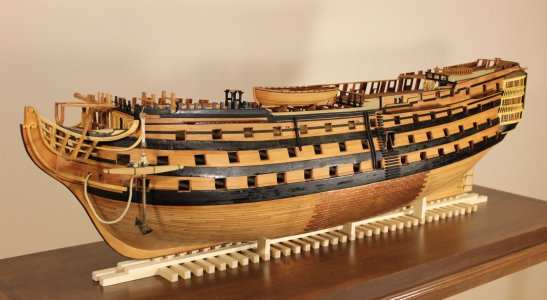
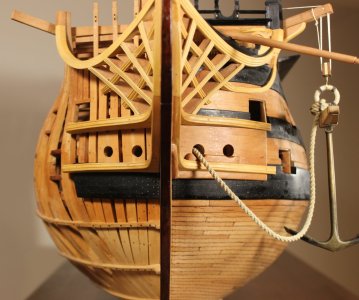
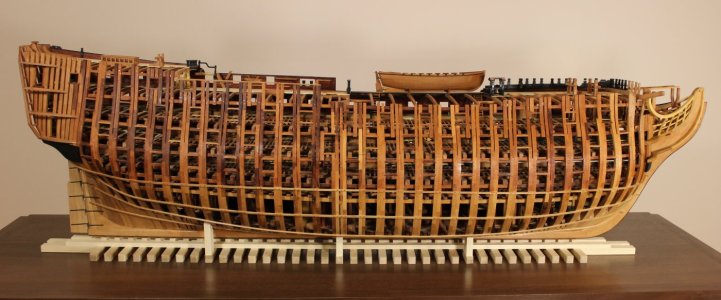
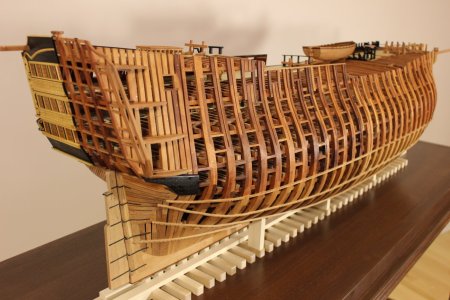
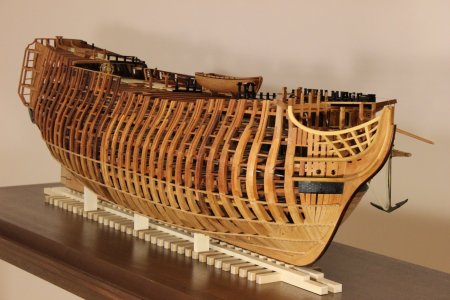
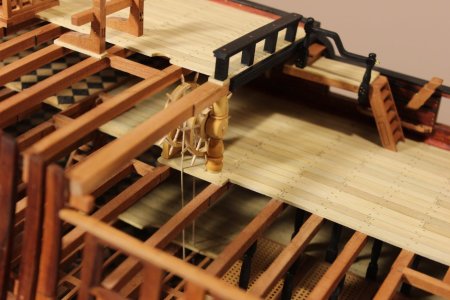
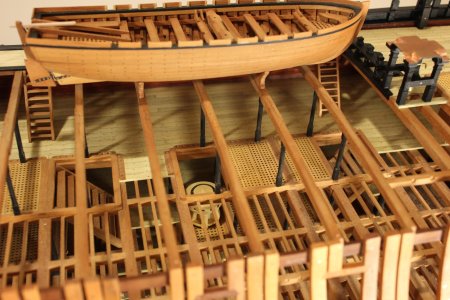
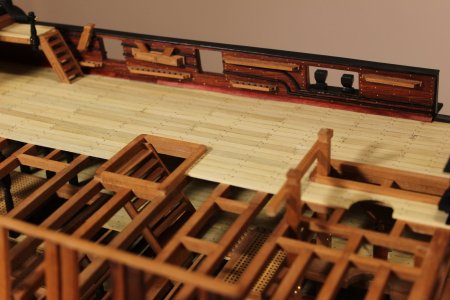
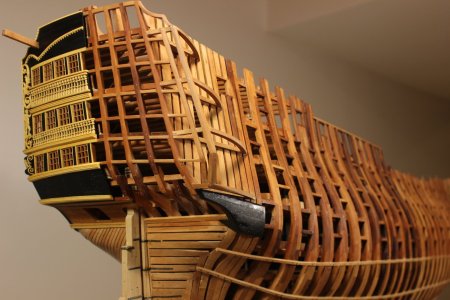
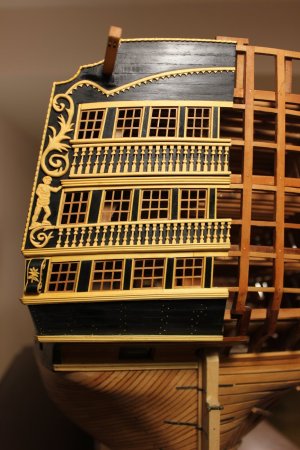
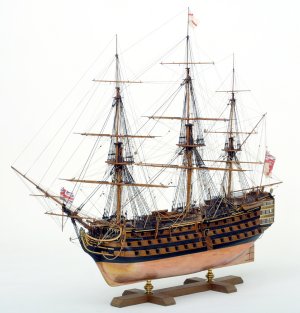
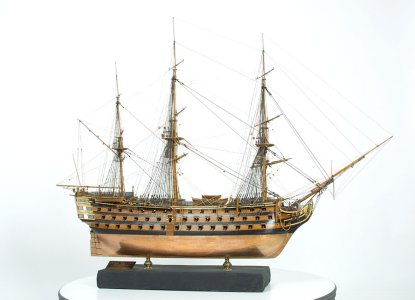
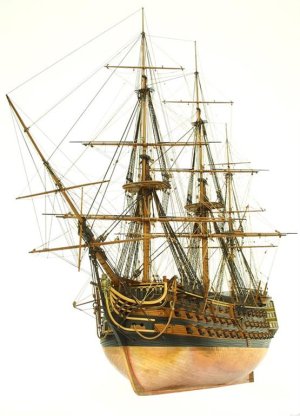
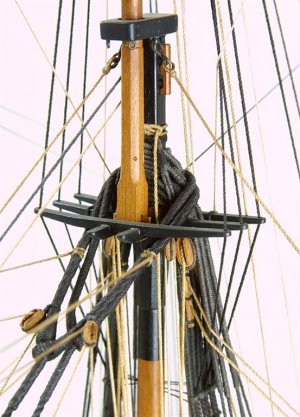
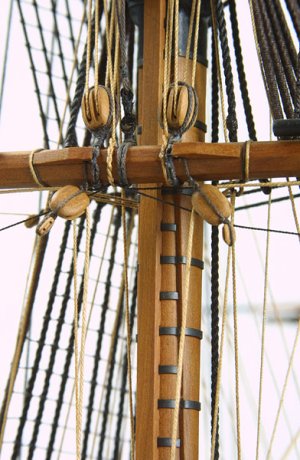
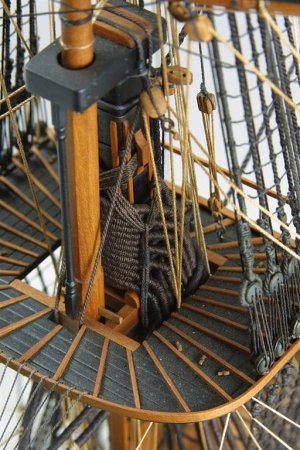
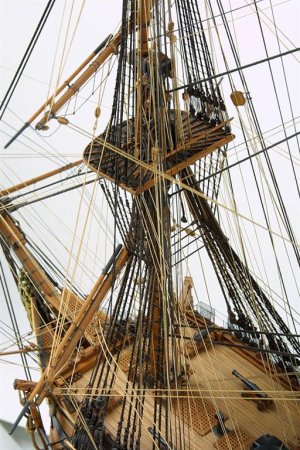
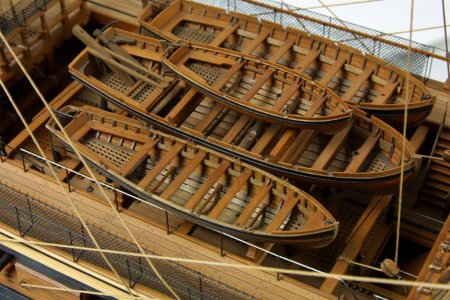
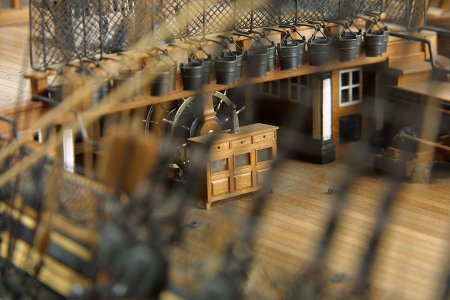
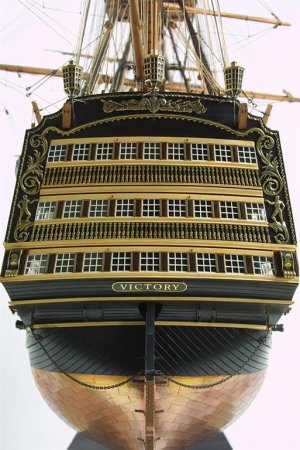
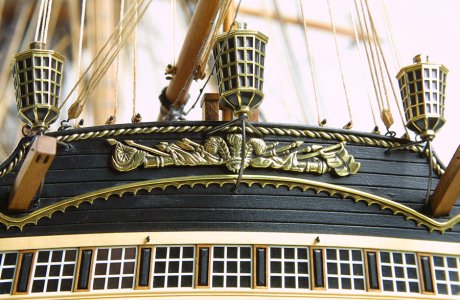
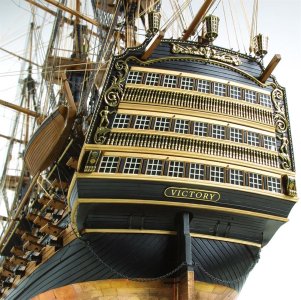
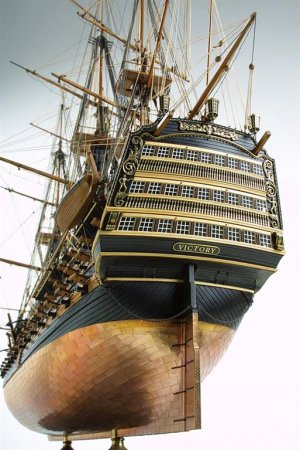
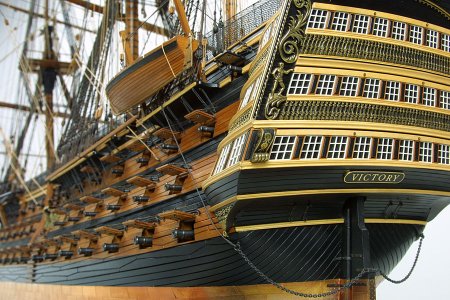
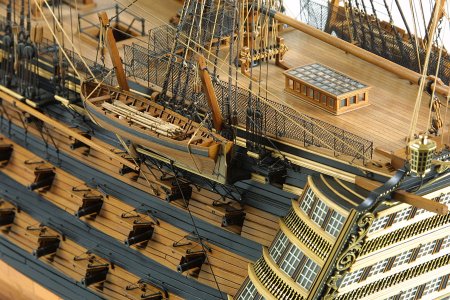
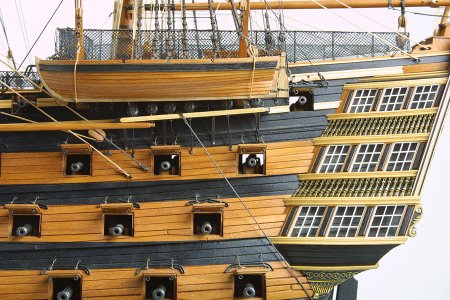
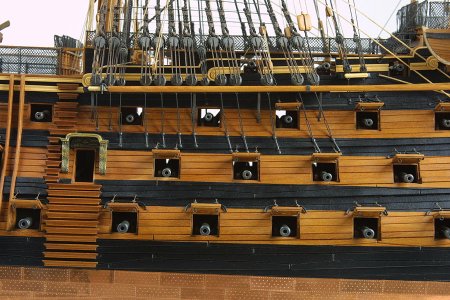
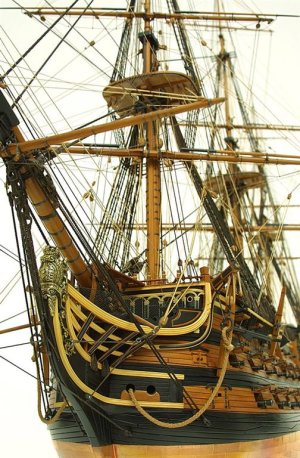
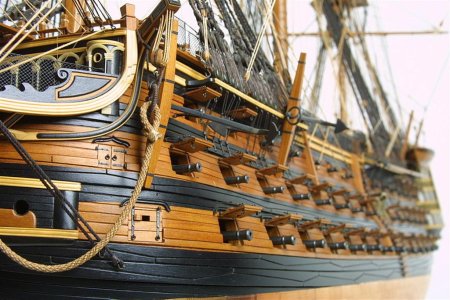
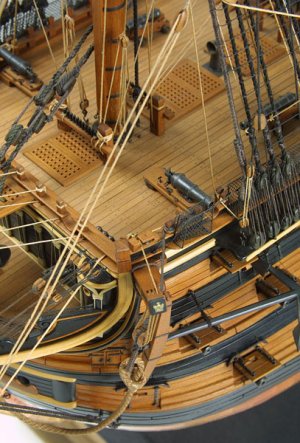
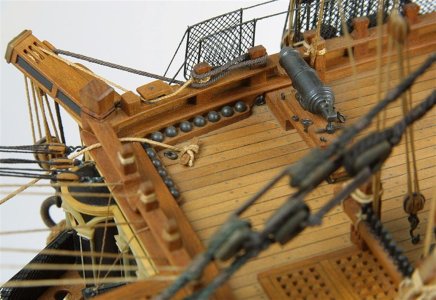
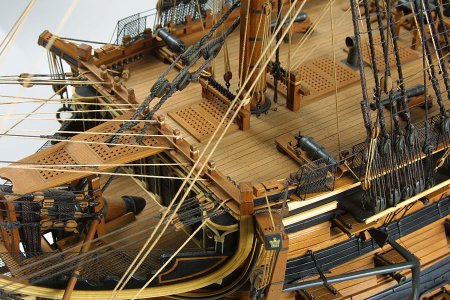
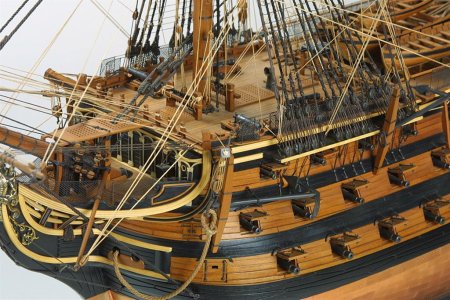
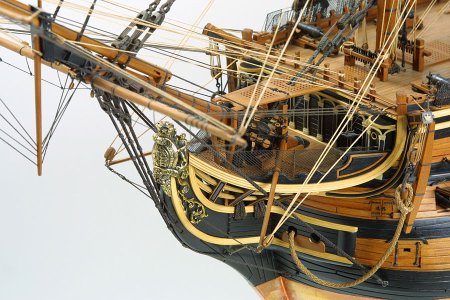
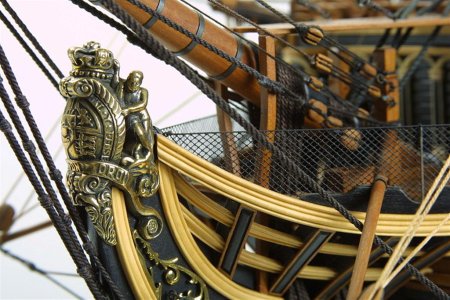
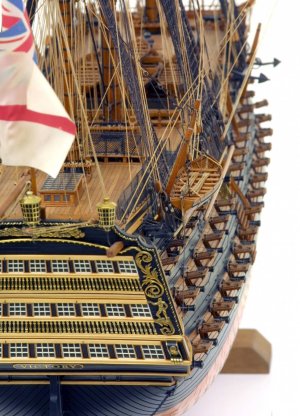
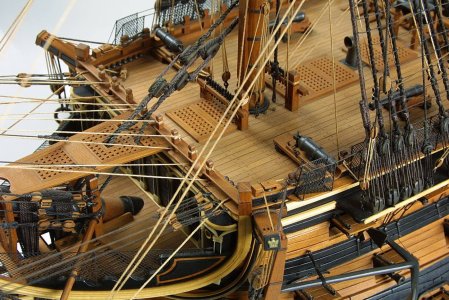
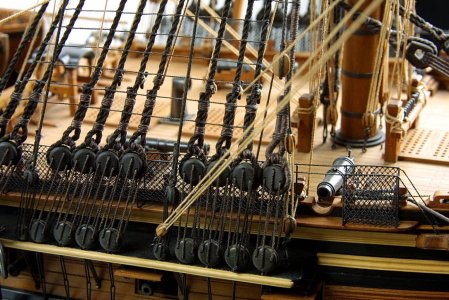
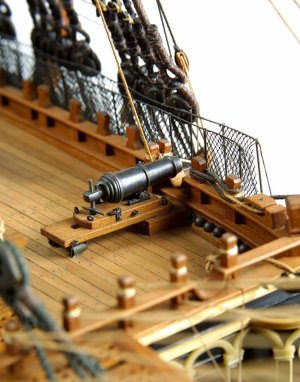
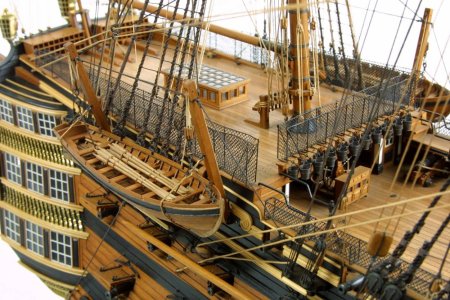
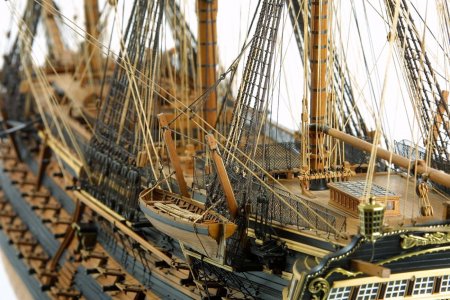
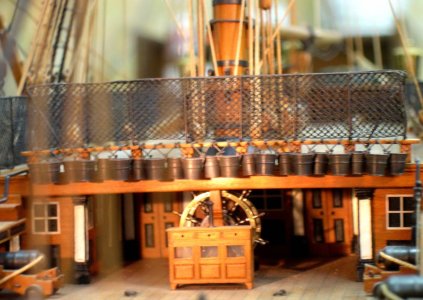
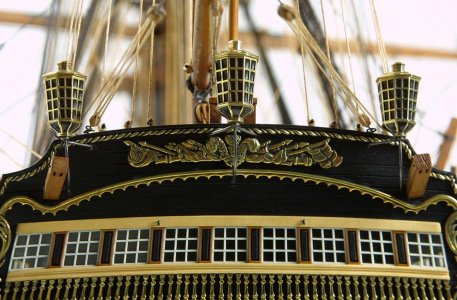
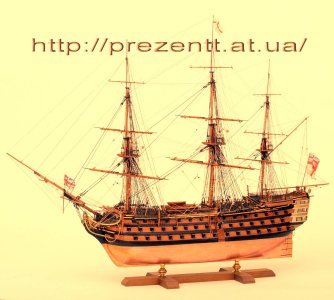
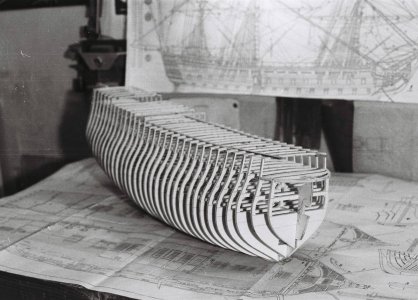
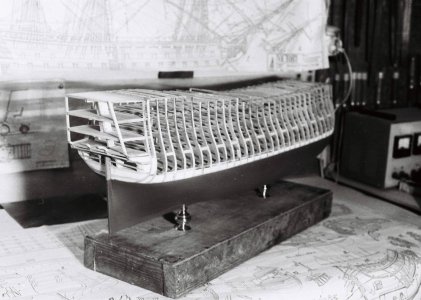
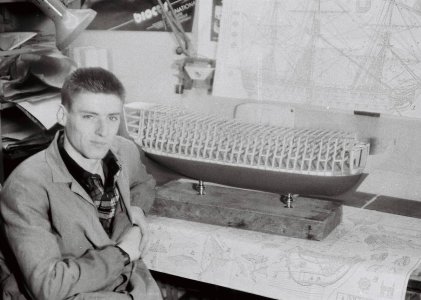
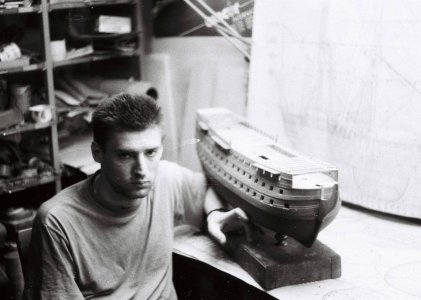
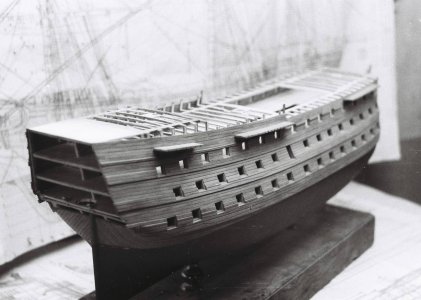
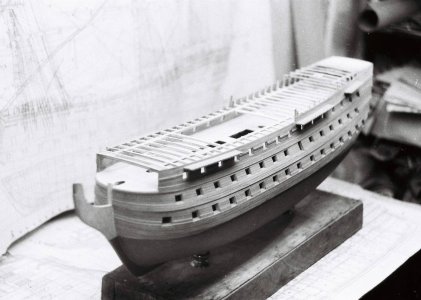
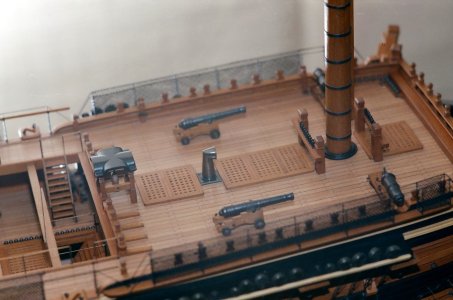
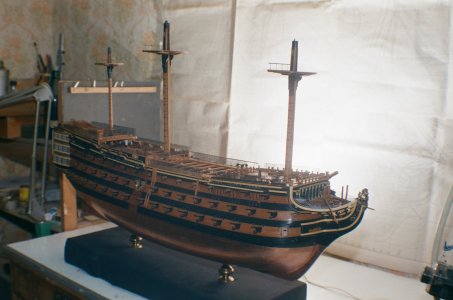
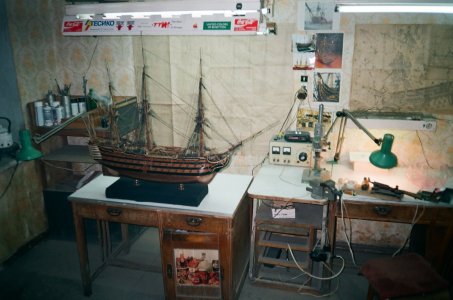
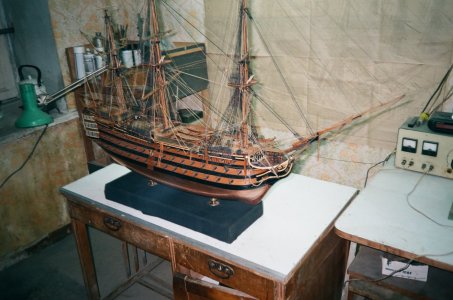
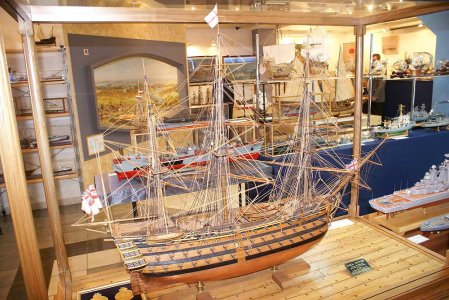
HMS Victory [1805] 1:79 by serikoff. Started with Mantua -> Upgraded with John McKay's Anatomy.

Boyama Rigging İplikleri.

1.
Şu anda kullandığım iplikleri kullanarak boyama sürecini göstereceğim:
Gutermann scala 360 color 111, Amann Serafil 120 color 1000.
Benzer tipteki ipliklerle de yapılabilir: Gutermann Tera180 renk 111.
Ayrıca bu parçaların renkli ipliklerini de kullanmıyorum çünkü polyester ipliklerin bileşiminde farklılık oluyor ve bundan hoşlanmıyorum.

2. Kullandığım tüm iplikler sütlü renktedir. Bu nedenle, gösterdiğim sonuçlar yalnızca bu renk özel olarak uygulandı.

3. Renklendirmede Dmitriy Shevelev'in coğrafyası; yağ bazlı dağıtıcı boyaları ürünleri, ancak önceden özel bir hazırlık yapıyor.

4. İki renk teknolojisi seçeneği var. İlk başta kullandığımla uğraşmam ama gemideki donanımı ikinci seçeneği kullanarak boyamayacağım. İkisini de beğendiğim için gösteriyorum.

5. Boyama işlemi, bir fırçayla boya deposunun parçalarını ve boyaya batırılmış haldeyken fırçanın altından çekmeyi içerir. Birkaç dakika sonra boyanın emilmesini bekliyoruz ve sonra fazlalığı bir kağıt havluyla siliyoruz. Silmiyoruz; siliyoruz.

6. İpliklerin kuruması birkaç gün sürer ve ardından kullanılabilir. İlgilenenler için koku bir ay içinde tamamen gelişiyor.

7. İplikleri gererek kurutmak ve saklamak. İpliklerin uçlarına ilmekler bağlarım ve bunları bir tahtaya sabitlenmiş iki çivi bırakmayan gererim. Bir ağırlık olarak yapabilirsiniz, ancak ilk yöntem daha uygundur.

8. Kuruduktan sonra iplikler biraz daha sertleşiyor, ama çok fazla değil. Aslında bunu seviyorum, çünkü ayırmayı kolaylaştırıyor. Eğer birileri bunu rahatsız edici bulursa, onları biraz yoğurmak onları yumuşatacaktır.

9. Dikkat! Boya, süper yapıştırıcı ile yapıştırılan alanlara yayılırz. Bu nedenle yapıştırma işlemi yalnızca boyama oranları sonra yapılmalıdır!


Birinci yöntem.
Renk görünümü bu görünüme benzer.

[EKLE]482001[/EKLE]

Yukarıdaki fotoğrafta görülen renkler (koyu kahverengi ve kızıl tuğla) elde etmek için iki adet yağlı boyanın rengi var .

[EKLE]482002[/EKLE] [EKLE]482003[/EKLE]

Koyu kahverengi rengi elde etmek için (ayaklı donanım için), aşağıdaki oranlarda bir test örneği yaptım:

5 ml keten tohumu yağı + 5 ml solvent + 5 cm sıkılmış (doğal) ham toprak boyası.

Açıklama! Kullandığım çözücü kokusuzdur, sanat mağazalarında satılır, özellikle yağlı boyaları inceltmek için kullanılır. 5 cm, açıklıktan sıkılan bir boya desteklerini ifade eder, bu da 5 cm'ye kadar değişir. Daha büyük bir parti yapmak için, tüm malzemeleri içerecek şekilde artırın.

Kırmızımsı yapı rengini elde etmek için (hareketli donanım için) yeterli olana ihtiyacınız var:

5 ml keten tohumu yağı + 5 ml çözücü + 5 cm altın sarısı + 2,5 mm (doğal) ham toprak ( daha fazla yok !).

Açıklama! Daha fazla toprak rengi eklerseniz, tamamen farklı bir renk elde etmek dayanıklı ve bundan istenilen tonu elde etmek çok zor olur. Bu nedenle, çok az miktarda değiştirmek daha iyidir.

Ve işte sonuç. Bu arada, fotoğrafta 2,5 mm'den fazla toprak rengi eklediğim bir renk var (fotoğrafta sağdan ikinci iplik). Bazıları bu belirli rengi tercih edebilir.

[EKLE]482004[/EKLE]
[EKLE]482005[/EKLE]


İkinci yöntem.

Renk bilgilerini daha çok beğendim ve Dmitry Shevelev'in 75 toplu gemisindeki arma renklerine çok benziyor. İpliklerimi bu renklerle boyayacağım.

[EKLE]482006[/EKLE]

Yukarıdaki fotoğrafta görülen renkler (koyu kahverengi ve kızıl tuğla) elde etmek için iki adet yağlı boyanın rengi var .

[EKLE]482007[/EKLE] [EKLE]482008[/EKLE]

Koyu kahverengi rengi elde etmek için (ayaklı donanım için), aşağıdaki oranlarda bir test örneği yaptım:

5 ml keten tohumu yağı + 5 ml solvent + 5 cm sıkılmış (doğal) ham toprak boyası.

Açıklama! Kullandığım çözücü kokusuzdur, sanat mağazalarında satılır, özellikle yağlı boyaları inceltmek için kullanılır. 5 cm, açıklıktan sıkılan bir boya desteklerini ifade eder, bu da 5 cm'ye kadar değişir. Daha büyük bir parti yapmak için, tüm malzemeleri içerecek şekilde artırın.

Koşul donanımı için farklı bir toprak rengine, sarıya ihtiyaç var ! İşte oranlar:

5 ml keten tohumu yağı + 5 ml çözücü + 3,5 cm sarı aşı boyası + 3-6 mm ham toprak (daha fazla yok).

Açıklama! 7 mm'den fazla umber eklerseniz, renk geçmişidir. Ancak bu durumda, altın sarısı ile karşı özellikleri, umber miktarı azaltılırken yağ, çözücü ve umber karıştırılabilir düzeltilebilir. Aşağıda 3 mm veya 6 mm umber kullanımı arasındaki renk farkını gösteriyorum.

Ve işte sonuç. Ben buna odaklanacağım.

[EKLE]482009[/EKLE]
[EKLE]482010[/EKLE]

yukarıdaki iki fotoğrafta, soldan Sağlığa doğru: birincisi dayanıklılık duran donanım (umbra); orta, üçüncüsü sarı aşı boyası + 3 mm umbra; sağdaki ikisi 6 mm (bu nedenle renk biraz daha koyu). Burada tonlarla oynayabilirsiniz. Çalışan donanımında çeşitli dokuların olduğu alanlar için, genel olarak bağlı olarak 3 mm, diğerlerini ise 6 mm kullanabilirsiniz.

Aşağıdaki fotoğrafta, en soldaki ipte bir kordon var. Bunu Shchevelev'in dağıtarak yaptım. İlk olarak ip umbra ile boyanıyor, ardından kordonlama sırasında sürgün için siyanoakrilat ile emrenye ediliyor. Bundan sonra kordonlama yapılıyor ve ardından bitiyor ip boyanıyor. Kordonlama Amann Serafil 60 ile yapıldı, bu nedenle iplik süt rengi değil, sadece beyaz olduğu için boyama sonrasında renk biraz farklı. Bunu daha fazla deneyeceğim. Ayrıca kordonlama bir deneme çalışmasıydı ve daha ince iplikler içermesi gerekiyor; bunu daha sonra daha detaylı olarak tartışacağım.

[EKLE]482011[/EKLE]
[EKLE]482012[/EKLE]

Genel olarak örnekler farklıydı ve hala deneyip deneyeceğim çok şey olsa da, elde ettikleri sonuç benim için net ve oldukça tatmin edici.
Herhangi bir sorun olursa olsun, mutluluk duyarım.

Gemi-1
Bu konuyu yeni gördüm.Bende şu an

bir modelin halatlarını yapıyorum. size şu soruyu sormak isterim.gemideki halatların tamamını katranlı olduğu kesin bilgi.hatta halatlarla birlikte tüm makaraların çalısan yerleri de rahat çalışsın diye katranlanıyor.sabit halatların koyu kahve yada olduğu siyah kesin hareketli halatların da katranlanmışgı ve işler durumda olduğu düşünülürse ,çalışan halatların üzerindeki katranların üzerinde çalışmadan dolayı üzerindeki katranların eksildiği belli olacaktır.bu durumda tüm halat nasıl bu kadar temiz olabilir
 
Last edited:
Bu konuyu yeni gördüm.Bende şu an

bir modelin halatlarını yapıyorum. size şu soruyu sormak isterim.gemideki halatların tamamını katranlı olduğu kesin bilgi.hatta halatlarla birlikte tüm makaraların çalısan yerleri de rahat çalışsın diye katranlanıyor.sabit halatların koyu kahve yada olduğu siyah kesin hareketli halatların da katranlanmışgı ve işler durumda olduğu düşünülürse ,çalışan halatların üzerindeki katranların üzerinde çalışmadan dolayı üzerindeki katranların eksildiği belli olacaktır.bu durumda tüm halat nasıl bu kadar temiz olabilir
Yalnızca ayakta duran donanım katranlanmıştı. Çalışan donanım hiç katranlı değildi.
 
Yalnızca durma sıcaklığında donanım katranmıştı. Çalışan donanım hiç katranlı değil.
kesinlikle yanılıyorsunuz,donanımdakı tüm halatlar katranlı ve hatta makaraların halat gecen kısımlarını da katranlıyorlardı.bunla ilgili bir döküman var onu umarım bulacagım
 
Last edited:
kesinlikle yanılıyorsun ,donanımdakı tüm halatlar katranlı ve hatta makaraların halat gecen kısımlarını da katranlıyorlardı.bununla ilgili bir döküman var onu umarım blacagım
Yelkenli gemilerde ziftleme (katranlama) çoğunlukla sabitleme donanımı için kullanılıyordu. Bunun nedeni, sabitleme donanımının ana işlevinin direklerin ve arma sisteminin sağlamlığını ve stabilitesini sağlamak olmasıydı. Sabitleme donanımı (babafingo halatları, baş halatlar, germe halatları), uzun süre nem, güneş ve tuzlu havaya maruz kaldığı için çürümeden korunması ve ömrünün uzatılması amacıyla zift veya katranla kaplanırdı.
Hareketli donanım, yelkenlerin kontrolünde kullanılan halatları (iskotalar, mandarlar, braslar vb.) kapsıyordu ve genellikle ziftlenmezdi. Bunun sebebi, hareketli donanımın sürekli hareket halinde olması, sürtünmeye maruz kalması ve esnek kalması gerekmesiydi. Zift veya katran, hareketli donanımı yapışkan hale getirip kullanımını zorlaştırabilir ve aşınmasını hızlandırabilirdi. Hareketli donanımın korunması için daha gevşek örgülü halatlar tercih edilir ve genellikle keten yağı veya esnekliği azaltmayan başka koruyucu maddelerle işlenirdi.
Bazı istisnai durumlarda, özellikle halatların yüksek nemde kullanılması veya geçici olarak saklanması gerektiğinde ziftleme yapılabiliyordu, ancak bu daha çok nadir bir uygulamaydı.


In sailing ships, tar coating was primarily used for standing rigging. This was because the main function of the standing rigging was to provide stability and rigidity to the masts and spars. Standing rigging (shrouds, stays, backstays) was exposed to prolonged moisture, sunlight, and salty air, so it was coated with tar or pitch to protect it from rot and extend its lifespan.
Running rigging, which included ropes used to control the sails (sheets, halyards, braces, etc.), was generally not tarred. The reason was that running rigging was constantly in motion, subjected to friction, and needed to remain flexible. Tar or pitch would make the ropes sticky, complicating their use and accelerating wear. To protect the running rigging, looser braiding and treatments such as linseed oil or other coatings that did not reduce flexibility were commonly used.
In some exceptional cases, such as when ropes were used in particularly damp conditions or needed temporary storage, tarring could be applied. However, this was more of an exception than a standard practice.
 
Yeni bir gemideki halatların hepsi katranlıdır, hepsi aşağı yukarı aynı renktedir. Bitkisel katran az çok koyu kırmızımsı kahverengidir.
Kullandıkça makaralardan geçiş, manevralar daha hafif hale gelir ve üzerinden katran geçtiği için çerçeve daha koyu hale gelir.

Kasnak mekanizması için donyağı tercih edilir (gres, yağlayıcı)
evet durum bu
 
3D - 03 (vol. 3)

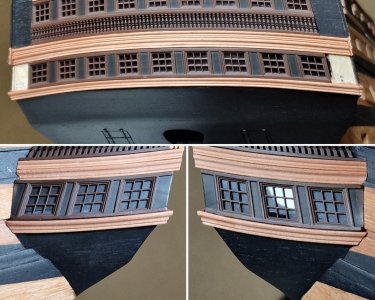
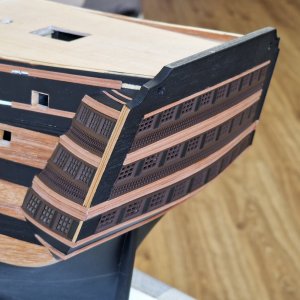
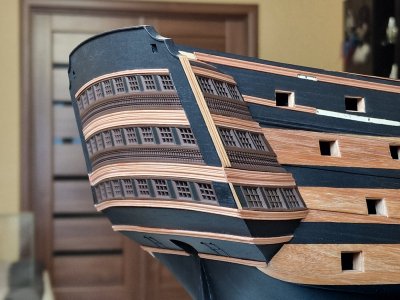
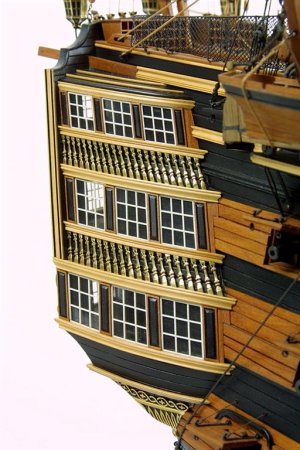
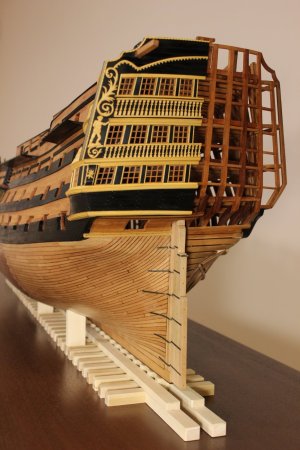
In this section, I finally completed the stern—excluding the decorative elements and the boat holders.
First, I attached the railing beneath the lowest windows...

HMS Victory 689.jpg

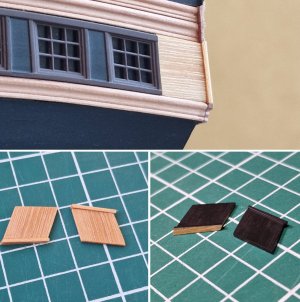
...then I crafted and painted two side inserts...

HMS Victory 690.jpg

...and secured them in place.

HMS Victory 691.jpg

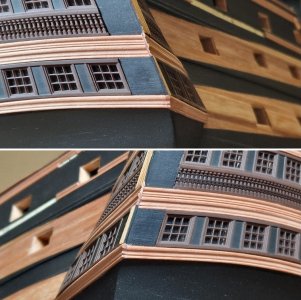
After attaching the lowest belt (composed of two halves), only one final belt remained: the rear and two sides. To ensure better adhesion, I lightly removed some paint beneath the belt.

HMS Victory 692.jpg

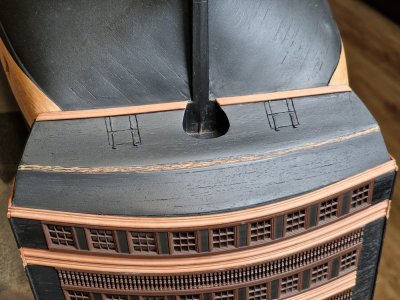
With the final belt secured, the work on the stern is now complete. All that remains is to design and attach the decorative elements.

Hurray, I did it! And here’s the finished result...

HMS Victory 693.jpg
HMS Victory 694.jpg
HMS Victory 695.jpg
HMS Victory 696.jpg
HMS Victory 697.jpg
HMS Victory 698.jpg
HMS Victory 699.jpg
HMS Victory 700.jpg
HMS Victory 701.jpg
HMS Victory 703.jpg

Well, not quite the final result... There are still minor imperfections—glue streaks, paint scuffs, and so on. I’ll address all of these during the model’s preparation phase before applying the oil finish. These issues will be corrected.
However, what I see now, looking ahead, is more than satisfying to me.

P.S. The model now includes 4,180 parts, and 24 parts of the diary have been completed… onward we go!

There are still a few photos of oil and copper patina tests to share, but as for the ship itself… I’ve fully caught up to the present. The diary is complete, and from now on, my progress will be shared in real time.

Ship-1
 
Beautiful work, Sergey! A major accomplishment to be sure!

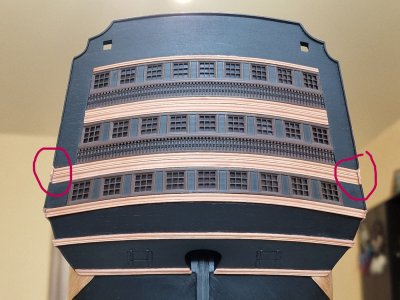
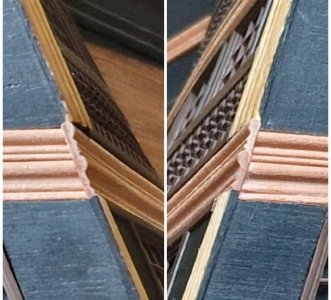
It's hard to tell, but do you still need to profile the end of the center rail as it joins the stern?
Which one exactly do you mean? There are so many of them))) I think I took pictures of them from each side. Maybe I missed something? Please indicate this place on the screenshot, if it's not too much trouble. Thanks for your assessment)
 
3D - 03 (vol. 3)

In this section, I finally completed the stern—excluding the decorative elements and the boat holders.
First, I attached the railing beneath the lowest windows...

View attachment 487358

...then I crafted and painted two side inserts...

View attachment 487321

...and secured them in place.

View attachment 487322

After attaching the lowest belt (composed of two halves), only one final belt remained: the rear and two sides. To ensure better adhesion, I lightly removed some paint beneath the belt.

View attachment 487323

With the final belt secured, the work on the stern is now complete. All that remains is to design and attach the decorative elements.

Hurray, I did it! And here’s the finished result...

View attachment 487324
View attachment 487325
View attachment 487326
View attachment 487327
View attachment 487328
View attachment 487329
View attachment 487330
View attachment 487331
View attachment 487348
View attachment 487356

Well, not quite the final result... There are still minor imperfections—glue streaks, paint scuffs, and so on. I’ll address all of these during the model’s preparation phase before applying the oil finish. These issues will be corrected.
However, what I see now, looking ahead, is more than satisfying to me.

P.S. The model now includes 4,180 parts, and 24 parts of the diary have been completed… onward we go!

There are still a few photos of oil and copper patina tests to share, but as for the ship itself… I’ve fully caught up to the present. The diary is complete, and from now on, my progress will be shared in real time.

Ship-1
Magnificent
 
Ye
Absolutely right. I myself have done a lot of trial and error until I have achieved more or less a result. Working on mistakes, constant improvements also take time, but if you like it, then this time is your hobby)) I think that some modelers are simply categorically for classical methods (wood and metal). I respect their choice, for me they are the level to which one should strive... but life is one. I want to learn something new, and I don’t want to routinely make 100 parts and spend a lot of time on it because there is no machine that would speed up the process for you.. and time is not infinite.... Thank you for your comment!
Yes as technology evolves different skills develop. Eg draughtsmen in the past used to design and draw by hand on paper based draught bords then along came CAD and now design and drawing takes place in software, on PC and printers. There will always be a place for traditional skills and craftsman, but technology opens up the place for new skills. The same debate about assembling a kit vs building from scratch. There is a place for both in our very precious hobby.
 
Great work Sergey!

Bill
Magnificent
Thanks friends!! ;)
There is a place for both in our very precious hobby.
Strongly agree with you!)


While I have nothing to share with you, since I have completed the diary, and there are no new changes yet, I would like to make two posts with references.

When we build a model, we always level off on something. Everyone has their favorites or role models.

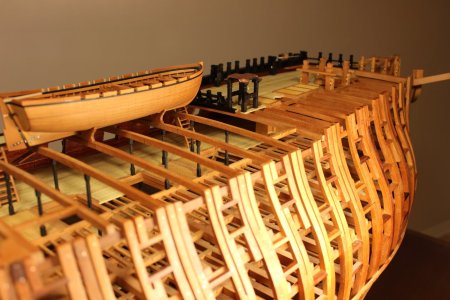
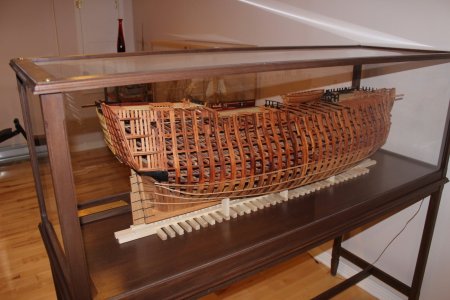
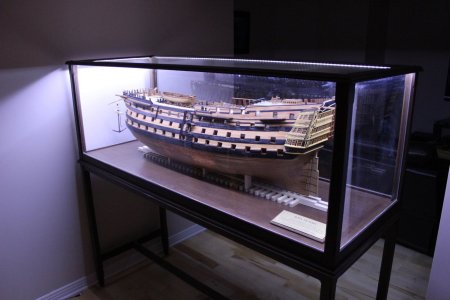
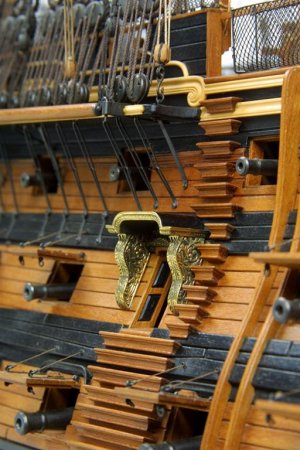
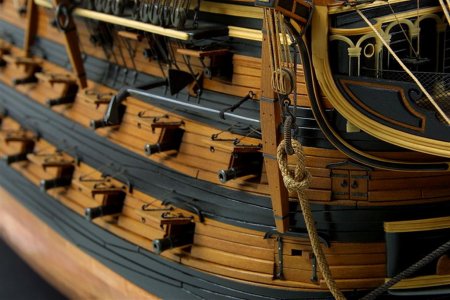
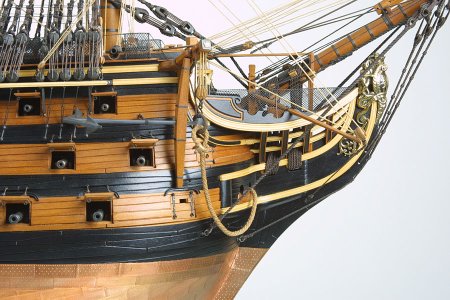
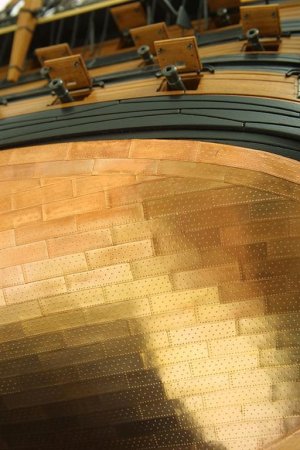
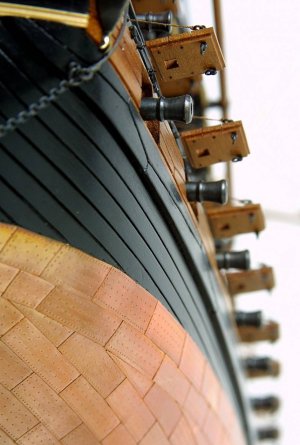
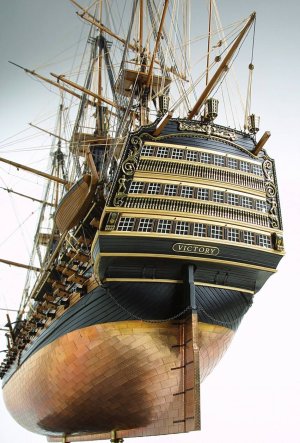
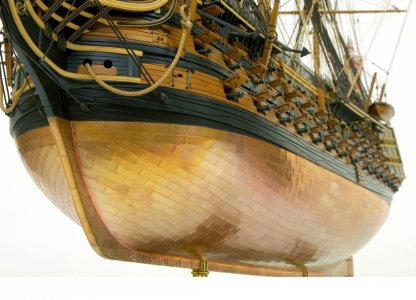
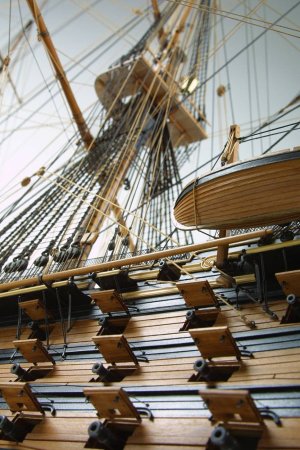
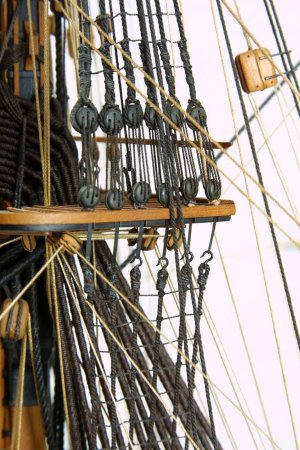
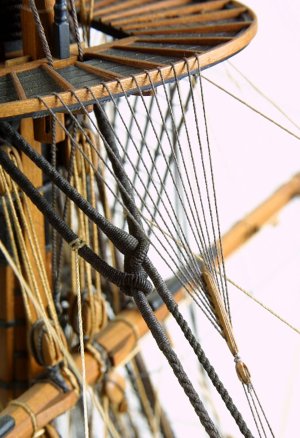
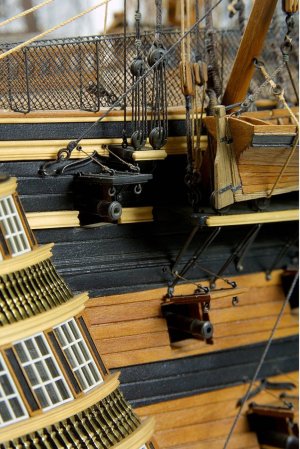
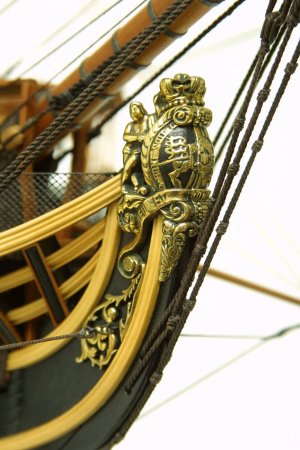
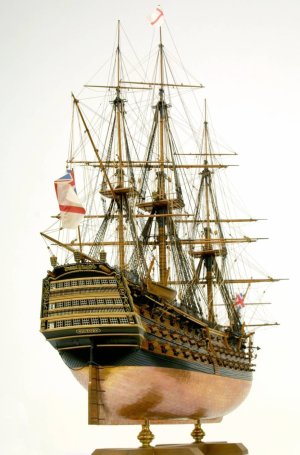
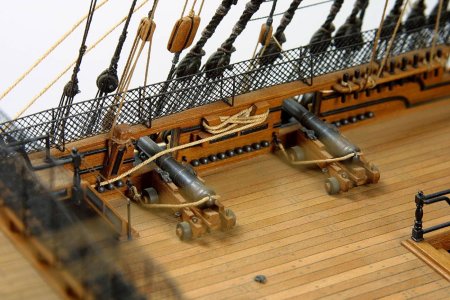
When I started making my model for me, my only idol was Evgeny Epur, with his Victory, which I never cease to like. I will talk about it in the next post... and in this I want to share photos of another model. I leave a link to the author's website (where there are many different models), including many photographs of Victory's admiralty-style construction. This is probably the strongest model in this style (but that's not for sure) and I wanted to share these photos with you.

Here is a link to the author's website.

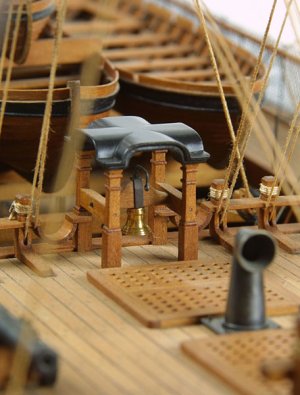
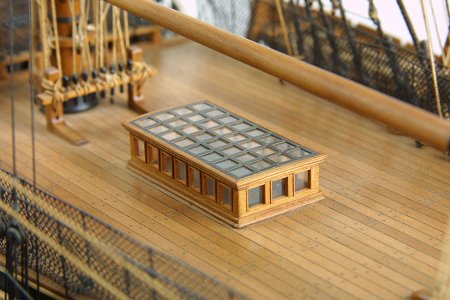
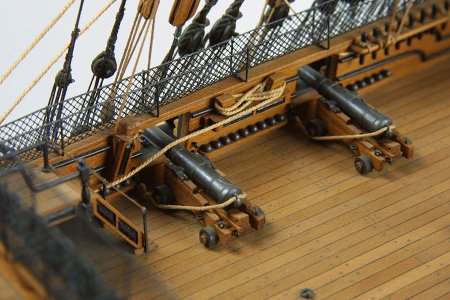
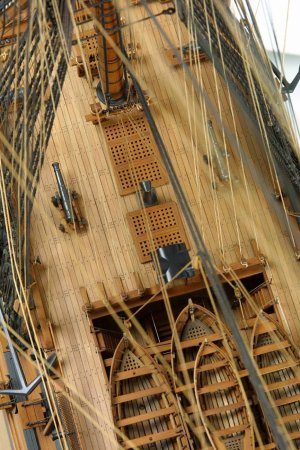
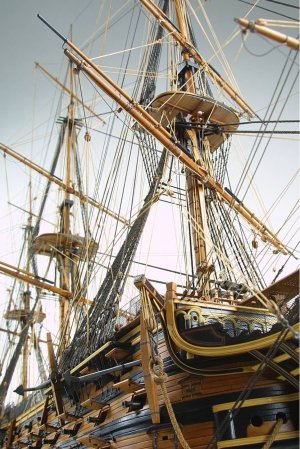
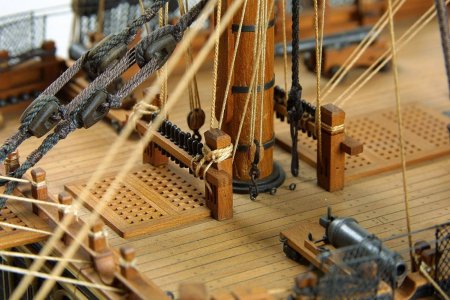
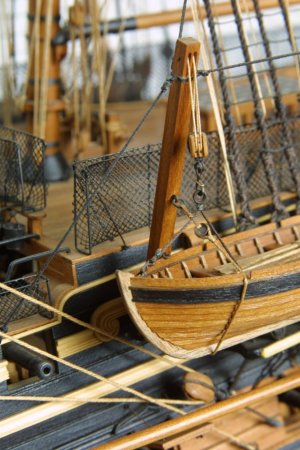
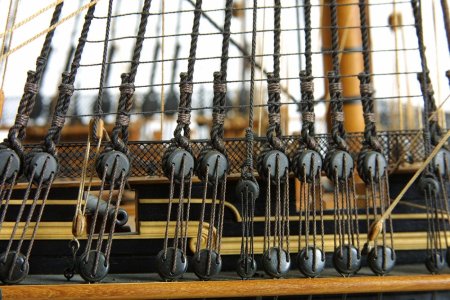
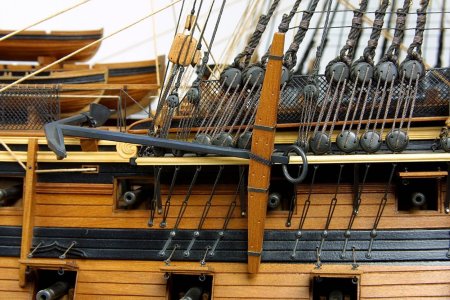
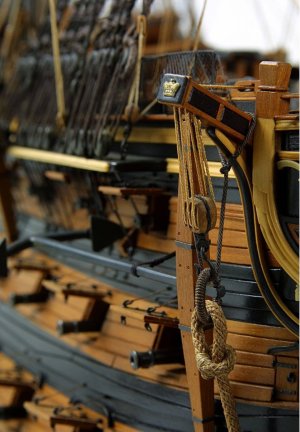
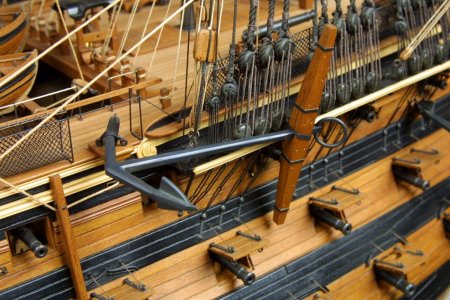
IMG_8049.jpgIMG_8054.jpgIMG_8056.jpgIMG_8061.jpgIMG_8063.jpgIMG_8067.jpgIMG_8069.jpgIMG_8072.jpgIMG_8074.jpgIMG_8077.jpgIMG_8082.jpgIMG_8096.jpgIMG_8099.jpgIMG_8101.jpgIMG_8104.jpgIMG_8109.jpgIMG_8114.jpgIMG_8117.jpgIMG_8120.jpgIMG_8129.jpgIMG_8132.jpgIMG_8134.jpgIMG_8135.jpgIMG_8492.jpgIMG_8497.jpg

Now my Victory is in the same glass case... but not yet completed)))
 
Motivation...

Everyone has probably experienced a state where, while you're busy, you feel drawn to your model, but when you finally have time, you approach it and no longer feel like working on it. This often happens when there's a monotonous task ahead. However, for me, it's a bit different. I constantly want to work on the ship, but as soon as I start, the reality hits that my build isn't a straightforward kit with instructions and pre-made parts.
My situation involves a lack of proper blueprints for many components and no clear order of operations. To complete one step, I need to calculate another; to do that, I must first create a third component, but for the third, I also need a fourth, and so on. I end up planning all this, only to see that the time I had set aside for work has already run out. This is what frustrates me the most.
This recently happened to me again. I got caught in a vicious cycle. I needed to start the copper plating, but the stand had to be ready first. Before that, I had to drill the hull to avoid damaging the copper plating later. At the same time, fragile details needed gluing, but if I glue them before plating, they might come off during the process. It was overwhelming!

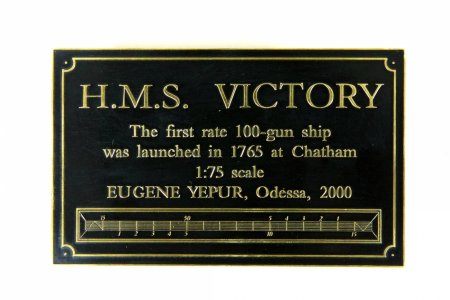
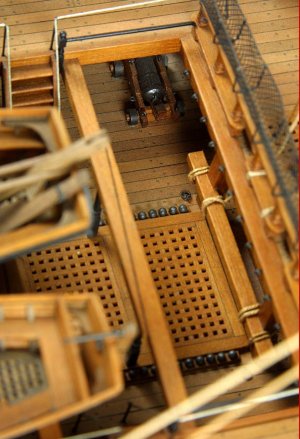
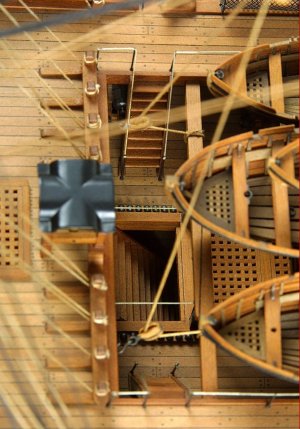
Thankfully, yesterday I created a plan of action and, as always, reviewed photos of my main reference: a model ship HMS Victory by Yevgen Yepur, one of the most brilliant craftsmen not only in Ukraine but worldwide. I'll share these photos with you, as they inspire me to move forward, improve, and bring my vision to life.

1/3

000.jpg
001.jpg003.jpg033.jpg032.jpg031.jpg030.jpg029.jpg028.jpg027.jpg026.jpg025.jpg022.jpg021.jpg023.jpg
020.jpg
019.jpg018.jpg017.jpg016.jpg015.jpg014.jpg
013.jpg012.jpg
024.jpg
...
 
Last edited:
Back
Top