Part 25
Copper Plating
I hesitated for a long time before starting this challenging stage, conducting trials and preparations, but the time has come.
Initial Data:
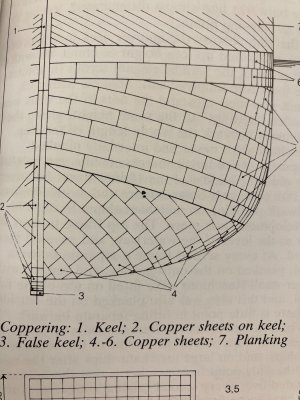
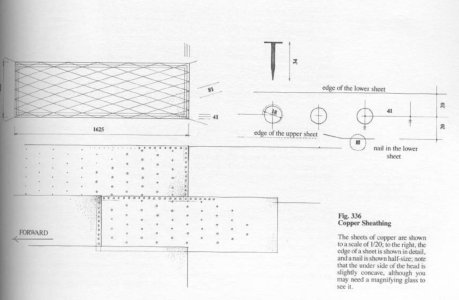
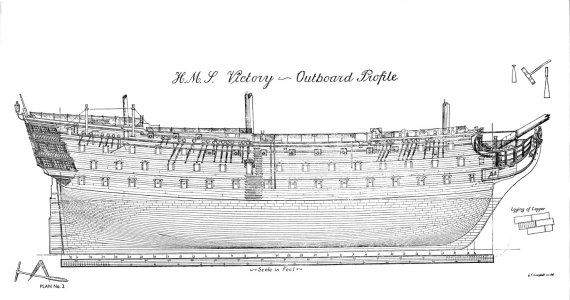
The dimensions of the copper sheets on the original ship:
4` х 1`2" = 1219мм х 356мм.
In my 1:79 scale, this translates to:
15,43мм х 4,5мм.
However, I found this too small and opted for sheets designed for 1:72 scale:
16.77мм х 4.725мм.
 Technology Overview:
All work with copper was done wearing nitrile gloves from start to finish.
1. Copper
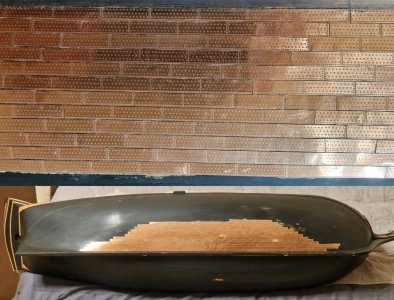
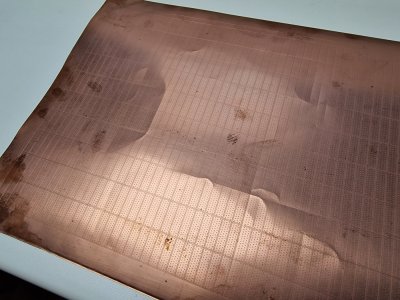
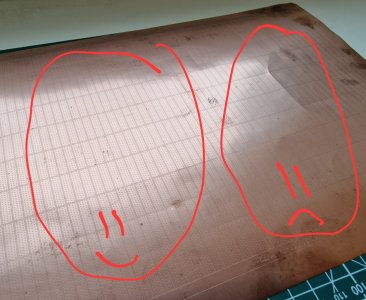
I ordered 0.1 mm thick copper sheets from the Ukrainian store "Korabel." The pattern is different on the two sides of the sheets.
 2. Defects
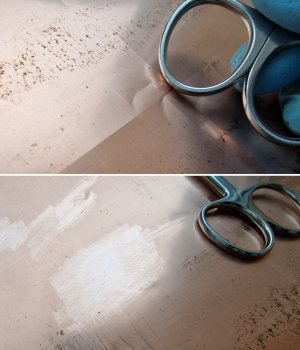
I smoothed out all imperfections on the reverse side using the rounded end of a pair of manicure scissors. Its smooth, spherical surface made this task easier on a cutting mat.
 3. Adhesion and Shine
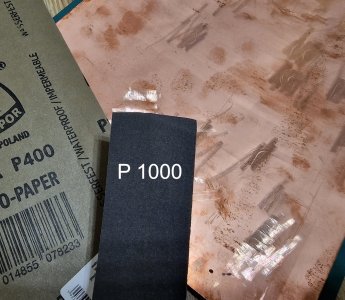
To ensure better glue adhesion, I sanded the inner surface with 400-grit sandpaper and polished the outer surface to a shine with 1000-grit sandpaper to remove any tarnish.
Important: Sanding must be done on a perfectly flat surface, as any imperfections on the base will transfer to the copper during sanding.
 4. Cutting
Initially, I tried snapping the strips along the engraving lines, which worked but slightly stretched the free edge, resulting in a slight curve. So, I switched to cutting strips with a knife and lightly sanding the edges with sandpaper. I cut the strips in stacks of five plates at a time—both out of convenience and to achieve more controlled lines during fixing.
5. Protection
I applied tape to the outer surface of the strips (in stacks of five) to protect them from glue, damage, and fingerprints. This step is essential!
 6. Fixing
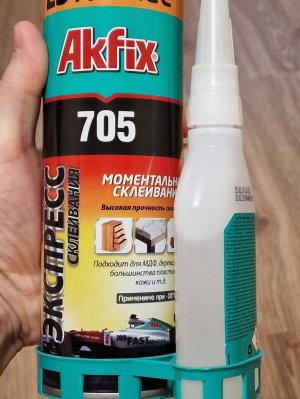
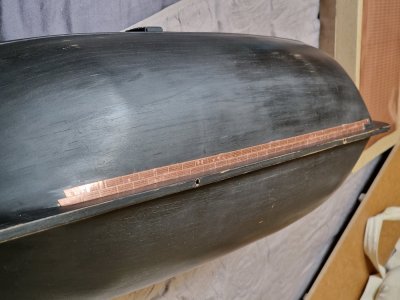
I glued the strips (each consisting of five plates—though the first one had only four due to damage) using Akfix 705 gel cyanoacrylate glue. I applied the glue to the strip with the tip of the tube, then spread it with a toothpick. I positioned the strip and pressed it down evenly with all my fingers. Strips of five plates fit perfectly in size.
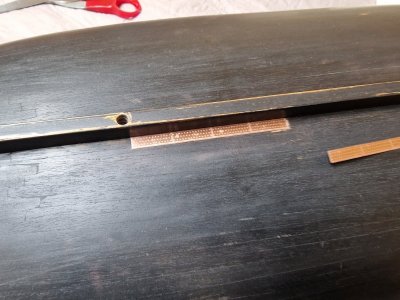
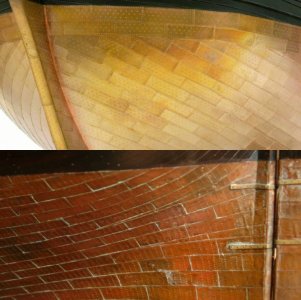
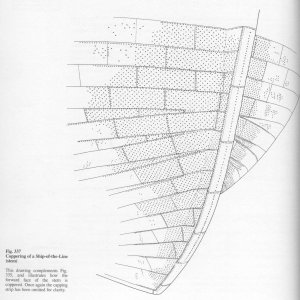
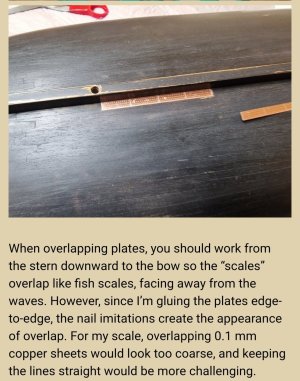
When overlapping plates, you should work from the stern downward to the bow so the “scales” overlap like fish scales, facing away from the waves. However, since I’m gluing the plates edge-to-edge, the nail imitations create the appearance of overlap. For my scale, overlapping 0.1 mm copper sheets would look too coarse, and keeping the lines straight would be more challenging.
For convenience, I started gluing from the keel and worked upward in the central section along the most even trajectory until reaching the second-to-last belt below the waterline. This belt will align strictly along the waterline. Afterward, I’ll taper the sheets in the bow and stern areas. This stage will be more complex than simply laying strips along the lines and is further complicated by the need for symmetry on both sides. Thus, the central section will also be laid out according to a strictly uniform plan.
I glued the strips with a 6 mm forward offset for the joints. In other words, the joints of the upper row are 6 mm closer to the bow than those of the lower row—not centered like brickwork but approximately at a 2/5 offset (for convenience, 6 mm). This ensures that when the tapered sections are added, the joints won’t align directly above one another. Aligning them further from the center (as on the original ship) would result in mismatched joints between rows.
 7. Final Finishing
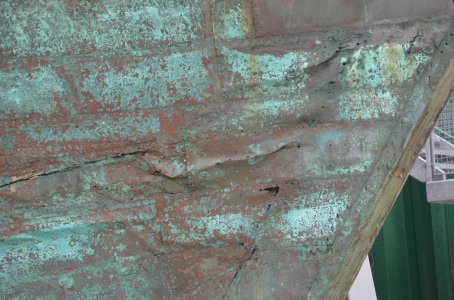
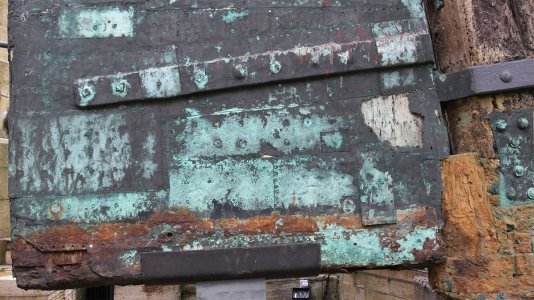
This step is still far off, but here’s a preview. After completing the plating, I will remove the protective tape and polish the entire surface one final time. After this, the copper can no longer be touched by hand! Then I plan to age the copper (patinate it), but only after successful tests. If the patination doesn’t work out, I’ll leave the copper as is to develop a natural patina over time.
For now, I have a long road ahead of me. Wish me luck!
...


