
- Joined
- Mar 1, 2022
- Messages
- 803
- Points
- 353

Scary operation... I don't even want to think what if you messed it up. Happy to know all went right!

 |
The beloved Ships in Scale Magazine is back and charting a new course for 2026! Discover new skills, new techniques, and new inspirations in every issue. NOTE THAT OUR NEXT ISSUE WILL BE July/August 2026 |
|
 |
As a way to introduce our brass coins to the community, we will raffle off a free coin during the month of August. Follow link ABOVE for instructions for entering. |
|





 www.boekwinkeltjes.nl
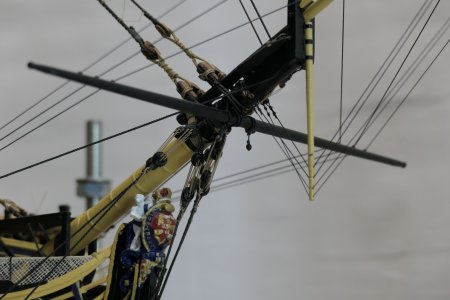
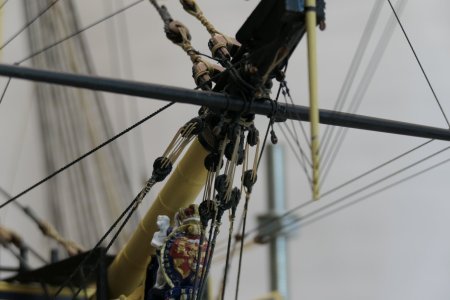
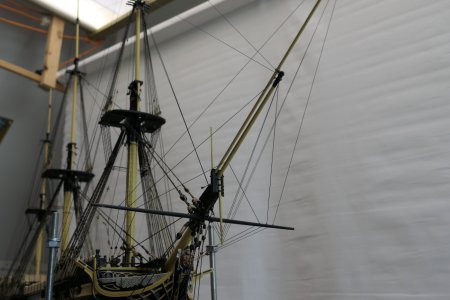

A very nice and impressive rigged bowsprit, Wil.49. The bowsprit
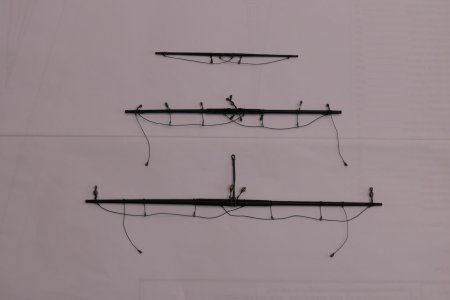
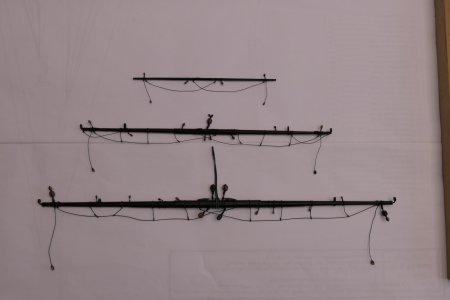
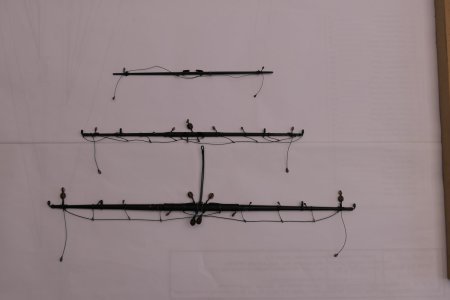
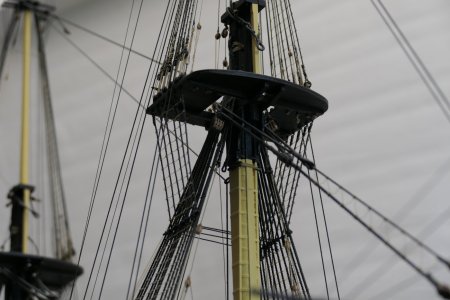
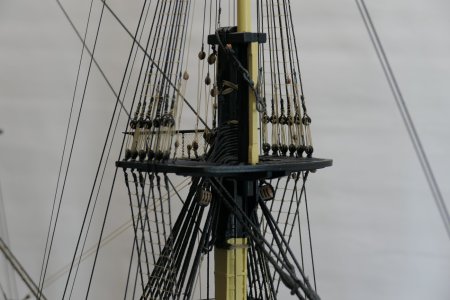
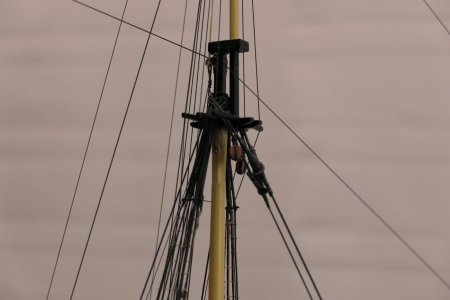
After the yards on all three masts and some blocks and lines of the running rigging, this week I focused on the rigging of the bowsprit.
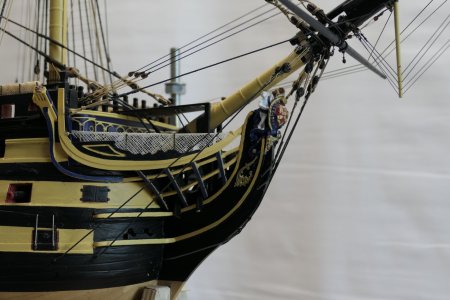
This mainly involves a number of lines that hold the bowsprit in place at the bottom, namely:
These lines run from the bowsprit to a hole in the hull and go inside there. I solved this as follows:
- The bowsprit shrouds
- The bobstays
This holds firm and solid.
- Stiffened a couple of cm of the line with superglue
- Drilled a small hole in the hull
- Then glued the hardened line into the hole with superglue
View attachment 614743
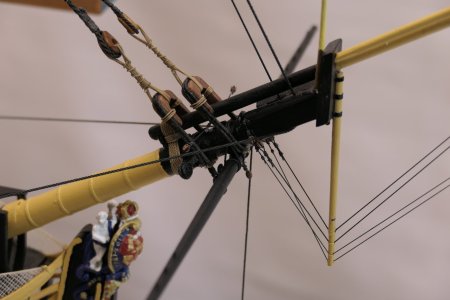
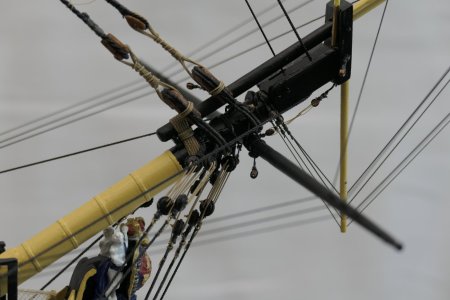
Around the head of the bowsprit, just below the bees, it then becomes a tangle of all kinds of lines. We see, among other things:
Quite a busy spot, in other words.
- The gammoning of the jibboom
- The forestay and the fore preventer stay
- The sling of the spritsail yard
- Below that, 4 sets of deadeyes with lanyards for the bowsprit shrouds
- And between them, 3 sets of deadeyes with lanyards for the bobstays
View attachment 614744
Next came the question: what do I do with the spritsail yard?
I went with the latter, because after a trial placement of the yard it turned out there's no obstruction whatsoever to adding the sail later.
- Fully rig it first, including the sail?
- Or hang the bare yard and rig it later in the model?
An extra reason for this was that the spritsail yard has the guiding eyes for the guys. From inside to outside, these are:
Each of these lines is attached via a tackle with a single and a double block to the forward barricade. The guys aren't fixed to the yard but can slide through the eyes. This means the sail can always be turned somewhat, depending on the wind direction. I think this was probably the intent in practice as well.
- The traveling guy
- The guy pendant
- The flying jibboom guy
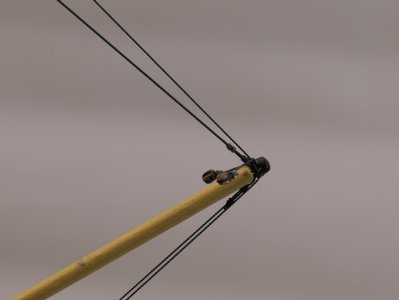
At the bottom of the jibboom and the flying jibboom, you can see the lines that, via the dolphin striker, must counterbalance the pulling forces of the jibstay, the jib halyard, the fore topgallant mast stay, and the fore topgallant flagstaff stay. These lines were already added at an earlier stage.
View attachment 614746
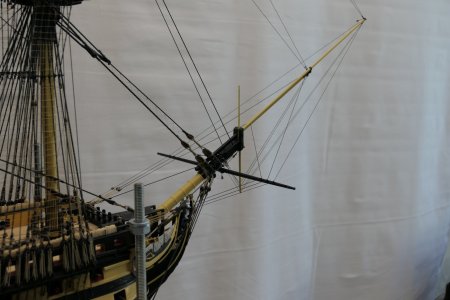
After adding a few more loose blocks here and there, this part of the ship was finished. I have to say it was a nice piece of varied detail work that, once again, gives a real sense of spatial depth to the bow of the ship.
Below are a few more atmospheric shots.
View attachment 614747
View attachment 614748
View attachment 614749

Magic Will.49. The bowsprit
After the yards on all three masts and some blocks and lines of the running rigging, this week I focused on the rigging of the bowsprit.
This mainly involves a number of lines that hold the bowsprit in place at the bottom, namely:
These lines run from the bowsprit to a hole in the hull and go inside there. I solved this as follows:
- The bowsprit shrouds
- The bobstays
This holds firm and solid.
- Stiffened a couple of cm of the line with superglue
- Drilled a small hole in the hull
- Then glued the hardened line into the hole with superglue
View attachment 614743
Around the head of the bowsprit, just below the bees, it then becomes a tangle of all kinds of lines. We see, among other things:
Quite a busy spot, in other words.
- The gammoning of the jibboom
- The forestay and the fore preventer stay
- The sling of the spritsail yard
- Below that, 4 sets of deadeyes with lanyards for the bowsprit shrouds
- And between them, 3 sets of deadeyes with lanyards for the bobstays
View attachment 614744
Next came the question: what do I do with the spritsail yard?
I went with the latter, because after a trial placement of the yard it turned out there's no obstruction whatsoever to adding the sail later.
- Fully rig it first, including the sail?
- Or hang the bare yard and rig it later in the model?
An extra reason for this was that the spritsail yard has the guiding eyes for the guys. From inside to outside, these are:
Each of these lines is attached via a tackle with a single and a double block to the forward barricade. The guys aren't fixed to the yard but can slide through the eyes. This means the sail can always be turned somewhat, depending on the wind direction. I think this was probably the intent in practice as well.
- The traveling guy
- The guy pendant
- The flying jibboom guy
At the bottom of the jibboom and the flying jibboom, you can see the lines that, via the dolphin striker, must counterbalance the pulling forces of the jibstay, the jib halyard, the fore topgallant mast stay, and the fore topgallant flagstaff stay. These lines were already added at an earlier stage.
View attachment 614746
After adding a few more loose blocks here and there, this part of the ship was finished. I have to say it was a nice piece of varied detail work that, once again, gives a real sense of spatial depth to the bow of the ship.
Below are a few more atmospheric shots.
View attachment 614747
View attachment 614748
View attachment 614749
That indeed looks like a successful test, Wil. Especially on this scale. That board with the ‘fingers’ is a clever solution.50 The Sails
Over the past few weeks I've mainly been busy with the sails on my Victory. The idea for now remains to have the sails furled on the three masts and the bowsprit. How I'm going to do the mizzen sail, I haven't quite figured out yet, but that will come later.
Some time ago I received the necessary tips about the material to use and how things could be executed. A few weeks ago, following up on this, I visited Peter Voogt to admire the sails on his Blue Nose. Truly beautiful.
The conclusion was that for now I'll start working with paper. Fabric seems to me to quickly become too thick at this scale. On the Papier Royaal website I found the Japanese paper mentioned earlier. The choice there is huge, so there was nothing for it but to order several different sheets.
I started with Tengusho 9 grams. Peter used this paper on his Blue Nose, and it's also recommended by Stephan. After it arrived, I was shocked at how fragile this material is.
I've now ordered a second batch, consisting of: Kozo High 22 grams, Yama Kozo Hadaura S-1 and S-3. The latter two are 16 grams and are colored.
My idea is to first gain some experience with these materials and, depending on the end result, make a choice.
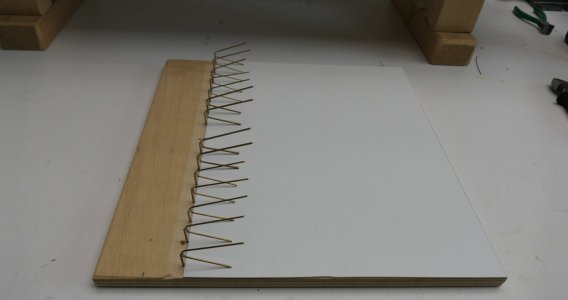
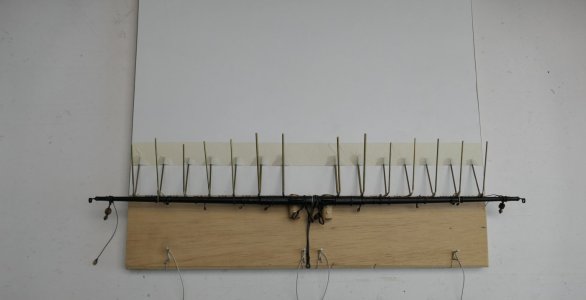
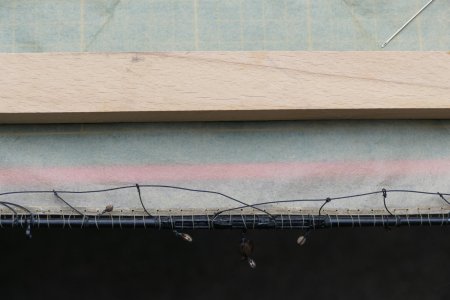
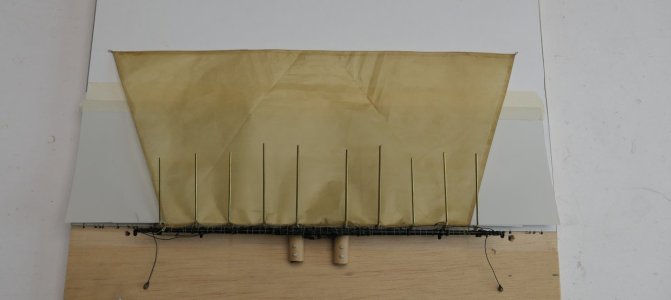
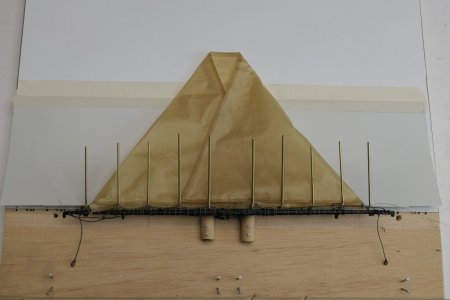
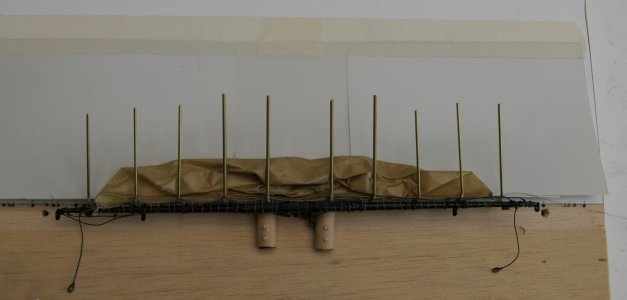
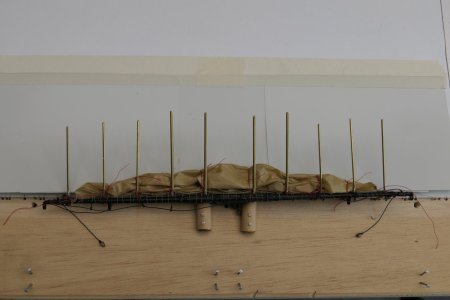
After my visit to Peter, I quickly had some ideas about the technique in my head. It comes down to this: I mount the yard in the lower fixture and pleat the cloth between the "fingers." Then, at regular intervals (next to the fingers), I can tie the bundle together, creating the characteristic bunt.
View attachment 620073
View attachment 620074
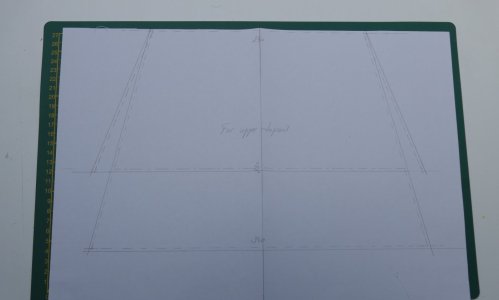
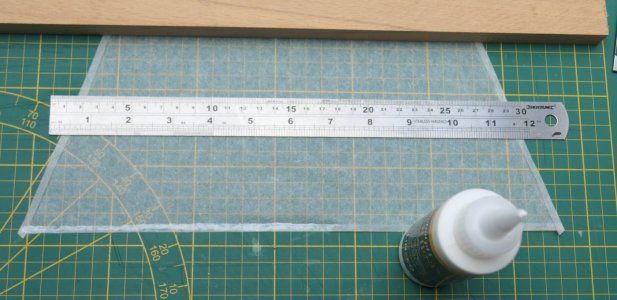
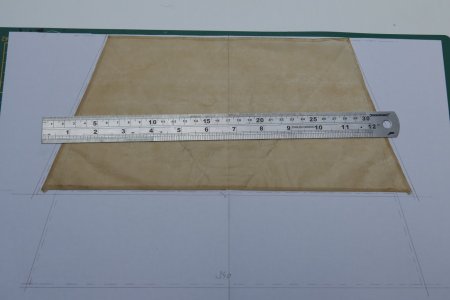
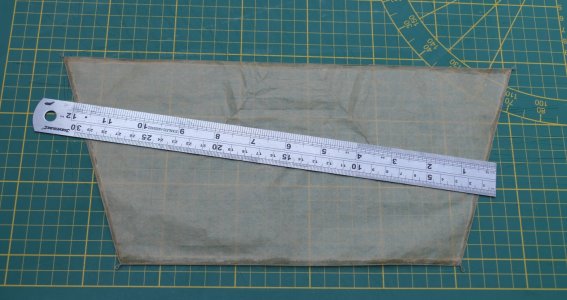
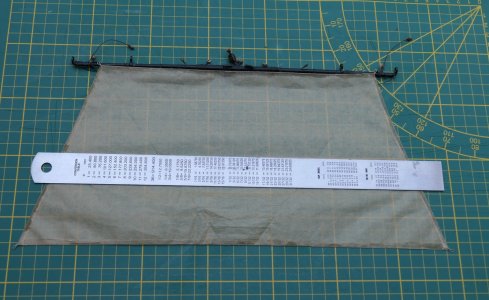
Meanwhile, I had started a search for the sail dimensions. That wasn't easy, but Claude.ai only partly provided the solution here. Longridge doesn't write anything about it either. But since the sails will be furled anyway, the height measurement in particular isn't that important. Eventually I managed to generate a complete cutting plan in which I can vary the height.
View attachment 620075
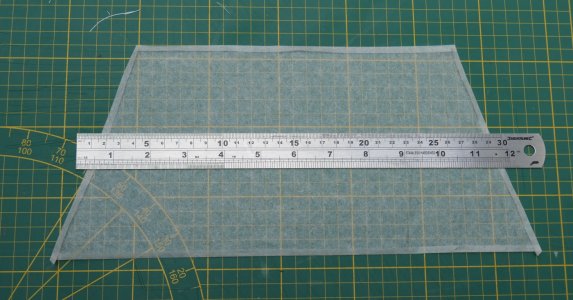
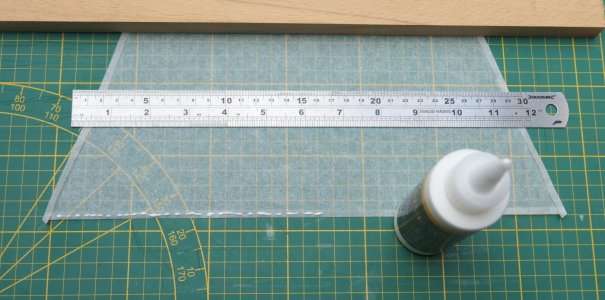
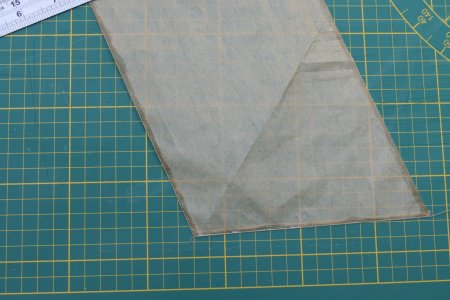
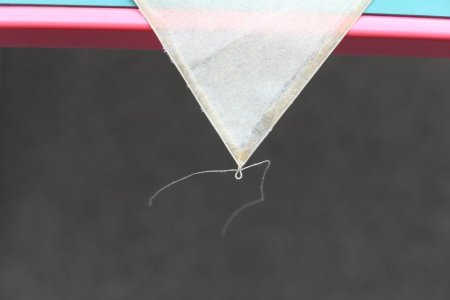
Initially I tried coating the hem of the sail with glue first and then folding it. This wasn't successful because the paper becomes soft and does all sorts of things you don't want. The solution is to fold the hem dry, which works very well, and then coat it with glue using a brush. The glue I use is Lineco Neutral pH.
View attachment 620076
View attachment 620077
View attachment 620078
Once that's done, carefully pick it up and hang it on a line with a couple of clothespins. This first test I did with the thinnest paper, 9 grams/m².
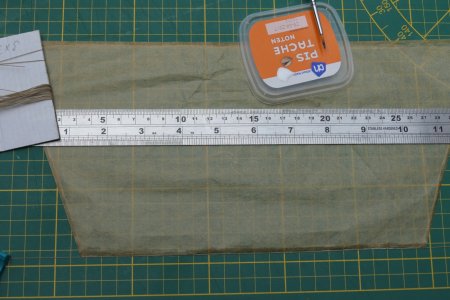
Next I did a test with Yama Kozo Hadaura S-3. Here too, the hem was folded first and then coated with glue afterward. The glue soaks through the hem and reaches the bottom layer as well.
View attachment 620079
Once the hem had dried somewhat, I immediately made a first attempt at applying the boltrope, the rope attached around the edges of the sail. In reality this rope is sewn to the sail, with the sewing thread passed through the middle of the rope. Aside from this painstaking work, almost nothing of this detail can be seen at this scale. So in my case I glued the rope against the edge of the sail. I left a loop at the corners for the clews. I applied the glue with a small brush. That actually went fine.
View attachment 620080
View attachment 620081
I finished off the clews with a small whipping, sealed with a small drop of superglue. Then I finally got the yard out.
View attachment 620082
View attachment 620083
View attachment 620084
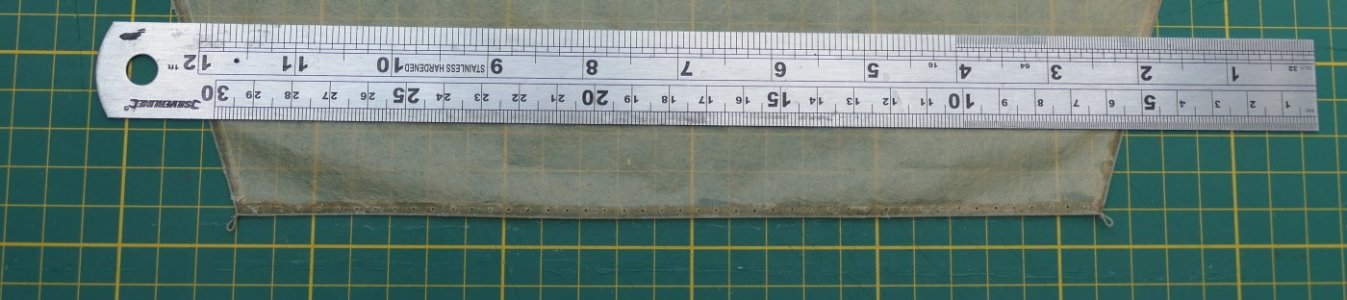
To be able to bend the sail to the yard, I drilled a 1 mm hole every 5 mm in the hem and then threaded a thread through these holes with a needle and around the yard. The way it's laced isn't quite proper, but it's sufficient for now. It is, after all, just a test.
View attachment 620085
View attachment 620086
Next I placed the yard with the sail in the fixture with the fingers, folded the bottom corners inward, and crumpled the sail up a bit.
View attachment 620087
View attachment 620088
View attachment 620089
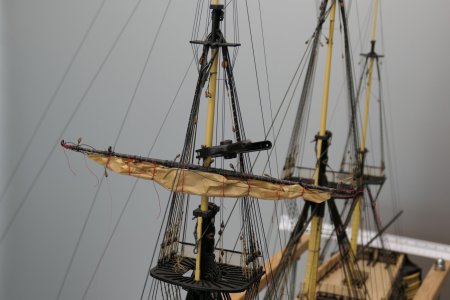
Then, using some red thread at regular intervals, I gathered the bundle together a bit to approximate the characteristic shape. These red gathers will later be hidden by the final ropes in the correct color.
View attachment 620090
In the model this looks as follows.
View attachment 620091
Conclusion:
The next test will be with the 9-gram paper. I have a feeling this will turn out better.
- A good first test
- The chosen method isn't difficult and is quite manageable
- The dark paper used is too dark and shines like paper, not suitable
To be continued