• Ships of Scale has incorportated an extra level of security when you log In. Please follow on-screen prompts to acknowledge that you are not a robot via a "Check Box" or a "Pictorial Check Box Puzzle". This is needed due to higher level of AI Activity Security.
  • SUBSCRIBE TO SHIPS IN SCALE TODAY!

    The beloved Ships in Scale Magazine is back and charting a new course for 2026!
    Discover new skills, new techniques, and new inspirations in every issue.

    NOTE THAT OUR NEXT ISSUE WILL BE July/August 2026
  • Win a Free Custom Engraved Brass Coin!!!
    As a way to introduce our brass coins to the community, we will raffle off a free coin during the month of August. Follow link ABOVE for instructions for entering.

Сестрорецк [Sestroretsk] Scratchbuild scale 1/64 Russ. torpedo boat 1894

Don't underestimate what card can do for you. The secret is picking the right sort. A job like you describe here can very well be executed with card that you take from packaged food. Smooth and shiny on one side, bare on the other. Not thicker than 0,5 mm. Perhaps you can divide the length of the ship in two, which makes the job a lot easier.
Good luck!
Thank you very much, Ab!
 
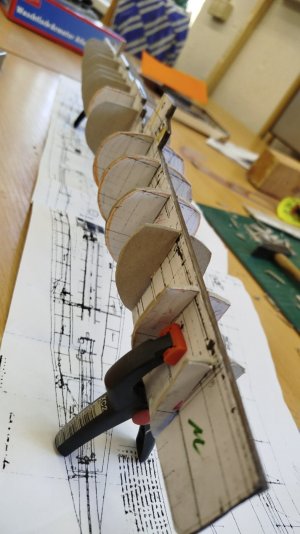
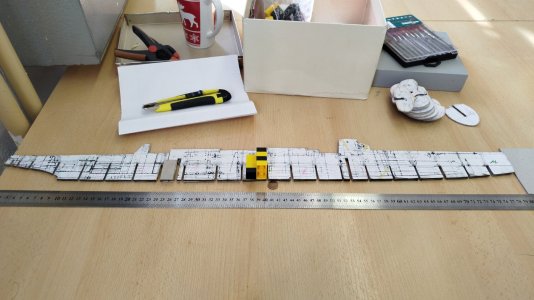
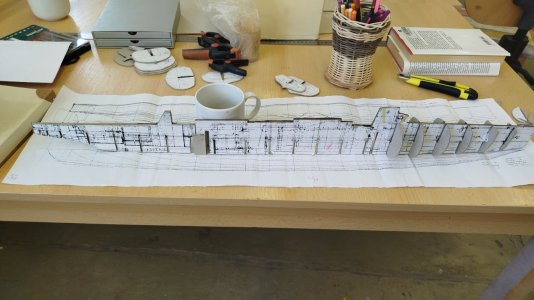
Today I do start the CWL horizontal "fillerpices" to force the bulkheads rectangular towards the centerboard:
IMG_20260128_103759_340.jpg

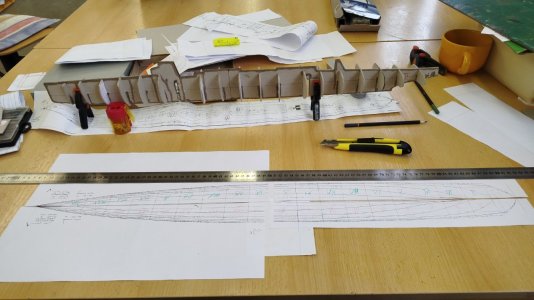
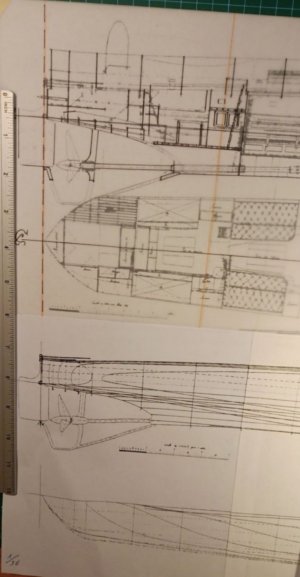
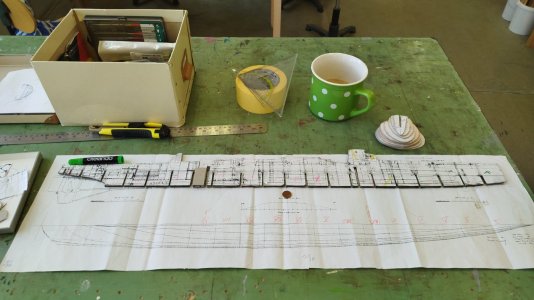
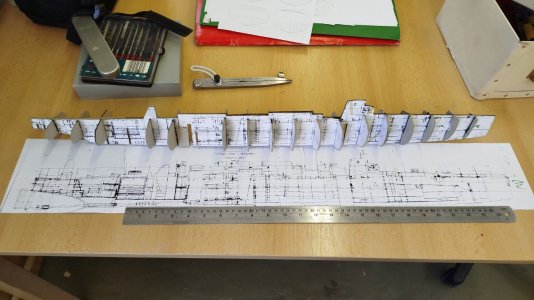
Here the WaterLineDrawing for the correctly set distances between the bulkheads:
IMG_20260128_105828_324.jpg

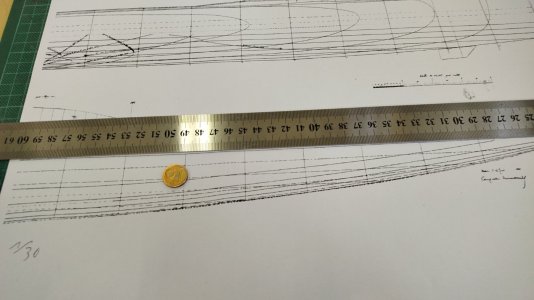
And the width is right the outboard hull line must be placed from point of the CWL/hull-crossing towards the next bulkhead as the straight was of the centerline's drawings is a problematic feature:
IMG_20260128_103622_697.jpg
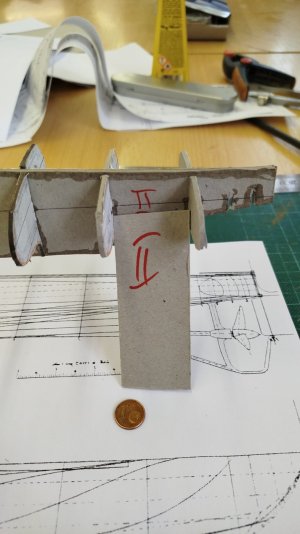
Here the dealing with the thick ess of half the centerboard and full thickness of the bulkheads...
IMG_20260128_112107_361.jpg
...and the three most aft bulkheads
IMG_20260128_114516_523.jpg

to form the quite complex trensom:
Polish_20241205_121831498.jpg

So let's see what can be done today?
 
Last edited:
Hello, blowing the dust away I saw my self confronted with the construction of the filling pices between the bulkheads.
IMG-20260219-WA0002.jpeg

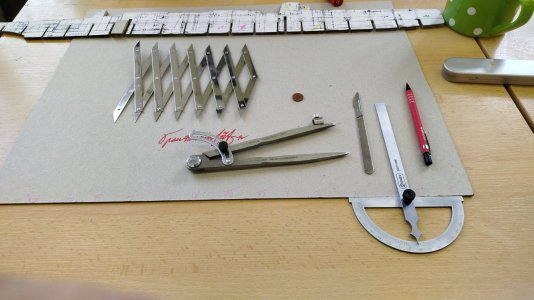
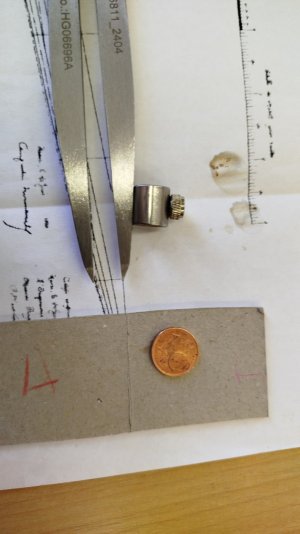
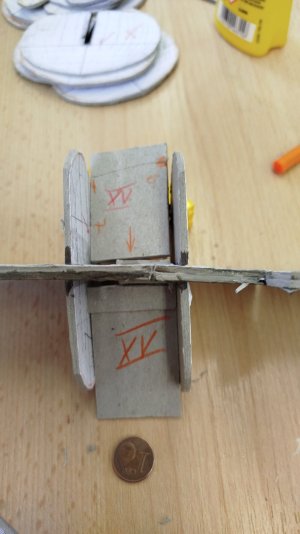
As percision is more importand then swiftness I worked my way with a drawing compass...
IMG_20260219_110853_740.jpg
..as my buttomhole streatcher for similar distances wasn't the right tool to use.

IMG_20260219_111236_724.jpg
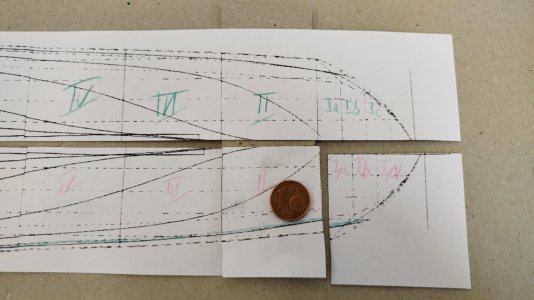
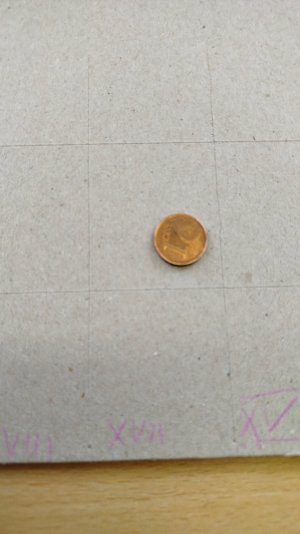
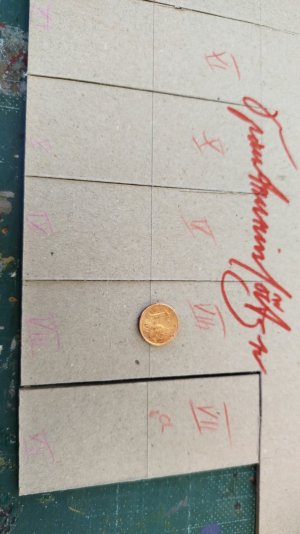
So I numbered all the gillingspaces from I up to XXIV.
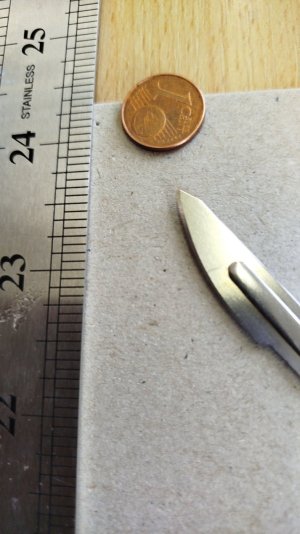
Scratching the lines with a dull scalpell blade:
IMG_20260219_112513_471.jpg
 
Hello
IMG_20260226_115751_458.jpg
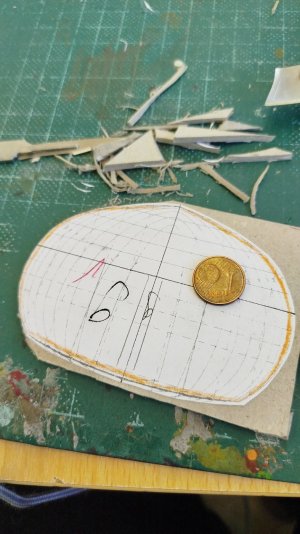
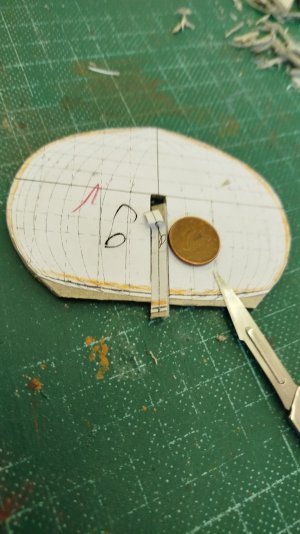
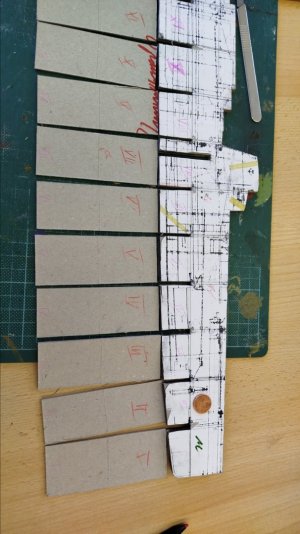
today I dealt with the filling pices between the bulkheads.

IMG_20260226_114148_130.jpgI took the breadth from the water line plan and
IMG_20260226_115133_369.jpg

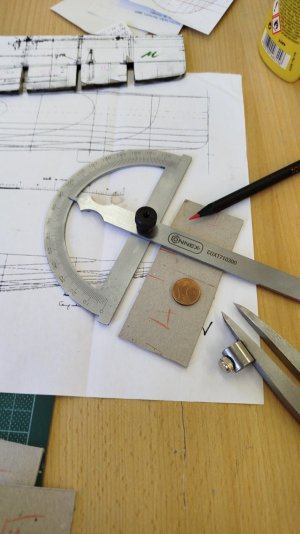
have to remember to cut out two mms for the thickness of the centerboard.
IMG_20260226_114931_089.jpg
Polish_20260226_170730456.jpg
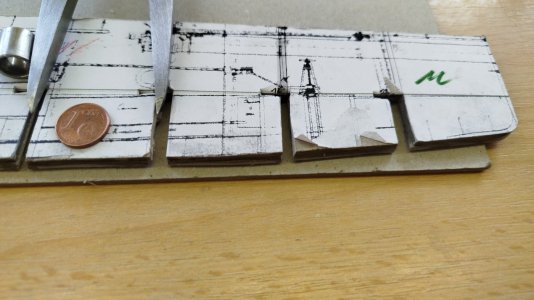
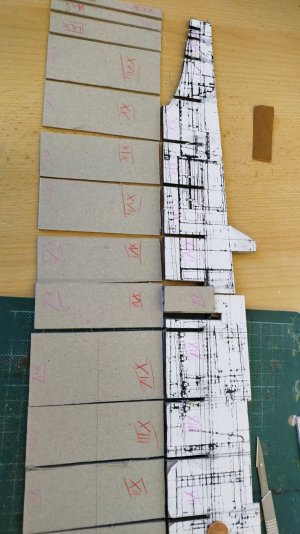
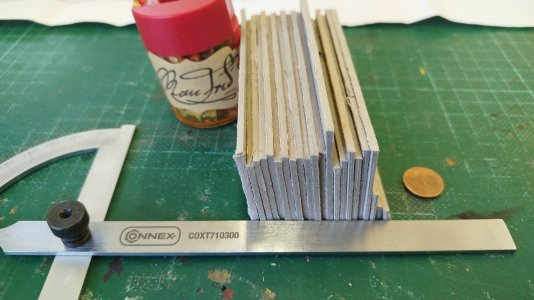
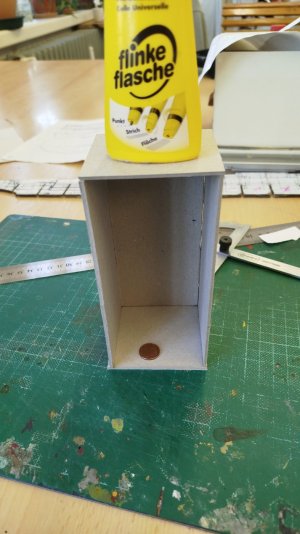
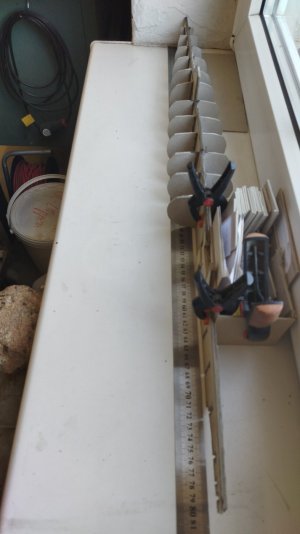
I do show how different the size of the filling pices is by putting them into a pile (and built a box to store them untill next week).
IMG_20260226_120111_957.jpg
IMG_20260226_122426_269.jpg
Best wishes from Berlin Card Yard, Chris
 
Last edited:
Dear colleauges of the scale!

Back to the roots...
IMG-20260423-WA0001.jpeg
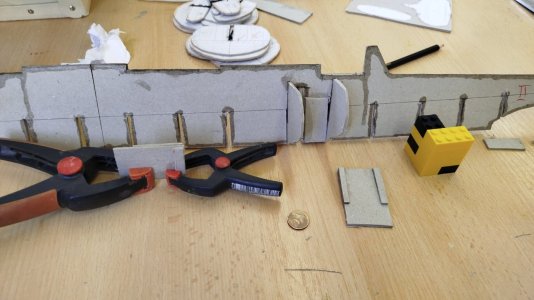
Today I made the first attempts into the horizontal/waterline layers and started with
IMG_20260423_103853_552.jpg
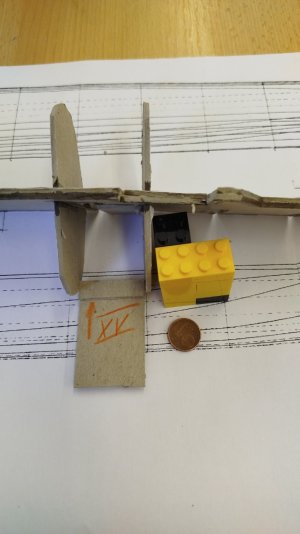
the stern stanchion's slot - this will be made of
IMG_20260423_110238_733.jpg
a three millimeters acryl rod and will take the real wight - while the cardboard Art Noveau stand is only for optics.
IMG_20260423_111918_786.jpg
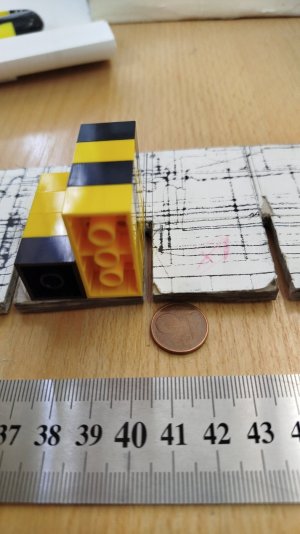
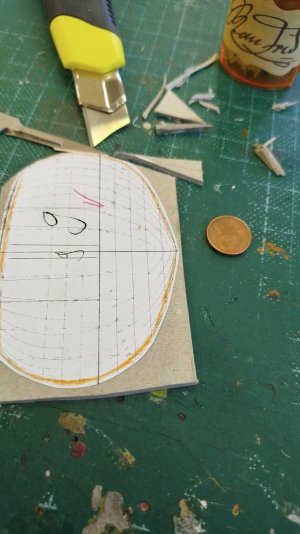
The lego blocks do make a great three dimensional right angles.
IMG_20260423_105500_344.jpg

So I will cut out the CWL with some two millimeters as the processing allowness.
IMG-20260423-WA0003.jpegIMG-20260423-WA0003.jpeg
IMG_20260423_111918_786.jpg
But this is the story for next week's progress.

Best wishes from Berlin Card Yard, Chris
 
Hello friends!

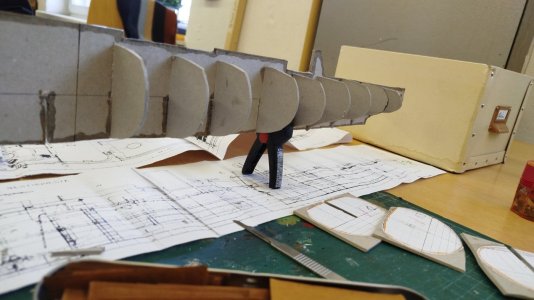
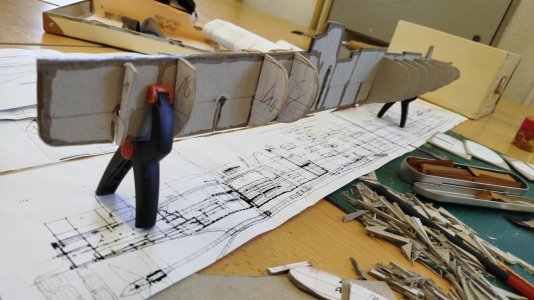
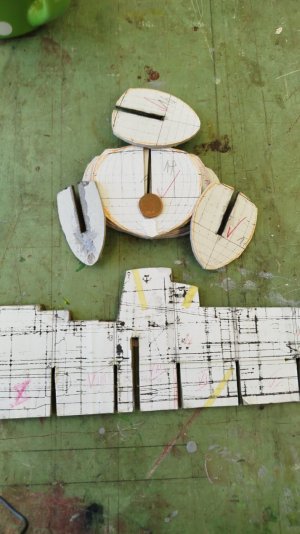
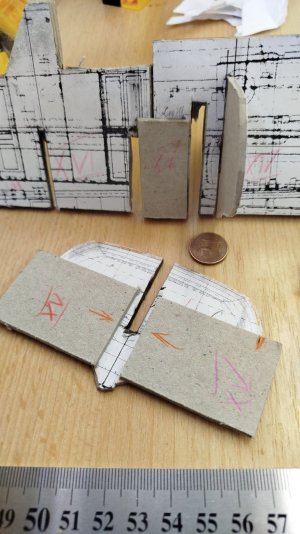
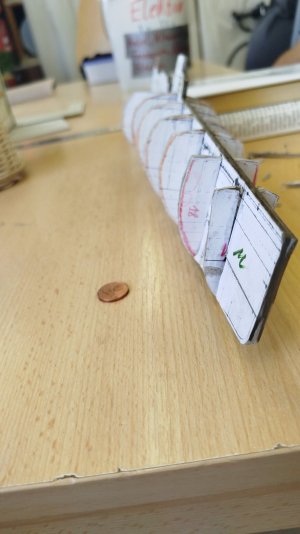
Today I made some progress by fileing the superglue hardened bookbinder cardboard in shape so the notches did interact (nearly) perfectly.
IMG-20260730-WA0008.jpeg
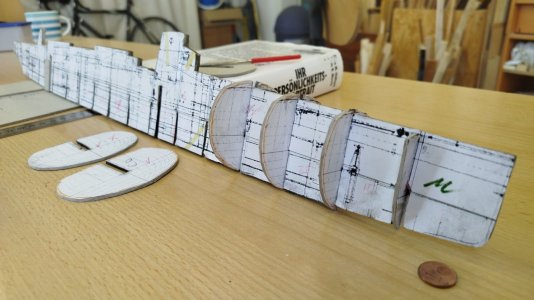
IMG-20260730-WA0011.jpegIMG-20260730-WA0010.jpegIMG-20260730-WA0006.jpegIMG-20260730-WA0002.jpegIMG-20260730-WA0004.jpeg
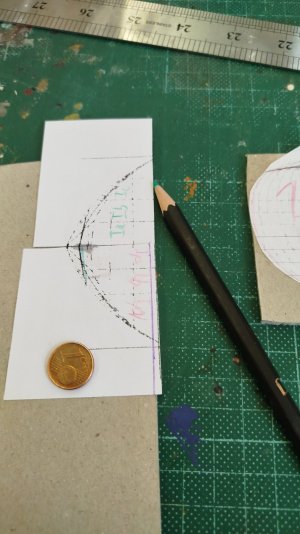
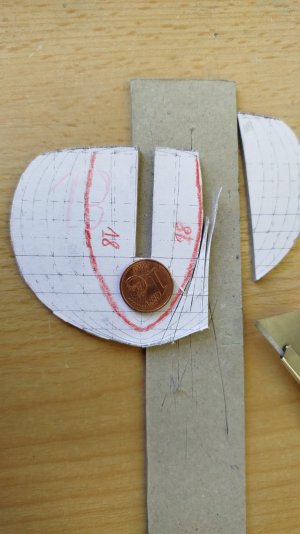
So the next step will be the last bulkheads - in particular the very small N° 1a, 1b and 1c.
IMG-20260730-WA0012.jpeg

I do think about filling the distances all together so they do become one solid block much easier to sand.

Best wishes from Berlin Card Yard, Chris
 
Hello friends

And yes, today is torpedoboatthrusday again!

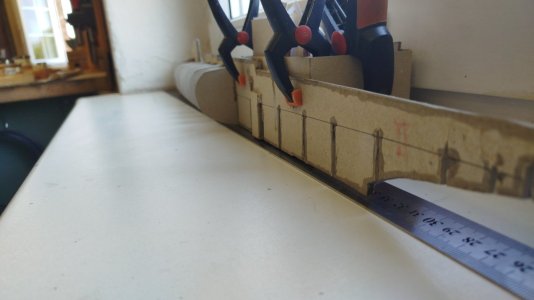
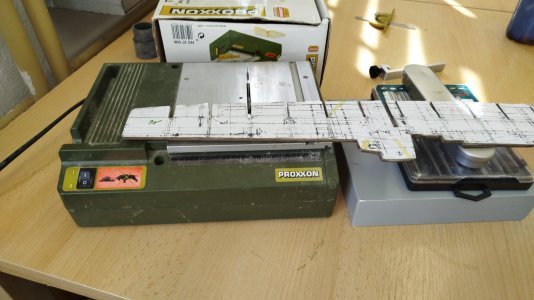
Some days ago I found my tablesaw in my kitchen and so today I tryed on SESTRORETSK 1894 in practice what seems to be a clever solution:
IMG-20260827-WA0000.jpeg
And with a plenty of quiet soul and deep breathing I started my idea to use thecrotating sawblade for a mill becoming my slots rectangular and it does work very well:
IMG-20260827-WA0003.jpeg
But!!! My trick to harden the cardboard by the use of superglue works for sanding and fileing but backfired by the use a machinery as the dust is massivly aggressive to the eyeballs!

Pirate FlagPirate FlagPirate FlagPirate FlagPirate FlagPirate FlagPirate FlagPirate FlagPirate FlagPirate FlagPirate FlagPirate FlagPirate FlagPirate FlagPirate FlagPirate FlagPirate FlagPirate FlagPirate FlagPirate FlagPirate FlagPirate FlagPirate FlagPirate FlagPirate FlagPirate Flag
So for GUIDEON-Amsterdam 1664 and TYGER Deptford-1681 I am in deep need of a less toxic solution!
Pirate FlagPirate FlagPirate FlagPirate FlagPirate FlagPirate FlagPirate FlagPirate FlagPirate FlagPirate FlagPirate FlagPirate FlagPirate FlagPirate FlagPirate FlagPirate FlagPirate FlagPirate FlagPirate FlagPirate FlagPirate FlagPirate FlagPirate FlagPirate FlagPirate FlagPirate Flag

Pirate Flag

Are there any suggestions from your guys in the chairs in front of the monitor and looking over my shoulder?

This from today's progress,

Chris
 
Back
Top