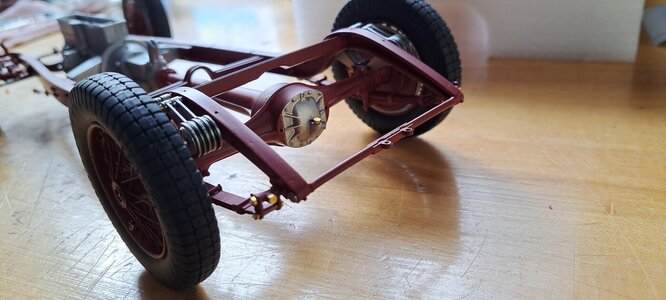
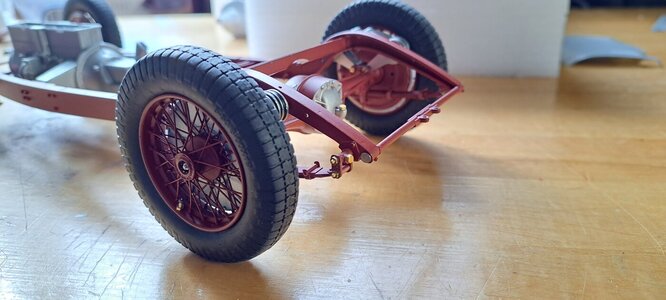
You are correct to say that a car of that era would not have had seat belts. That being said, my ref car is an actual 1932 Alfa. It was destroyed in a race in 1934 and from what I can understand, remained in that state till the late 70's where it was restored. Many modifications were done to the original car, one of them being the seat belts, another being the tapered rear deck. As for the color, I just find it cool and different from all the other Ferrari red alfa's. And yes, it's my choice.
-

Win a Free Custom Engraved Brass Coin!!!
As a way to introduce our brass coins to the community, we will raffle off a free coin during the month of August. Follow link ABOVE for instructions for entering.
-

PRE-ORDER SHIPS IN SCALE TODAY!
The beloved Ships in Scale Magazine is back and charting a new course for 2026!
Discover new skills, new techniques, and new inspirations in every issue.
NOTE THAT OUR FIRST ISSUE WILL BE JAN/FEB 2026
- Home
- Forums
- Ships of Scale Build Logs
- Super Detailing Static Models / Other Genres
- Historical Trailways, Guns, Aircraft, and Cars
You are using an out of date browser. It may not display this or other websites correctly.
You should upgrade or use an alternative browser.
You should upgrade or use an alternative browser.
1/12 scale Alfa Romeo 8c 2300 roadster build log [COMPLETED BUILD]
I also meant to say I admire your work. I'm currently working on a 1/12 Mephistophele and have also replaced the wheel spokes with wire (stainless steel insect pins with nipples). One advantage I have is that there are no color pictures of the original car (in the Fiat museum it's painted red which they admit is wrong) so I can paint it any color I want! Also detailing the engine with real nuts and bolts.
Black with red wires and seat...
Black with red wires and seat...
The Mephistofele is a very nice model, it was on my list. The engine on this car is a real monster!! Do you have any pictures of your work?
The large scale Italeri kits are nice. Wonders can be done with them. Great work
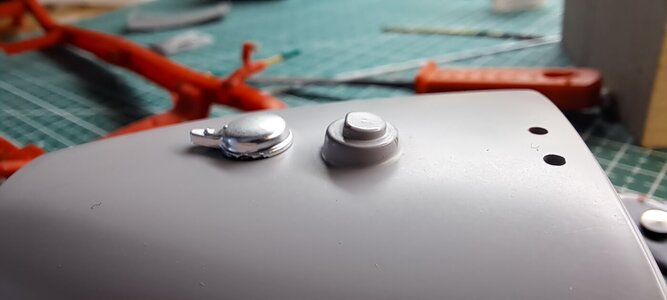
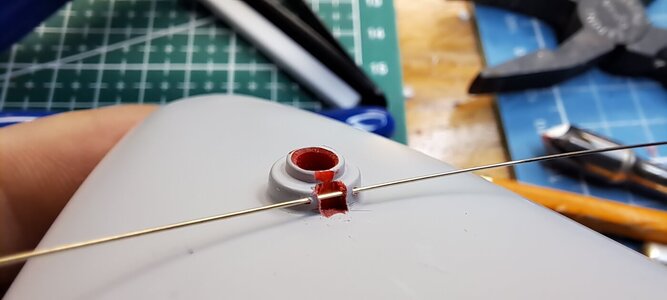
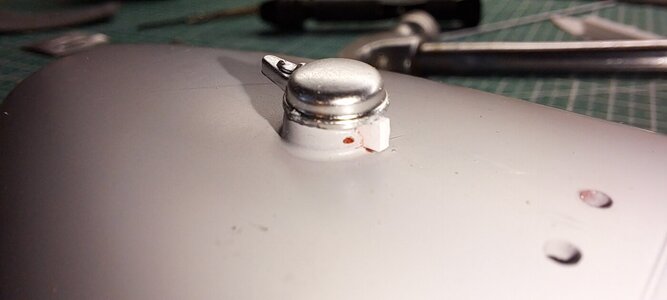
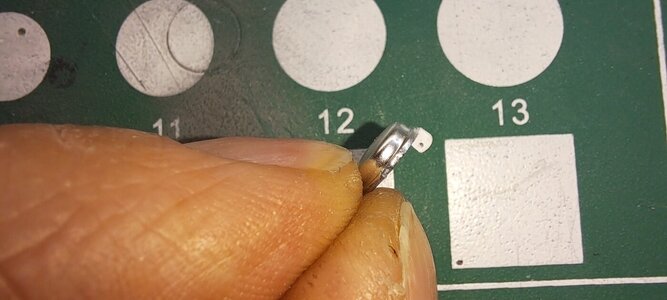
Did the lever shocks today, there is a lot of parts in total. The instruction say to screw the assy from the front with a flat head screw... not happening. On the real car, it's ajusted via a winged nut that is threaded on a bolt, that's what I did. I also replace a small plastic disc ( just behind the winged nut) by a proper aluminium disc.
The kit's assembly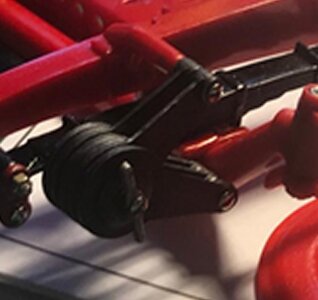
My assemblies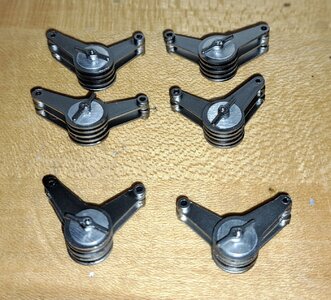
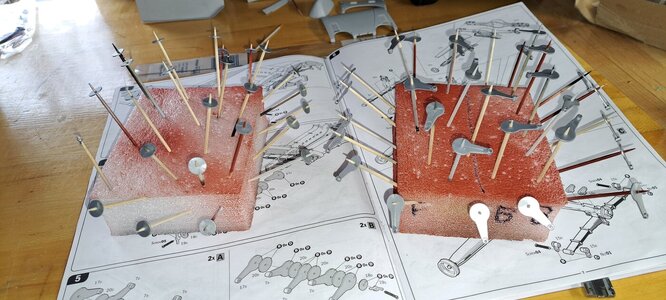
A sneak peek at whats to come. This is the kit's underside of the fuel tank, it just won't do. I'm redoing this completetly.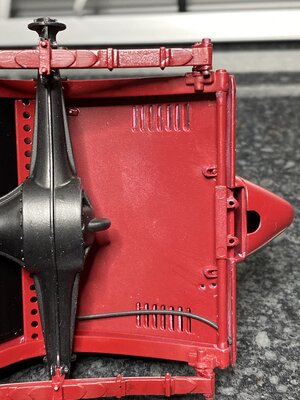
Stay tuned!!
The kit's assembly

My assemblies


A sneak peek at whats to come. This is the kit's underside of the fuel tank, it just won't do. I'm redoing this completetly.

Stay tuned!!
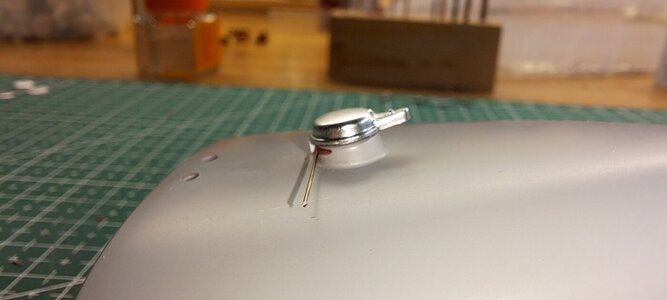
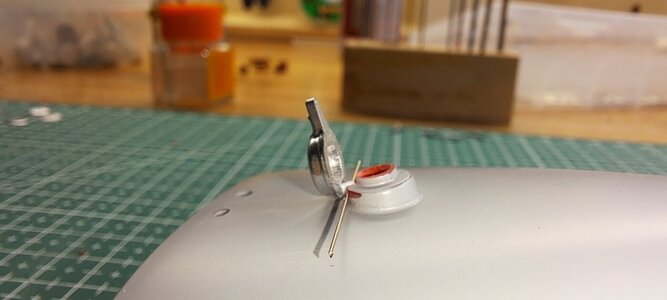
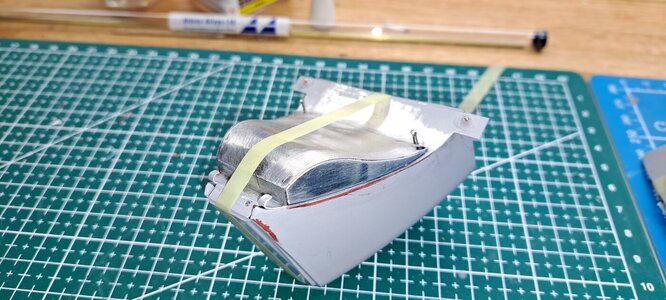
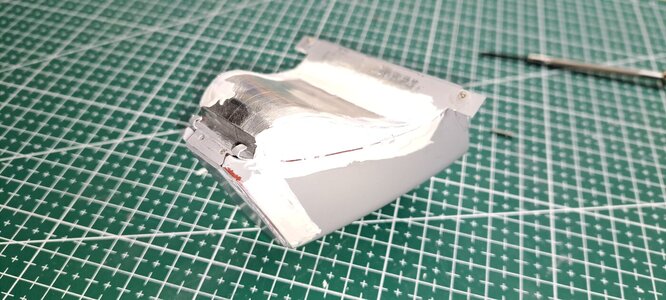
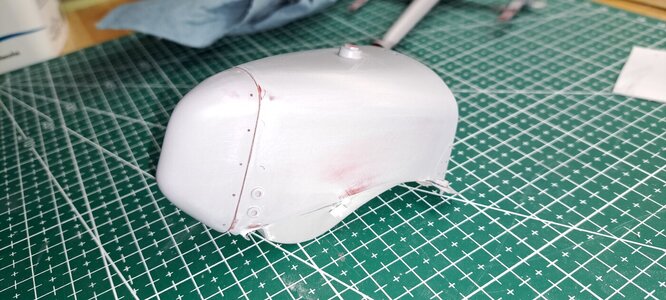
Ok so here's my thinking. On this car, the fuel tank is located behind the seat. So far so good, the kit has that except that it stops at the rear deck. But we can clearly see that on the real car, there is also something under the rear deck. 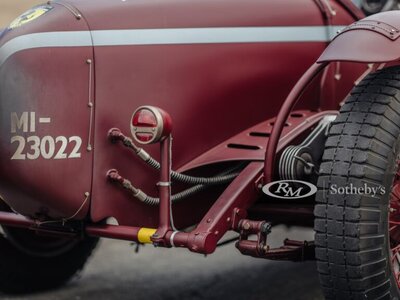
It could simply be some bodywork, but I opted to think It could be the fuel tank going louer. So I set out to fabricate an extension to the tank. This way, I could spit the rear deck as it should be.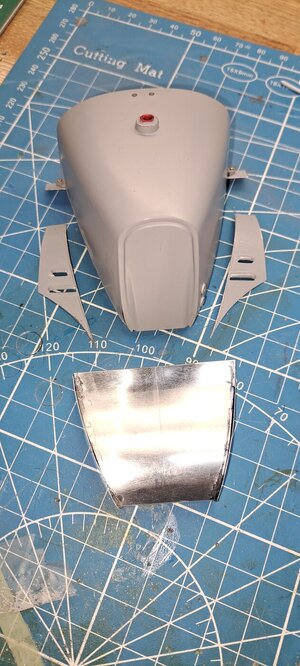
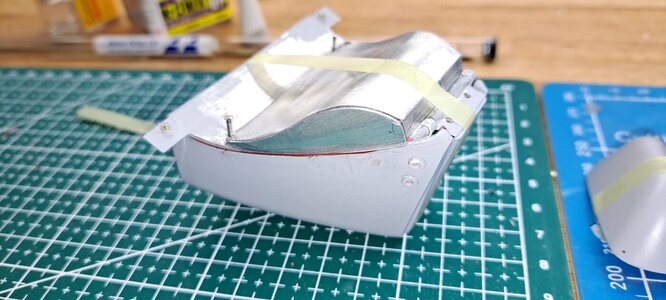
A support bracket for the rear deck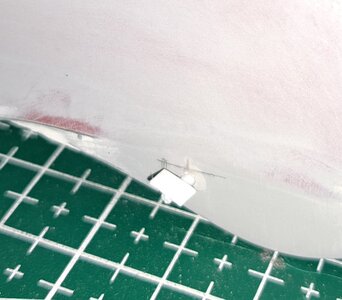
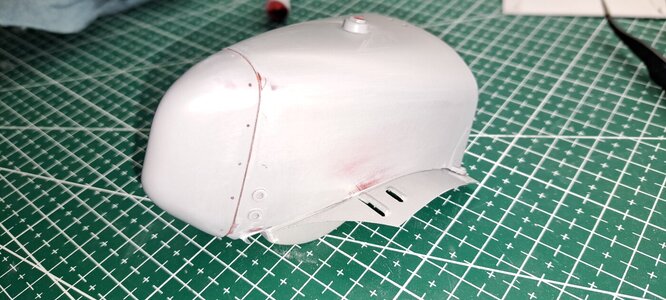
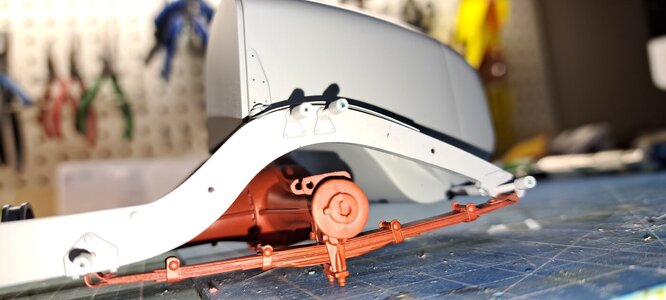
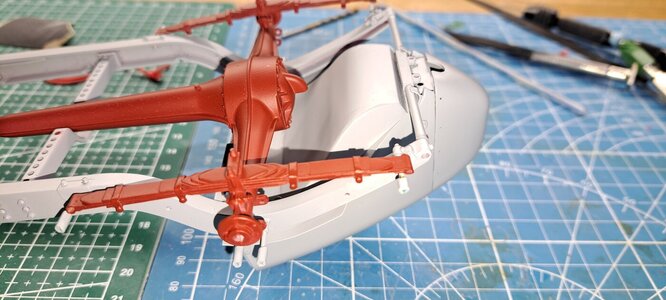
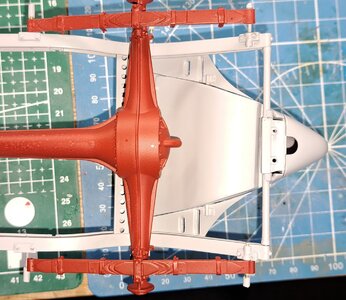
And again, what the kit looks like.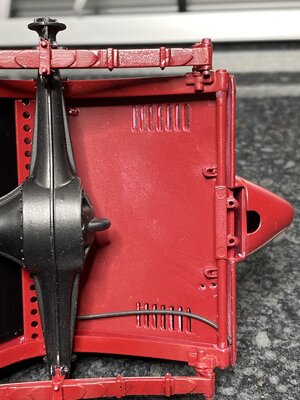
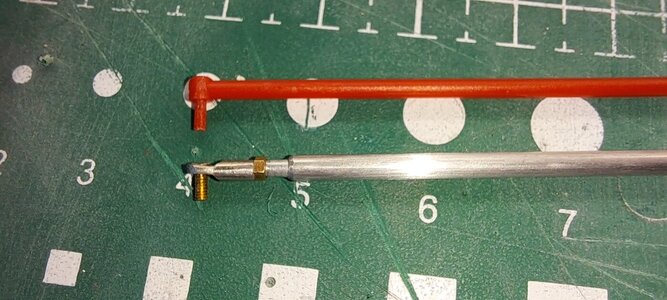
I also started on the front steering composants. I replaced a moulded ajustements screw (left) by a brass hex screw (right).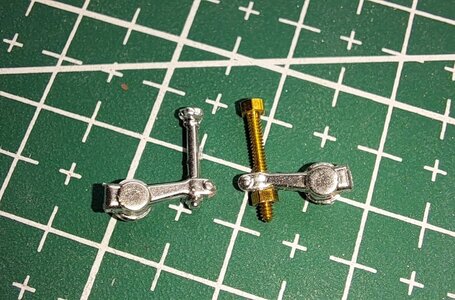

It could simply be some bodywork, but I opted to think It could be the fuel tank going louer. So I set out to fabricate an extension to the tank. This way, I could spit the rear deck as it should be.


A support bracket for the rear deck


And again, what the kit looks like.

I also started on the front steering composants. I replaced a moulded ajustements screw (left) by a brass hex screw (right).

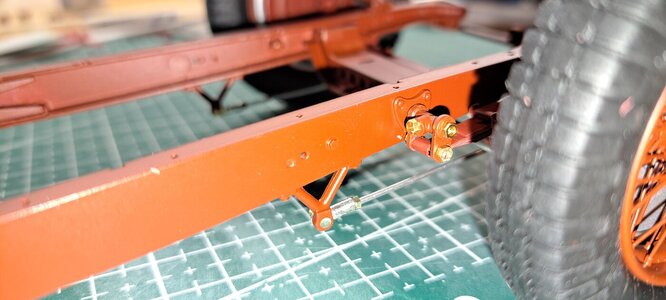
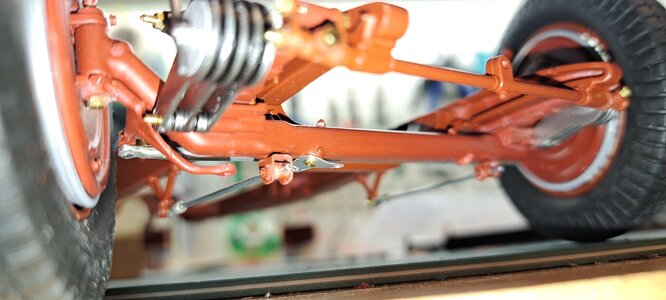
The front end is pretty much complete. I'm replacing most plastic linkage by aluminium ones as I go along. Sorry about the picture quality!!
Brake ajuster screw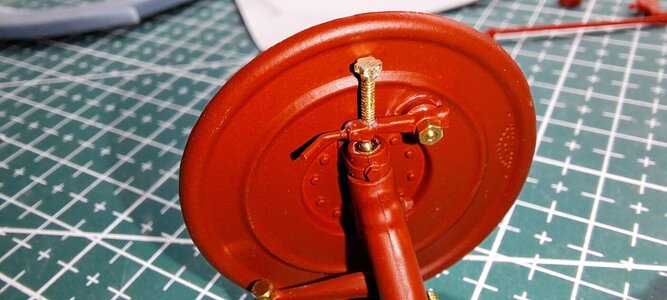
rod end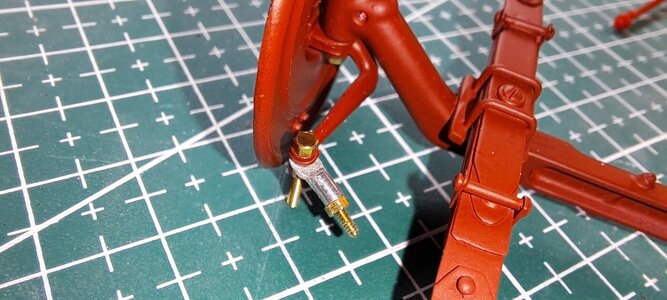
scratch built steering linkage (bottom) compared to kit's linkage (red)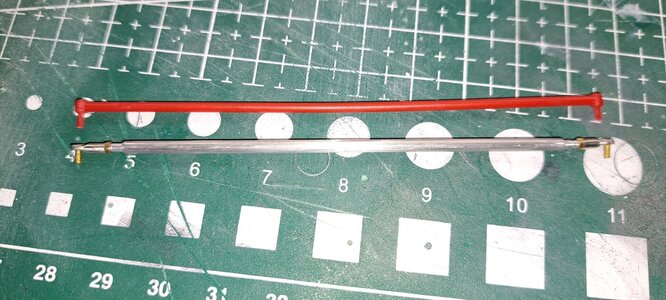
scratch built front end control arm (2 at top) compared to kit's (red)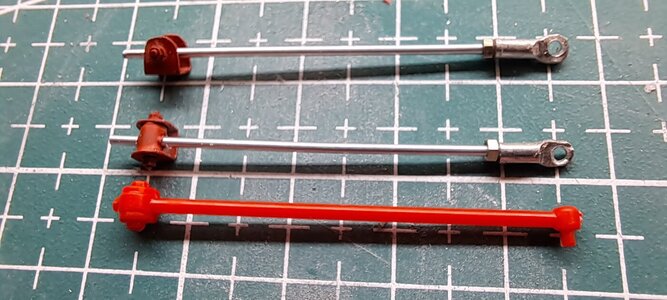
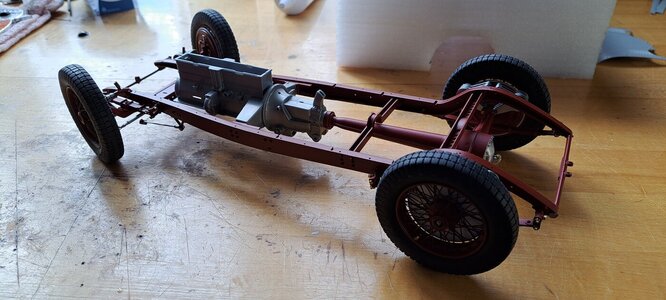
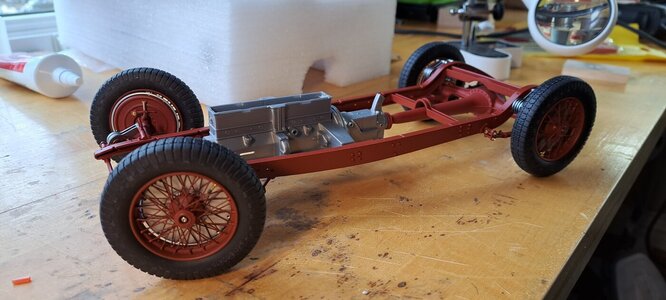
some assy pictures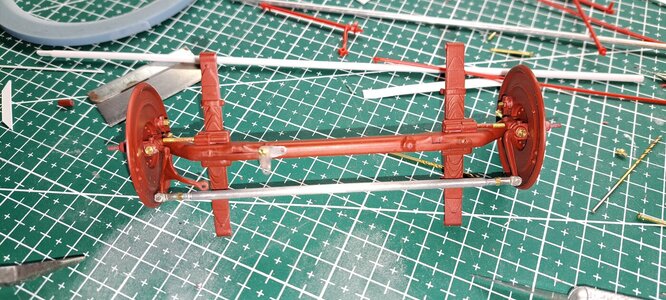
Brake ajuster screw

rod end

scratch built steering linkage (bottom) compared to kit's linkage (red)


scratch built front end control arm (2 at top) compared to kit's (red)

some assy pictures


Fascinating detail on your ‘restoration of the Italeri-kit’, François.
Regards, Peter
Regards, Peter
Great details - Bravo!
Thank you all!
It results a real car 
Your attention to detail is fantastic and your execution of that detail is stunningly beautiful!
François, beautiful work. In particular I liked your approach to the spoked wheels.
Do you have any historic photo reference material or are your details based on restored car photos?
Do you have any historic photo reference material or are your details based on restored car photos?
Thank you Paul. I'm using this car as reference
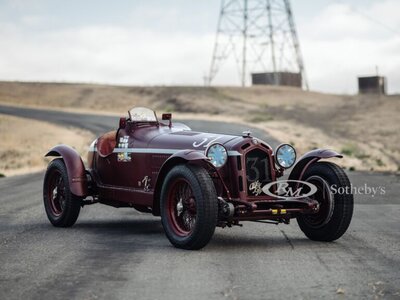
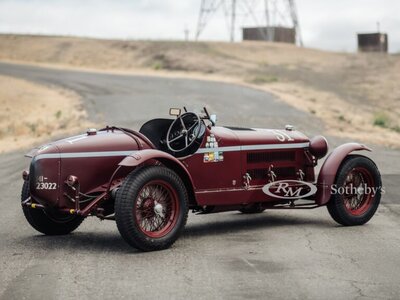
It's an actual 1932 car that was crashed in 1934 and rebuilt in the 70's.
You can see a full set of pictures with this link.
https://photos.app.goo.gl/htBaRNKiuM788cjV7


It's an actual 1932 car that was crashed in 1934 and rebuilt in the 70's.
You can see a full set of pictures with this link.
https://photos.app.goo.gl/htBaRNKiuM788cjV7
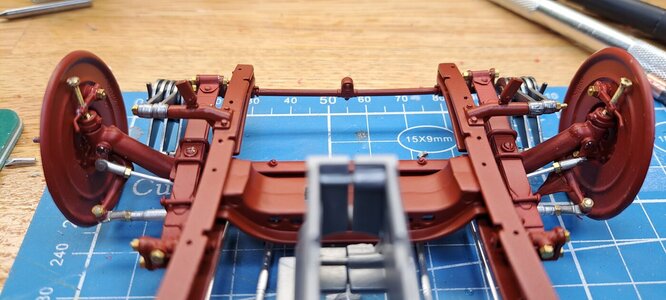
Worked on the front brake linkage today.
My front barke linkage compared to the kit's (red)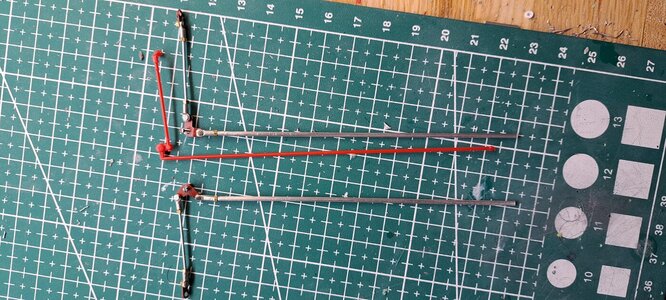
linkage installed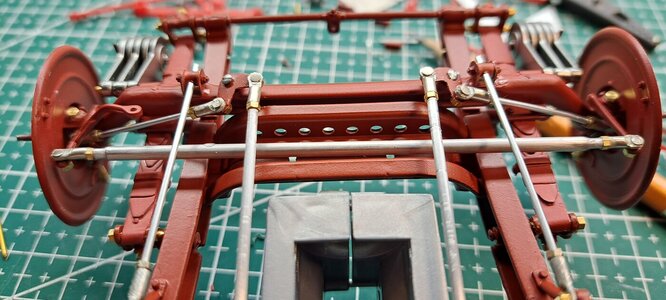
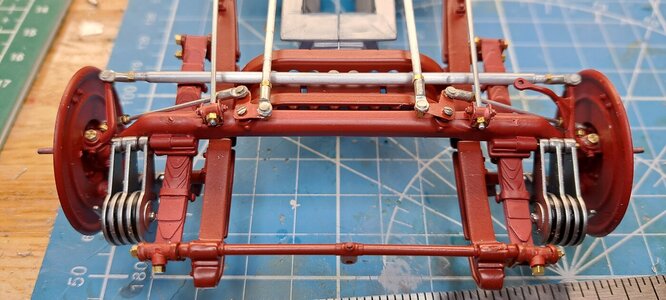
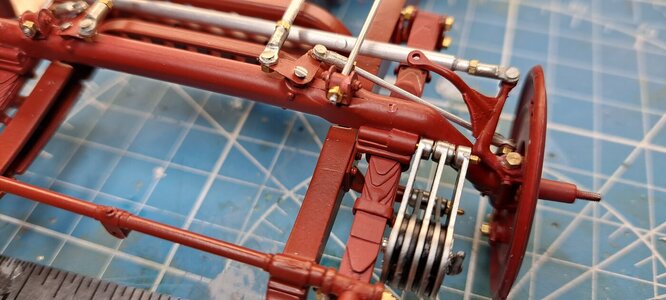
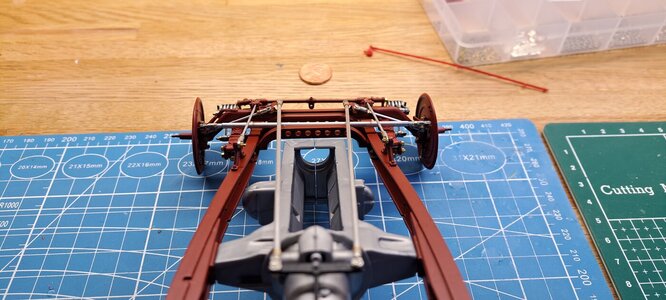
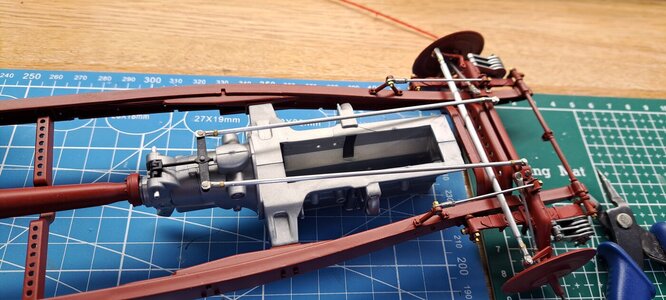
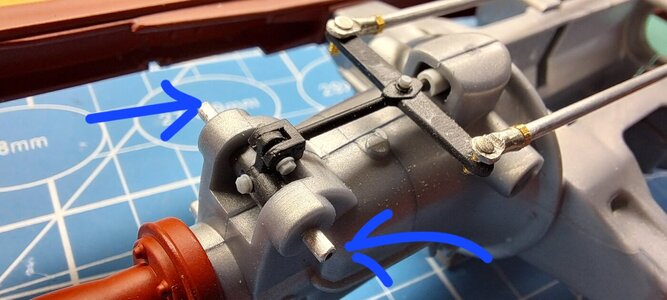
The 2 long rods going towards the back of the car are actuated by a small mechanism mounted on the transmission and would be linked to the brake petal (real world), The kit provides the mechanism in a much simpler and static way,
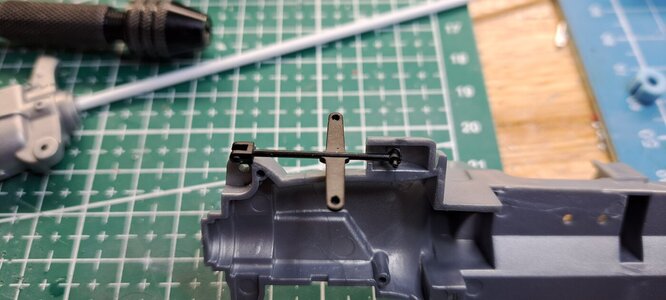
I tried to make my own so that it could actually move but I didn't like the result. The white cylinder is a guide bushing for the actuator rod,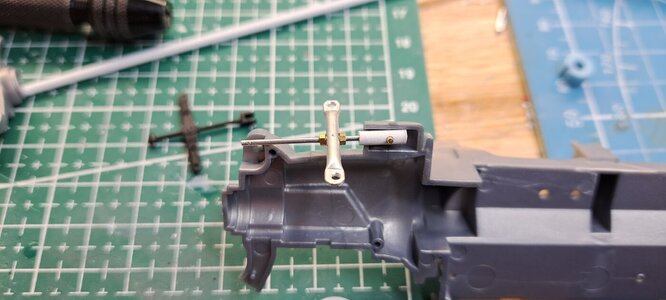
So I decided to go hybrid by modifing the kit's part and using my guide bushing. The result is a working actuator that should (maybe) eventually move both the front and the rear brake linkage.
In position
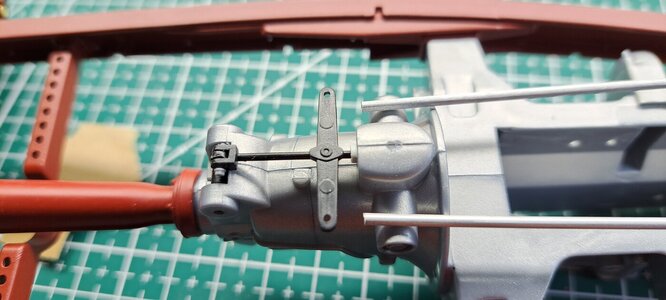
out position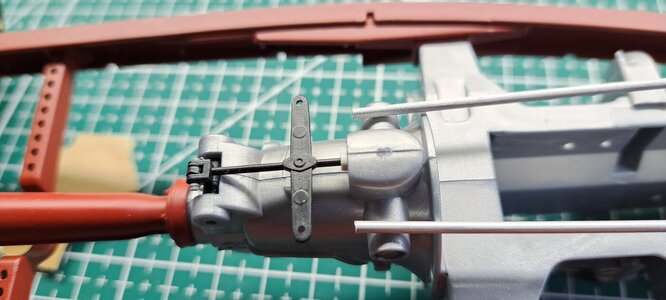
All this working linkage is included in a 1/8 scale Pocher kit. My kit being a 1/12 scale makes it all that much harder to do... But it's still fun to try!!
My front barke linkage compared to the kit's (red)

linkage installed


The 2 long rods going towards the back of the car are actuated by a small mechanism mounted on the transmission and would be linked to the brake petal (real world), The kit provides the mechanism in a much simpler and static way,

I tried to make my own so that it could actually move but I didn't like the result. The white cylinder is a guide bushing for the actuator rod,

So I decided to go hybrid by modifing the kit's part and using my guide bushing. The result is a working actuator that should (maybe) eventually move both the front and the rear brake linkage.
In position

out position

All this working linkage is included in a 1/8 scale Pocher kit. My kit being a 1/12 scale makes it all that much harder to do... But it's still fun to try!!


