1/30 HMS Royal Caroline Build

Hello Everyone,
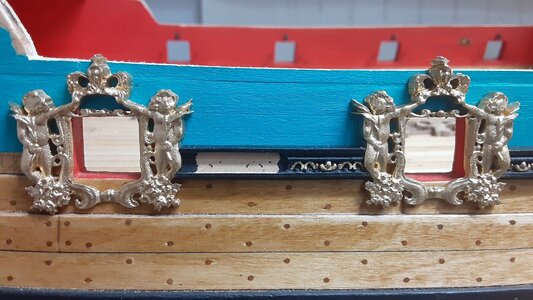
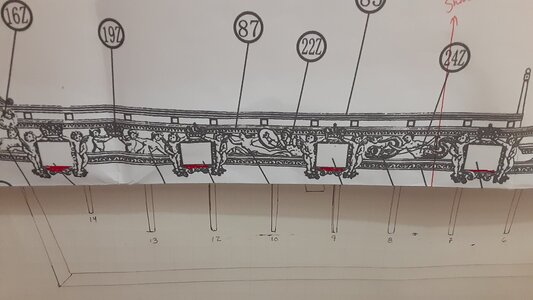
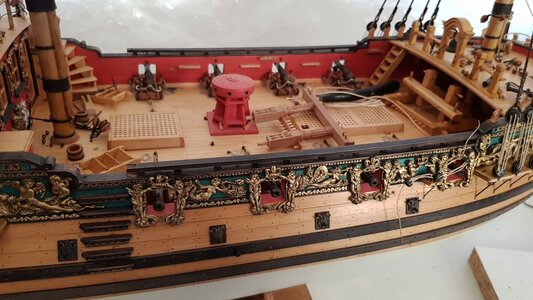
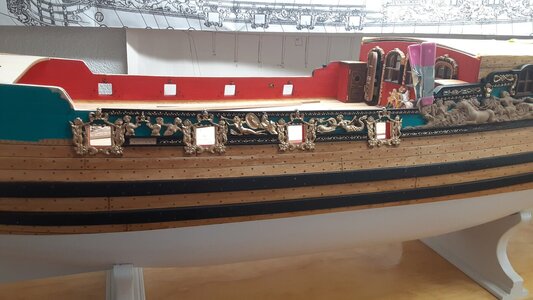
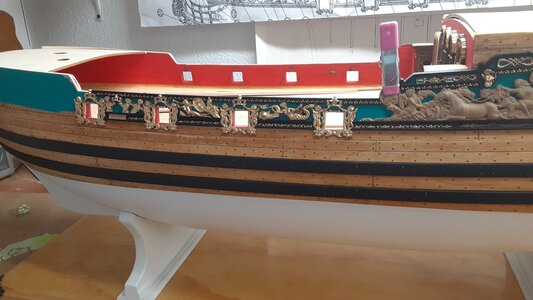
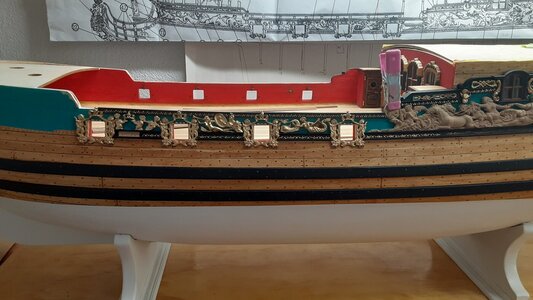
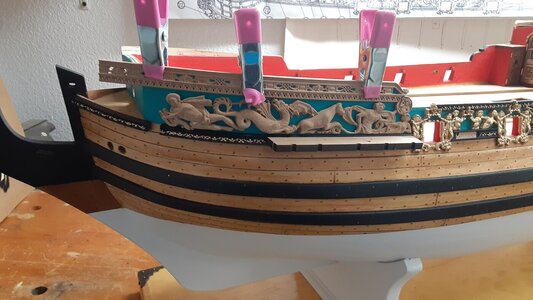
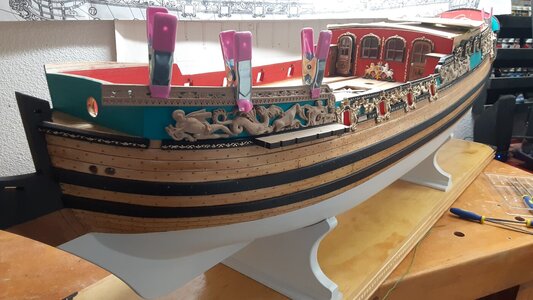
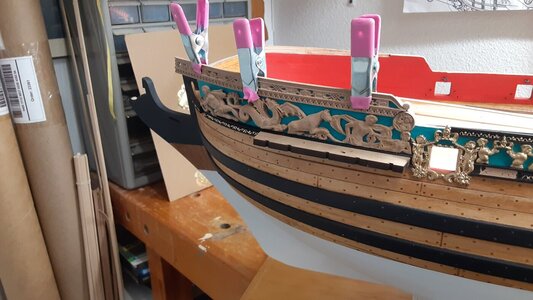
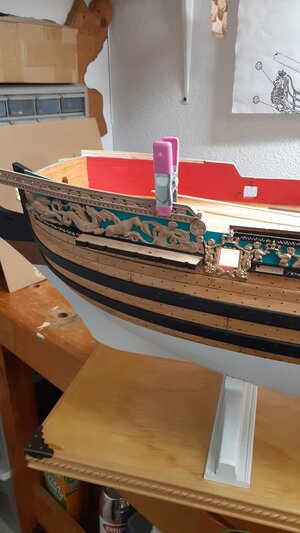
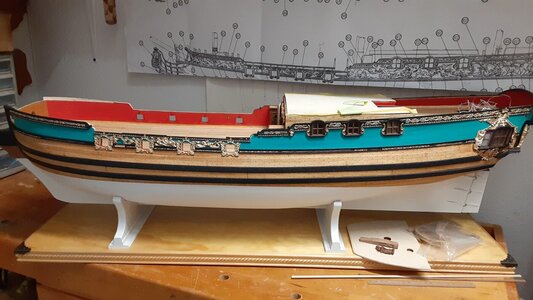
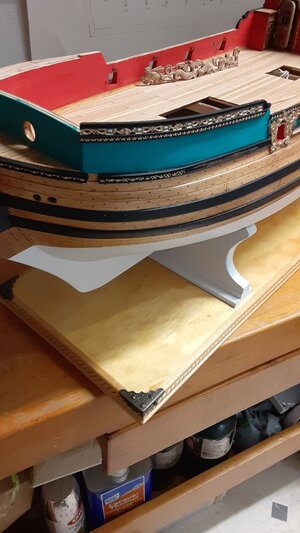
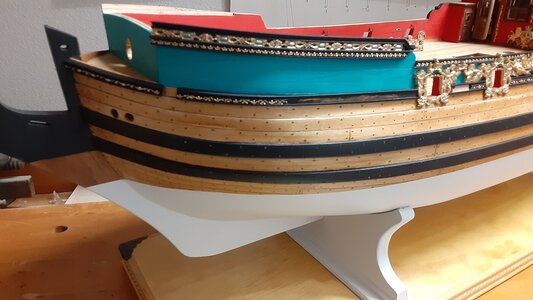
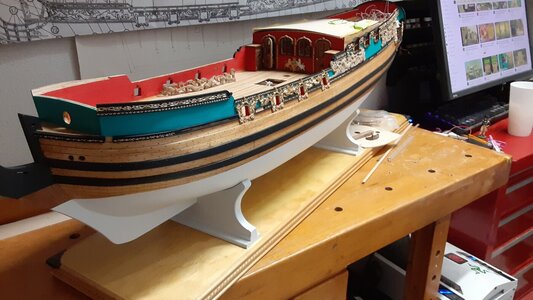
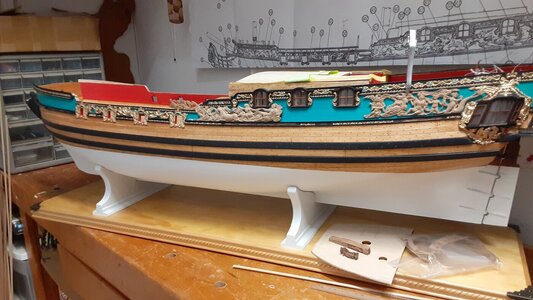
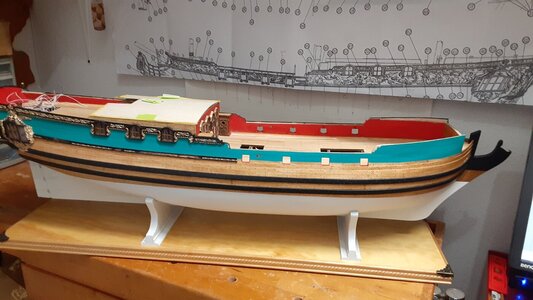
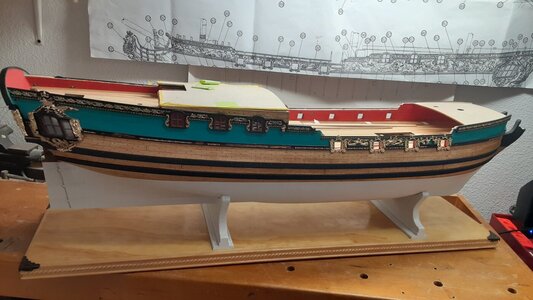
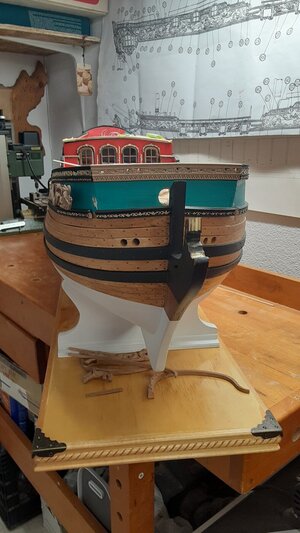
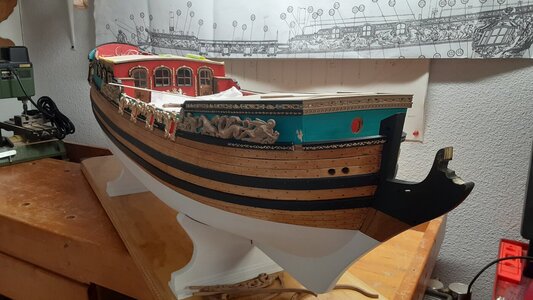
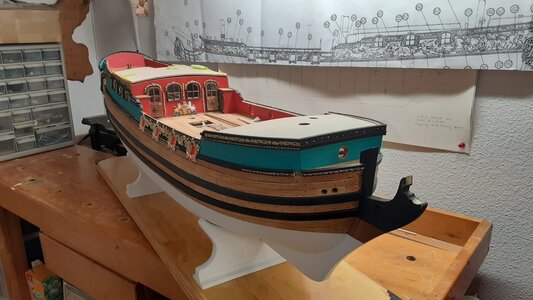
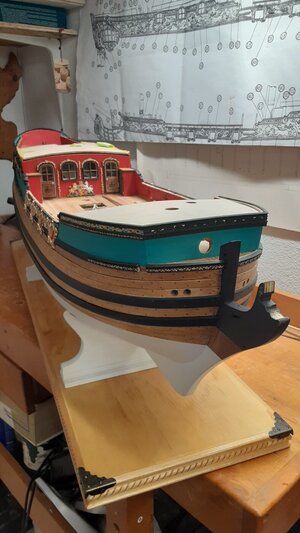
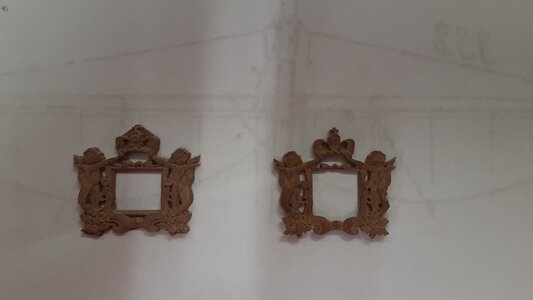
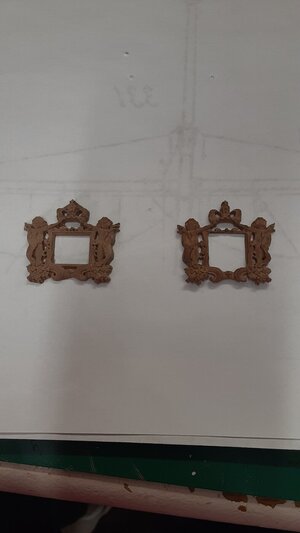
Just wanted to clarify something on the Plans with the Gun Port Carvings in case anyone is interested. The Lower Bottom Molded Wood that goes left to right should be removed (see pic#1,2&3) in addition to Overall Enlarging the Square Opening of the Carving. Looking at the Plans, they are not clear on this. On the plans, it appears to be part of the molded wood on the Carving itself but in reality, you are actually looking at the Hull Plank behind the Carving (see the Red lines drawn on pic#4). I have also attached a picture of a Beautiful 1:35 Royal Caroline Model that also shows how the Gun Ports should be (pic#5).
If one chooses not to remove this section, the Carvings will still look Great as is!!!! Hope this clarifies the Carvings on my build. NOTE----- The Gold Carvings are only temp. installed for the picture!!!!
20221025_224045.jpg

20221025_224037.jpg

20221027_150908.jpg

20221027_150821.jpg

5.jpg
 
WIP----
Hello Everyone,
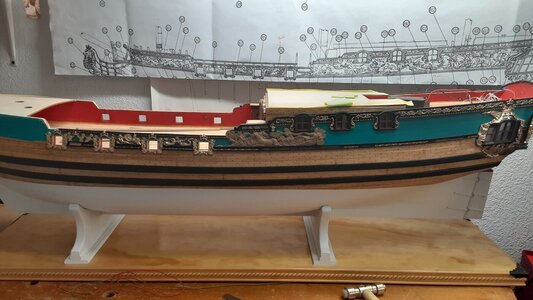
I got the Port side done as far as I wanted to go at this point. Onto the Starboard Side to Mirror the Port side. Like I mentioned before, I will add the rest of the large Carvings (and the smaller ones) to the Hull at a later time because there's still a lot of fiddly stuff to mark out & do and some of the Carvings will be an obstruction. I also don't want to rub off any of the Gold paint on the Large Carvings by accident. I also want to get the Day Cabins Interior & Exterior done & out of the way also.

20221106_201829.jpg

20221106_201333.jpg

20221106_201344.jpg

20221106_201351.jpg

20221106_201405.jpg

20221106_202714.jpg
 
Hello everyone,
My name is Rick & I have been a model ship builder for approx 45 years. My intent for this build log is to help other builders ( & Future Builders) of this kit with all the Good, Bad & the Ugly nuances that I have come across during the construction . This particular kit is definitely not for the beginner or even the intermediate builder because there are many frustrating aspects of this kit that would leave many of builds put away into ones closet or worse-putting the kit on Ebay!!!!!!! I am not going to non-stop bash this kit, because there are a lot of Great things about the kit as well but I merely want to bring out things that will & can lead one astray and cause a lot of frustration, tears & PAIN (LOL) as some of the other builders , such as Maarten can contest too!!! I have posted just a few pics and I will post many more because I am much farther along then the pictures show. I will attempt to stay in order of chronological build steps and gladly answer any questions some may have. I won't get into to much technique type pictures unless requested because I believe every model ship builder has their own unique build style and I am not one to say your doing something wrong just because you build differently than myself!!!
To me, building a model ship, especially a expensive one such as this, should not be a race against time but rather a chance to slow my hectic life down a notch & enjoy this kit & I like to challenge myself to attempt to create a piece of Art that can be enjoyed by many for years to come!
I will keep my introduction short and from this point on, I will start to post build pics and items used and issues that have come up & look forward to talking to you all--Rick
Hallo @modelshipbuilder65
we wish you all the BEST and a HAPPY BIRTHDAY
Birthday-Cake
 
Belated it may be, but nonetheless not forgotten! ROTF Happy Birthday Rick and continue to wow us with your RC.
 
WIP---
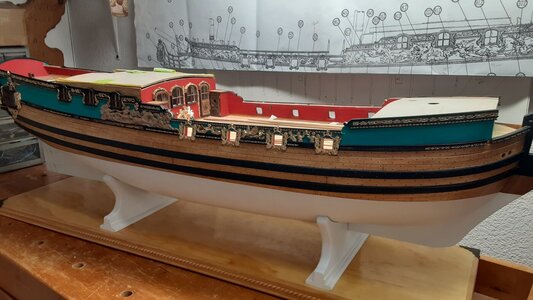
Hello Everyone. Finally got a little break from work to get the Starboard side Upper & Lower Freeze Carvings and the Gun Port Carvings done & Installed. Got the Forecastle Carving cleaned up and shaped & ready to paint the Gold Gilding (temp. placed for photo only at this time). I also got all the lighting wiring soldered for all the Stern & Cabin lighting and tucked away.

20221126_233822.jpg

20221126_233840.jpg

20221117_003516.jpg

20221117_003529.jpg

20221108_030702.jpg

20221126_235214.jpg

20221126_235201.jpg

20221126_235235.jpg
 
WIP-----
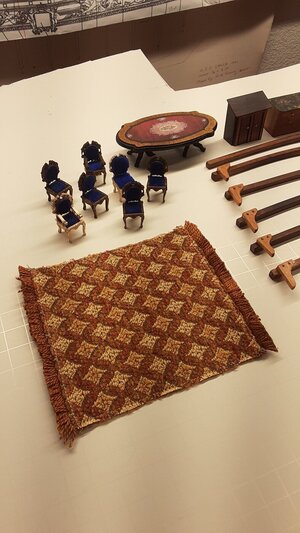
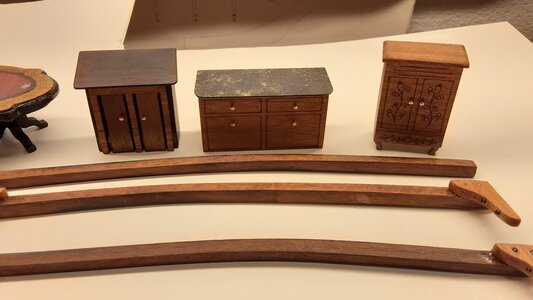
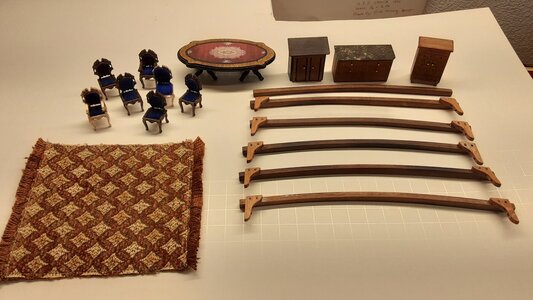
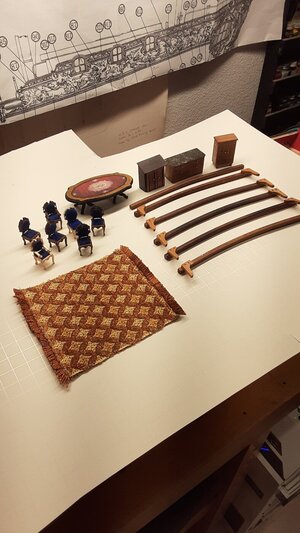
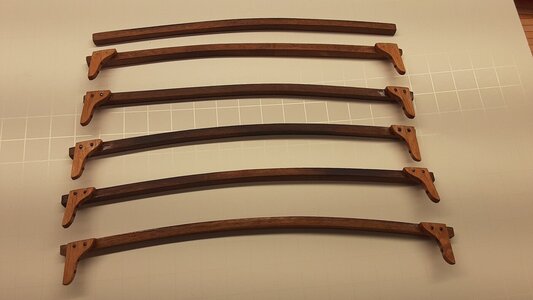
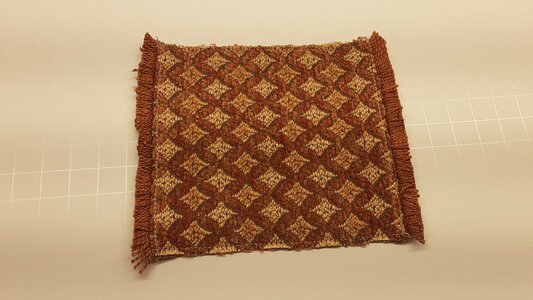
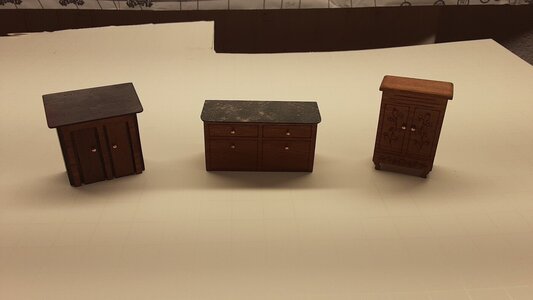
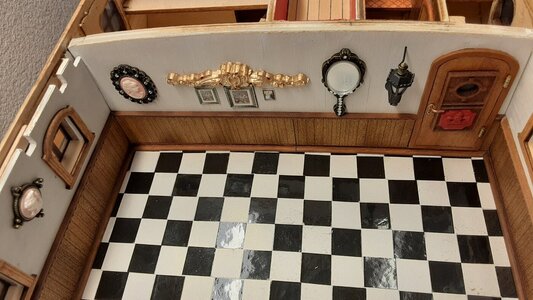
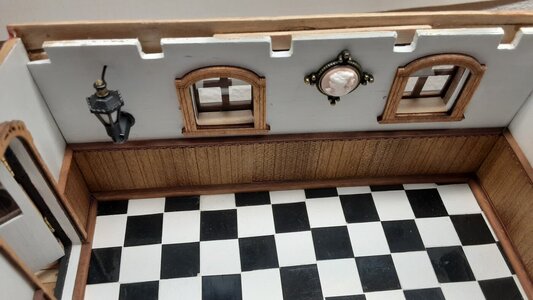
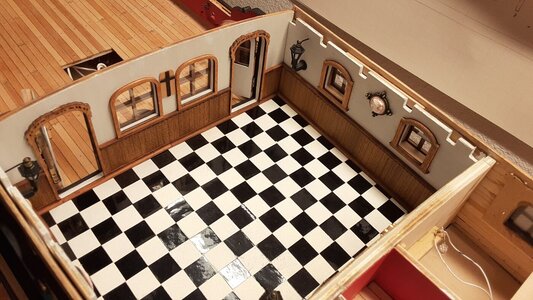
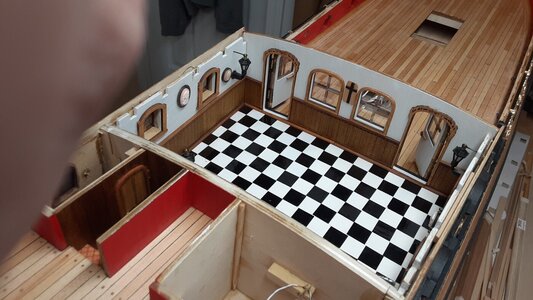
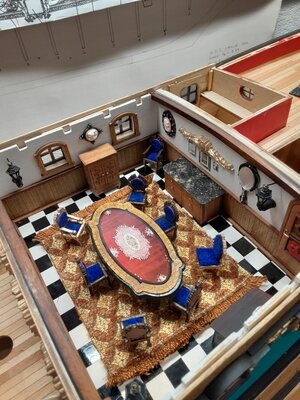
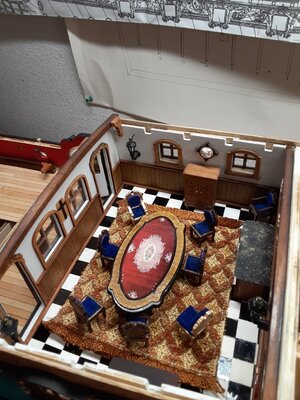
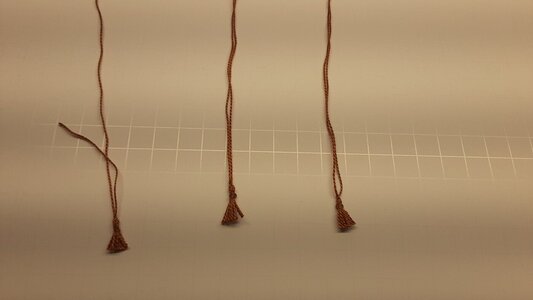
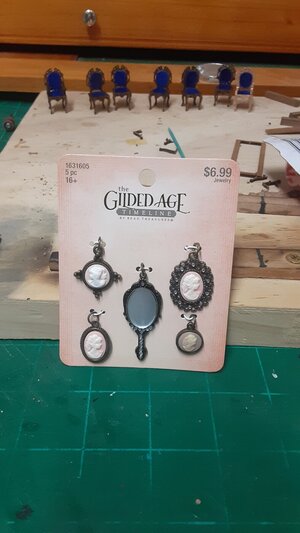
Hello everyone. Got a little time from my hectic schedule to work on the Interior of the Day cabin. I initially was going to do very little on the interior since viewing it is /will be difficult in it's future case but my BIG BOSS the Wife insisted I add some details. My wonderful wife, who happens to be a seamstress made the rug with the fringe and the 3 Tassels(they will hang from the interior Lanterns). I built the extra tilt cabinet along with the 6 Roof Beams & Knees. I only used 3 of the kit provided wall pictures. I used a very nice & inexpensive 5 piece necklace/mirror set that I trimmed off the necklace loops and it is the perfect scale size ( purchased at Hobby Lobby). I also added the wall Cross I made. The 2 photos showing the chairs and table are just temporary layout pics to check placement locations. I may make the rug smaller .
More to come......................................

20221220_235524.jpg

20221220_235534.jpg

20221220_235542.jpg

20221220_235550.jpg

20221220_235649.jpg

20221220_235715.jpg

20221220_235744.jpg

20221220_235934.jpg

20221220_235940.jpg

20221220_235946.jpg

20221220_235951.jpg

Resized_20221220_230531.jpeg

Resized_20221220_230517.jpeg

20221220_235827.jpg

20221214_225029.jpg
 
Last edited:
WIP-----
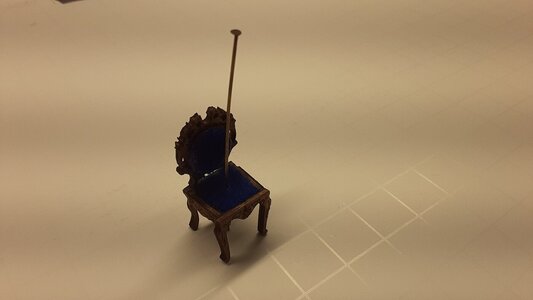
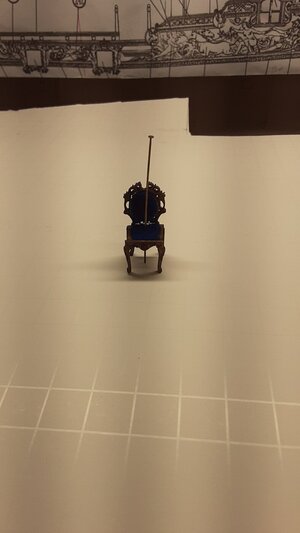
I will be attaching all of the cabin chairs & table with very thin seamstress pins that will be hardly visible. I decided to do this instead of cementing the legs of the chairs & table because I am attempting to have as much as possible the cabins interior items stay and not come loose in the future years due to the glue deteriorating and then have items misarranged and getting damaged.

20221220_235900.jpg

20221220_235851.jpg
 
WIP-----
Hello everyone. Got a little time from my hectic schedule to work on the Interior of the Day cabin. I initially was going to do very little on the interior since viewing it is /will be difficult in it's future case but my BIG BOSS the Wife insisted I add some details. My wonderful wife, who happens to be a seamstress made the rug with the frieze and the 3 Tassels(they will hang from the interior Lanterns). I built the extra tilt cabinet along with the 6 Roof Beams & Knees. I only used 3 of the kit provided wall pictures. I used a very nice & inexpensive 5 piece necklace/mirror set that I trimmed off the necklace loops and it is the perfect scale size ( purchased at Hobby Lobby). I also added the wall Cross I made. The 2 photos showing the chairs and table are just temporary layout pics to check placement locations.
More to come......................................

View attachment 346752

View attachment 346753

View attachment 346754

View attachment 346755

View attachment 346756

View attachment 346757

View attachment 346758

View attachment 346759

View attachment 346760

View attachment 346761

View attachment 346762

View attachment 346763

View attachment 346764

View attachment 346772

View attachment 346773
magnificent work, so beautiful Okay :)
 
Back
Top