Thank you my man!!!great work, it's looks beautiful
-

Win a Free Custom Engraved Brass Coin!!!
As a way to introduce our brass coins to the community, we will raffle off a free coin during the month of August. Follow link ABOVE for instructions for entering.
-

PRE-ORDER SHIPS IN SCALE TODAY!
The beloved Ships in Scale Magazine is back and charting a new course for 2026!
Discover new skills, new techniques, and new inspirations in every issue.
NOTE THAT OUR FIRST ISSUE WILL BE JAN/FEB 2026
You are using an out of date browser. It may not display this or other websites correctly.
You should upgrade or use an alternative browser.
You should upgrade or use an alternative browser.
1/30 HMS Royal Caroline Build
- Thread starter modelshipbuilder65
- Start date
- Watchers 72
-
- Tags
- royal caroline
Very good work on the rudder 

Thank you my friendVery good work on the rudder
Hallo @modelshipbuilder65Hello everyone,
My name is Rick & I have been a model ship builder for approx 45 years. My intent for this build log is to help other builders ( & Future Builders) of this kit with all the Good, Bad & the Ugly nuances that I have come across during the construction . This particular kit is definitely not for the beginner or even the intermediate builder because there are many frustrating aspects of this kit that would leave many of builds put away into ones closet or worse-putting the kit on Ebay!!!!!!! I am not going to non-stop bash this kit, because there are a lot of Great things about the kit as well but I merely want to bring out things that will & can lead one astray and cause a lot of frustration, tears & PAIN (LOL) as some of the other builders , such as Maarten can contest too!!! I have posted just a few pics and I will post many more because I am much farther along then the pictures show. I will attempt to stay in order of chronological build steps and gladly answer any questions some may have. I won't get into to much technique type pictures unless requested because I believe every model ship builder has their own unique build style and I am not one to say your doing something wrong just because you build differently than myself!!!
To me, building a model ship, especially a expensive one such as this, should not be a race against time but rather a chance to slow my hectic life down a notch & enjoy this kit & I like to challenge myself to attempt to create a piece of Art that can be enjoyed by many for years to come!
I will keep my introduction short and from this point on, I will start to post build pics and items used and issues that have come up & look forward to talking to you all--Rick
we wish you all the BEST and a HAPPY BIRTHDAY
Enjoy your special day

Thank you and appreciate the kind words
The rudder modification looks great, can imagine if you paint the waterline you need to do it.
Keep up the good work and congratulations with your 25th birthday
Keep up the good work and congratulations with your 25th birthday
Last edited by a moderator:
At my age, it's good to be back at anything, HeheheheheheIt's always good to see you back at the bench Rick.
WIP-
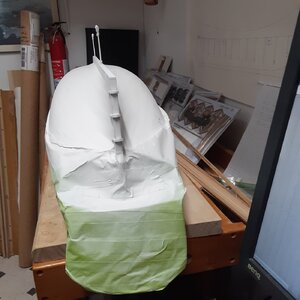
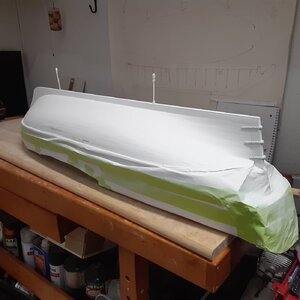
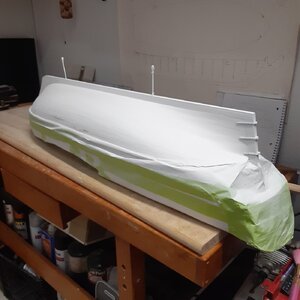
Here's some photos of the paint process so far. I stopped short the Blue (Peacock Teal) on the Bulwarks because I wanted a little more surface area for the Chain Plate Channels & the decorative Carving strip to have more of a non-painted surface area for the glue to have a better bonding surface area. I purposely did not fine sand the Outer Bulwarks because a rougher surface will allow a better mating surface for the Carvings to be attached to since I am attaching to a painted surface. The Deck House Top & Forecastle Deck are just sitting there for a visual appearance. My 1:30 scale British Sentry Guard is on Duty, LOL. After some final touch ups and another coat of sealer on the entire Hull surface, I will be moving on with some interior Day Cabin work to complete before I start on the Aft Deck Water Ways, Aft Deck Planking, Midships Waterways & Rudder Attachment and then I will mount the Hull to the base. I want to complete as much as possible before the Hull is attached to the Base. It will become more clear to everyone as I progress & download pictures as to my sequence & madness, hehehehehehehee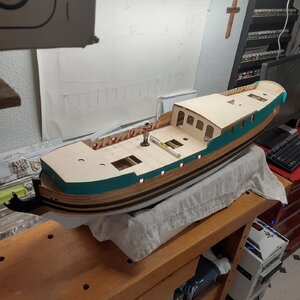
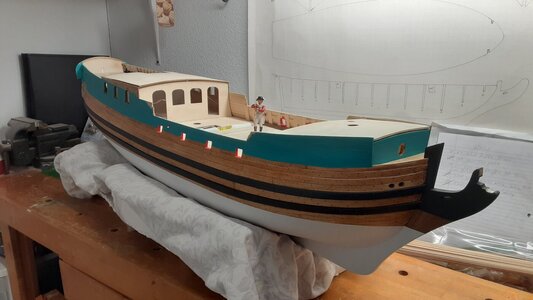
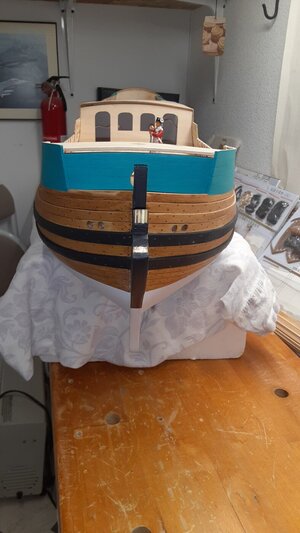
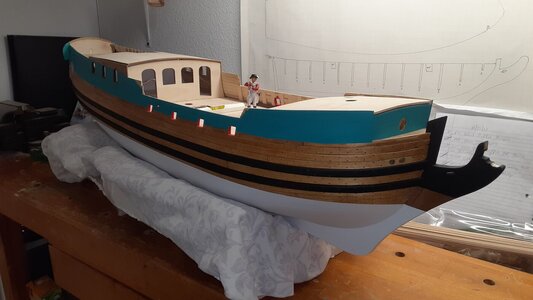
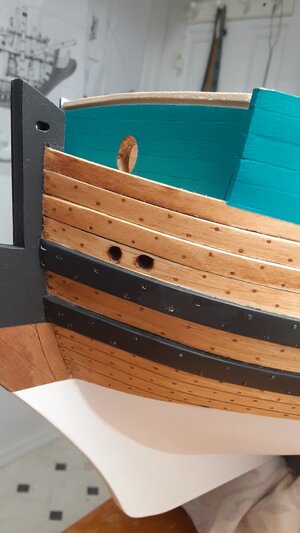
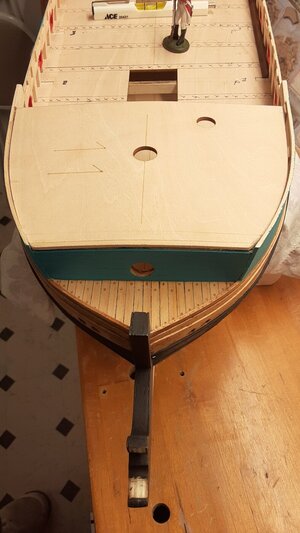
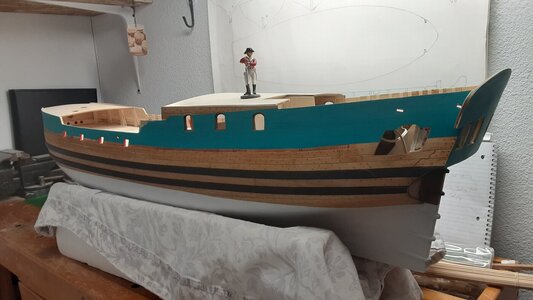
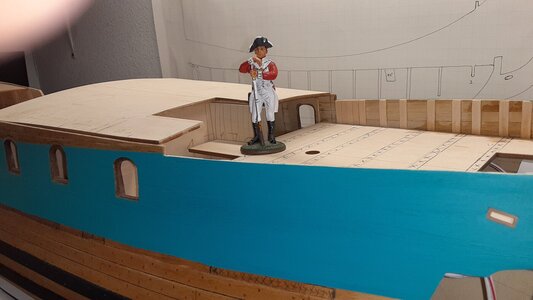
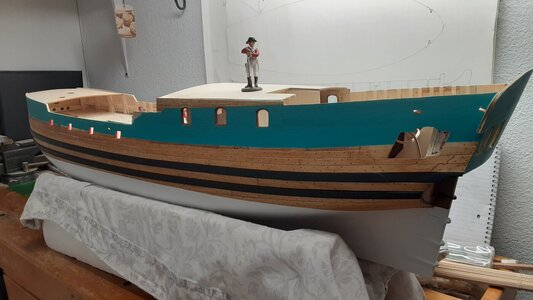
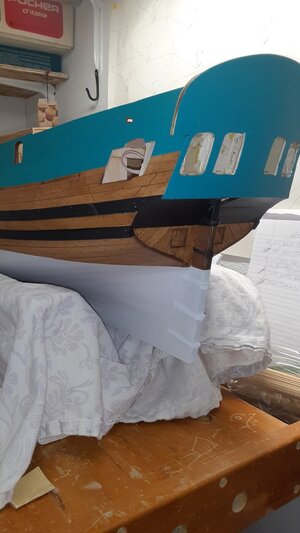
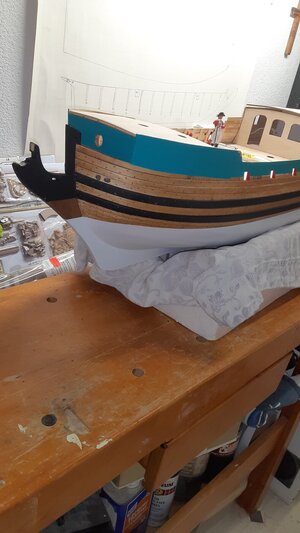
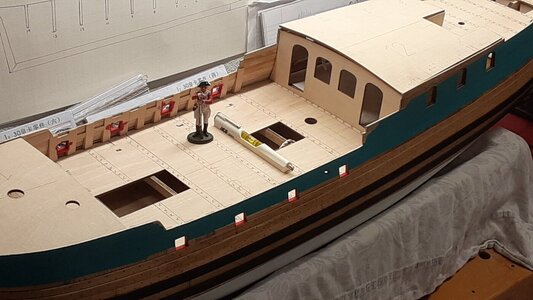
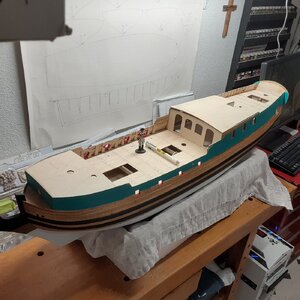
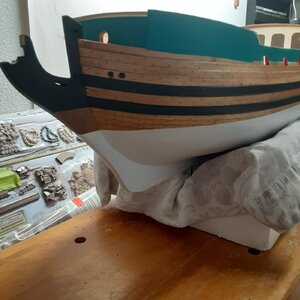
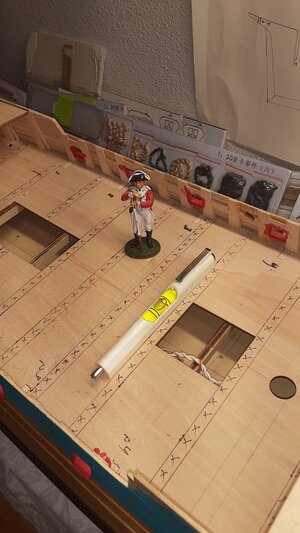
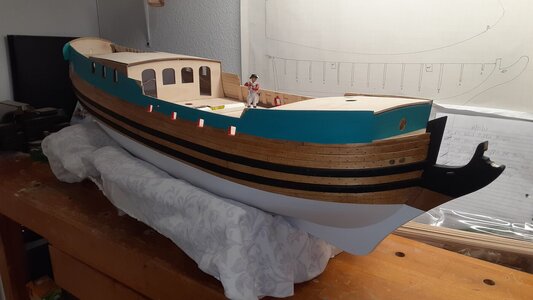
Here's some photos of the paint process so far. I stopped short the Blue (Peacock Teal) on the Bulwarks because I wanted a little more surface area for the Chain Plate Channels & the decorative Carving strip to have more of a non-painted surface area for the glue to have a better bonding surface area. I purposely did not fine sand the Outer Bulwarks because a rougher surface will allow a better mating surface for the Carvings to be attached to since I am attaching to a painted surface. The Deck House Top & Forecastle Deck are just sitting there for a visual appearance. My 1:30 scale British Sentry Guard is on Duty, LOL. After some final touch ups and another coat of sealer on the entire Hull surface, I will be moving on with some interior Day Cabin work to complete before I start on the Aft Deck Water Ways, Aft Deck Planking, Midships Waterways & Rudder Attachment and then I will mount the Hull to the base. I want to complete as much as possible before the Hull is attached to the Base. It will become more clear to everyone as I progress & download pictures as to my sequence & madness, hehehehehehehee


Hello Lou,Looks great Rick, I noticed on the last page it looks like you have a chuck on your Proxxon mill? Which one is it and where did you get it? I would like to get one for my IBS/E… and maybe one day an MF70….
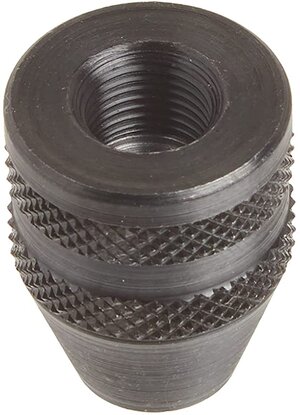
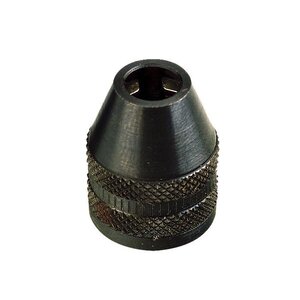
Yes, I have a Proxxon Three-Jaw Steel Drill Chuck that I use on my MF70. It is so nice!! Unless I am doing some super precise milling or something that requires a high speed attachment, I always use this Chuck-much easier & faster changing out bits. I got the Proxxon Three-Jaw Steel Drill Chuck directly from Proxxon. The Part# is NO 28 941. Here is a Link-- https://proxxon-us-shop.com/products/micromot-3-jaw-keyless-chuck Amazon also list it but was out of stock when I needed one plus it was actually cheaper through Proxxon!!!!!
Best wishes -Rick
Attachments
Thanks Mate!!!HAPPY BIRTHDAY
I saw that but it says it won’t fit the IBS/E rotary tool, but it also says it won’t fit the MF-70 either and it obviously does…. Think I’ll order it and see what happens, thanks for the info and link!!Hello Lou,
Yes, I have a Proxxon Three-Jaw Steel Drill Chuck that I use on my MF70. It is so nice!! Unless I am doing some super precise milling or something that requires a high speed attachment, I always use this Chuck-much easier & faster changing out bits. I got the Proxxon Three-Jaw Steel Drill Chuck directly from Proxxon. The Part# is NO 28 941. Here is a Link-- https://proxxon-us-shop.com/products/micromot-3-jaw-keyless-chuck Amazon also list it but was out of stock when I needed one plus it was actually cheaper through Proxxon!!!!!
Best wishes -Rick
Hello & thank you for the kind words. The Blue color I am using is called Peacock TealThat is incredibly neat painting Rick - you have done a marvelous job! What is that stunning Blue color called?
WIP-
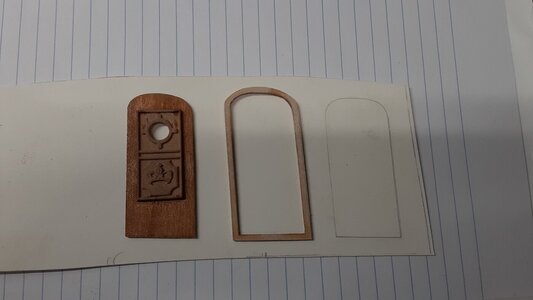
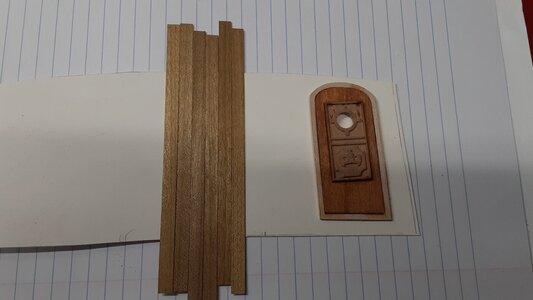
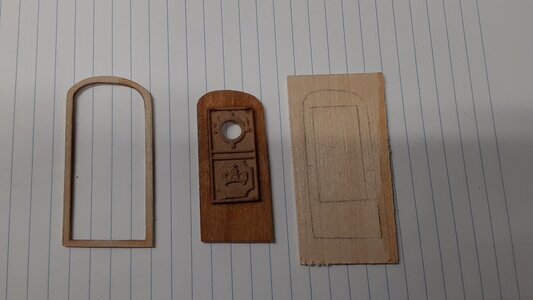
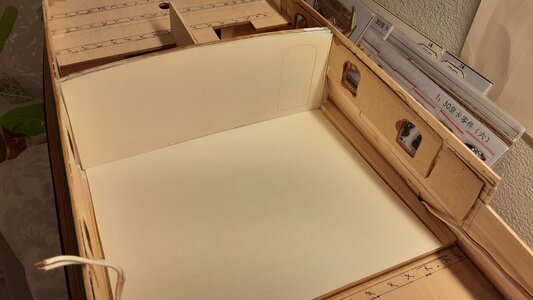
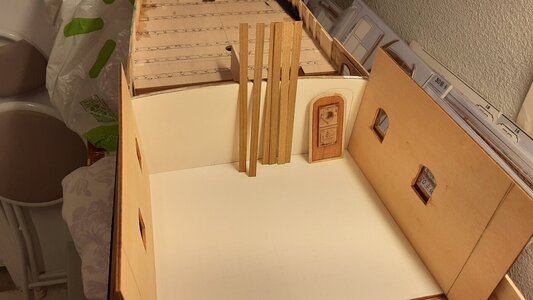
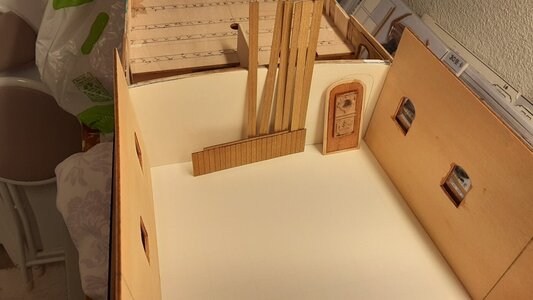
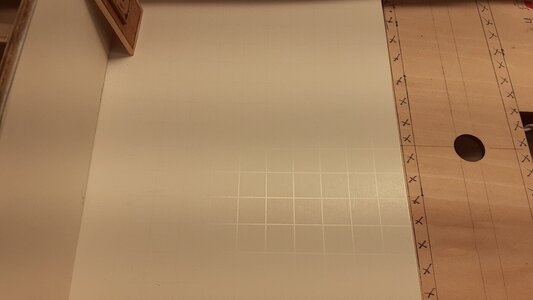
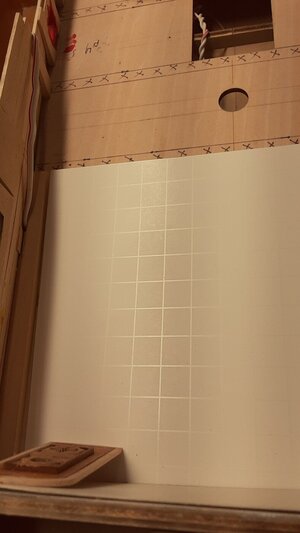
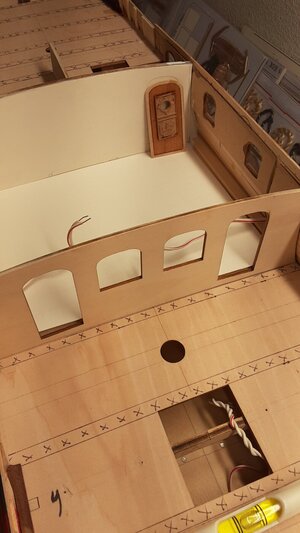
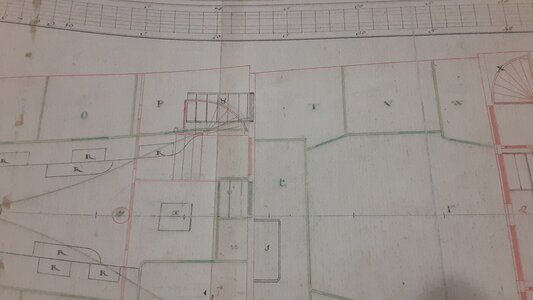
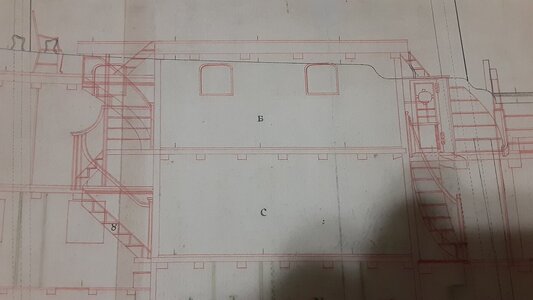
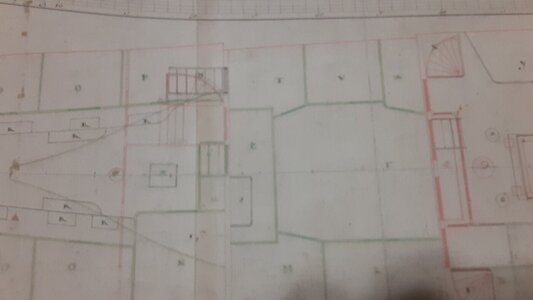
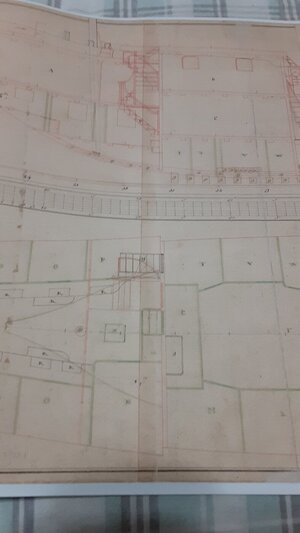
Hello everyone, just working on "His Majesty's Lodging Room" which Later on - circa 1810, was referred to as the "Day Cabin". I am roughing in the Inside Bulkhead wall first. Based on the Greenwich Plans, there was only the Inner Port side Door on the Interior that led to Below Deck. One would have to go below Deck and navigate to the Starboard side to gain access to the Aft Upper Deck. Based on my reading & research, this was actually done on purpose in order to provide Security & Privacy for the King/Queen & members of the Royal Family. The Kit supplied door is not correct in size & shape. The "Day Cabin" door was speculated (no actual plans or drawings) to be of the same size & dimensions as the two Cabin Entrance Doors because of all things, it was written, due to the Kings "Healthy" Girth that the door need to be made of "easily accessible size", LOL.
If you look carefully at the cardboard piece for the floor, you will see the 1/2" squares pre-marked & outlined. I am not going to be using the kit supplied wood pieces. My research has shown that on almost all British Ships in HMS Service "Day Cabins" from approx. 1670 - 1890, the flooring was usually the standard Black & White checker Board appearance that was used. I believe this was most likely the case for the Royal Caroline as well considering this was the common meeting area that was used by the Captain/Officers with the King. The kit has you cut & glue Dark Walnut & Light Beech Wood Pieces??? I am using .5mm cardboard stock that I have traced out to the shape of the Bulkhead Wall & Floor. I will be gluing the Door & Bulkhead Vertical wood planks to the board & then I will glue that to the Bulkhead. As far as the Floor, I will post a separate section showing the process & materials used.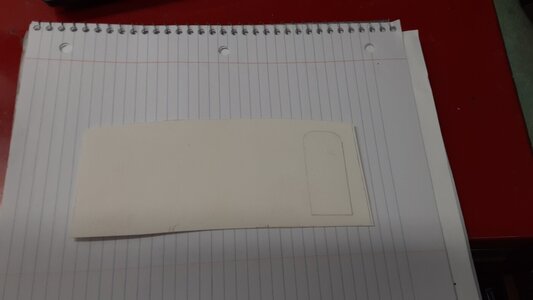


Last edited by a moderator:
Hi Rick,
Be aware that the door you are using above is not the door to be used here.
The door you show is the door for the two outside staircases to the lower deck.
If you are using that for the inner cabin you have one short for the outside.
You are right the cabin doors supplied are the wrong size, I have made all these inner doors myself.


