Very good work on the deck planking and treenailing - Bravo 

 |
As a way to introduce our brass coins to the community, we will raffle off a free coin during the month of August. Follow link ABOVE for instructions for entering. |
 |
 |
The beloved Ships in Scale Magazine is back and charting a new course for 2026! Discover new skills, new techniques, and new inspirations in every issue. NOTE THAT OUR FIRST ISSUE WILL BE JAN/FEB 2026 |
 |

Thank youbeautiful work indeed
Thank youVery good work on the deck planking and treenailing - Bravo
Thanks MaartenGreat progress. The slight difference in colour of the deck planks looks great.
Hello Uwek,I fully agree with Paul - very good appearance of the deck planking
Only one small comment to the nailing. I think you missed some nails, especially on every second plank ending at the deck opening.
I have marked the place with red dotts where I think a nail should be added
View attachment 310257 View attachment 310258
Thank you for the kind words my man!WOW! That is one BEAUTIFUL deck!
Thank you for the kind words my friend!!!Beautiful deck Rick!
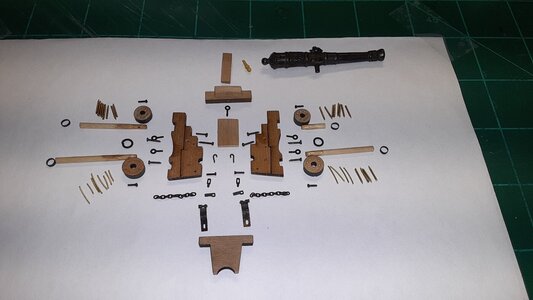
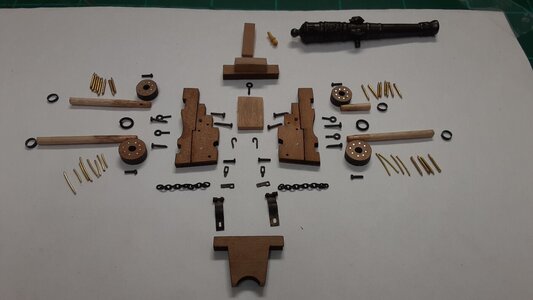
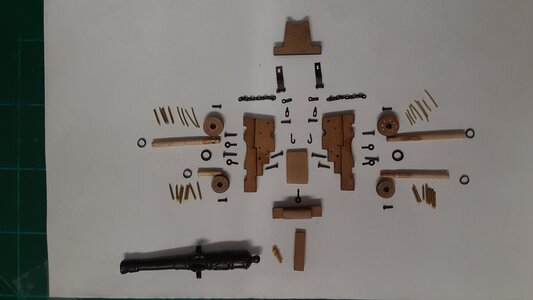
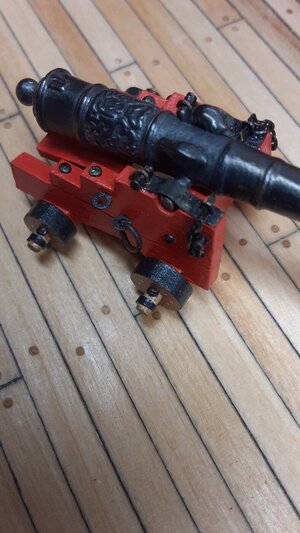
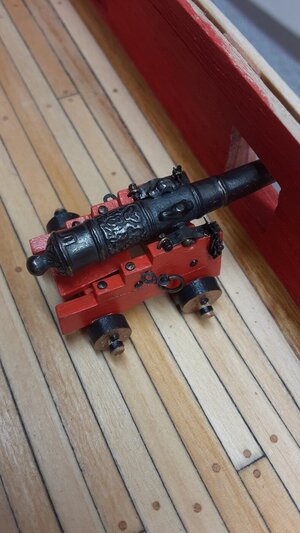
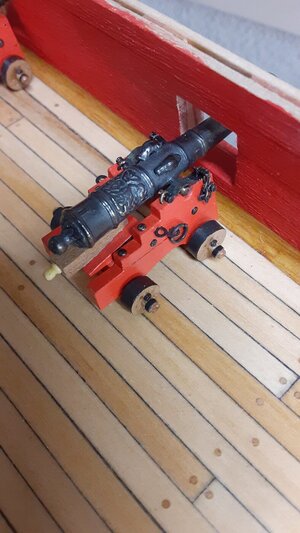
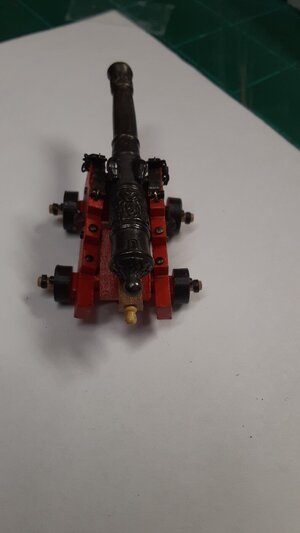
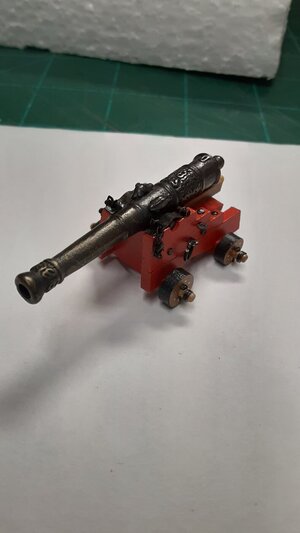
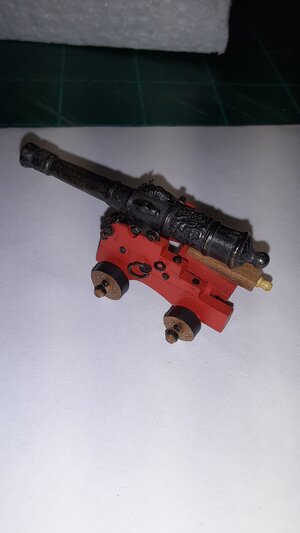
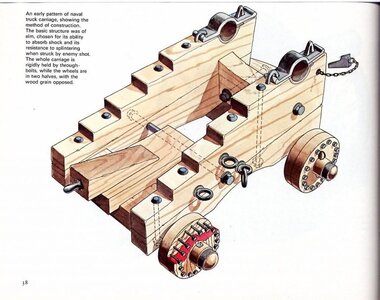
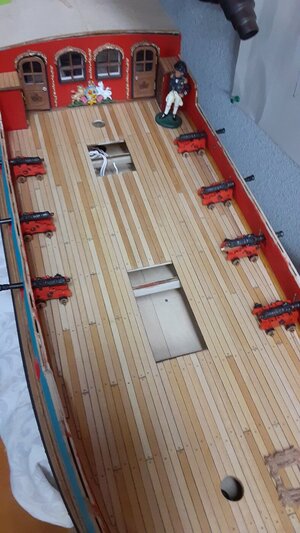
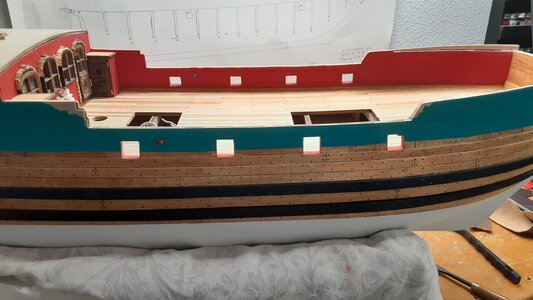
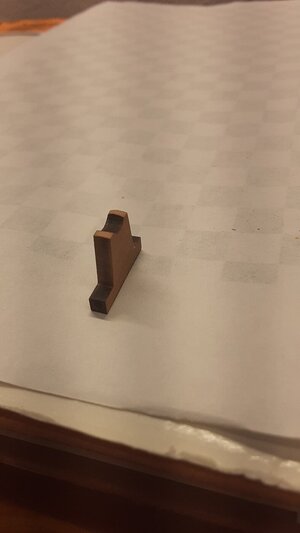
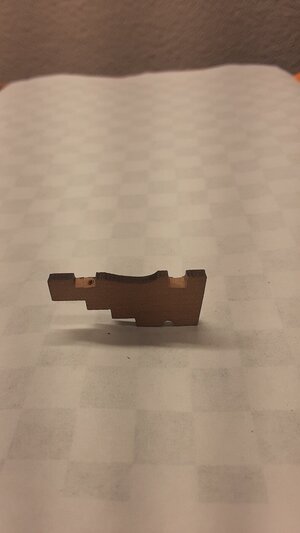
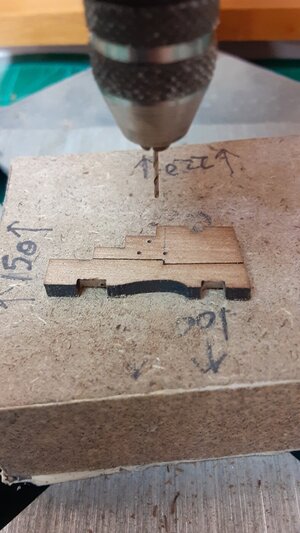
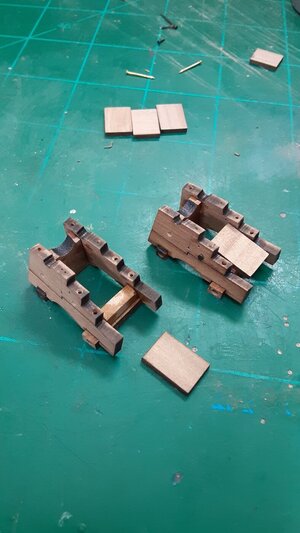
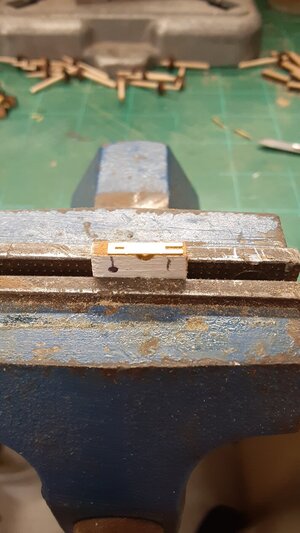
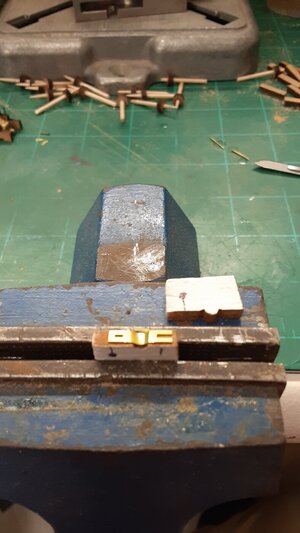
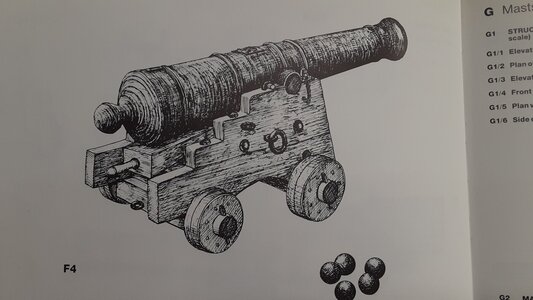
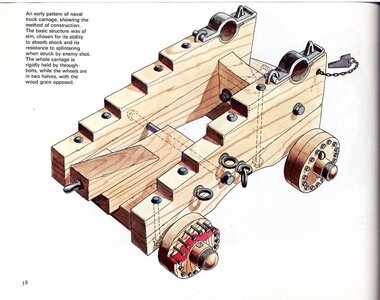
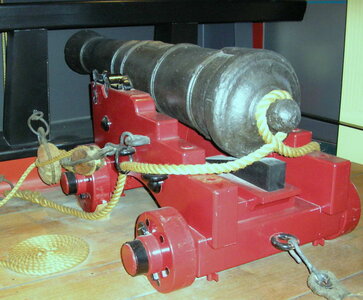
Brilliant Rich. Thanks for the step by step guide to cannon making. Your deck is "simply the best".. Cheers GrantHopefully this may help future builders of this kit---
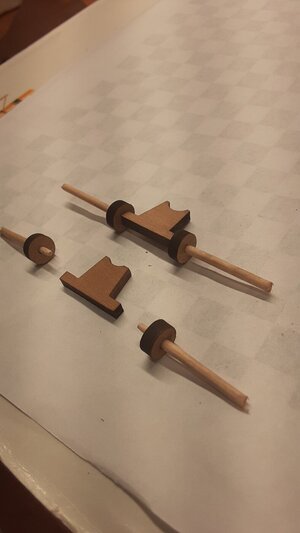
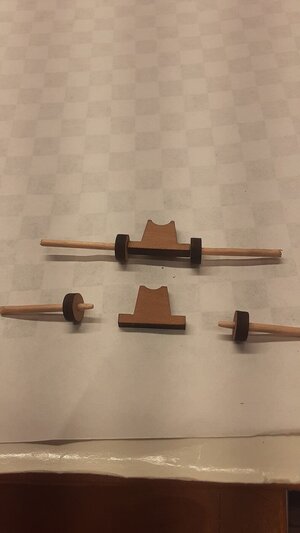
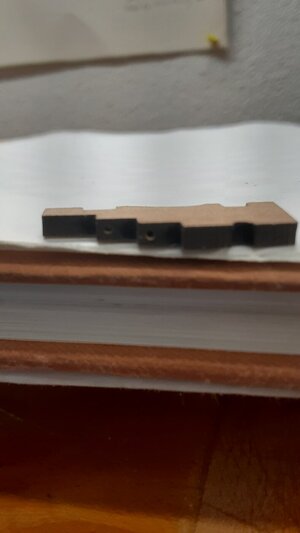
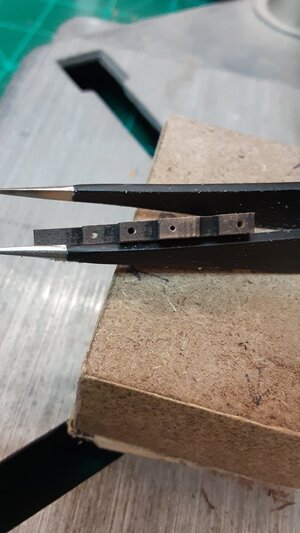
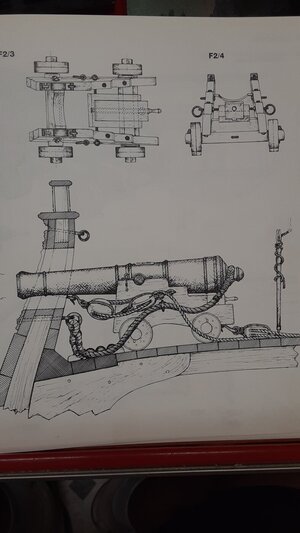
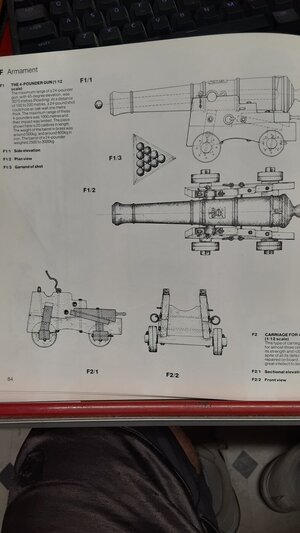
1. The kit provides the pre-shaped Laser Canon sides that have 3 small holes pre-marked (Instructions #1152). Before any assembly, Drill out the 3 holes for the 2 photo etch Gun Tackle eyelets and the 1 simulated Carriage Bolt on each half. You MUST slightly taper the Front & Rear Axel Openings so that the Angle matches up to the Front Axel Tree & the Rear Axel Tree Pieces or you will have a gap showing.
2. I would highly recommend pre drilling all Holes on the top side of the halves for the 2 simulated Carriage Bolts and the holes for the Trunnion Pin and Cap Square.
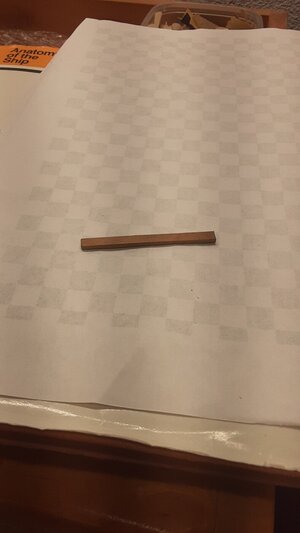
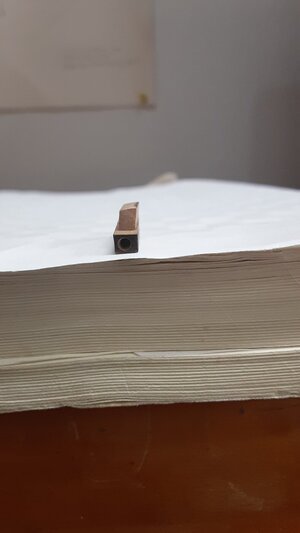
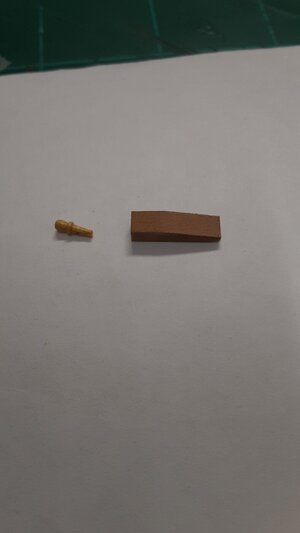
3. The kit supplies a single piece of wood 4mm x 3mm x 45mm for the Cannons. This piece is meant to be cut into 3 pieces per cannon and used for the Rear Axel, Rear Axel Tapered Center Piece and the Quoin. The Rear Axel is 19mm long and the axels Tapered center section is 11mm long. The remaining piece left over is approx. 19mm for the Quoin.
4. I Highly Recommend you pre drill the 4 Axel Holes in the Front & Rear Axel Trees before any assembly begins.
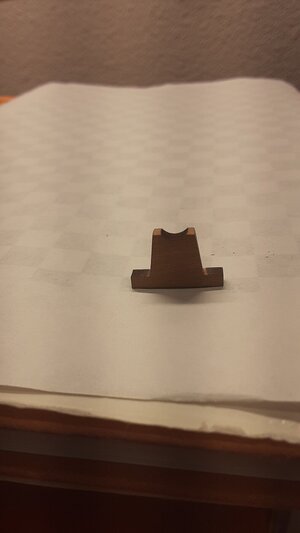
5. After Installing the Rear Tapered Piece onto the Rear Axel Tree between the two Halves, File the Top Edge at a Slight Angle so that the 12mm X 9mm Quoin support board is at the correct angle per the drawings.
6. A picture showing a simple Jig in use for the Trunnion Clamp.
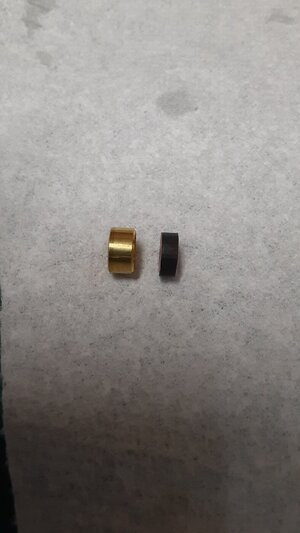
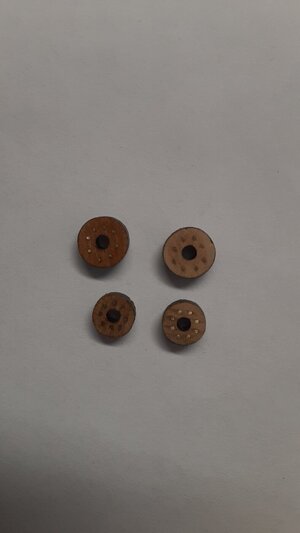
7. Technically, there where NO Brass sleeves used on a Ships Cannon wheel of this time period that went over the Wooden wheels-Any I am aware of that is????? As the photo shows, the Brass sleeves provided in the Kit were WAY TO BIG anyway. I painted the outer wheel a Wrought Iron Black color.
8. I used a different scale Pin for the Quoin. The kit provided Pins are way over scaled for this application.
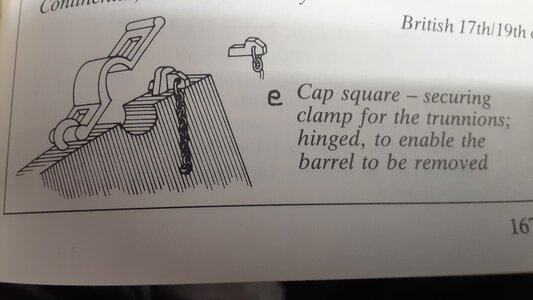
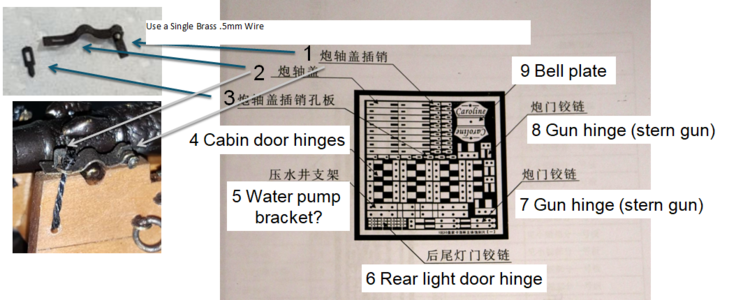
9. I believe the Kit manufacture got it wrong on the application of the photo etched Parts that are to be used for Cap Square & Trunnion. I made a Half Loop Hinge End out of a piece of wire and Part#1 on the Photo Etch sheet appears to be the Securing Clamp & Pin Assembly. I had some small scale chain I blackened & used for attachment of the Clamp.
I will be adding more Pics & Information soon on this matter.
View attachment 315866
View attachment 315867
View attachment 315869
View attachment 315870
View attachment 315871
View attachment 315872
View attachment 315873
View attachment 315874
View attachment 315875
View attachment 315876
View attachment 315878
View attachment 315879
View attachment 315880
View attachment 315881
View attachment 315883
View attachment 315884
View attachment 315885
View attachment 315886
View attachment 315887
View attachment 315888
View attachment 315889
View attachment 315890
View attachment 315891
View attachment 315898
Thank you for the kind words my friendBrilliant work on that cannon and carriage Rick! I can only look on in awe.
Thanks for the kind words my friend!!!Brilliant Rich. Thanks for the step by step guide to cannon making. Your deck is "simply the best".. Cheers Grant
