Dave, extremely well executed, and great craftsmanship!
-

Win a Free Custom Engraved Brass Coin!!!
As a way to introduce our brass coins to the community, we will raffle off a free coin during the month of August. Follow link ABOVE for instructions for entering.
-

PRE-ORDER SHIPS IN SCALE TODAY!
The beloved Ships in Scale Magazine is back and charting a new course for 2026!
Discover new skills, new techniques, and new inspirations in every issue.
NOTE THAT OUR FIRST ISSUE WILL BE JAN/FEB 2026
You are using an out of date browser. It may not display this or other websites correctly.
You should upgrade or use an alternative browser.
You should upgrade or use an alternative browser.
17th Century Battle Station - HMS Mordaunt, 1:32 - DocBlake
G'day Dave
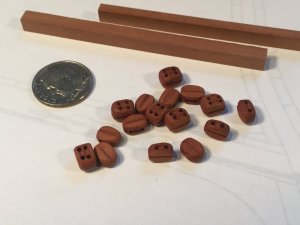
Just brilliant workmanship on the blocks. Thanks for the idea about the boiled linseed oil.
Even though how much experience that you have in this hobbie, you can always learn a new trick from a fellow sibling.
Just brilliant workmanship on the blocks. Thanks for the idea about the boiled linseed oil.
Even though how much experience that you have in this hobbie, you can always learn a new trick from a fellow sibling.
Outstanding Dave, the color is amazing. I love that your keeping everything from Scratch
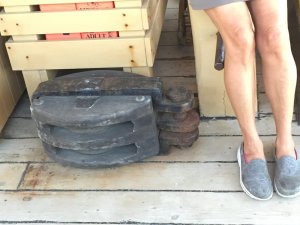
Great appearance of the blocks, which are in reality extremely dark, sometimes more or less black - Looking very good
Hi Dave.
Looked through this and a few of your other similar models of battle stations and ship sections.
I love the concept and extra detail you get a larger scale model brings without the time lines of a big project.
Thinking of having a go at one myself prior to a bigger build and got to thinking at this scale how feasible it would be to show the caulking of the deck in particular as caulking rather than planks effectively butt jointed together with a line of some description to represent the caulking. Maybe the steamed as well.
Wondered if you or anyone else reading this has any thoughts or experience of trying this for a small scale battle station model. Materials used etc.
After all it can't be anymore faff at this scale than rigging for a dozen or so planks. Can it ??
Thoughts would be welcome on your experience.
Regards
Noel
Thanks, guys!
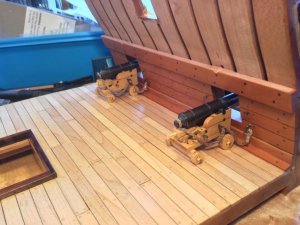
Noel: I enjoy the larger scales for the opportunity to add more detail. In this "kit" we used laser char to simulate the caulking between planks, and drew in the treenails with laser etching of the surface. the point was to add precision and simplify the build. You can certainly simulate caulking in other ways. I generally use an acrylic paint pen to blacken the edges of planks. Treenails are usually toothpicks glued into appropriate sized holes, cut off and sanded flush. Here is the decking on my 1/12 scale cannon done that way:
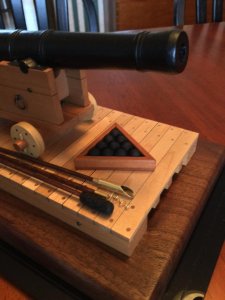
Noel: I enjoy the larger scales for the opportunity to add more detail. In this "kit" we used laser char to simulate the caulking between planks, and drew in the treenails with laser etching of the surface. the point was to add precision and simplify the build. You can certainly simulate caulking in other ways. I generally use an acrylic paint pen to blacken the edges of planks. Treenails are usually toothpicks glued into appropriate sized holes, cut off and sanded flush. Here is the decking on my 1/12 scale cannon done that way:

Hi Dave
Thanks for coming back to me.
I get that you have used laser Charing in this instance to simulate caulking, I also understand regarding the other ways we do it such as black paper, pencil lead etc.
I am sorry if I did not phrase my question and point correctly.
I was thinking at 1/24, 1/12 scales even possibly 1/36 how feasible it would be to use a cotton, thread or other similar material and actually try and force/ build this into a given planking gap so it is shown as been done this way on an end elevation. Thus simulating the real construction which is our aim.
The gap depending on the scale could be up to around 0.5 to 1mm so feasible.
I have not seen anyone look at this point in larger scale battle stations or sectional models and was wondering with your experience of you had tried or thought about it.
Just seems odd that as builders we would use threads this small in rigging to get maximum authenticity, but don't worry about it here. Possibly for good reason but sometimes you need to ask the question
In a full model I could understand this, but a sectional showing construction is different.
Regards
Noel
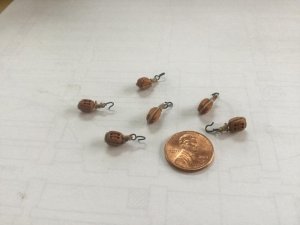
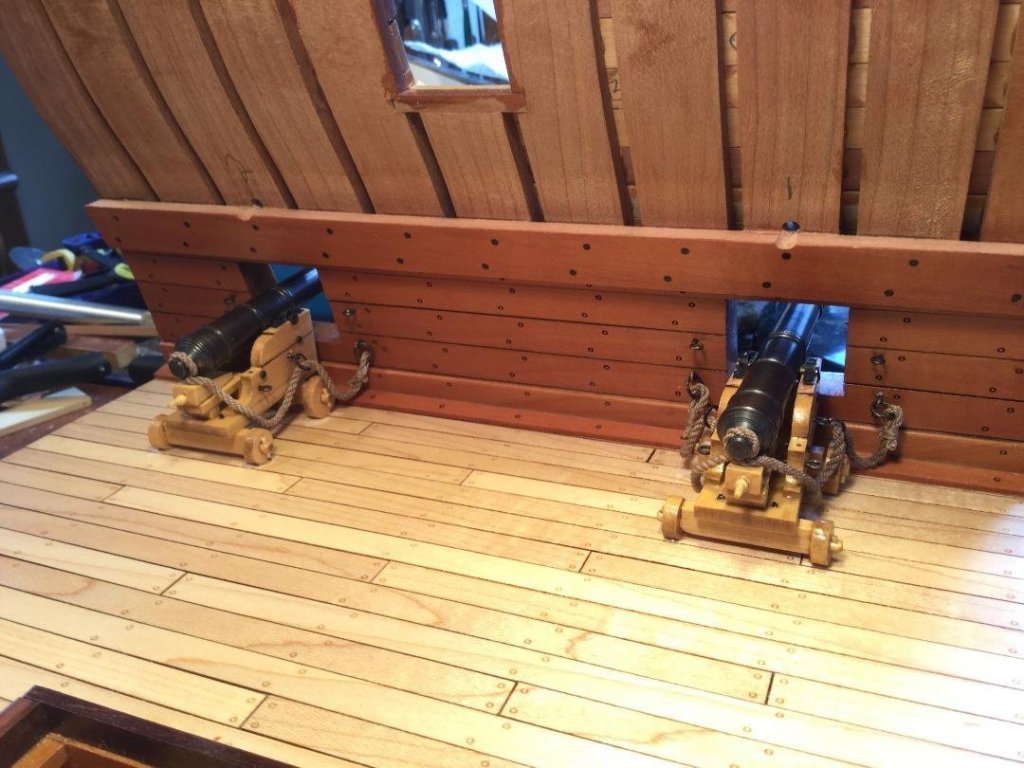
I thought it was time to get back to this build and finish it. Next up is to mount the guns on the lower deck. I drilled holes in the gun carriages and the deck and glued brass rad into place to pin the guns to the deck. Next was rigging. I started by attaching hooks to the 6 double blocks for the carriage tackles.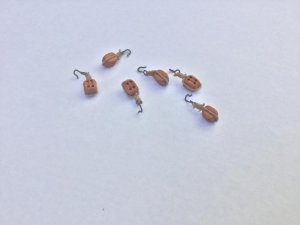
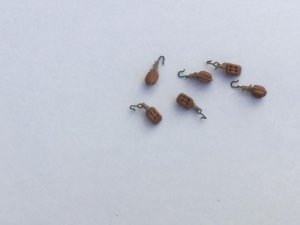


Excellent blocks, Dave. How small they are? Can you put penny next to it so we can see actual size! I can imagine they are pretty small...
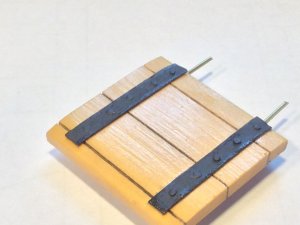
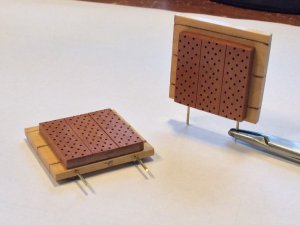
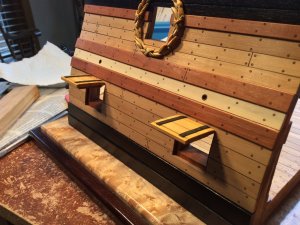
I turned my attention to the gun port lids. These are made in two parts: the outer layer duplicates the outboard bulwark planking and is boxwood. The inner layer is made of 3 vertically aligned boards and made of swiss pear. The nail holes were laser etched into the inner layer. The hull is curved, but the parts for the lids aren't, so it was necessary to sand a curve into the outer layer. The original plan was to have operating gun port lids, and Don came up with some made of brass rod and sheet brass. Unfortunately I broke two of them while prepping for blackening. Sorry, Don!  The port lids will be vulnerable when glued in place, and I am obviously a klutz, so I figured I better make stronger, permanent and non-working lids. The hinge straps are cardstock with small yellow nails painted black. The "pins" holding the lids in place are .032" (21 gauge) brass rod. Solid. The hinge mechanism will be brass rod also. The eyebolts for the lid control lines has yet to be placed.
to be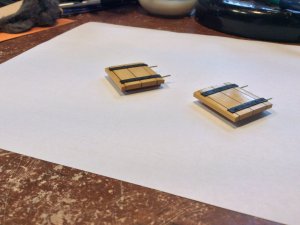
to be


Hallo Dave, I am very happy, that you working on this model in order to finish it - Looking forward to see it step by step finished.
At the end I hope that we have three finished battle-stations once in our forum
At the end I hope that we have three finished battle-stations once in our forum
Thanks, Uwe. I know that Don will get to his battle station after he finishes the galley. Hopefully Mike will start again soon also.
Thanks, Mike! It's good to have you back!
- Joined
- Jun 19, 2013
- Messages
- 968
- Points
- 393

Nice clean work.
Rob
Rob
Thanks, all!


