Thank you Grant!Good morning Rob. Well done on the planking. It is always a difficult plank that garboard and your redo was well worth it. Cheers Grant
-

Win a Free Custom Engraved Brass Coin!!!
As a way to introduce our brass coins to the community, we will raffle off a free coin during the month of August. Follow link ABOVE for instructions for entering.
-

PRE-ORDER SHIPS IN SCALE TODAY!
The beloved Ships in Scale Magazine is back and charting a new course for 2026!
Discover new skills, new techniques, and new inspirations in every issue.
NOTE THAT OUR FIRST ISSUE WILL BE JAN/FEB 2026
You are using an out of date browser. It may not display this or other websites correctly.
You should upgrade or use an alternative browser.
You should upgrade or use an alternative browser.
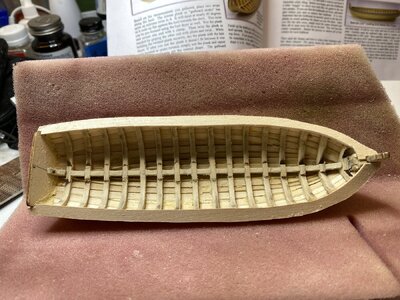
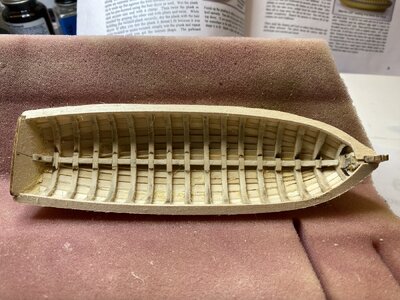
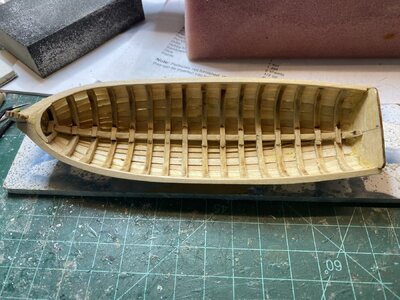
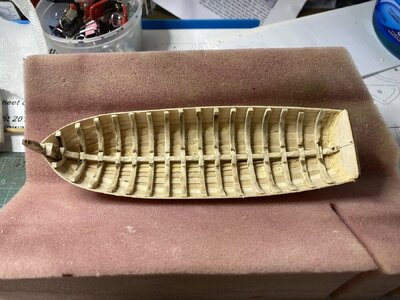
Thinning down the frames with a rotary tool's disk drum goes extremely fast. You got to take it slowly (slower than I did) as the drum sander will easily gouge the wood. The soft wood sands away like it was butter. Here is what it looks like after. I will be sanding the frames by hand further to smooth them out. It is very difficult to do this as the inside of the boat is less than 6 inches long.

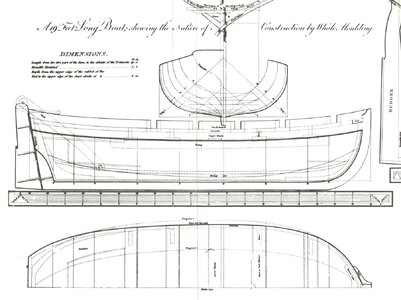
After cleaning up the interior frames, the next step is tp put on the cap rails. The instructions would have you turn the boat over a 1/32 inch sheet of wood and copy around it, but I was not comfortable with that. Instead I copied the plans showing the cap rails and cut the copy of the cap rails out.
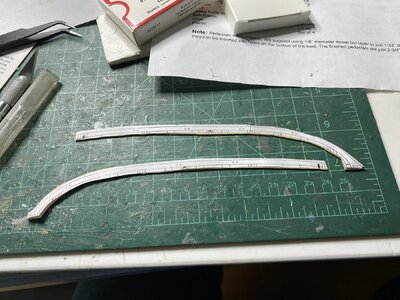
Using rubber cement I attached the paper to the wood,
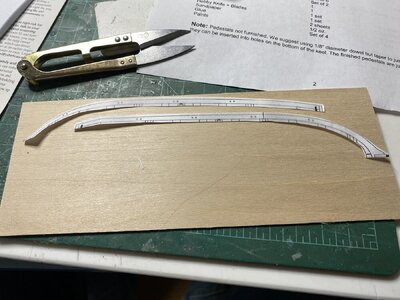
Using a new #11 blade, I carefully traced around the outline making sure I did not go into the cap rail cutout.
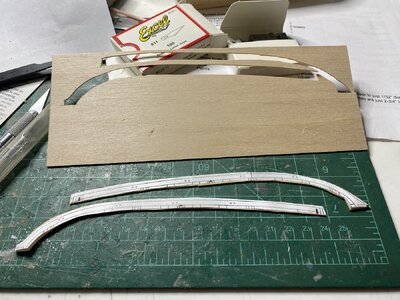
I made sure the outline was wider than the actual cap rail, as per the instructions.
I test fitted the cap rails.
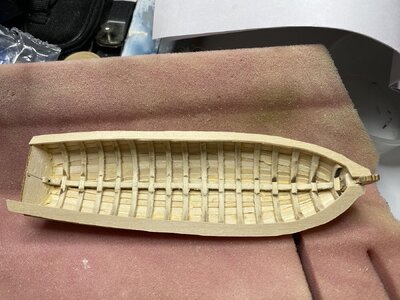

Using rubber cement I attached the paper to the wood,

Using a new #11 blade, I carefully traced around the outline making sure I did not go into the cap rail cutout.

I made sure the outline was wider than the actual cap rail, as per the instructions.
I test fitted the cap rails.

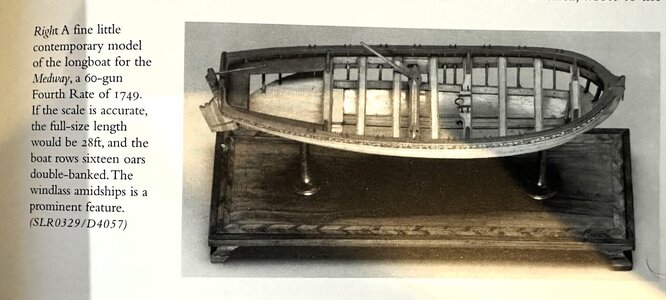
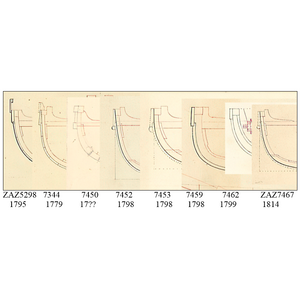
I realize it probably terminology but longboats did not have cap rails but rather they did have gunwales. In general they would be thick enough to support the thole pins. From scantlings given by W.E. May, for a long boat of the late 18th century, 32 foot longboat gunwales were about 3.5" wide by 4 inches thick. A 30 footer would have gunwales about 3.5X3.75" At 1:48 these would be more than double the 1/32" thickness. If they were as thin as 1/32 (about 1.5" full scale) there would not be enough wood to support the tholes very well. As with most things in those days there were variations and exceptions. The 8 contemporary drawings below which can be found on the RMG Collections site may be of interest.

I wish I had your gentleman's expertise! I am just following the building instruction and terminology. There seems to have been many variants of this boat.
Time and lots of reading. There are a lot of books with this kind of information, including contemporary works that can be found free on line such as works by David Steel, Mungo Murry and others. The Vade Mecum by Steel has an explanation of terms starting on page 81. Gunwale, for example is defined as a horizontal plank which covers the heads of the timbers. https://modelshipbuilder.com/publications/pd/PD_vade-mecum_steel.pdf He gives no term called a cap rail which MAY be a more modern term that most of us have seen and used at times. It seems to be pretty much the same thing in my mind, but if you are looking for dimensional information, cap rails does not seem to work. Does anyone know where a download is available of the drawing in the Vade Mecum. The one in the site I show is a folded sheet. Thanks in advance.I wish I had your gentleman's expertise!
Allan
Ditto. It is always fascinating to learn from these guys. For me it is a fun hobby and I don’t get much reading time. I think SOS is probably the space where I have learned the most. Cheers GrantI wish I had your gentleman's expertise! I am just following the building instruction and terminology. There seems to have been many variants of this boat.
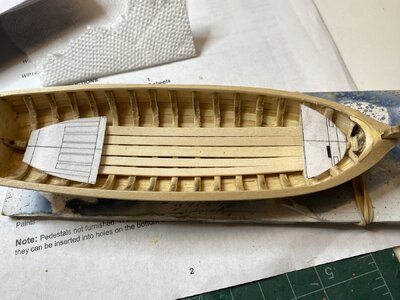
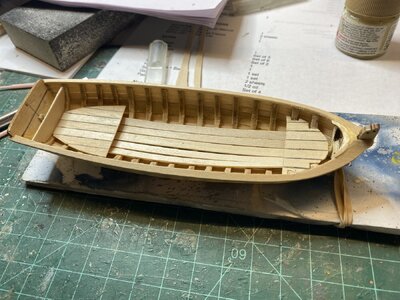
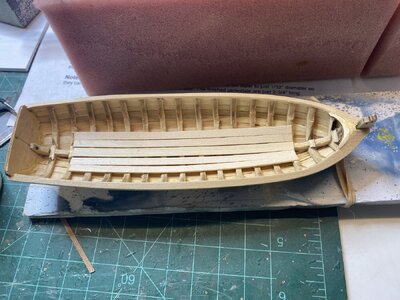
The next ting I did is install the floor boards. The center floorboard is slightly wider than the other 4 so you have to take care. The boards did not fit as flatly as I thought they should so I had to carve more out of the frames until I was happy. The floorboards then went in fairly easily. The ends were not quite as even as I wanted them to be, but they will be covered by platforms so no one will notice.

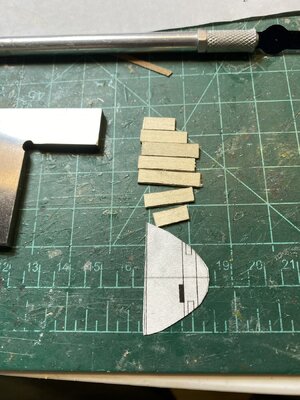
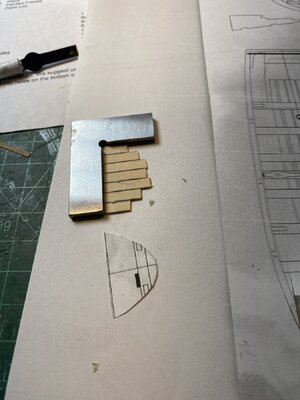
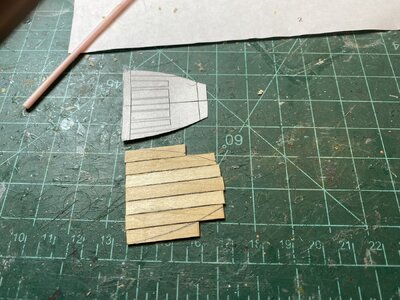
There is supposed to be a small locker where frame # 7 is located at the stern. The instructions suggested you use some card stock to form a template, but instead I copied the #7 bulkhead from the plans and trimmed it until I was happy with the fit. I used rubber contact cement to adhere it to some 1/32 scrap to cut it out.
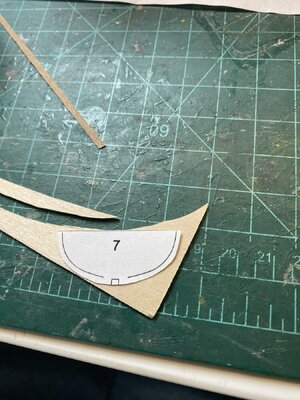
it is a bit larger than I want but I will sand it to fit.

it is a bit larger than I want but I will sand it to fit.
Very nice work Rob, your longboat is looking great.
Thank you for your kind wordsVery nice work Rob, your longboat is looking great.
Last edited:


