18th Century Longboat Model Expo 1:48

Very nice build Rob!
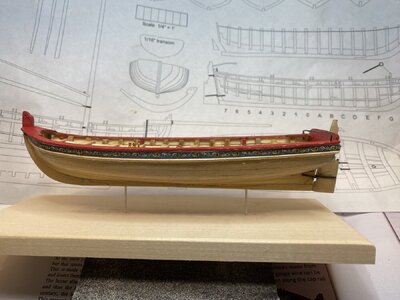
As you have not yet rigged the boom sheet, this might be an interesting point for discussion The instructions show the tiller over the horse. This configuration seems to have been taken from the famous Medway model at RMG which is an understandable thing to do. But it brings up the question of how the sheet block would move from one side to the other when the boat is being tacked without interfering with the tiller? Other than having the horse higher and the tiller passing under it I cannot think of a solution. Hope someone here does.
Allan
I agree with you 100%. This very problem is mentioned in the building instructions.

" Up to the mid-18thcentury, the horse was positioned as shown on the model.This presented a problem while sailing, as the tiller would getin the way. It wouldn’t allow the block to slide effortlessly from one side to the other.

To remedy this, during the second half of the 18th century,they started making the horse so it actually spanned over the tiller. You may opt to do so as well. But since this model is inspired by several contemporary longboat models in the NMM, it was created as shown on those models. These contemporary models represent the horse prior to the improvement being made."

I have no idea why they did this or why it took so long to figure out how to cure it by just making the horse taller than the tiller. It indeed would be of interest if anyone has the answer!
 
Last edited:
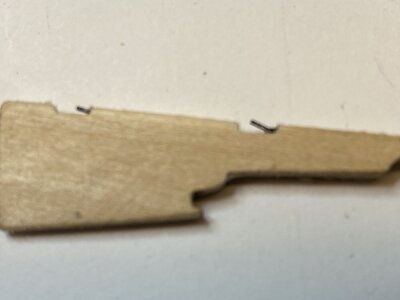
Now working on the rudder. The rudder was tapered and the forward edge rounded. Instead of uing the brass strip to hold the pins that comprise part of the pintles that fit into the gudgeons, I decided to drill a small hole into the notches on the rudder. The small pins made from 28 gage wire were glued into place using UV setting glue.

IMG_8799.jpeg


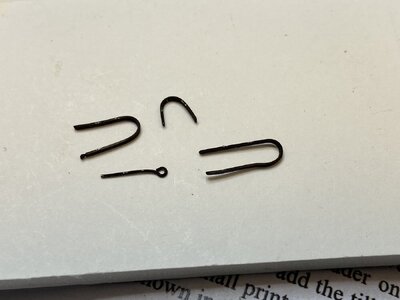
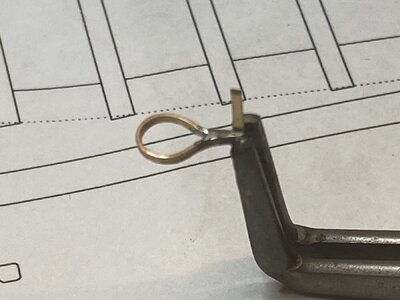
The rest of the pintles and grudgeons were shaped with the brass strapping and an eye bolt and was blacked using brass black.

IMG_8800.jpeg
 
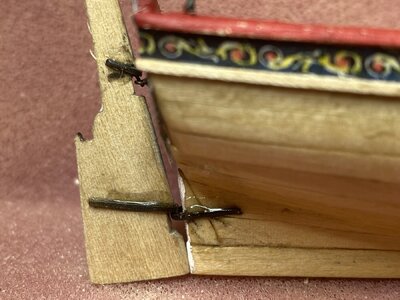
The "ironworks" were attached to the rudder and boat using UV setting glue. Since the pintles are so small you have to be very careful about adjusting the height of the eye bolt and grudgeon before you attach them to the boat. I have heard of one fellow who mis-measured and had to drill another hole and move the eye bolt

:rolleyes:


IMG_8805.jpeg
 
UV cured glue sounds interesting. I know the crowns I have from my dentist are attached with UV setting glue and last forever, but I never thought of this for metal to wood on a model. Can this be sanded or otherwise be cleaned up without difficulty? I have tried to stay with epoxy but would welcome an alternative.
Thanks
Allan
I find UV setting gel an interesting alternative to CA. The advantage of it is that it is not sticky at all and will not set until you use a UV light. It then sets instantly. You can try it cheaply by getting a Bondic set. It can be sanded and wipes away cleanly before you set it.


For almost the same amount of money you can get a UV flashlight and several hundred grams of UV cement.


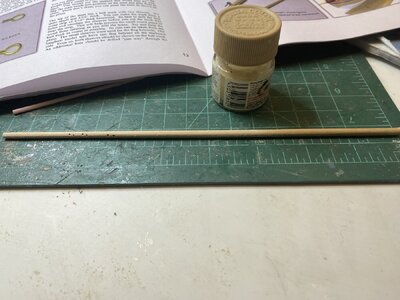
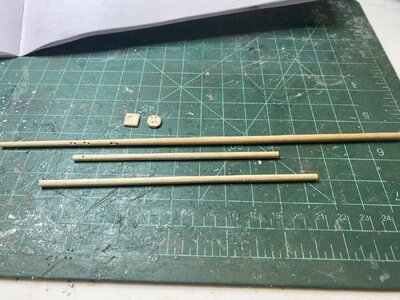
Now Starting to work on the mast, bowprit and boom. The mast is cut from 5/32" dowel and the bowsprit and boom from 1/8" dowel. After cutting to length, the mast had holes drilled into it to make sheaves. I started with a very small drill then enlarged the hole with bigger bits. I did this now before tapering the mast as to help prevent the wood from splitting.

IMG_8824.jpeg
 
I was hesitant to use a drill to taper the mast and bowsprit, so I went to a more labor intensive route and used sandpaper as I turn the dowel. It works but it is slow but I feel I have better control. The picture shows the Mast and bowsprit being tapered but the boom piece not yet done. the ball tuck for the top of the mast and the mast step were also shaped from spare 1/16" wood.

IMG_8826.jpeg
 
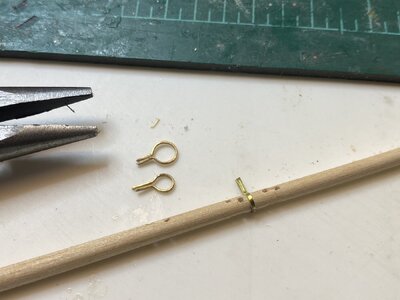
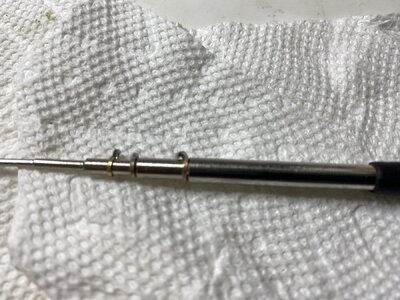
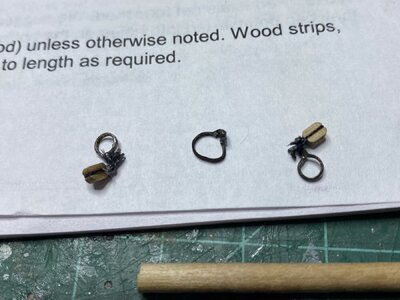
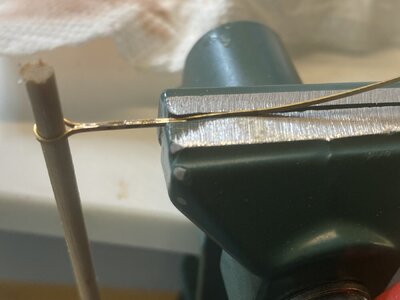
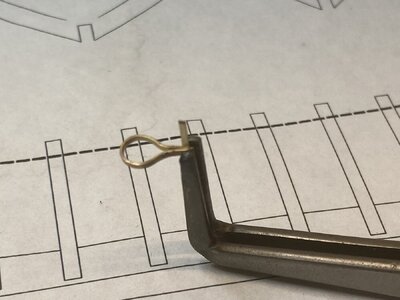
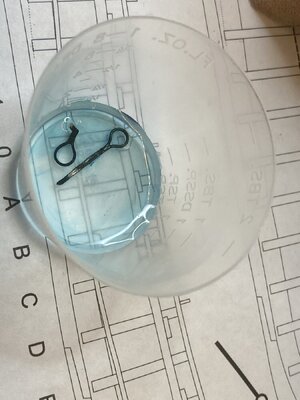
I used silver solder to hold the bands together. I tried without success to drill the small holes asked for. Instead I bent the stems with needle nose pliers into circles. I was afraid the bending would distort the hoops so I used a metal mandrill I have to hold the shape of the hoop.

IMG_8697.jpeg
I then used brass black to darken the pieces.

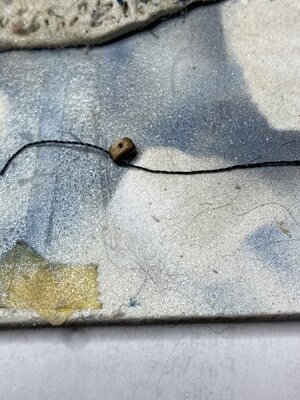
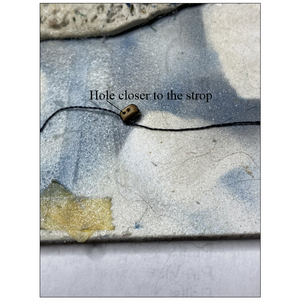
I next had to seize 1/8" blocks onto the 2 smaller hoops. I found manipulating the blocks and thread with only 2 hands difficult. I remembered I had a piece of foam core that I used as a background when I put the 3M adhesive onto the paper friezes. It was still lightly sticky and perfect to hold the blocks on while I tied on a loop of thread.

IMG_8698.jpeg
 
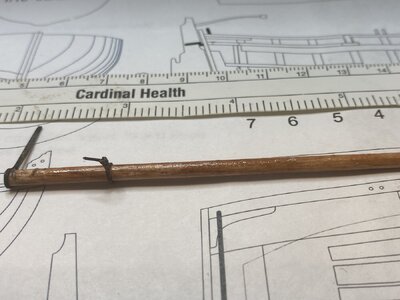
I stained the Mast, bowsprit boom and jib minwax cherry color to differentiate it from the rest of the boat. While doing that I shaped the ironwork for the bowsprit using the supplied brass strip that I annealed.

IMG_8705.jpegIMG_8706.jpeg


Once I liked how they looked they were silver soldered

IMG_8708.jpeg


They were then blacked with brass black.

IMG_8715.jpeg

And fitted to the bowsprit.

IMG_8716.jpeg
 
Your model and your attention to detail is tops. One question, is the block upside down? It looks like the line that would go through the hole as you show it would not go over the sheave and under the crown but rather rub against the tail. I added a hole to the block in the photo to give a clearer idea of my question.
Allan
Upside down block CCC.PNG
 
I stained the Mast, bowsprit boom and jib minwax cherry color to differentiate it from the rest of the boat. While doing that I shaped the ironwork for the bowsprit using the supplied brass strip that I annealed.

View attachment 457283View attachment 457285


Once I liked how they looked they were silver soldered

View attachment 457286


They were then blacked with brass black.

View attachment 457295

And fitted to the bowsprit.

View attachment 457296
Good morning Rob. I love the detail you are adding into this model. That is very good soldering. Cheers Grant
 
Your model and your attention to detail is tops. One question, is the block upside down? It looks like the line that would go through the hole as you show it would not go over the sheave and under the crown but rather rub against the tail. I added a hole to the block in the photo to give a clearer idea of my question.
Allan
View attachment 457382
Allan, I see what you are saying and I believe you are correct! I will certainly be more aware in the future! Thanks!
 
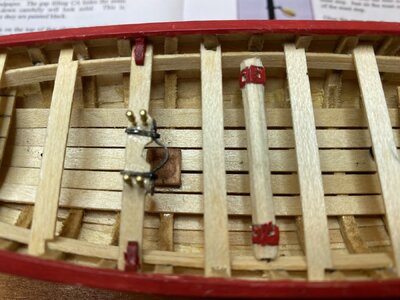
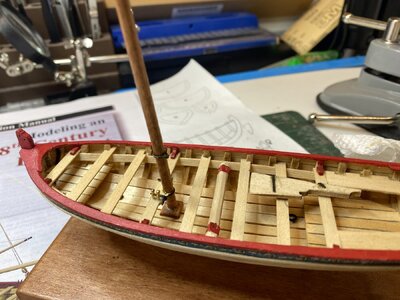
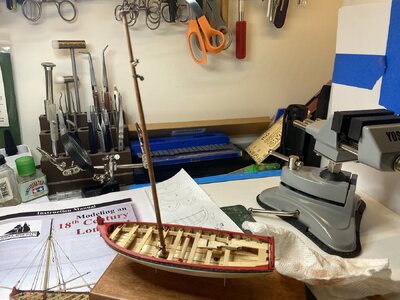
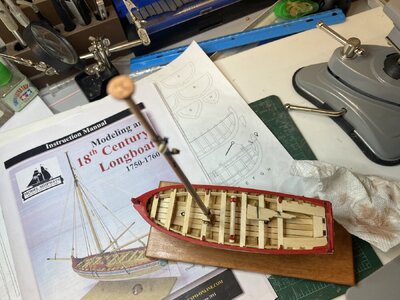
I placed the "ironworks" where the boom attaches and the two blocks and glued them into place. Exactly where the blocks go was not clear, but using the picture of the fully rigged boat I made my best guess. The mast was then stepped and when I was happy with the position, glued into place.

IMG_8721.jpeg


IMG_8720.jpegIMG_8722.jpeg
 
Back
Top