-

Win a Free Custom Engraved Brass Coin!!!
As a way to introduce our brass coins to the community, we will raffle off a free coin during the month of August. Follow link ABOVE for instructions for entering.
-

PRE-ORDER SHIPS IN SCALE TODAY!
The beloved Ships in Scale Magazine is back and charting a new course for 2026!
Discover new skills, new techniques, and new inspirations in every issue.
NOTE THAT OUR FIRST ISSUE WILL BE JAN/FEB 2026
You are using an out of date browser. It may not display this or other websites correctly.
You should upgrade or use an alternative browser.
You should upgrade or use an alternative browser.
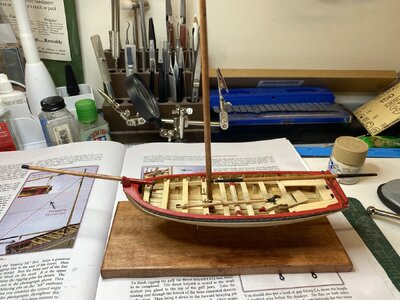
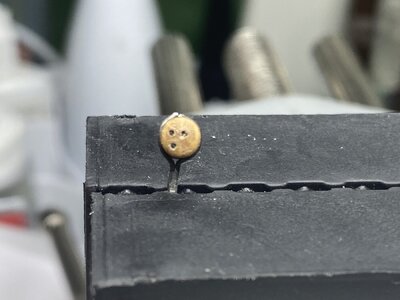
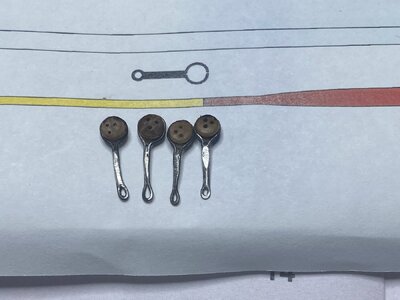
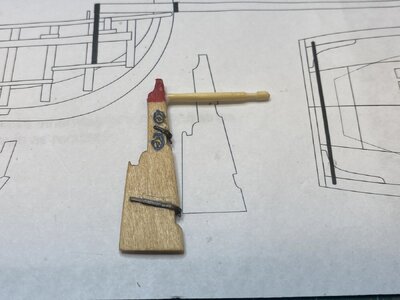
Back from vacation where my wife and I both managed to get COVID and waste about 10 days isolating ourselves. The first thing I did was to make a tiller for the rudder. I used a toothpick which I carved a rounded end and some decoration on and tried to square the tiller a bit where it attached to the rudder. Using a small drill, I made a hole in both and put a wire in to "pin" both parts together using CA.

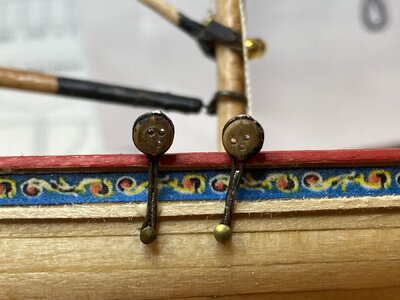
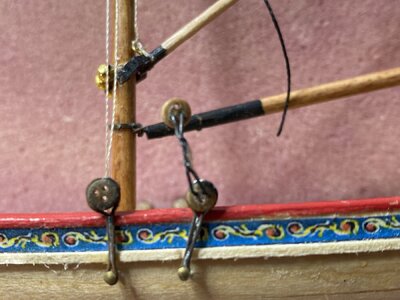
I am thinking I will put the tholes in last. I can just picture myself damaging them as I reach past to put in the rigging.Continuing to be a very lovely model Rob!
Is there a reason you left off the tholes before starting the rigging? I would think they would be easier to install before the rigging but maybe it is not an issue.
Allan
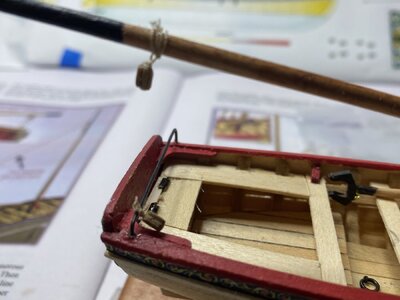
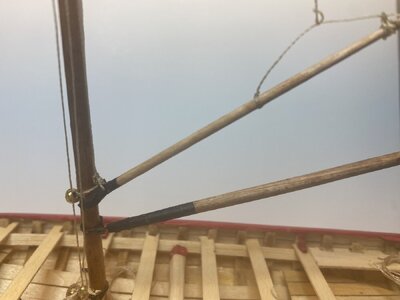
Starting with the boom, I have used the tan rigging line. The end of the line I wipe with UV setting glue and set it before threading the lines through the blocks. This really helps to make the procedure easier. After I make the knots to secure things in place I dab them with UV setting get, set it and cut off the excessl
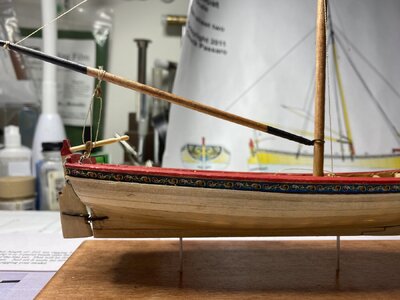

Using a jewelry wire bending jig, I make up coils of line for the ship. After a few lengths of line is wrapped around the jig, I glue the coils together with UV setting glue. Otherwise the coils would fall apart.
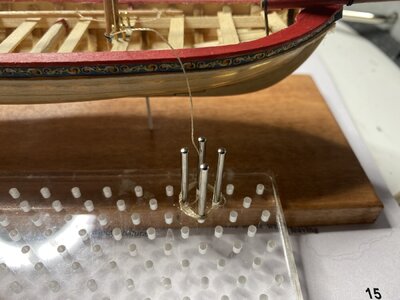
The coils are then glued to the boat, making them look like they were part of the lines I installed for the boom.
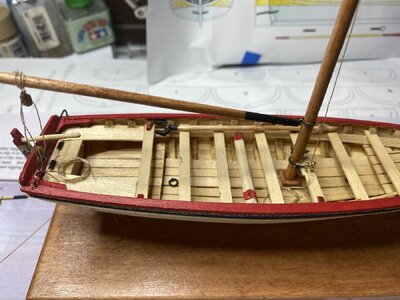

The coils are then glued to the boat, making them look like they were part of the lines I installed for the boom.

Good morning Rob. I agree with Alan - a really good looking model. All the detail adds a lot. Cheers GrantUsing a jewelry wire bending jig, I make up coils of line for the ship. After a few lengths of line is wrapped around the jig, I glue the coils together with UV setting glue. Otherwise the coils would fall apart.
View attachment 462779
The coils are then glued to the boat, making them look like they were part of the lines I installed for the boom.
View attachment 462780
PA: a real bummer you and your admiral getting the COVID while on holiday.
When else would it possibly happen!PA: a real bummer you and your admiral getting the COVID while on holiday.
Thank you both Grant and Alan!Good morning Rob. I agree with Alan - a really good looking model. All the detail adds a lot. Cheers Grant
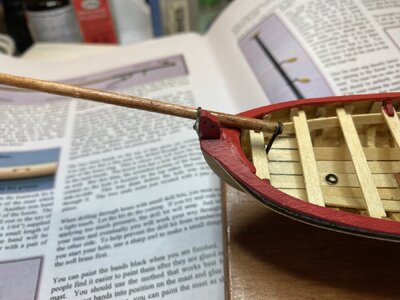
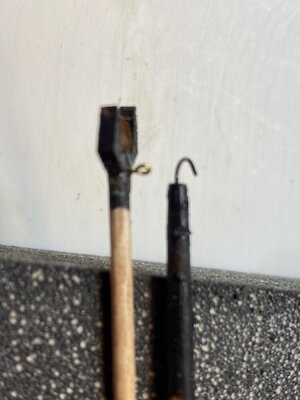
Next up was rigging the gaff. the Jaws of the gaff are very delicate and It took time to place the rigging line with the correct number of parrel beads (I believe 4 was the magic number for me). It was next to impossible for me to thread the rigging line through the hole in the gaff jaws so I ended up wrapping it around the eyebolt for the throat halyard and I secured it with a dab of UV glue.
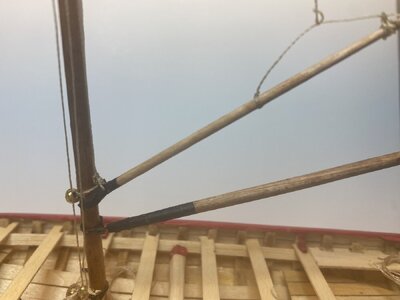

After that it was fairly easy to seize the peak and throat halyards for the gaff and thread them through the lower block on the mast and the lowest sheave on the mast respectively.
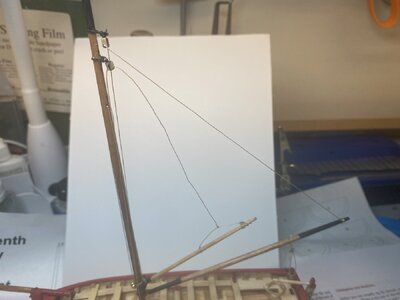
The other ends of the lines were secured to the belaying pins on the port side the. They were secured to the belaying pins using UV glue. Using my jig I made two more rope coils for the lines. For the throat halyard line I used only 2 pins to make a smaller coil. The smaller coil I had "draped" over a thwart by gluing the coil to the edge of the thwart and holding it down into position with a pair of forceps when I hardened the glue.
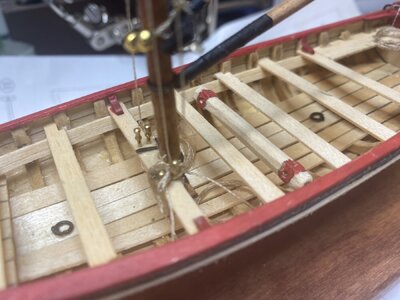

The other ends of the lines were secured to the belaying pins on the port side the. They were secured to the belaying pins using UV glue. Using my jig I made two more rope coils for the lines. For the throat halyard line I used only 2 pins to make a smaller coil. The smaller coil I had "draped" over a thwart by gluing the coil to the edge of the thwart and holding it down into position with a pair of forceps when I hardened the glue.

Last edited:
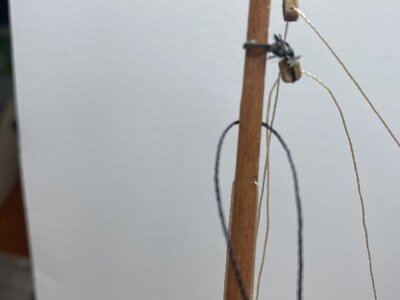
I started rigging the shrouds by tacking the first shroud line with some UV setting glue. (You can tell I like UV setting glue)
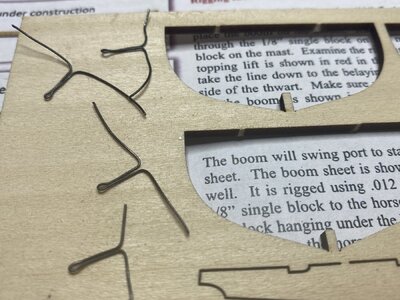
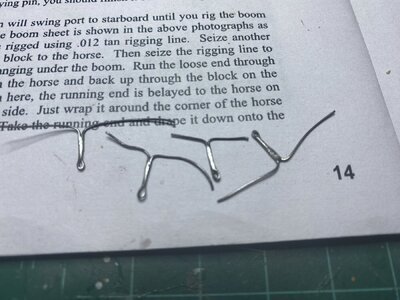
I made a "deadeye claw" as suggested by the instructions by bending 2 lengths of 28G wire together and bending two "fingers" on each end the approximate 8mm long space that I measured off the plans for the distance between the two deadeyes.
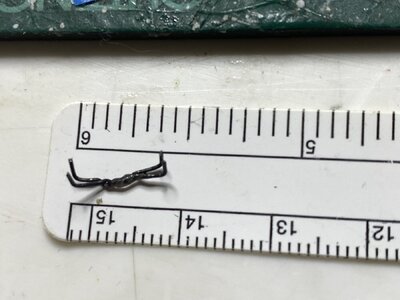
The claw was held together by a drop of, you guessed it, UV glue.

I made a "deadeye claw" as suggested by the instructions by bending 2 lengths of 28G wire together and bending two "fingers" on each end the approximate 8mm long space that I measured off the plans for the distance between the two deadeyes.

The claw was held together by a drop of, you guessed it, UV glue.


