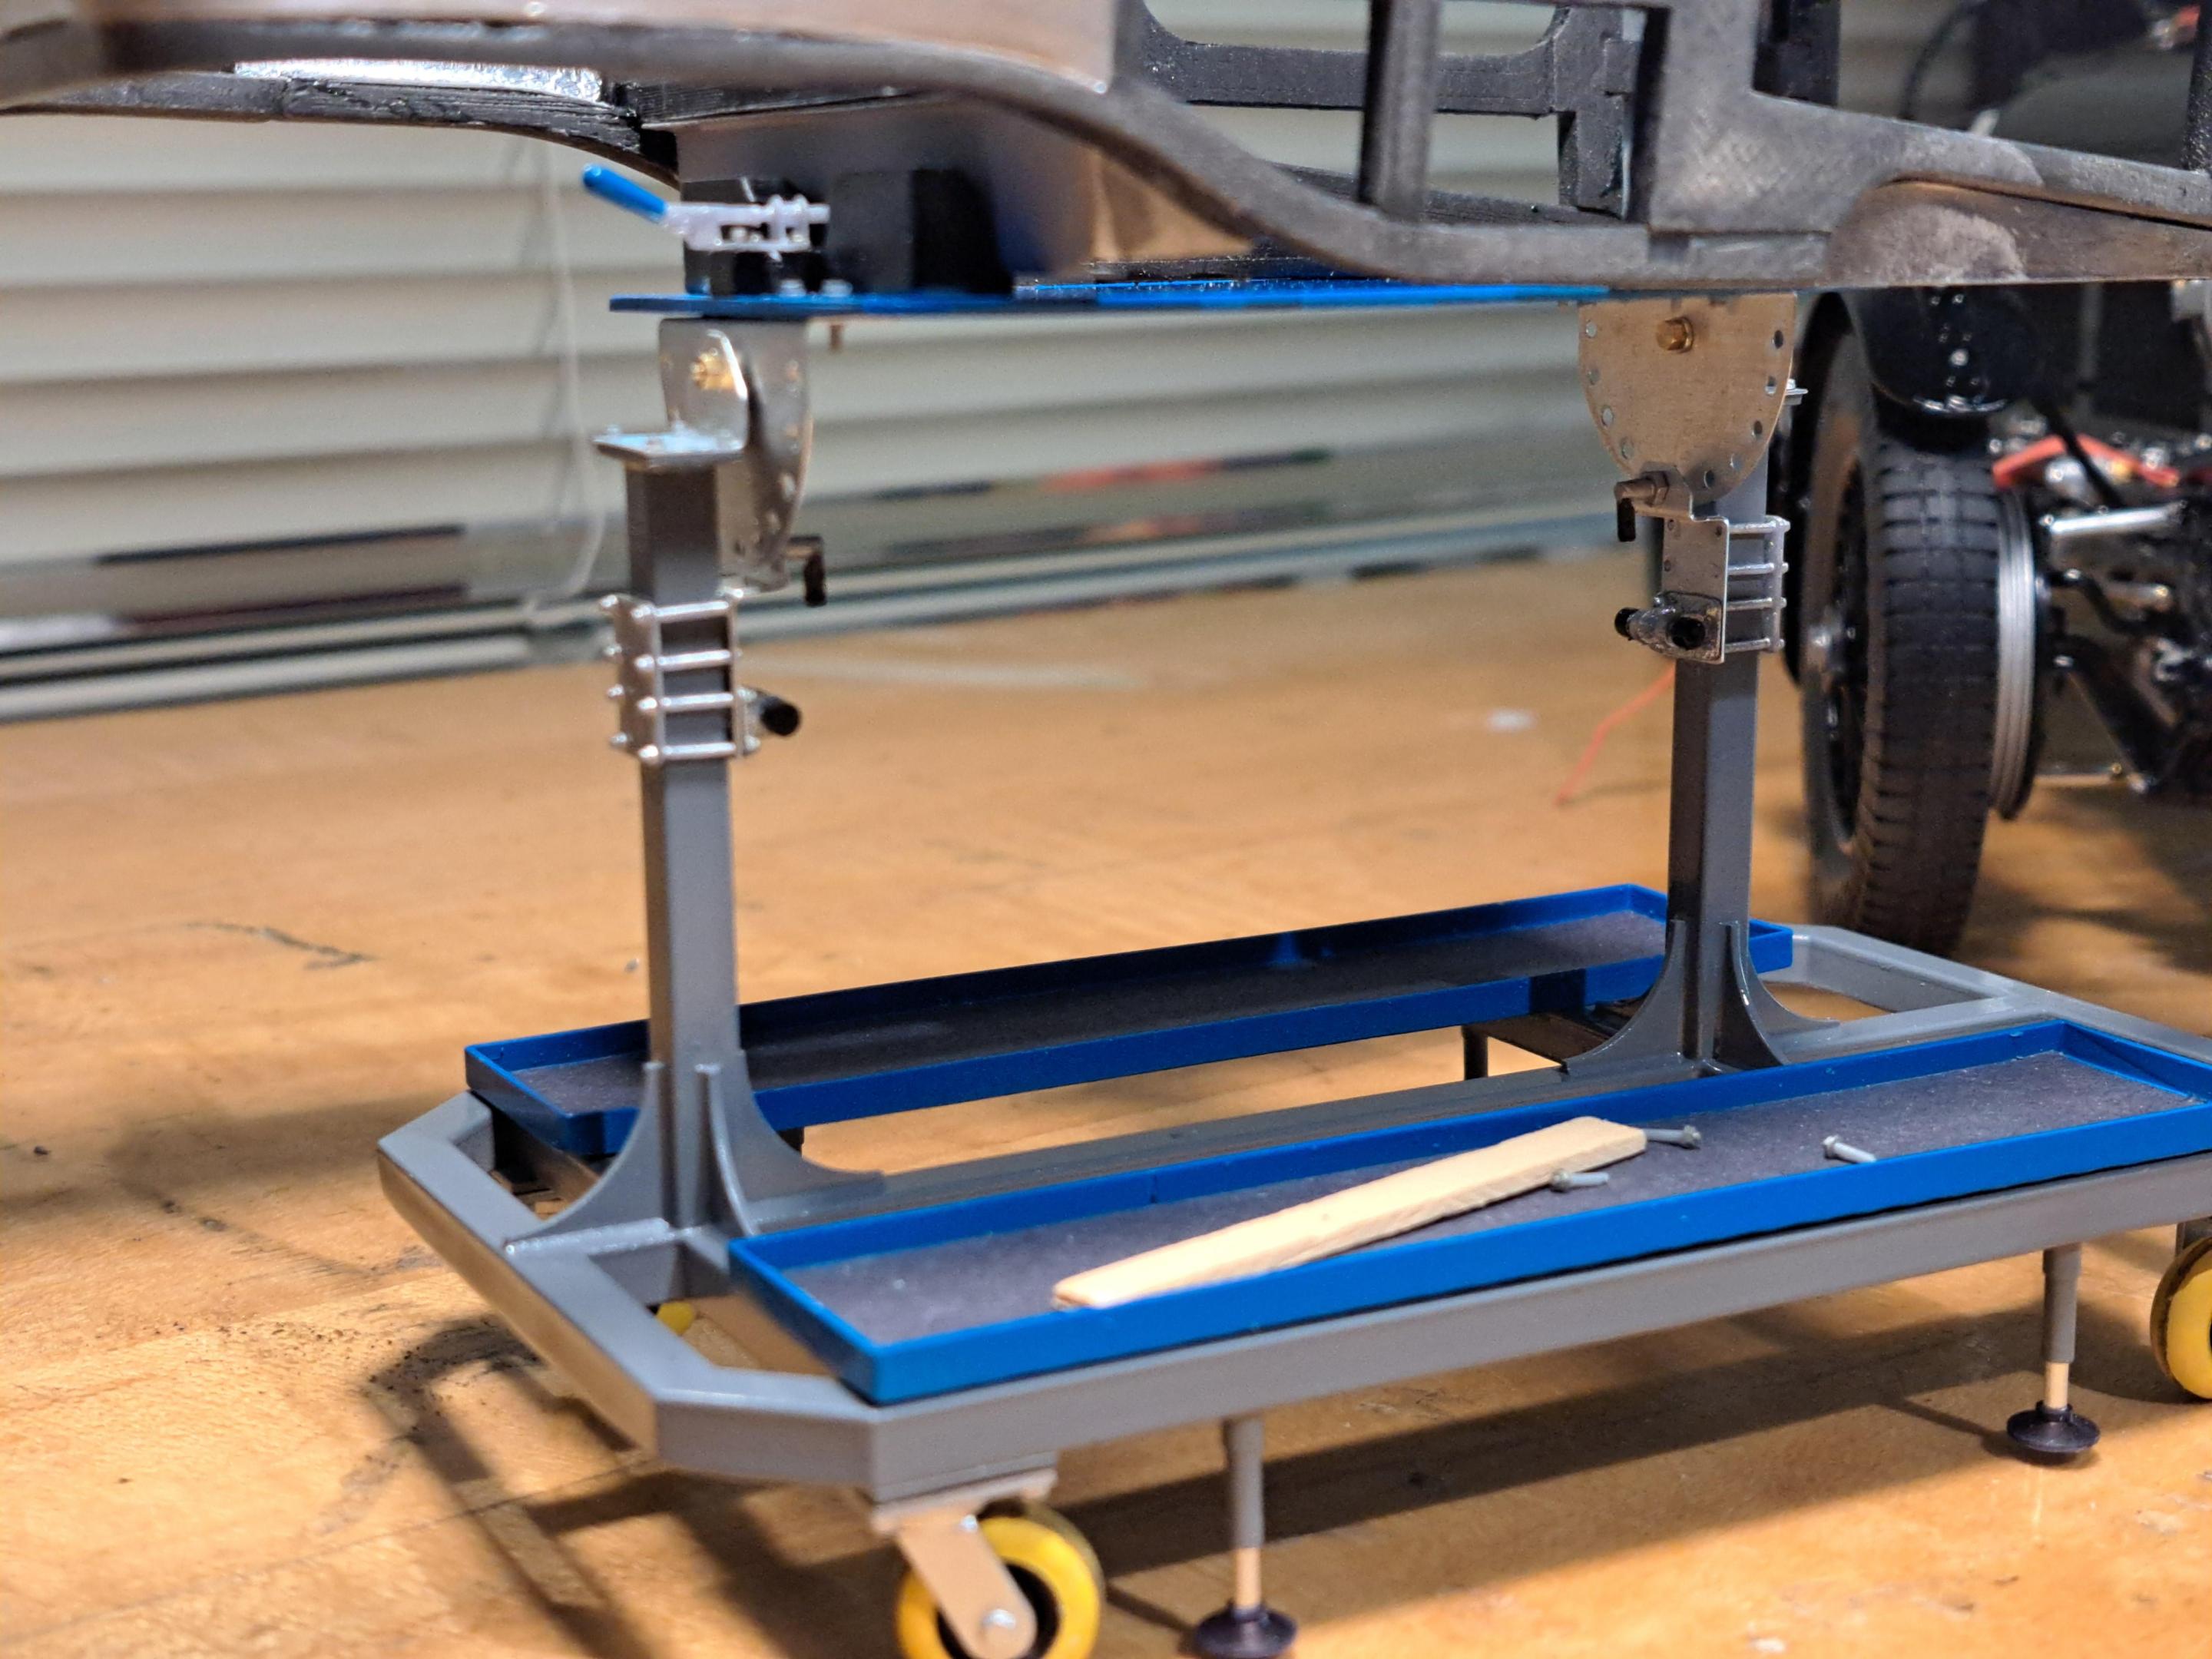
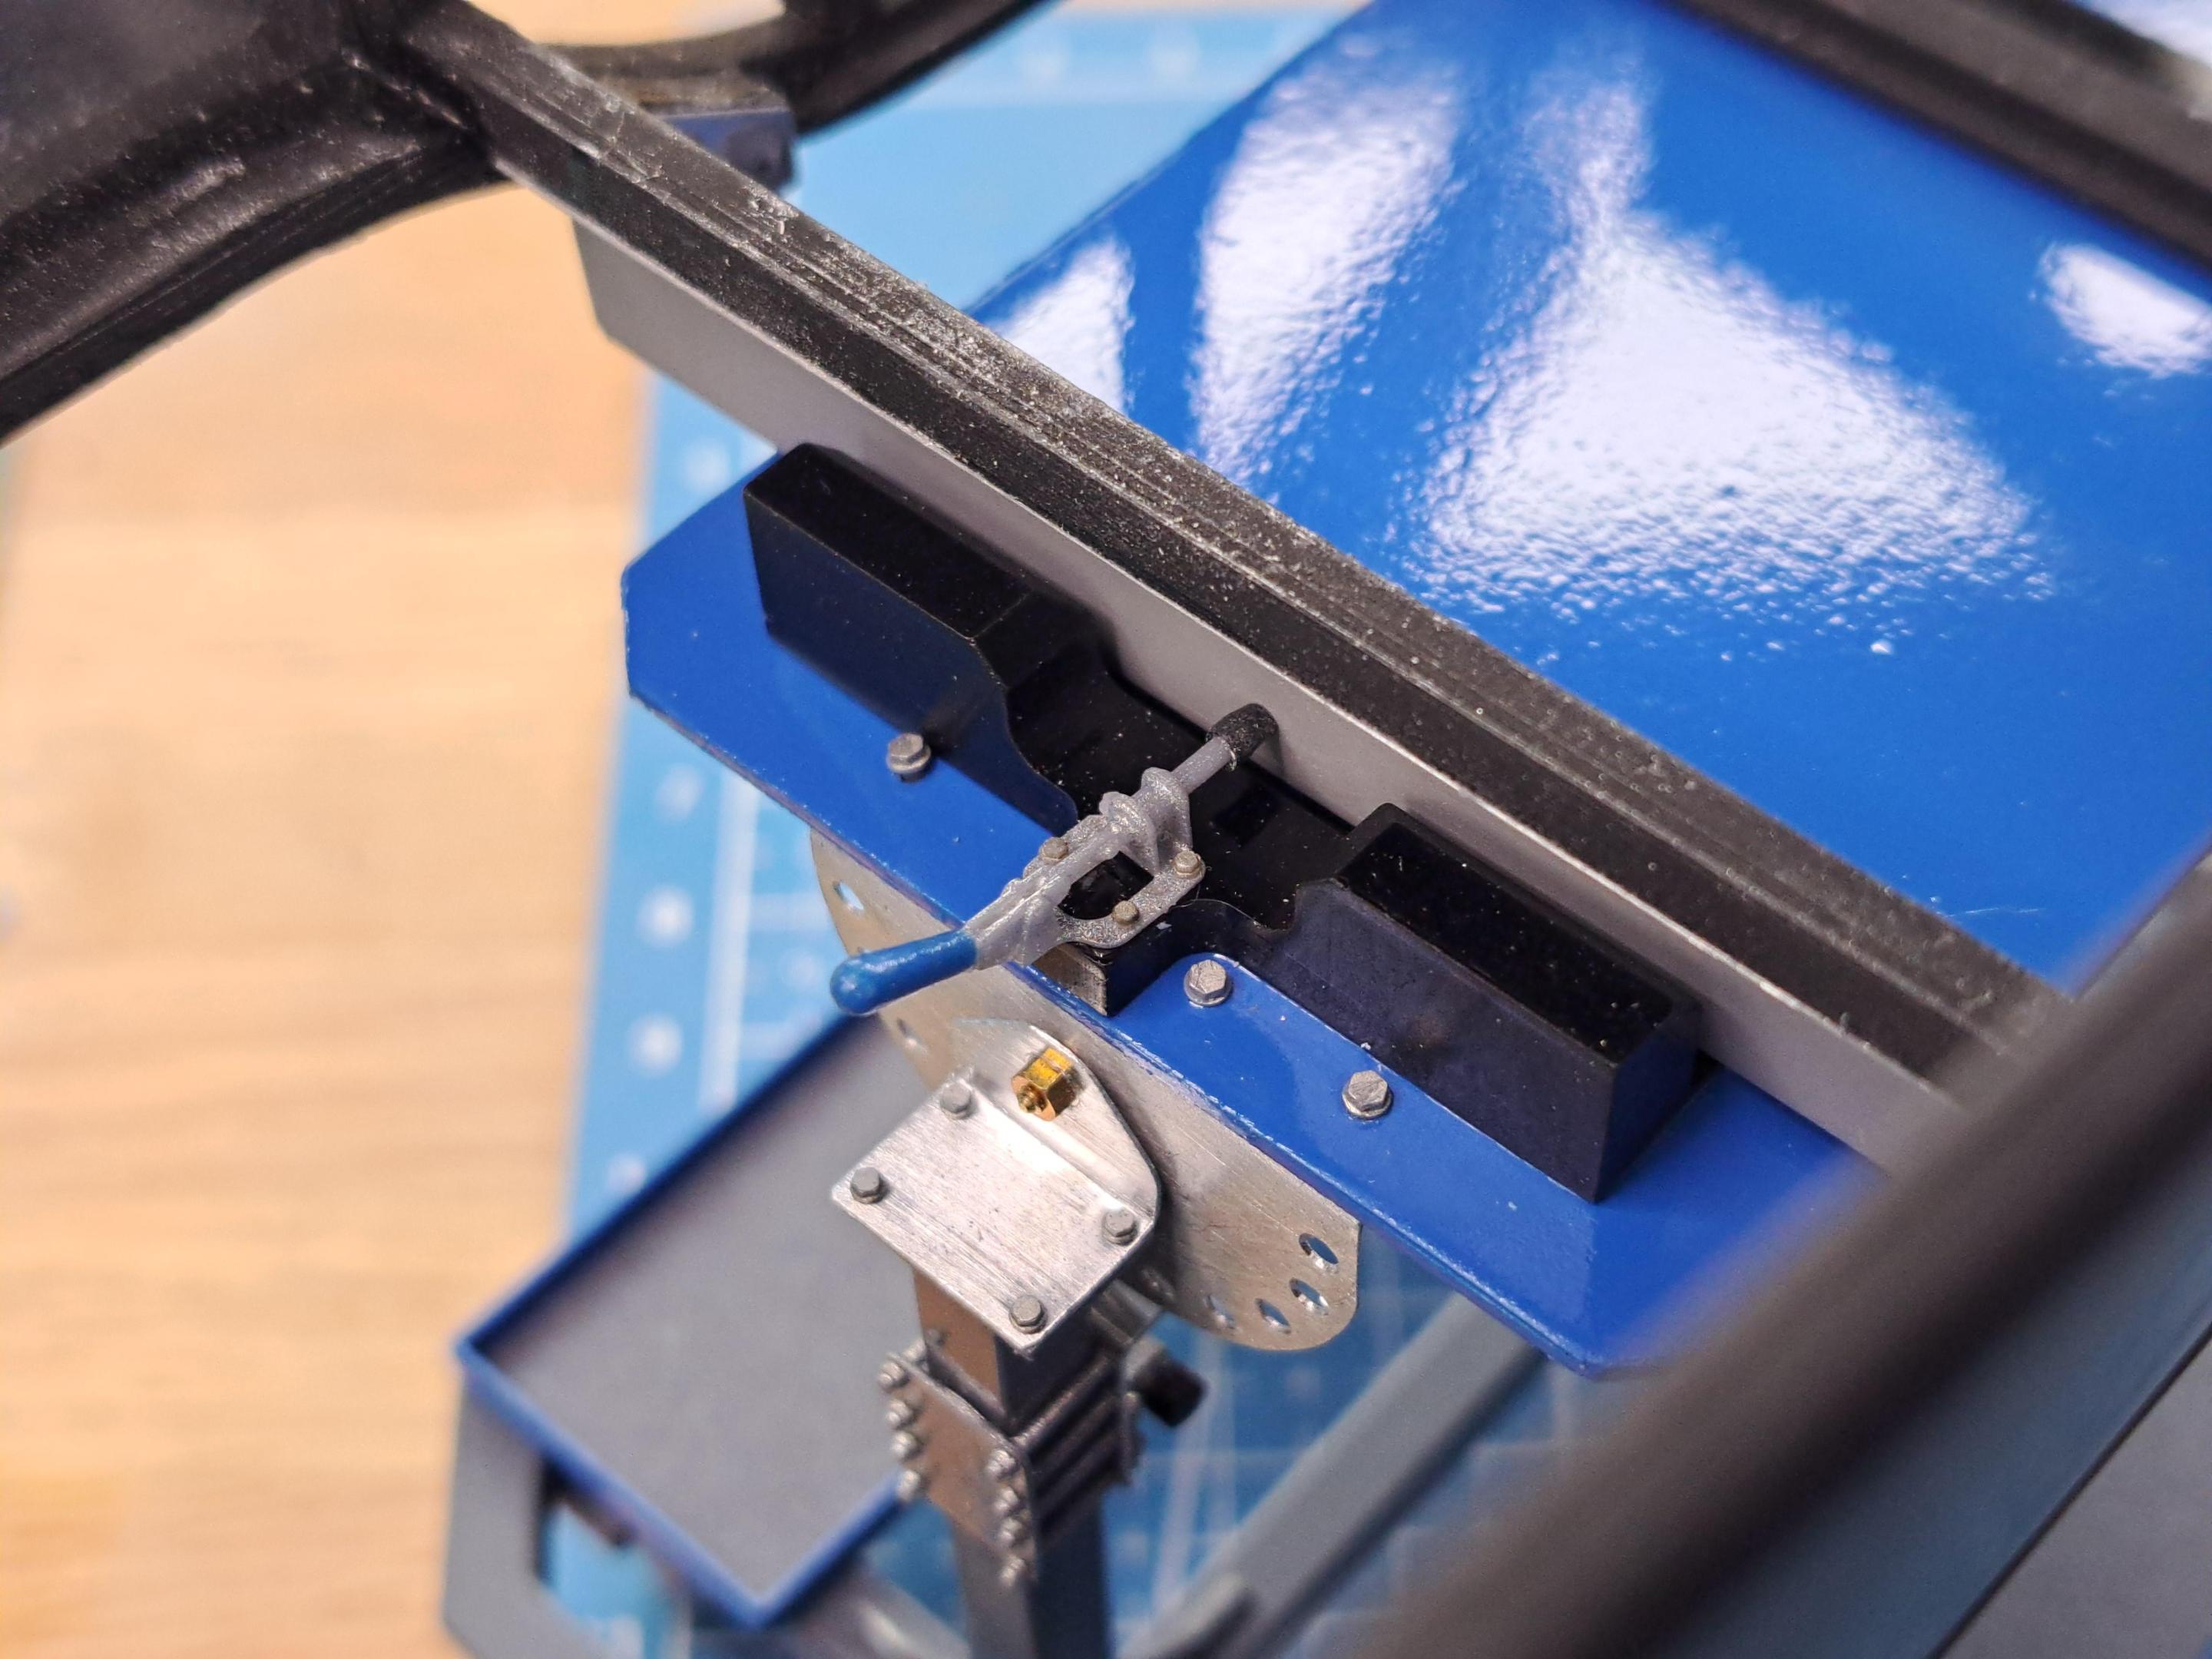
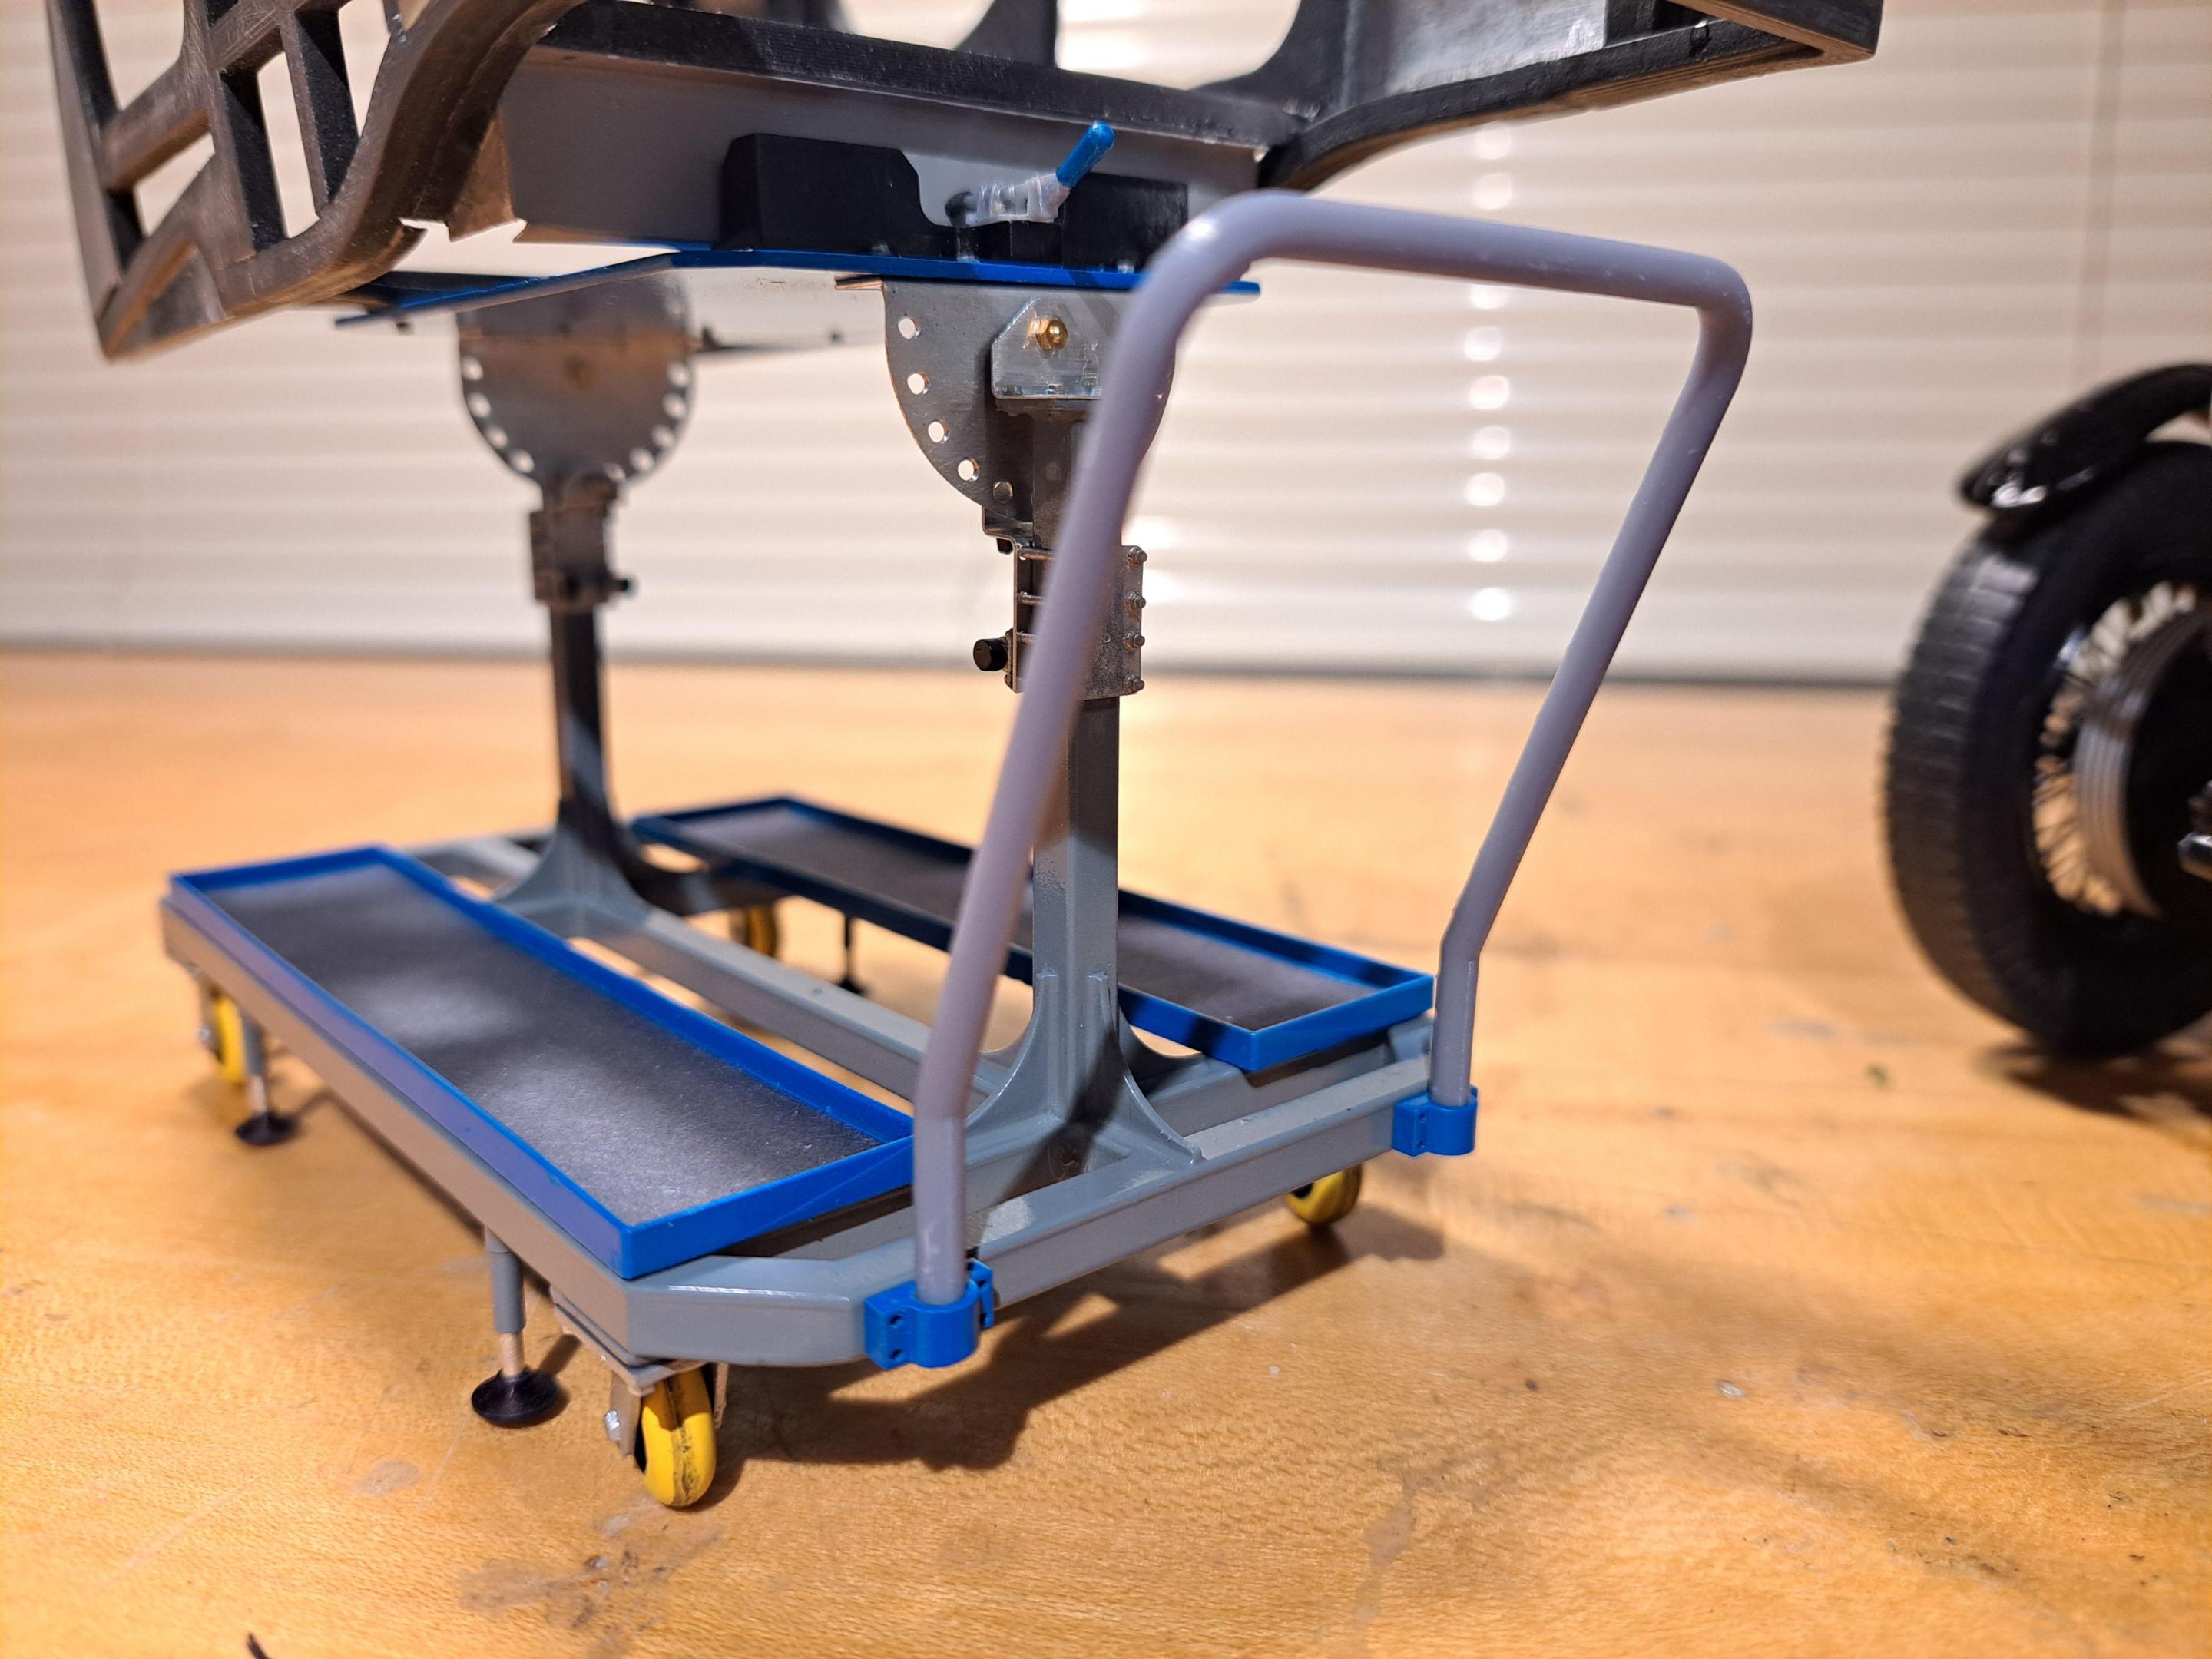
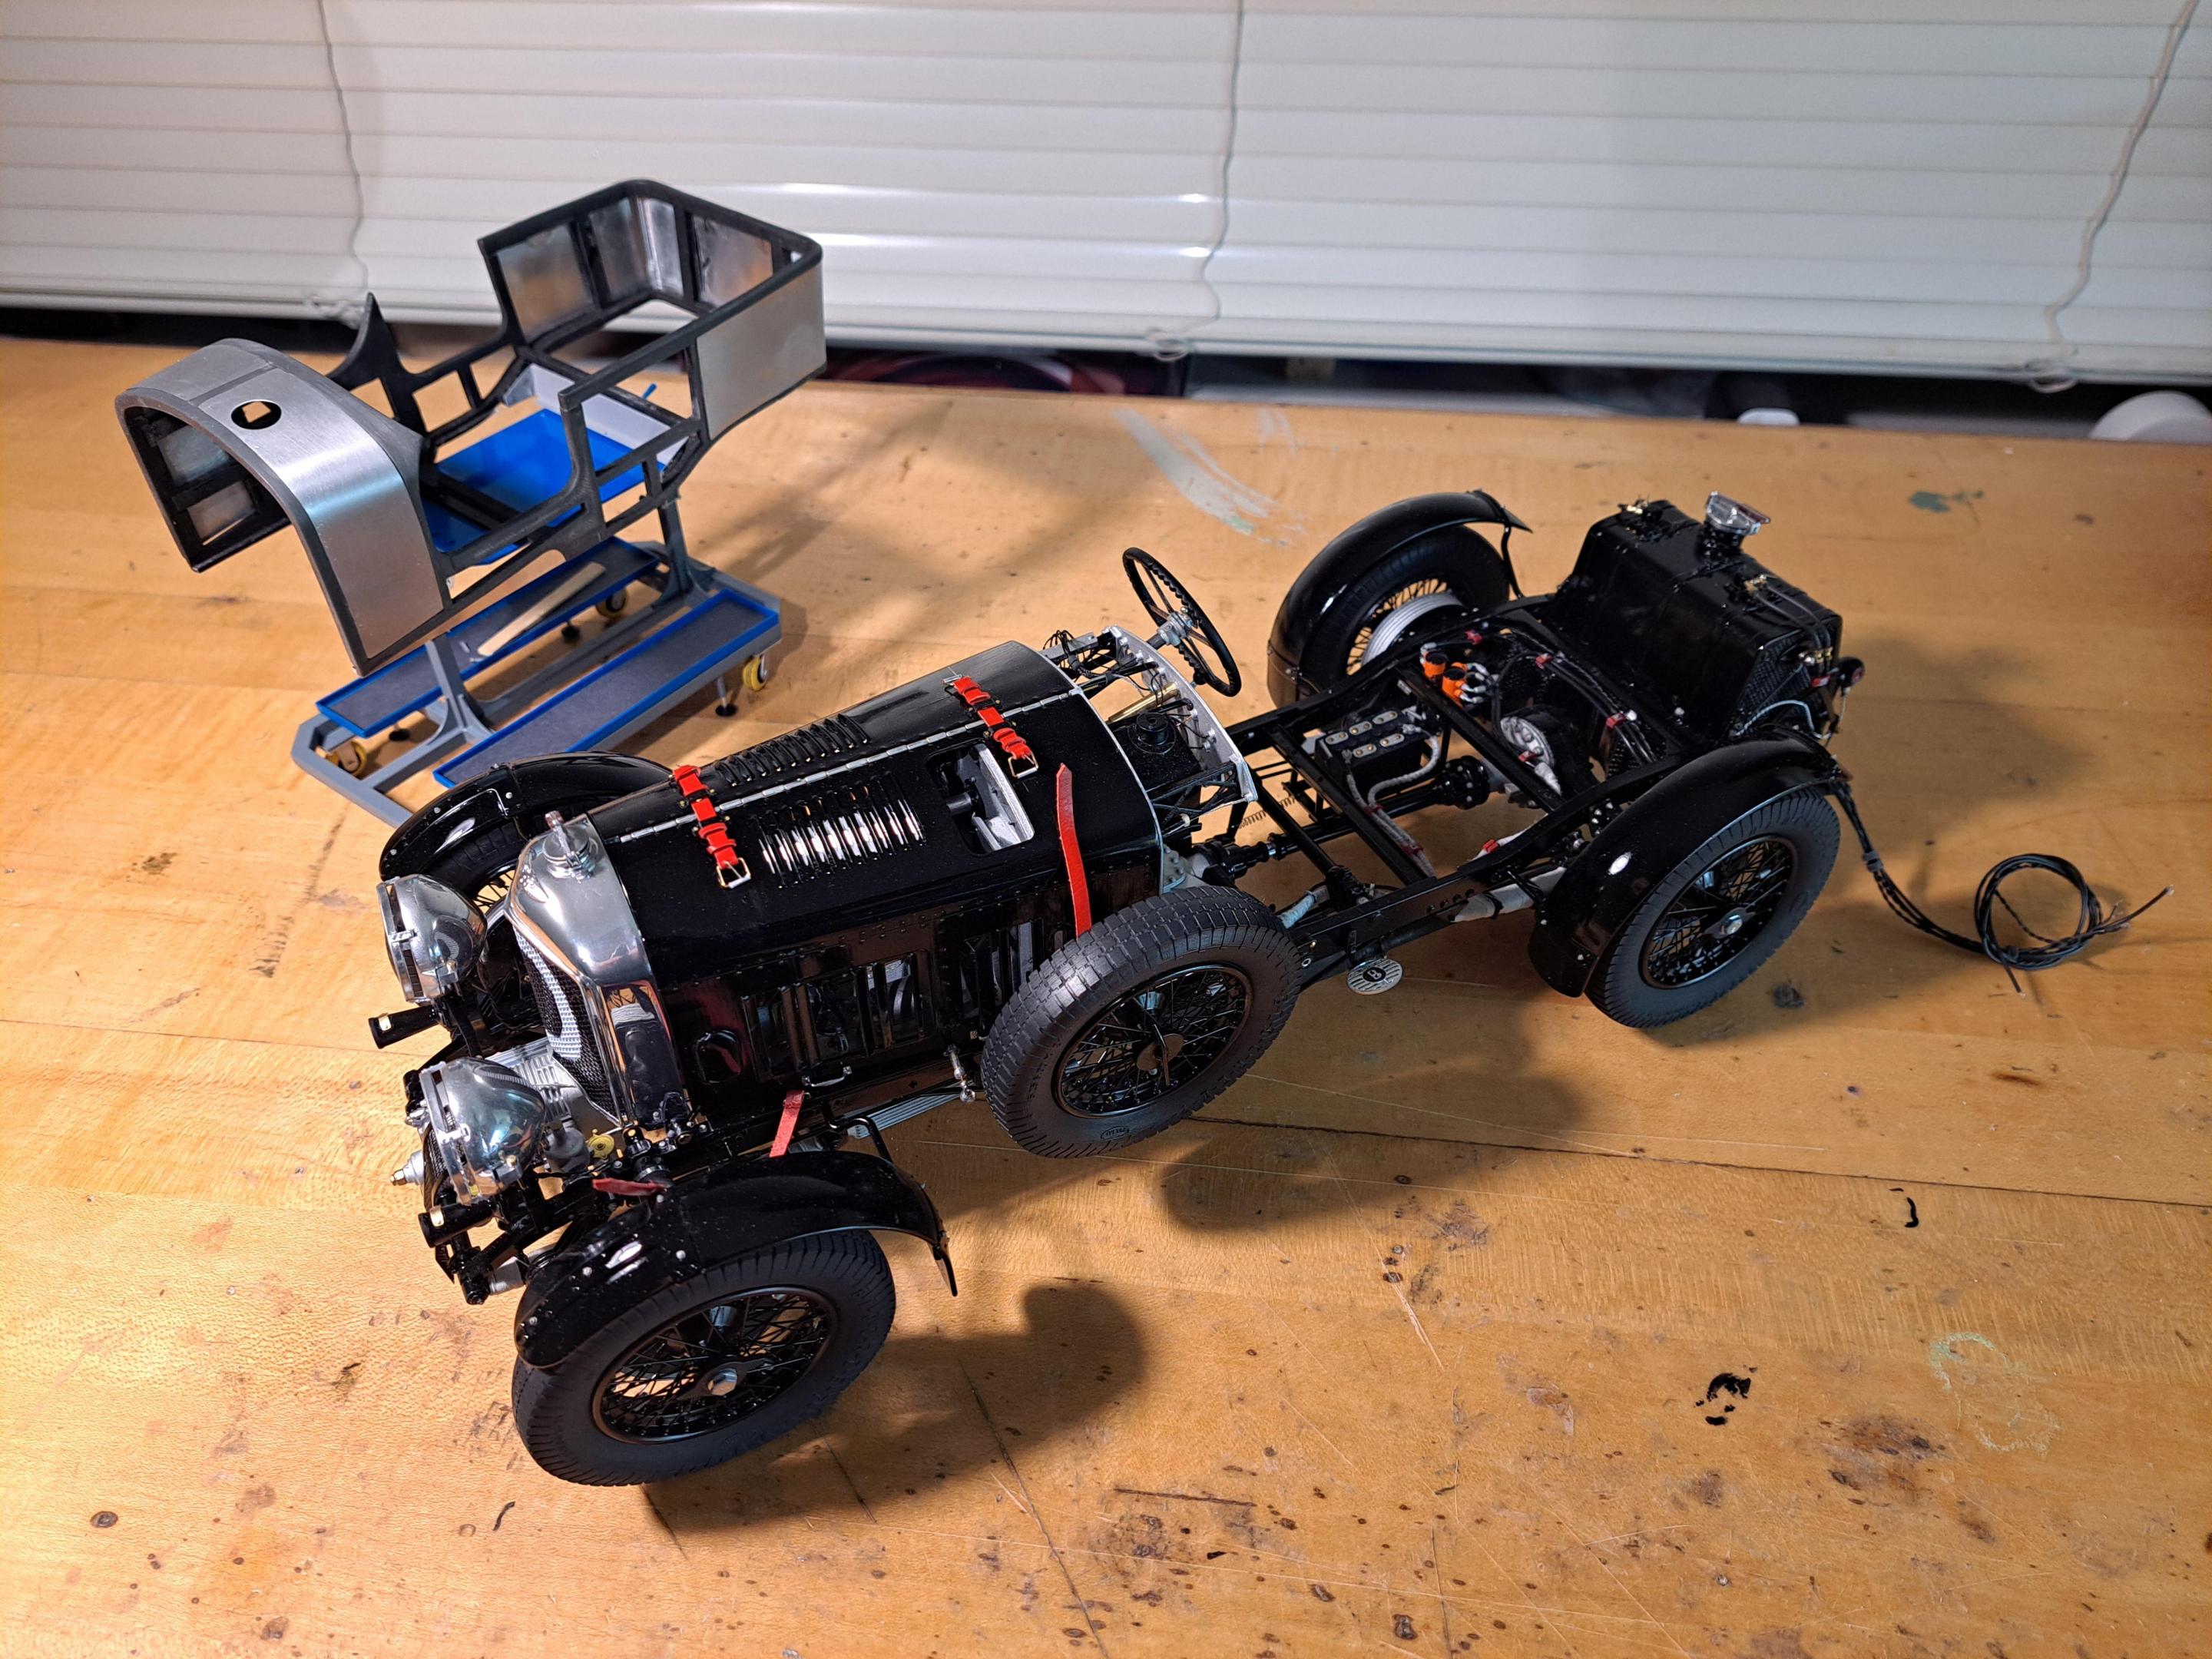
-

Win a Free Custom Engraved Brass Coin!!!
As a way to introduce our brass coins to the community, we will raffle off a free coin during the month of August. Follow link ABOVE for instructions for entering.
-

PRE-ORDER SHIPS IN SCALE TODAY!
The beloved Ships in Scale Magazine is back and charting a new course for 2026!
Discover new skills, new techniques, and new inspirations in every issue.
NOTE THAT OUR FIRST ISSUE WILL BE JAN/FEB 2026
- Home
- Forums
- Ships of Scale Build Logs
- Super Detailing Static Models / Other Genres
- Historical Trailways, Guns, Aircraft, and Cars
You are using an out of date browser. It may not display this or other websites correctly.
You should upgrade or use an alternative browser.
You should upgrade or use an alternative browser.
1930 Bentley Blower by Aifix 1/12 build log [COMPLETED BUILD]
absolutely amazing !
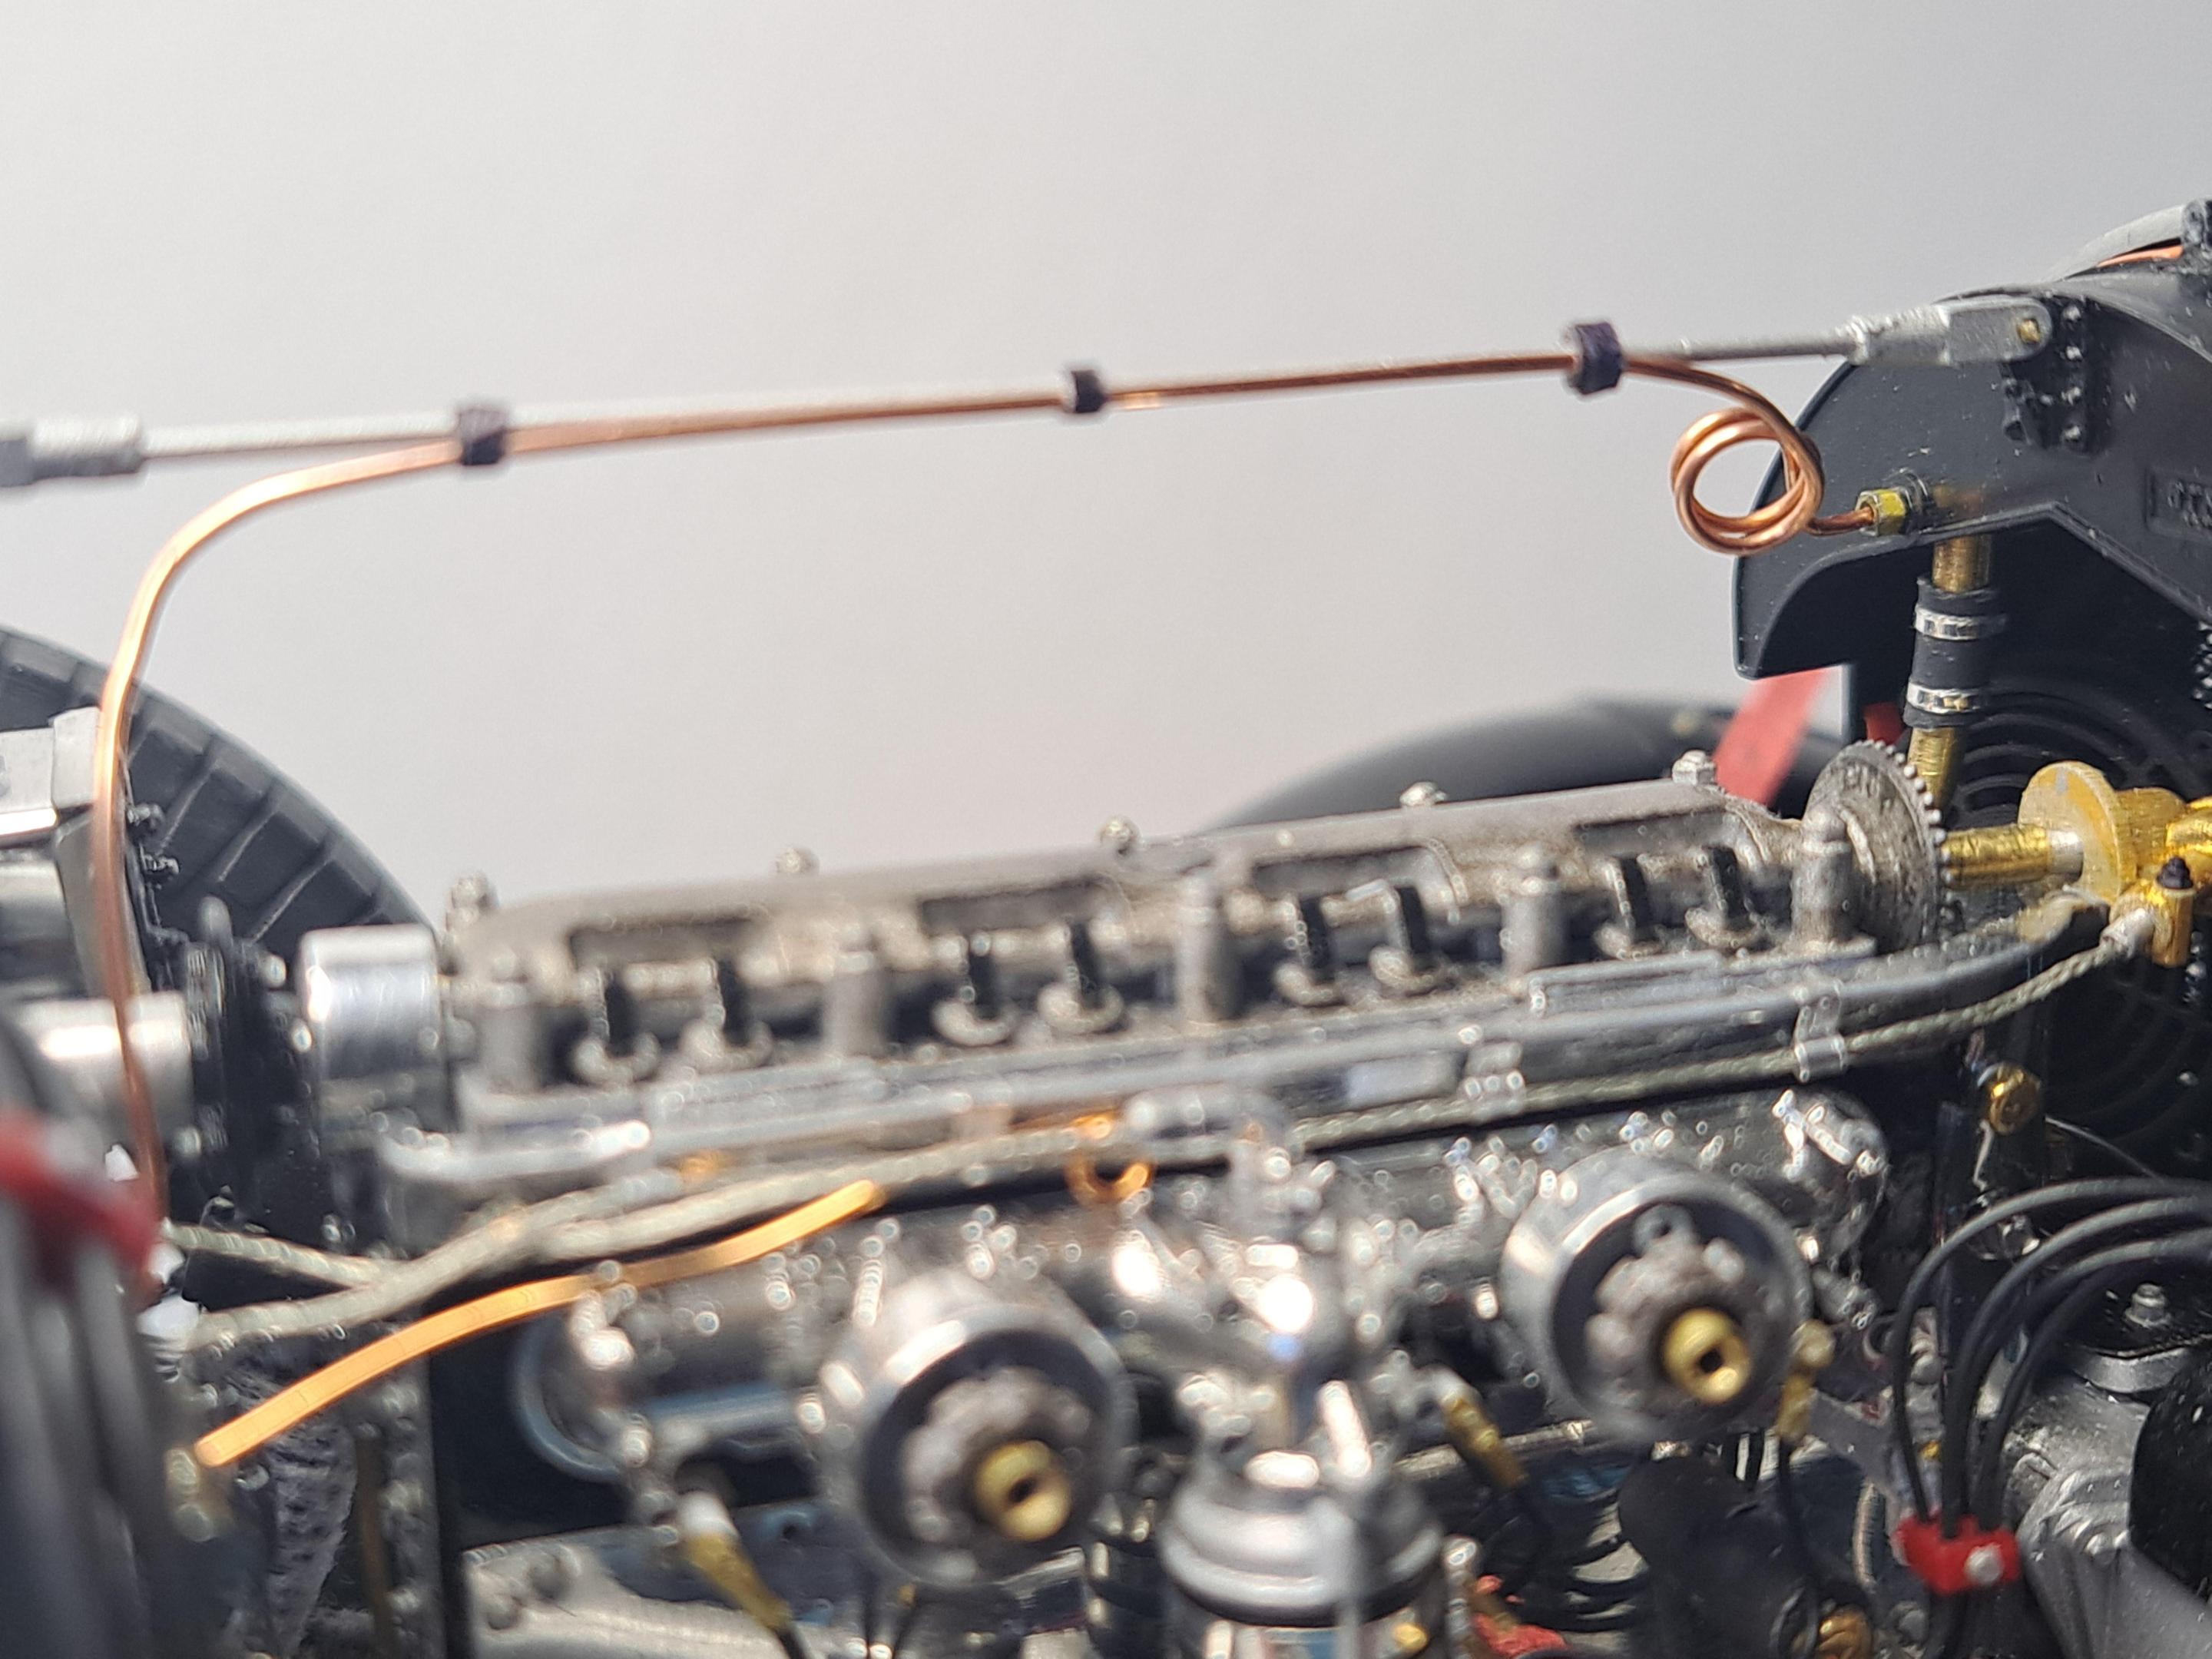
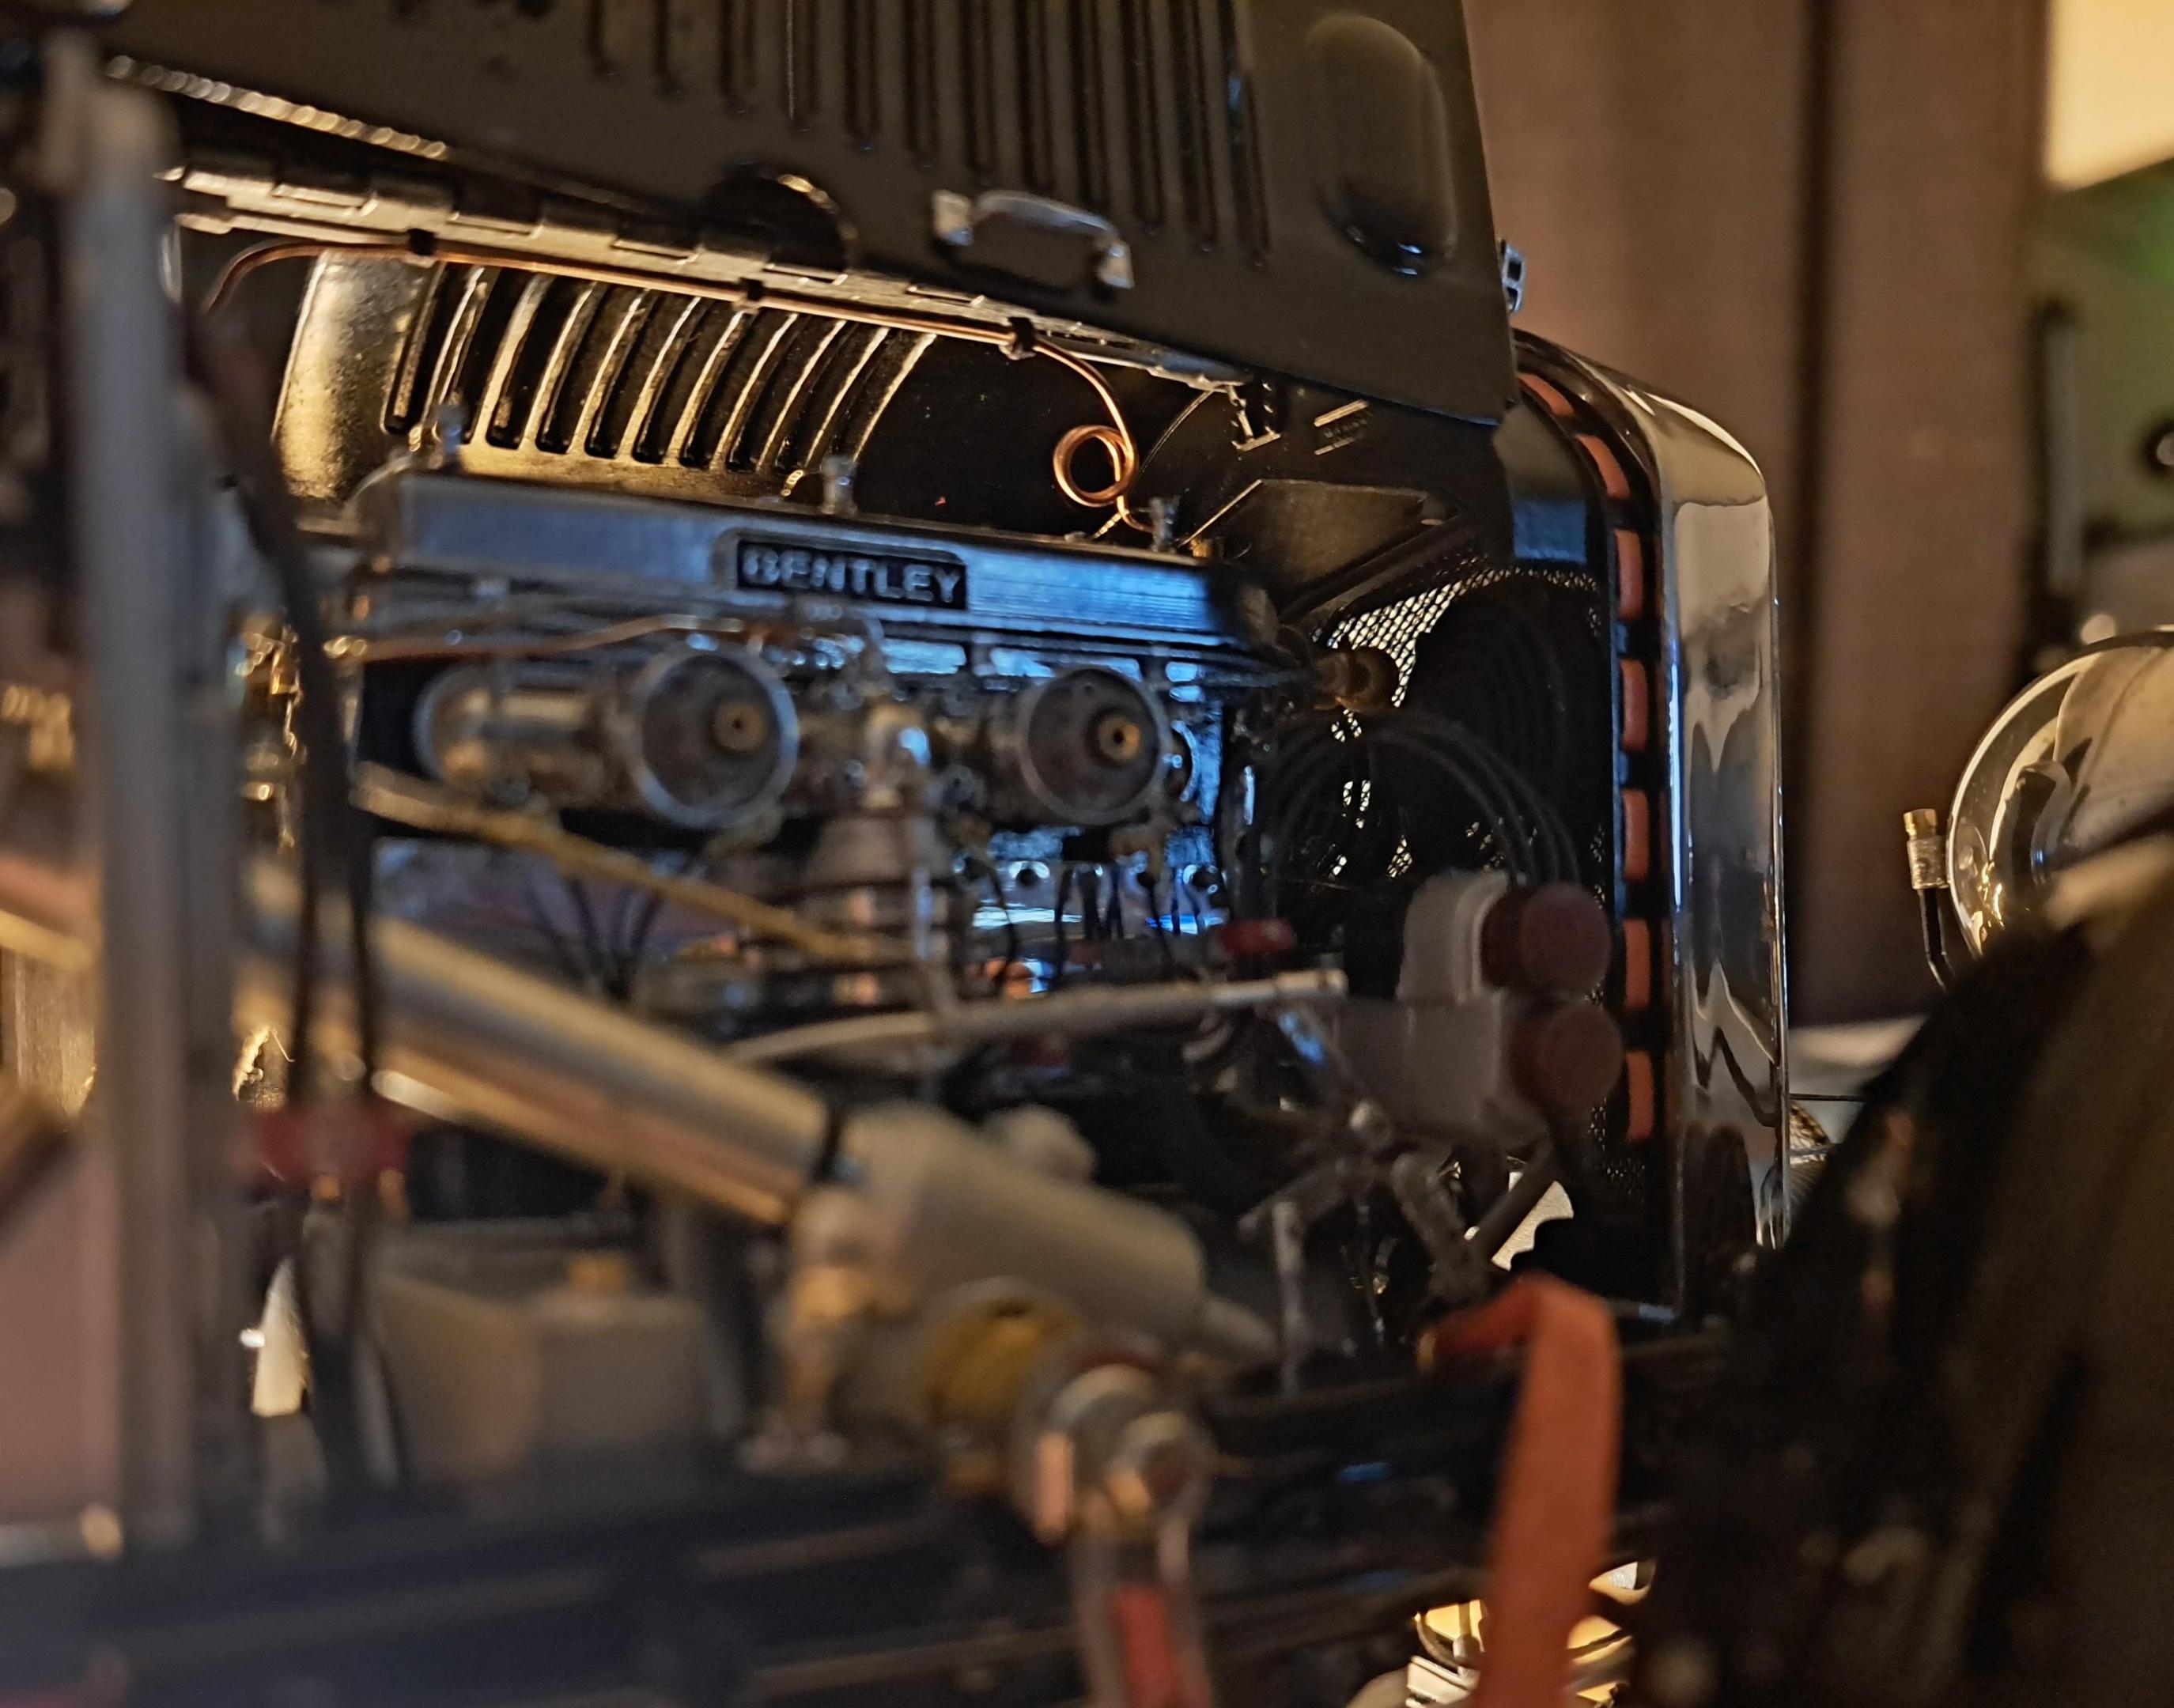
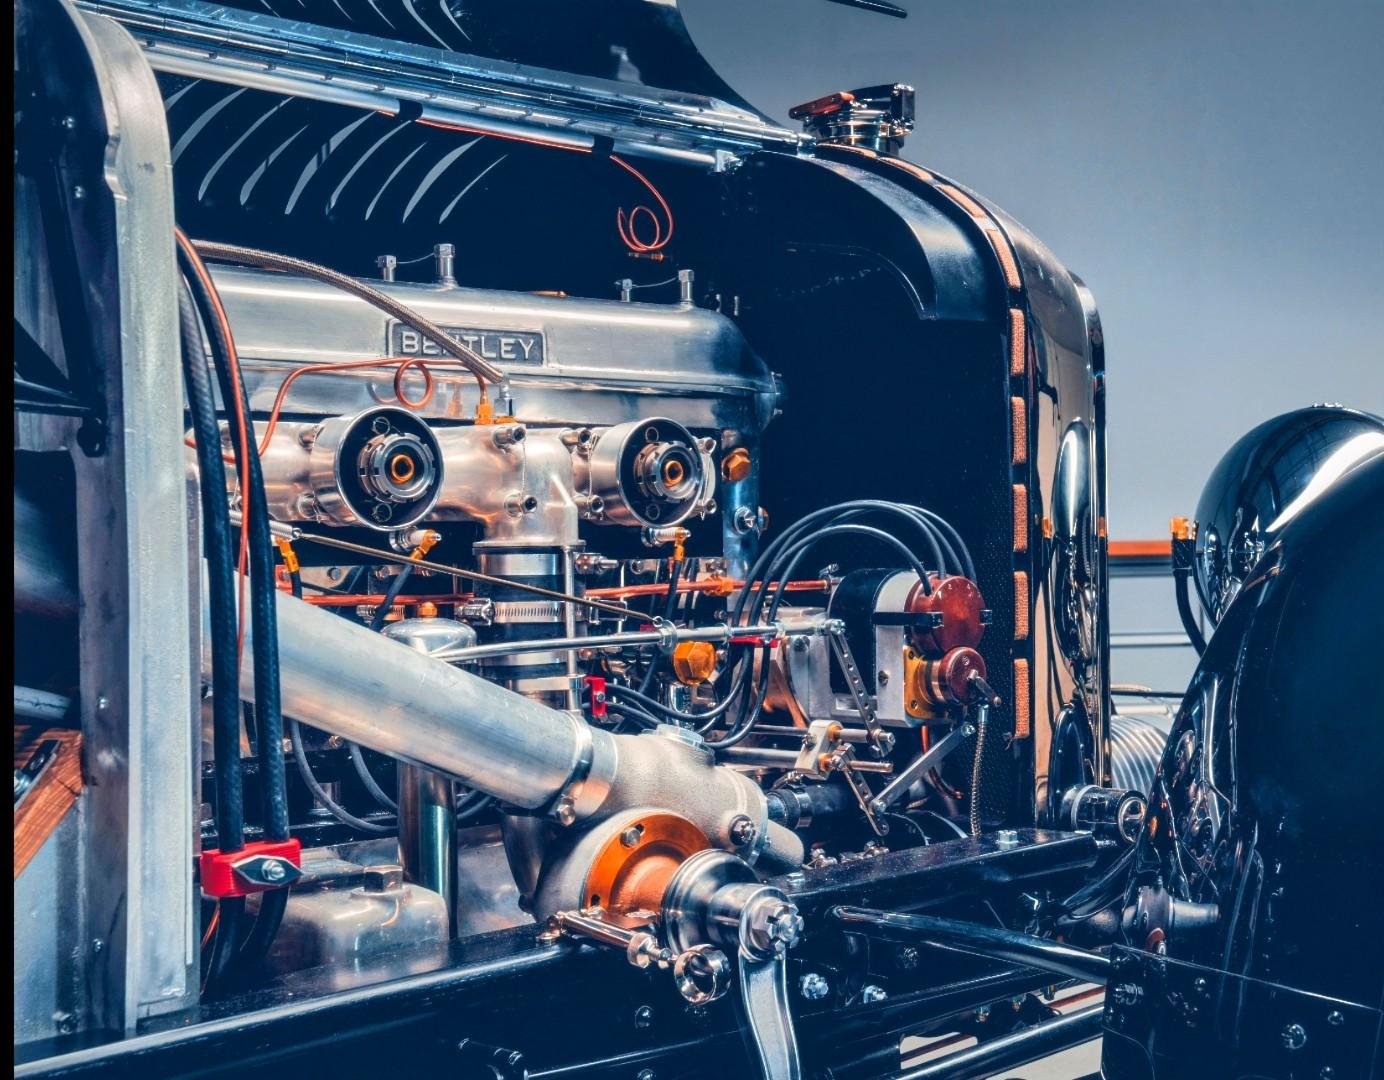
Its getting harder and harder to tell which of the pictures is the real car and which is the model !
Its getting harder and harder to tell which of the pictures is the real car and which is the model !
Pugwash, you do know that it run for real. Just doesn't sound like an engine.
View attachment 20231230_163606.mp4
View attachment 20231230_163606.mp4
I started modeling the display case. My idea would be to inbed a miror in a simulated concrete base on which there would be a steel structure (really plastic not steel). The structure would have H columns at each corner and 4 angle iron framed plexiglas panels with a bunch of rivets holding the panels in place. I would like to incorporate trusses and working shop lights. I'm thinking of overlaying the rear plexiglas panel with a translucide image of the real car, not sure how that could be done. There would be a control panel mounted on the outside of the display case that would control the shop lights, head lights and motor. Back in the 50's, my father, who was a draftman back then, would make scale models of water piping layout for a company called Canadair (it later became Bombardier aeronautic). I still have a box full of miniature Britannia water valves that he gave me when I was just a kid and that I never used. I would like to incorporate them in the display case some how, maybe a few water lines ? Here are a few screen shots of the display case so far. Not nearly there yet but it give the general idea.
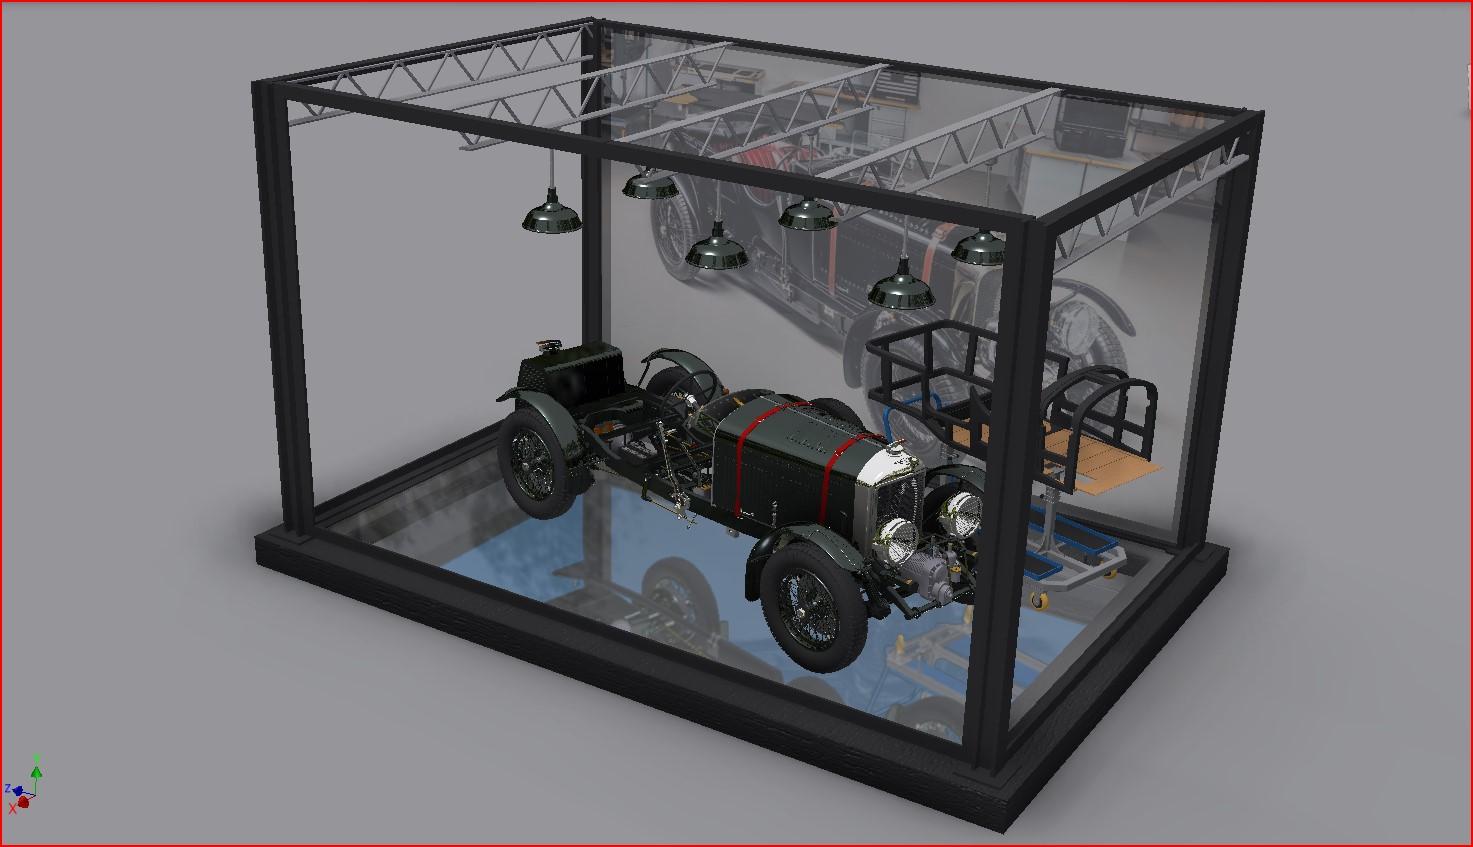
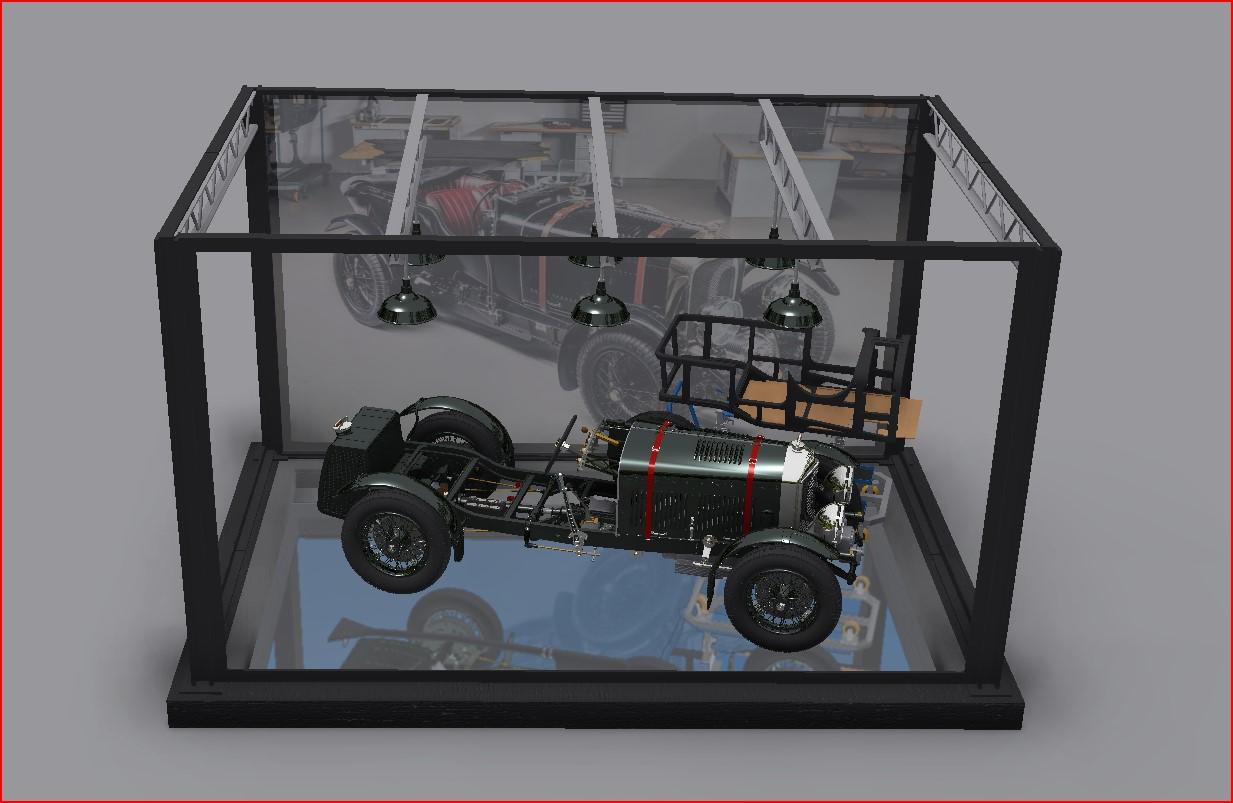
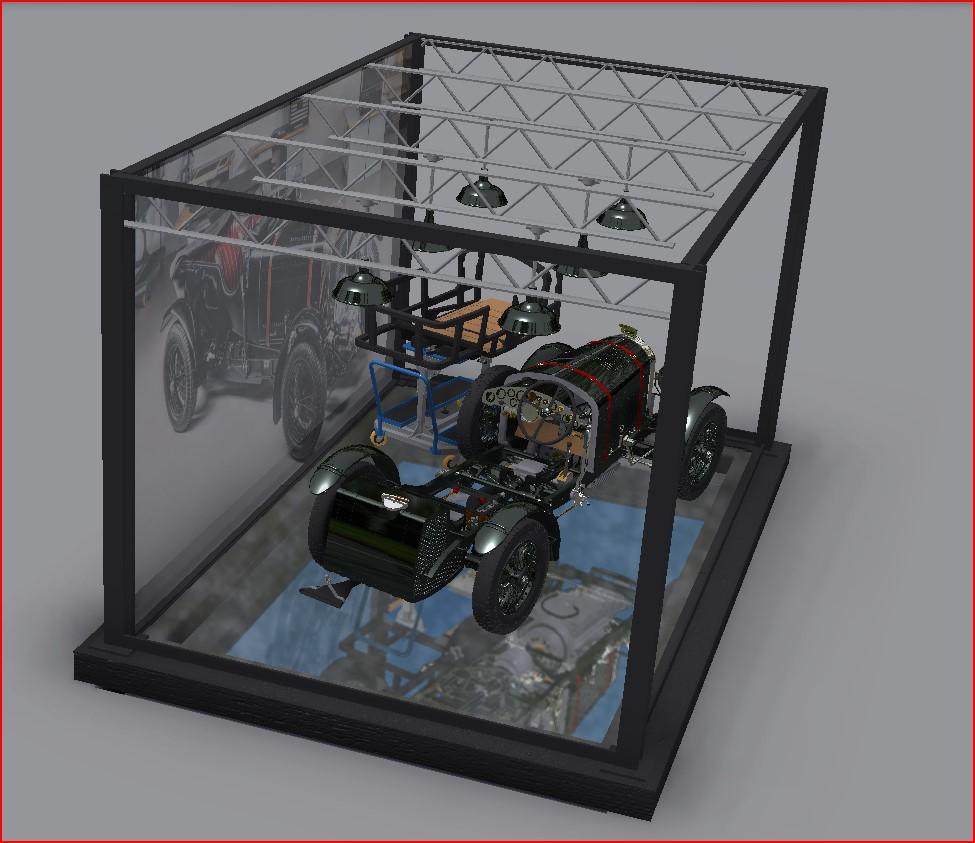


That is a very beautiful show case, François. With a nice reflection that also show the underside.I started modeling the display case. My idea would be to inbed a miror in a simulated concrete base on which there would be a steel structure (really plastic not steel). The structure would have H columns at each corner and 4 angle iron framed plexiglas panels with a bunch of rivets holding the panels in place. I would like to incorporate trusses and working shop lights. I'm thinking of overlaying the rear plexiglas panel with a translucide image of the real car, not sure how that could be done. There would be a control panel mounted on the outside of the display case that would control the shop lights, head lights and motor. Back in the 50's, my father, who was a draftman back then, would make scale models of water piping layout for a company called Canadair (it later became Bombardier aeronautic). I still have a box full of miniature Britannia water valves that he gave me when I was just a kid and that I never used. I would like to incorporate them in the display case some how, maybe a few water lines ? Here are a few screen shots of the display case so far. Not nearly there yet but it give the general idea.


Regards, Peter
That case looks great. Are you going to put some tiny LEDs in the overhead light fixtures too? I hope you display the model with one side of the hood open to show all that fantastic detail.
That is absolutely fabulous ! I like your idea of putting some "water pipes up in the ceiling girders and put in a line that is red for fire suppression. 
Working shop lights would be a wonderful addition !
Working shop lights would be a wonderful addition !
Thank you everyone for your feedback.
Working shop lights and color coded water pipes is the plan. These color codes were not introduced before the 70's. But since the ref car is a new 'old' build, it might not really matter. I could represent an old shop that has been refurbished. I remember seeing pictures of the shop models my father made and the majority of the pipes were clear plexiglas, some were green and some orange. None were red which is the color for water and being a model of an airplane fabrication plant, there would certainly have been multiple water lines.
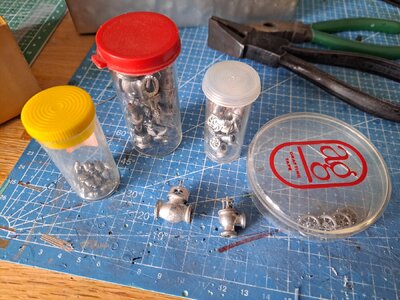
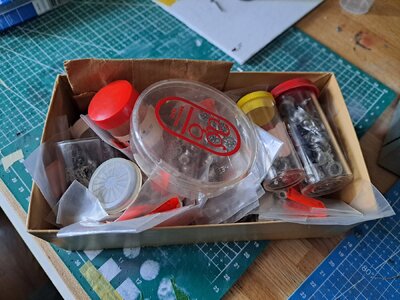
Here's a picture of the valves he used back then to make his models.
He passed away last August so I see this as a sort of hommage to what he did and what he taugh me. He would have beed 96 march 16.
Fun fact, one of my first summer job as a student back in the early 80's was to do a survey of the same pipe works that my father had modeled some 30 plus years earlier. They had been color coded by then.
Working shop lights and color coded water pipes is the plan. These color codes were not introduced before the 70's. But since the ref car is a new 'old' build, it might not really matter. I could represent an old shop that has been refurbished. I remember seeing pictures of the shop models my father made and the majority of the pipes were clear plexiglas, some were green and some orange. None were red which is the color for water and being a model of an airplane fabrication plant, there would certainly have been multiple water lines.
Here's a picture of the valves he used back then to make his models.


He passed away last August so I see this as a sort of hommage to what he did and what he taugh me. He would have beed 96 march 16.
Fun fact, one of my first summer job as a student back in the early 80's was to do a survey of the same pipe works that my father had modeled some 30 plus years earlier. They had been color coded by then.
Last edited:
A bit more done on the display case, slow evolution.
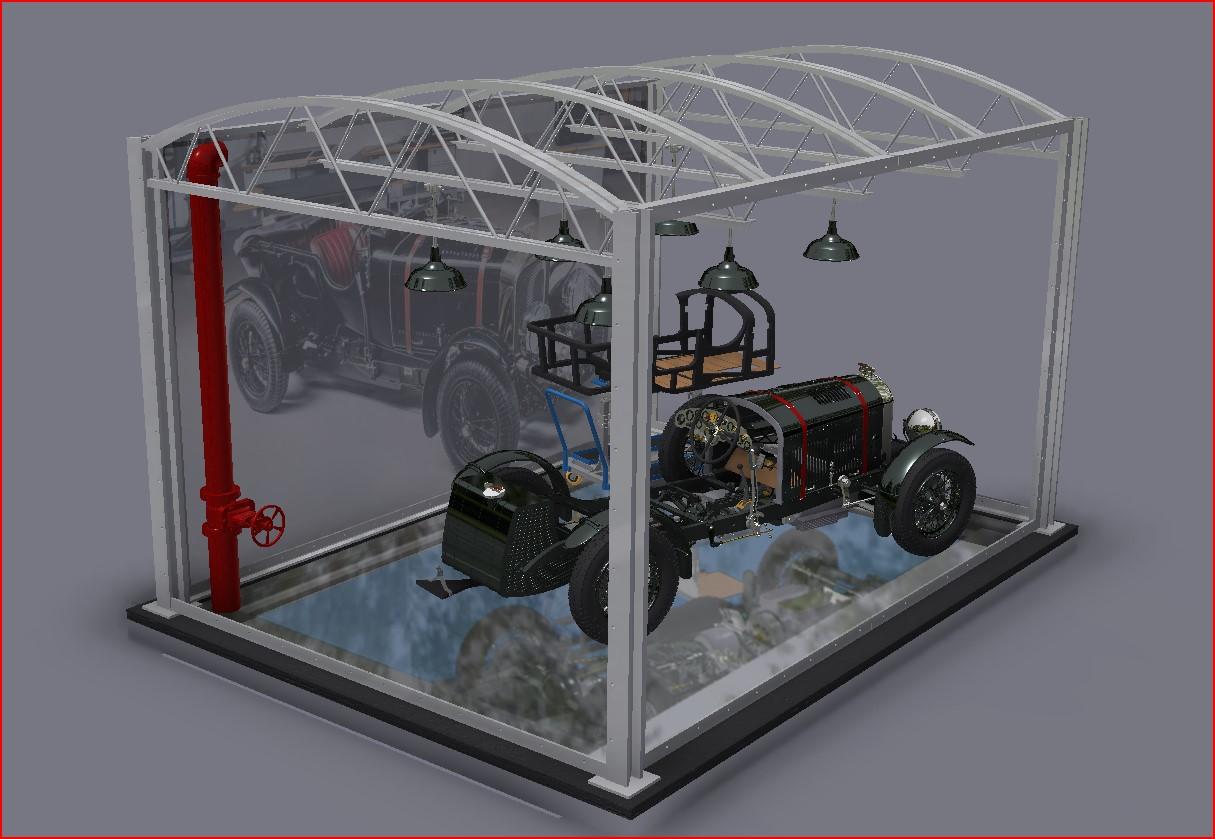

WOW - I love this model and also the showcase - great idea with this steel roof structure
More done on the case today, water piping and lighting finished. I'm still playing around with the frame color but I think flat black would be best.
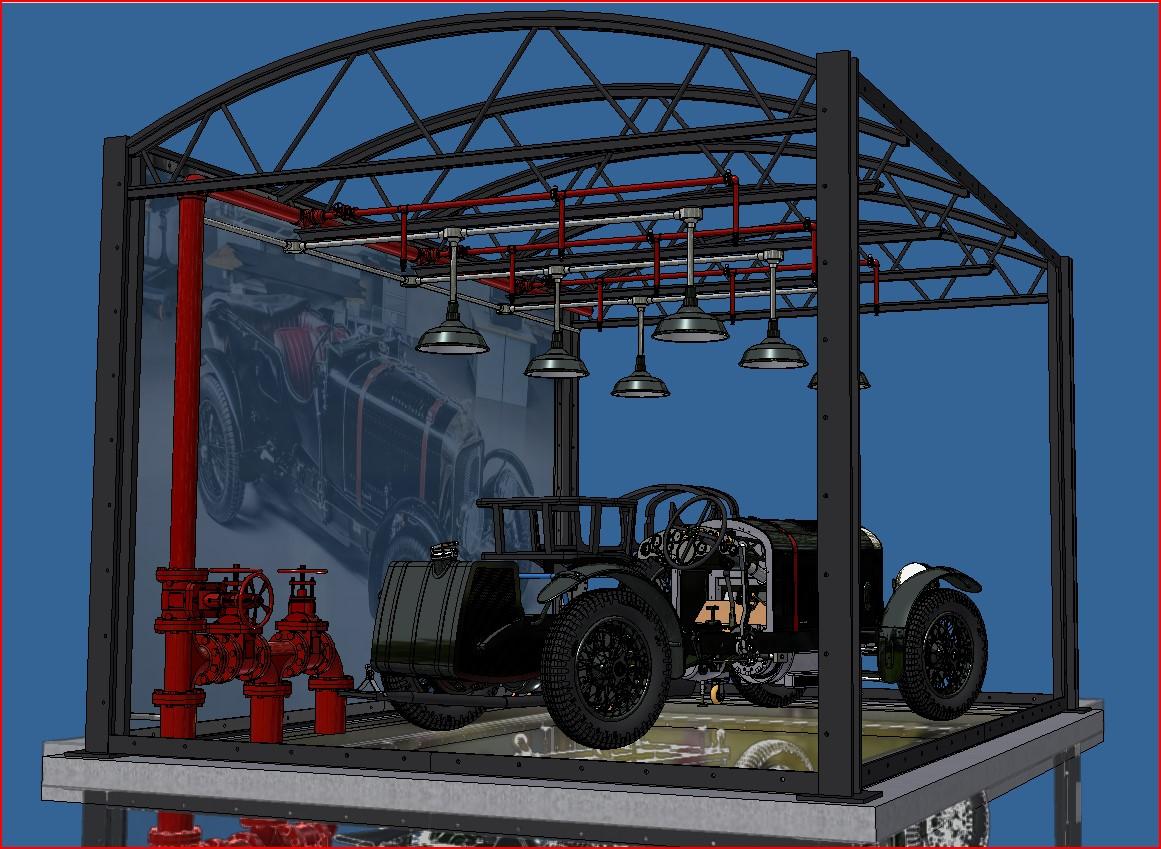
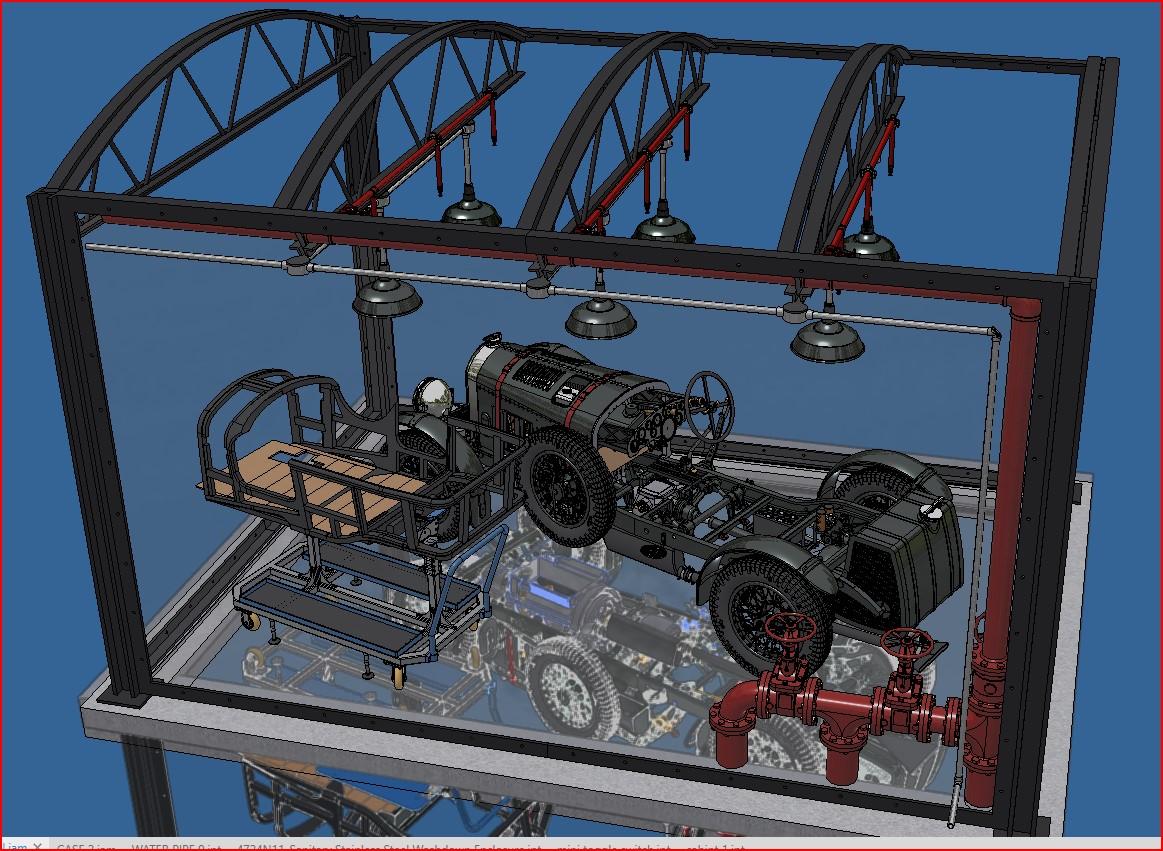
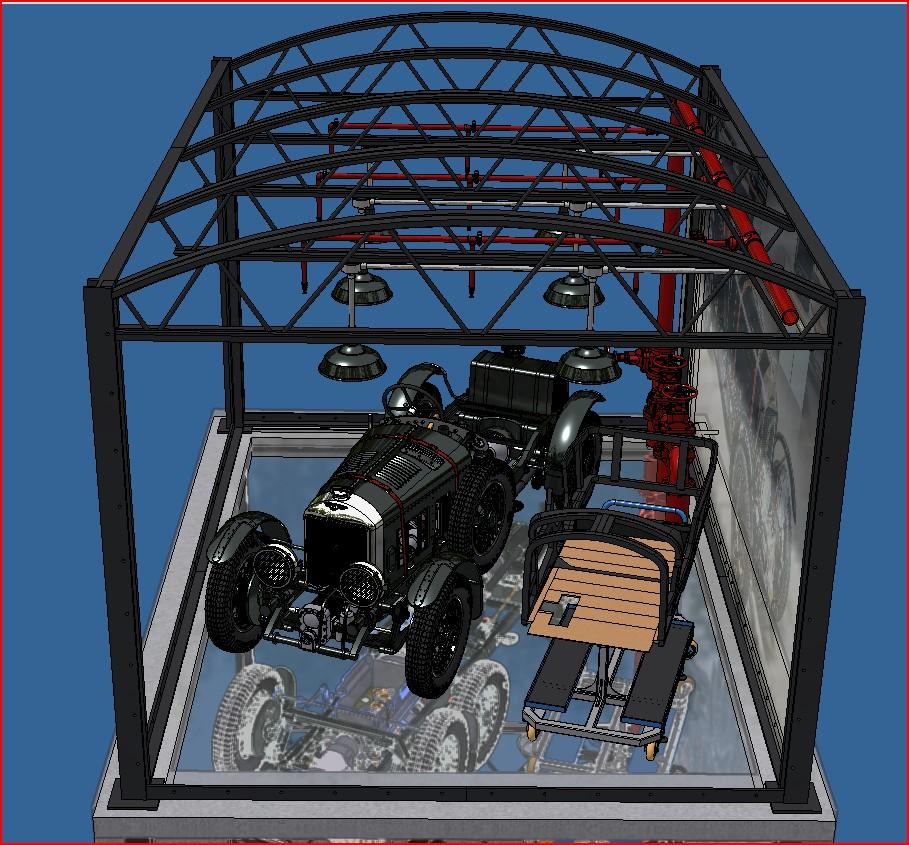


I love it !
Beautifully done.
As far as using black - and with a black car, to me would take the observer's eye off the car somewhat. Shops that I have either worked in (GE manufacturing worldwide) or visited for some reason usually have the supports the same color as the wall or painted a deep red, usually a protective red lead or similar protective paint but have never seen (or noticed) black
As far as using black - and with a black car, to me would take the observer's eye off the car somewhat. Shops that I have either worked in (GE manufacturing worldwide) or visited for some reason usually have the supports the same color as the wall or painted a deep red, usually a protective red lead or similar protective paint but have never seen (or noticed) black
Thanks Dave, I did think of oxyde red (ordinary primer). The idea with the black and red pipes was to match the theme colors of the car. In my view, the display case should be an integral part of the total set up and l would like it to be looked at as much as the car itself. Nevertheless, I'lI try the red oxyde on the 3d model and post pictures.
Last edited:
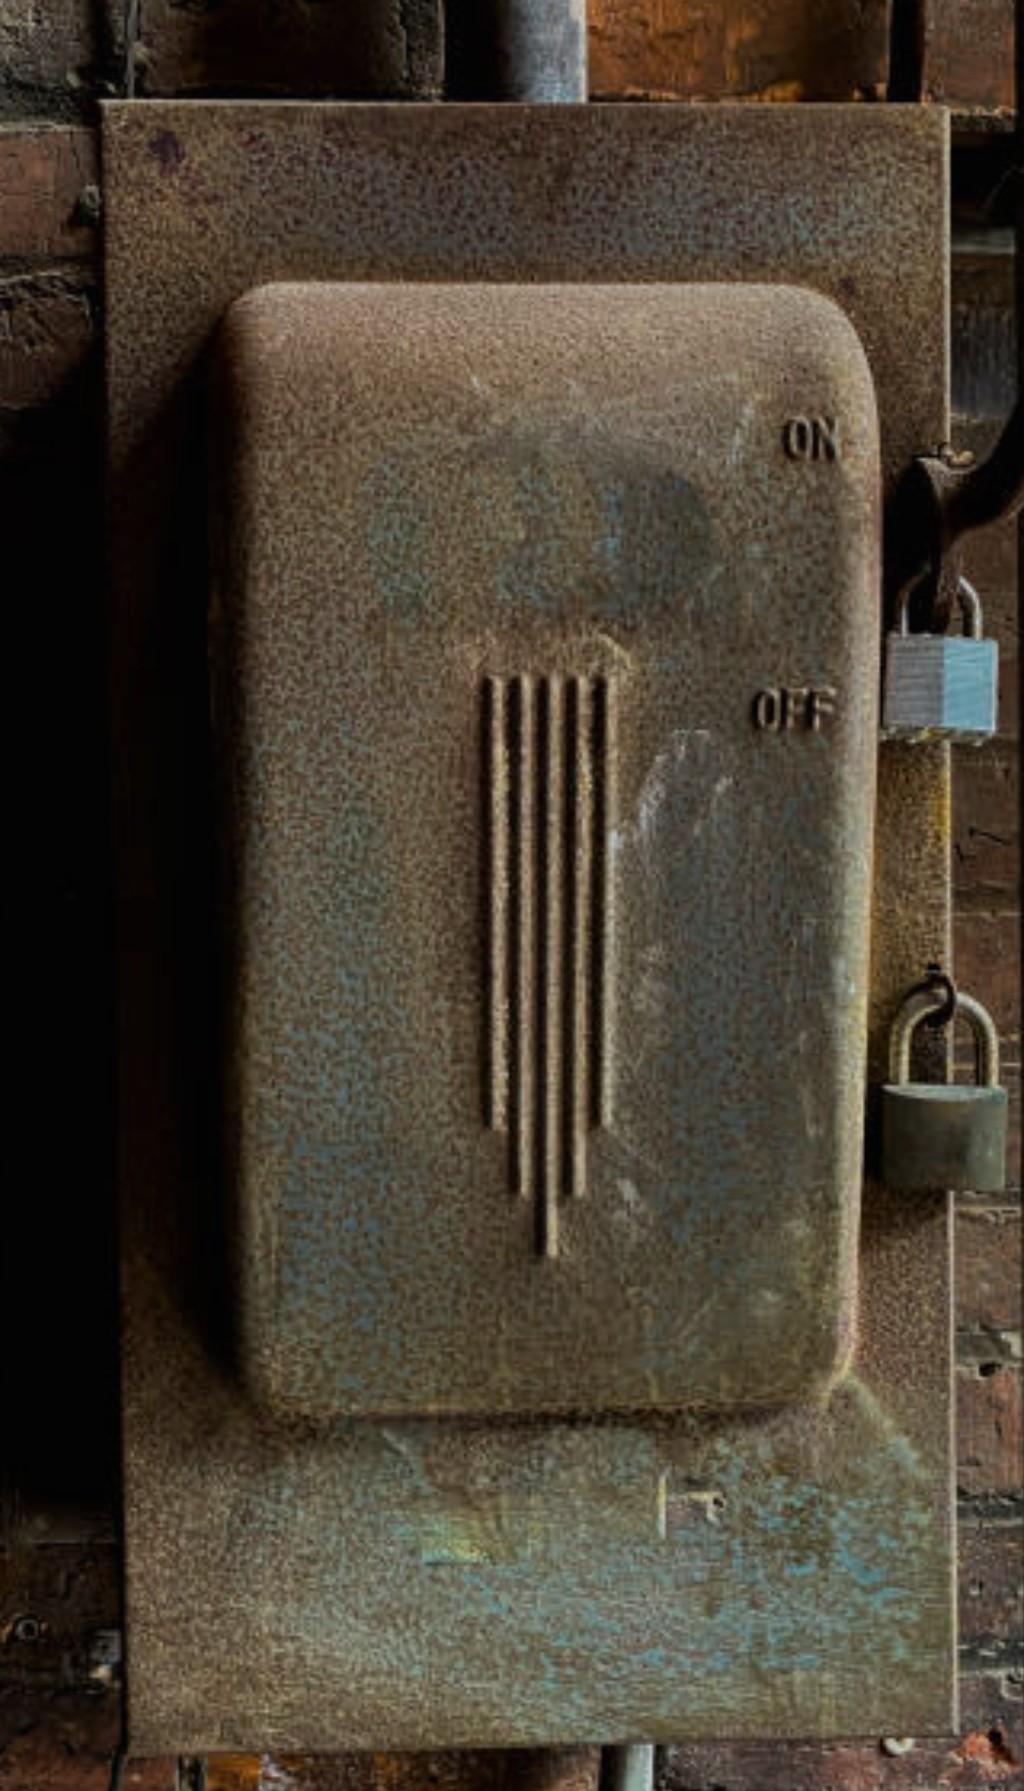
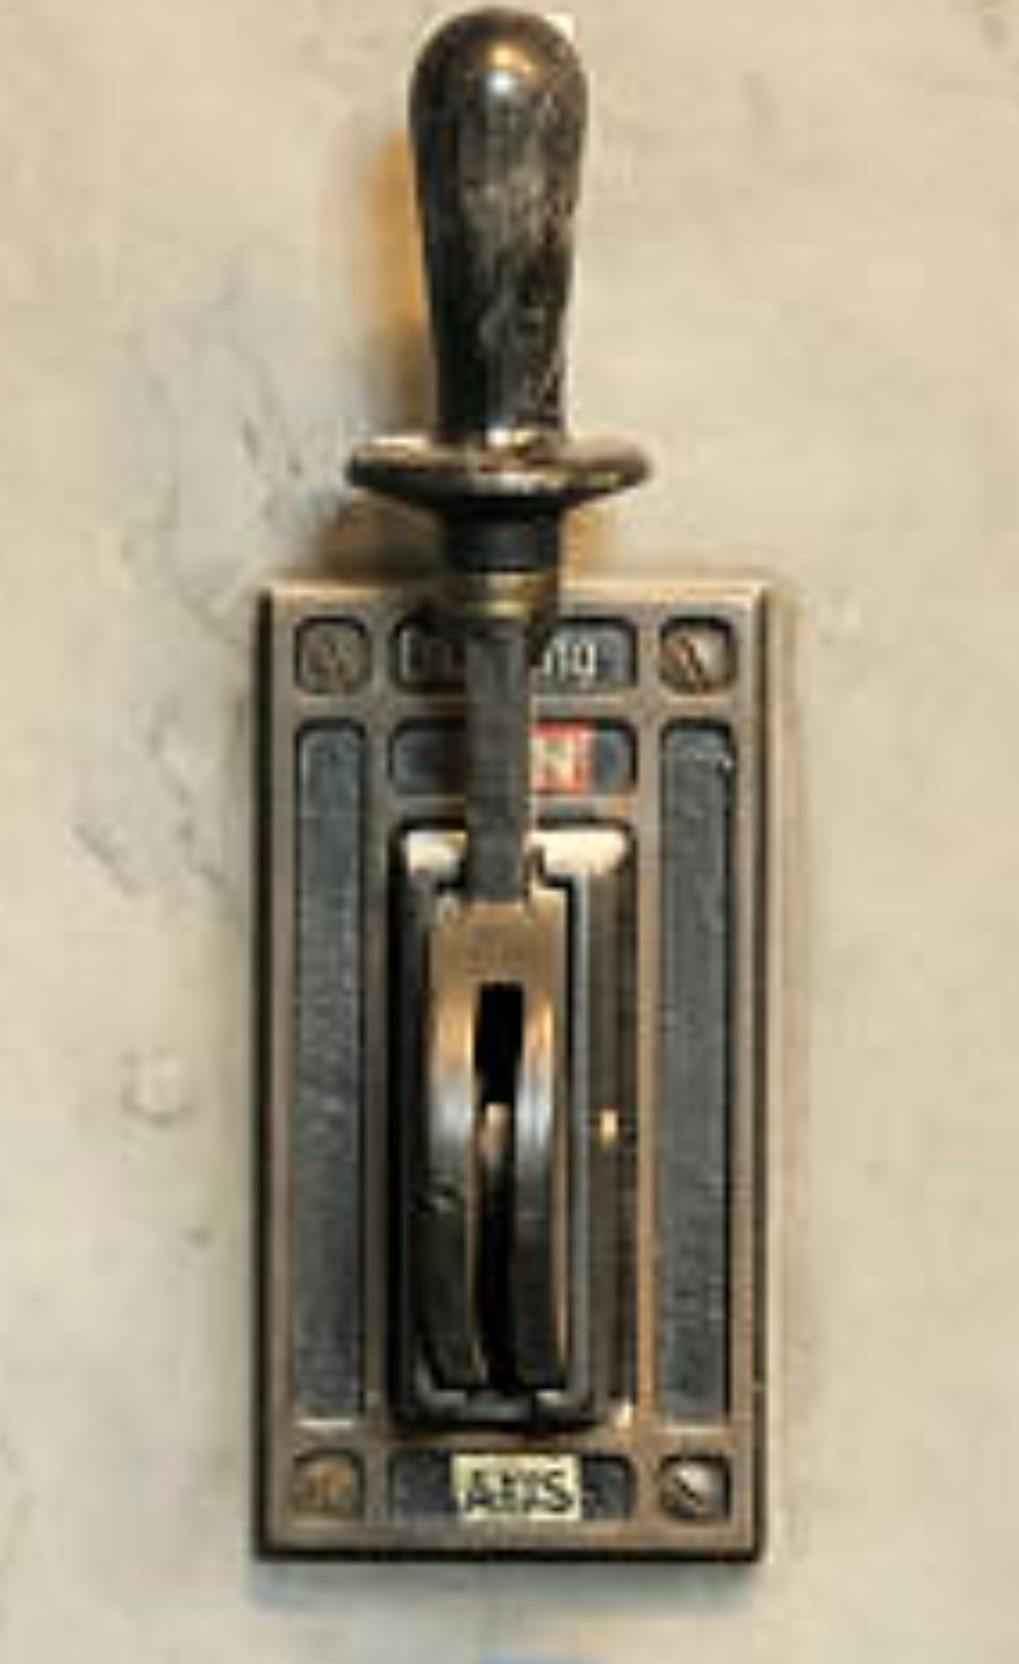
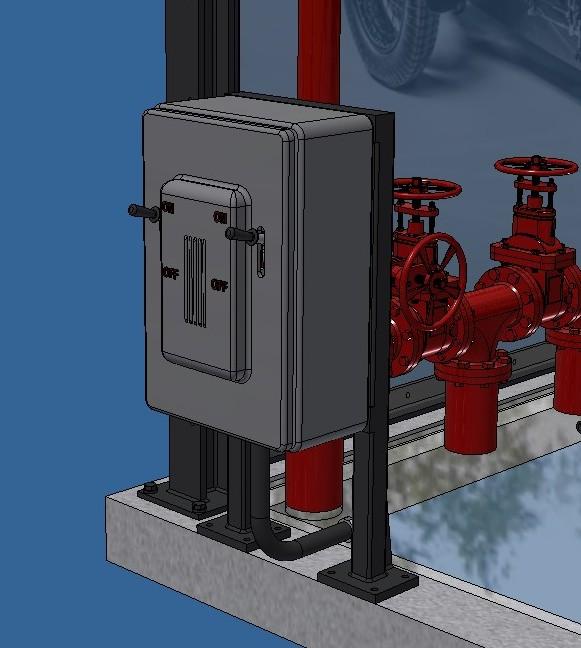
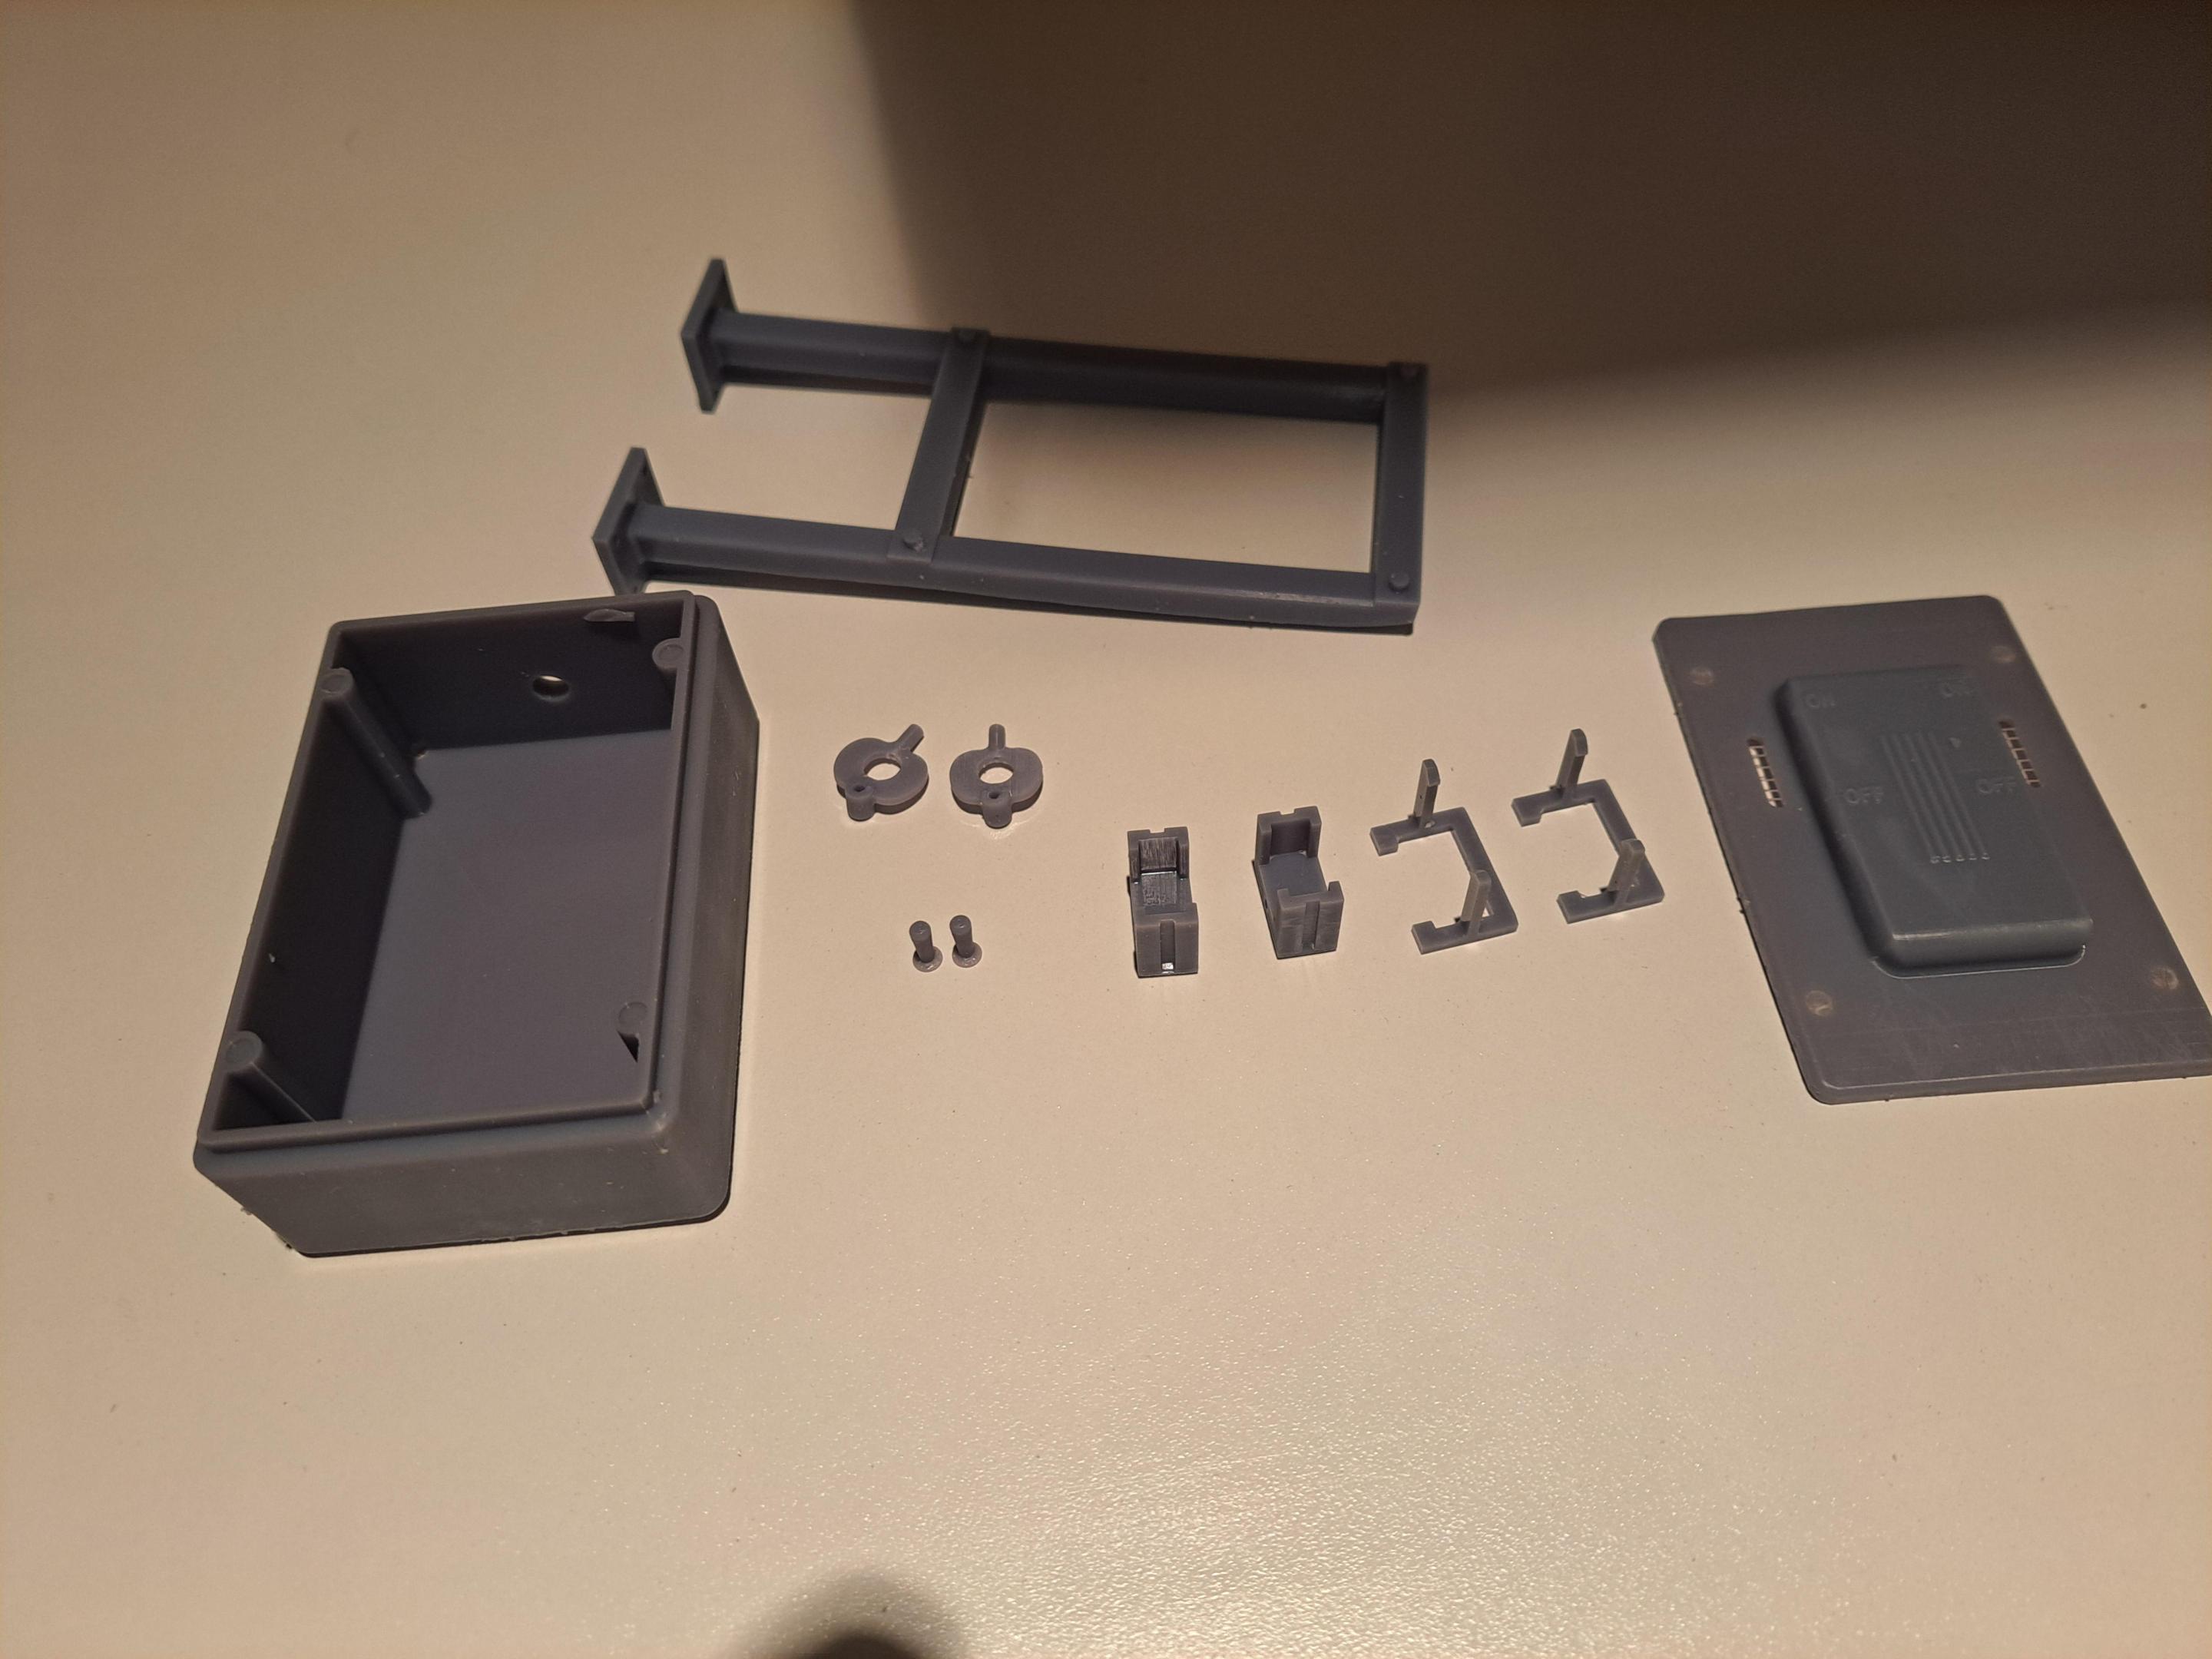
I worked on the display's electrical box. This box will house the batteries and switchs to activate the car's head lights and engine. I wanted to give the box à vintage look and at the same time incorporate 2 levers. I opted for an old disconnect box but normaly, these type of boxes have only 1 lever, I had to adapt a bit. The complete electrical box assembly will be permanently fixed on the outside of the base. It will be possible to remove the display case from the base whitout removing the electrical box.
This was my inspiration for the box
And for the lever
Here's the 3d model
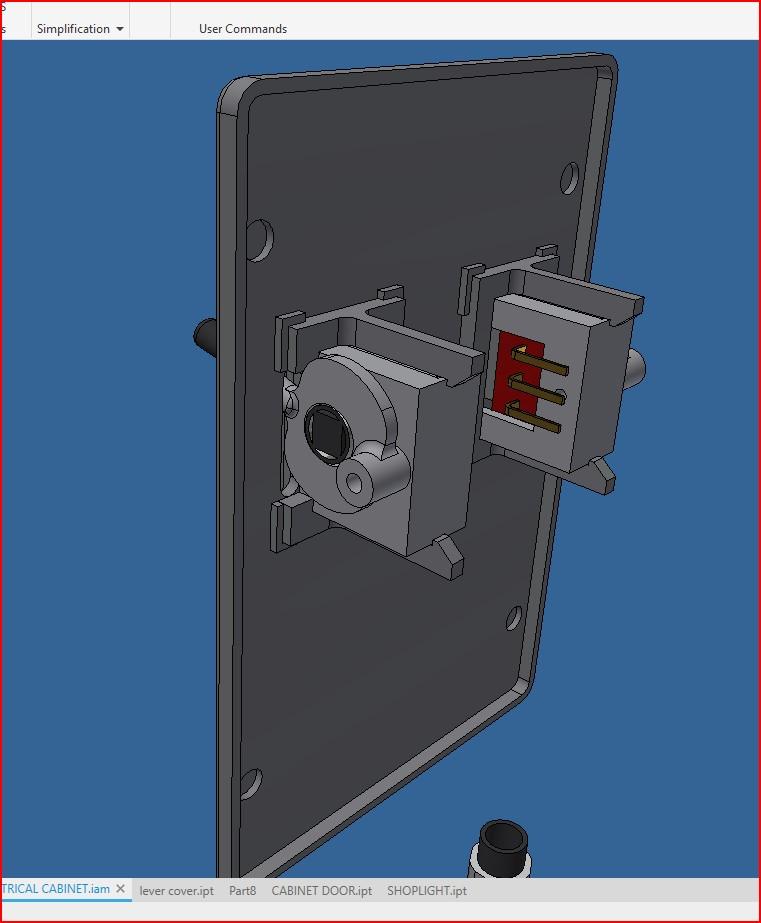
I incorporate 2 slider switchs inside that will be actuated by the lever. Since I'm not too sure of the quality of these switchs, l designed a snap in switch holder so that if they fail, I can easily replace them. Naturally, the lid is remocable and held in place with magnets.
Some of the parts printed. The lid and support frame ate not correct and will be reprinted.
View attachment 20240320_210323.mp4
This was my inspiration for the box

And for the lever

Here's the 3d model

I incorporate 2 slider switchs inside that will be actuated by the lever. Since I'm not too sure of the quality of these switchs, l designed a snap in switch holder so that if they fail, I can easily replace them. Naturally, the lid is remocable and held in place with magnets.

Some of the parts printed. The lid and support frame ate not correct and will be reprinted.

View attachment 20240320_210323.mp4


