Ok so it's hood update time.
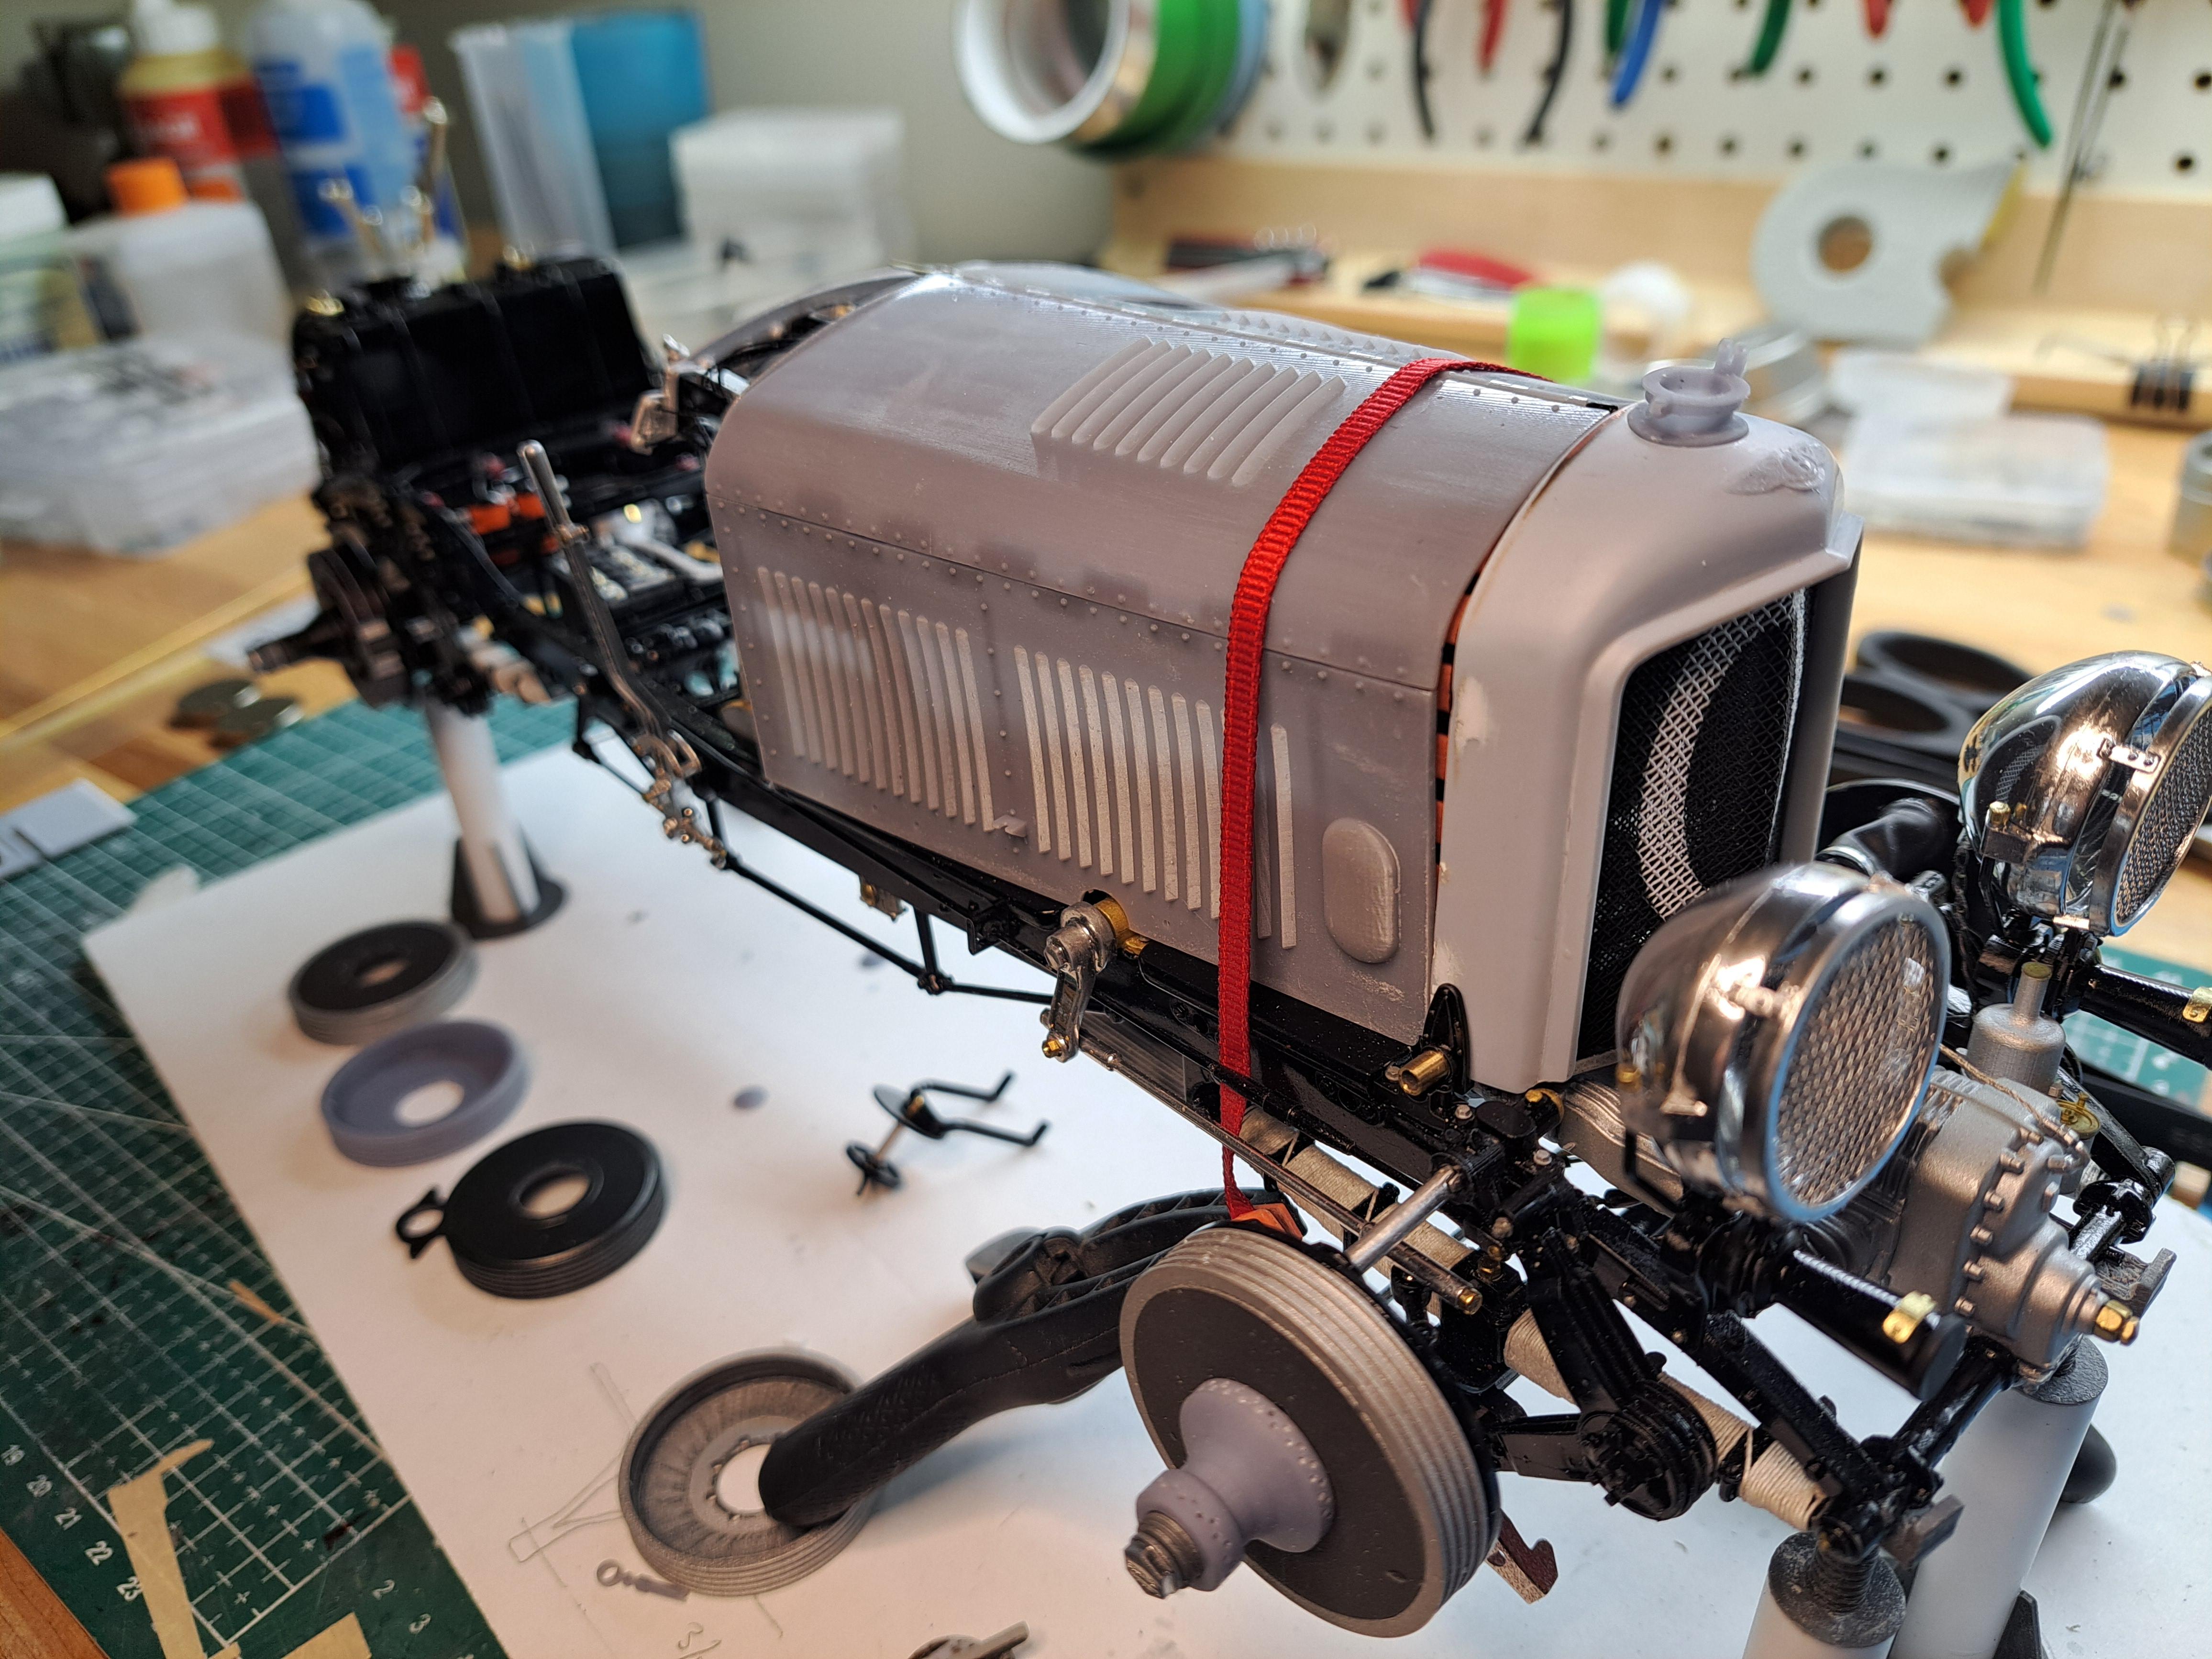
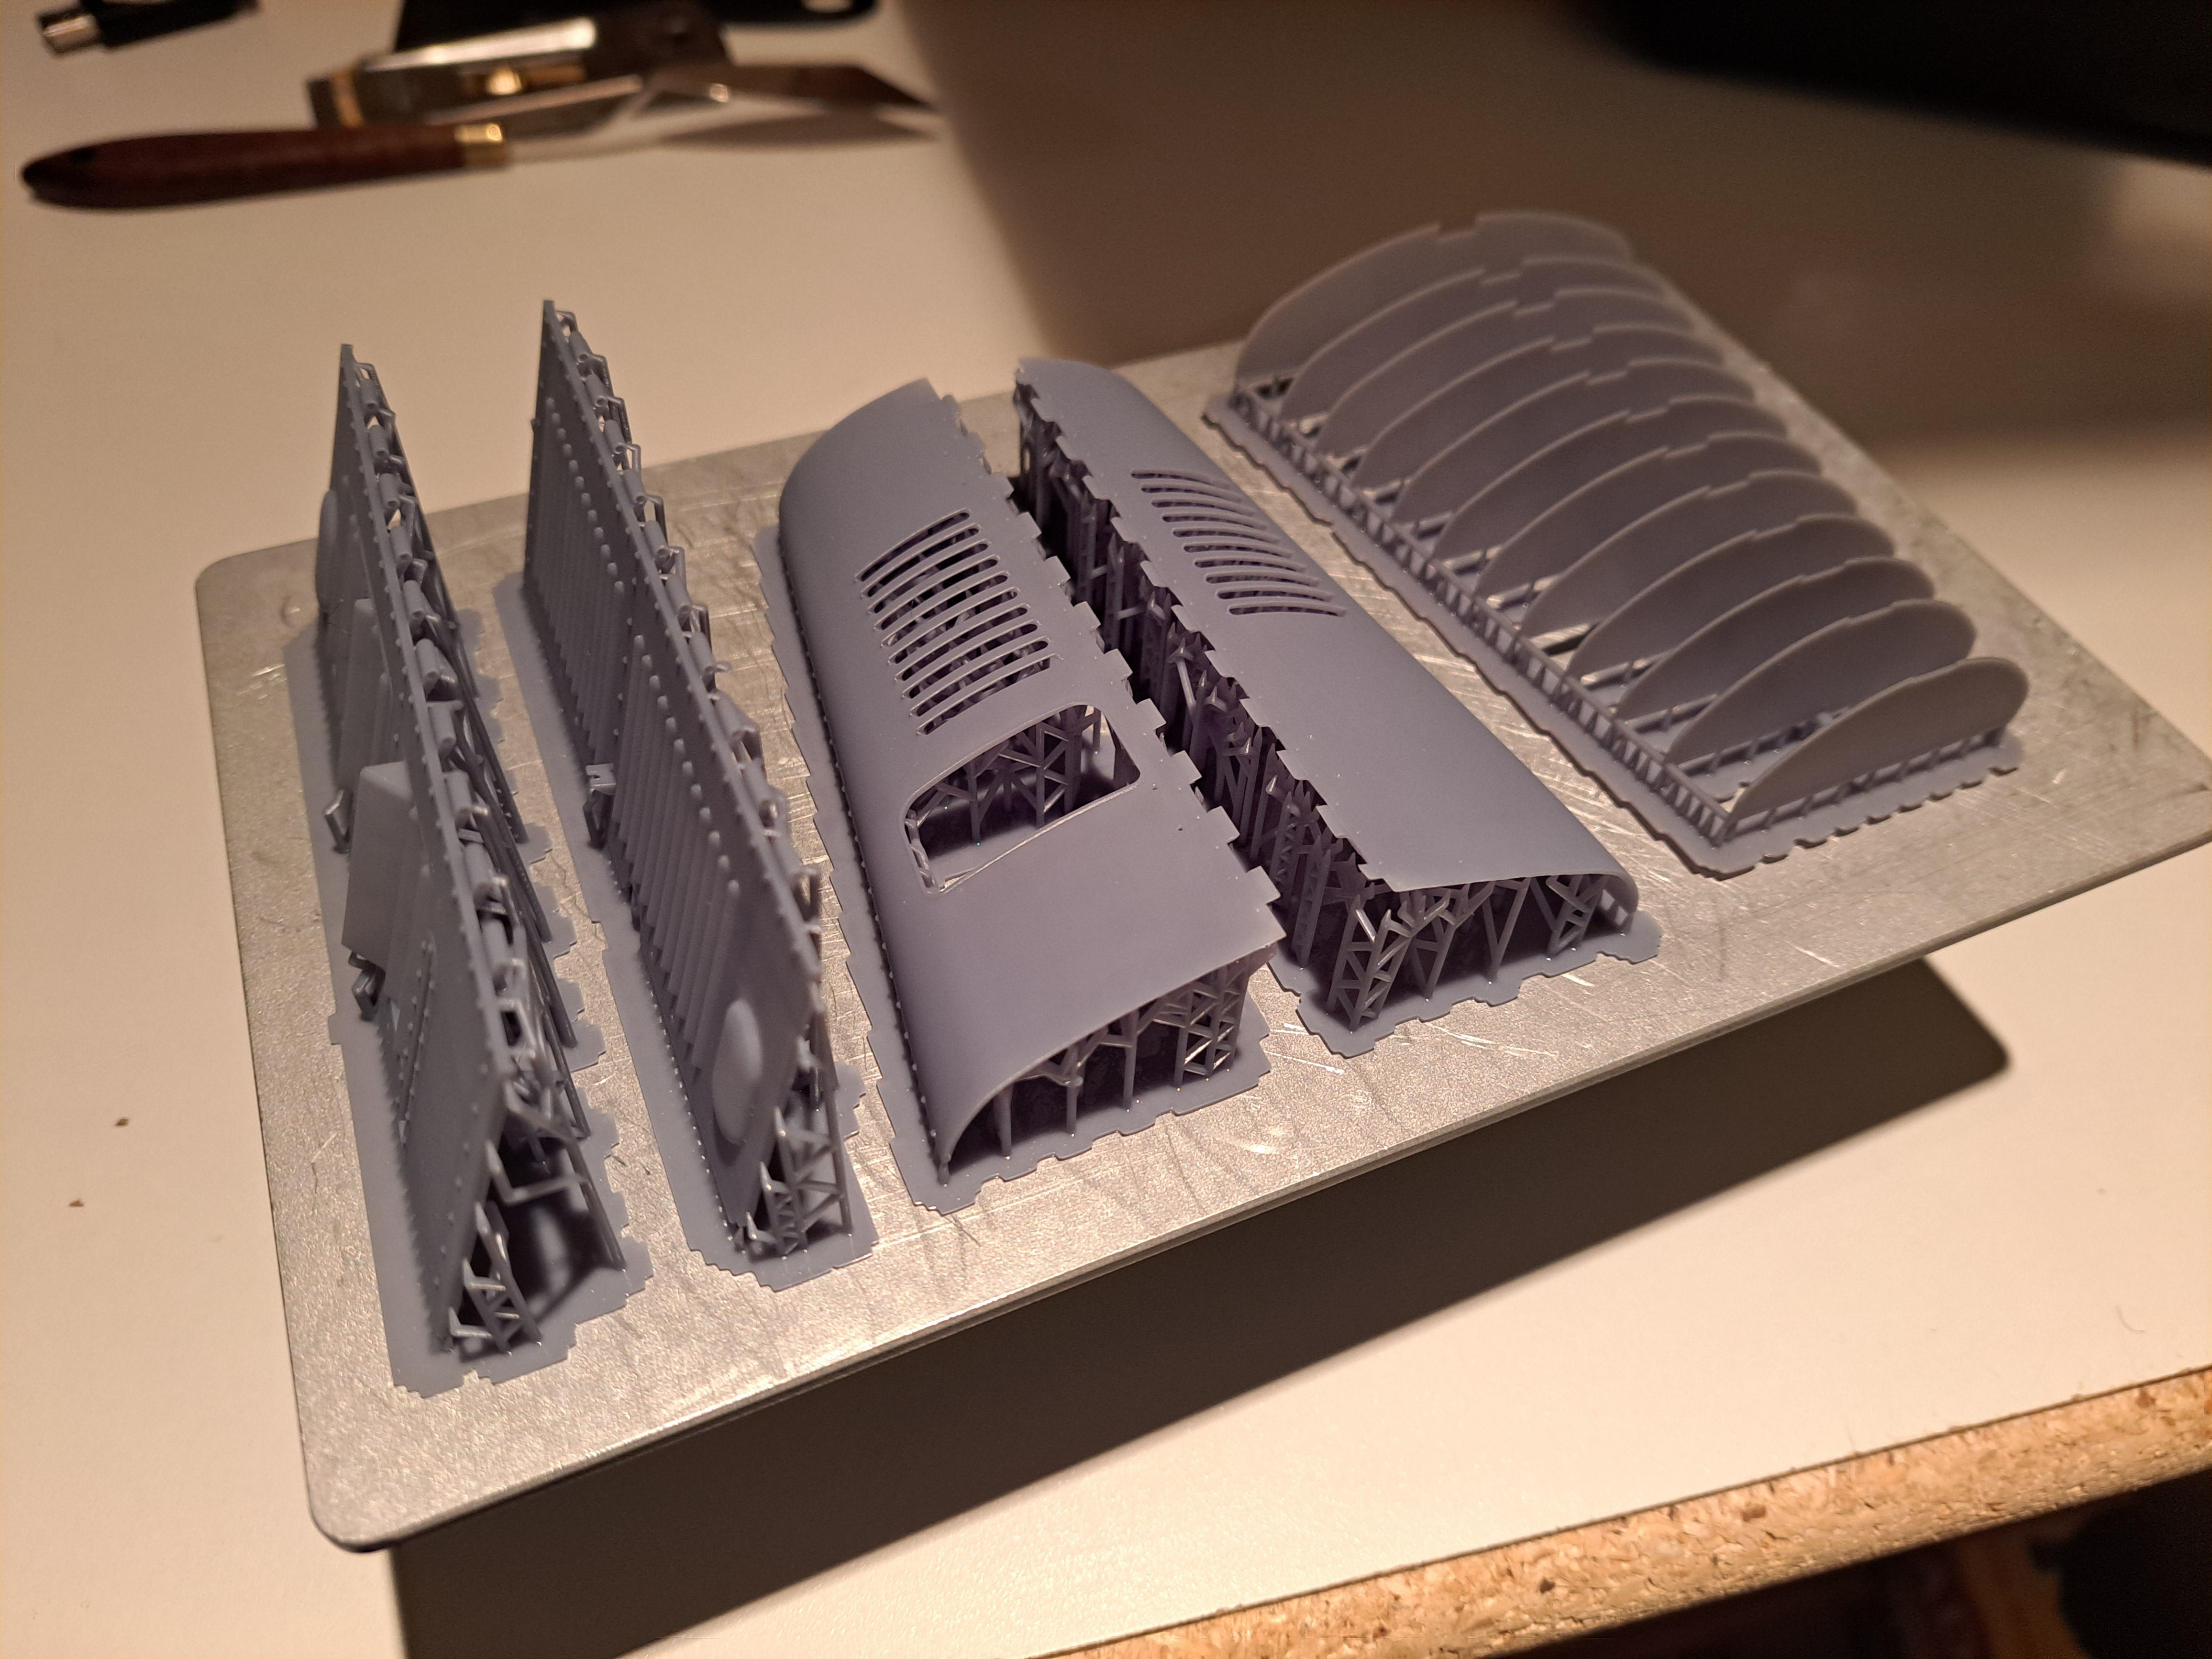
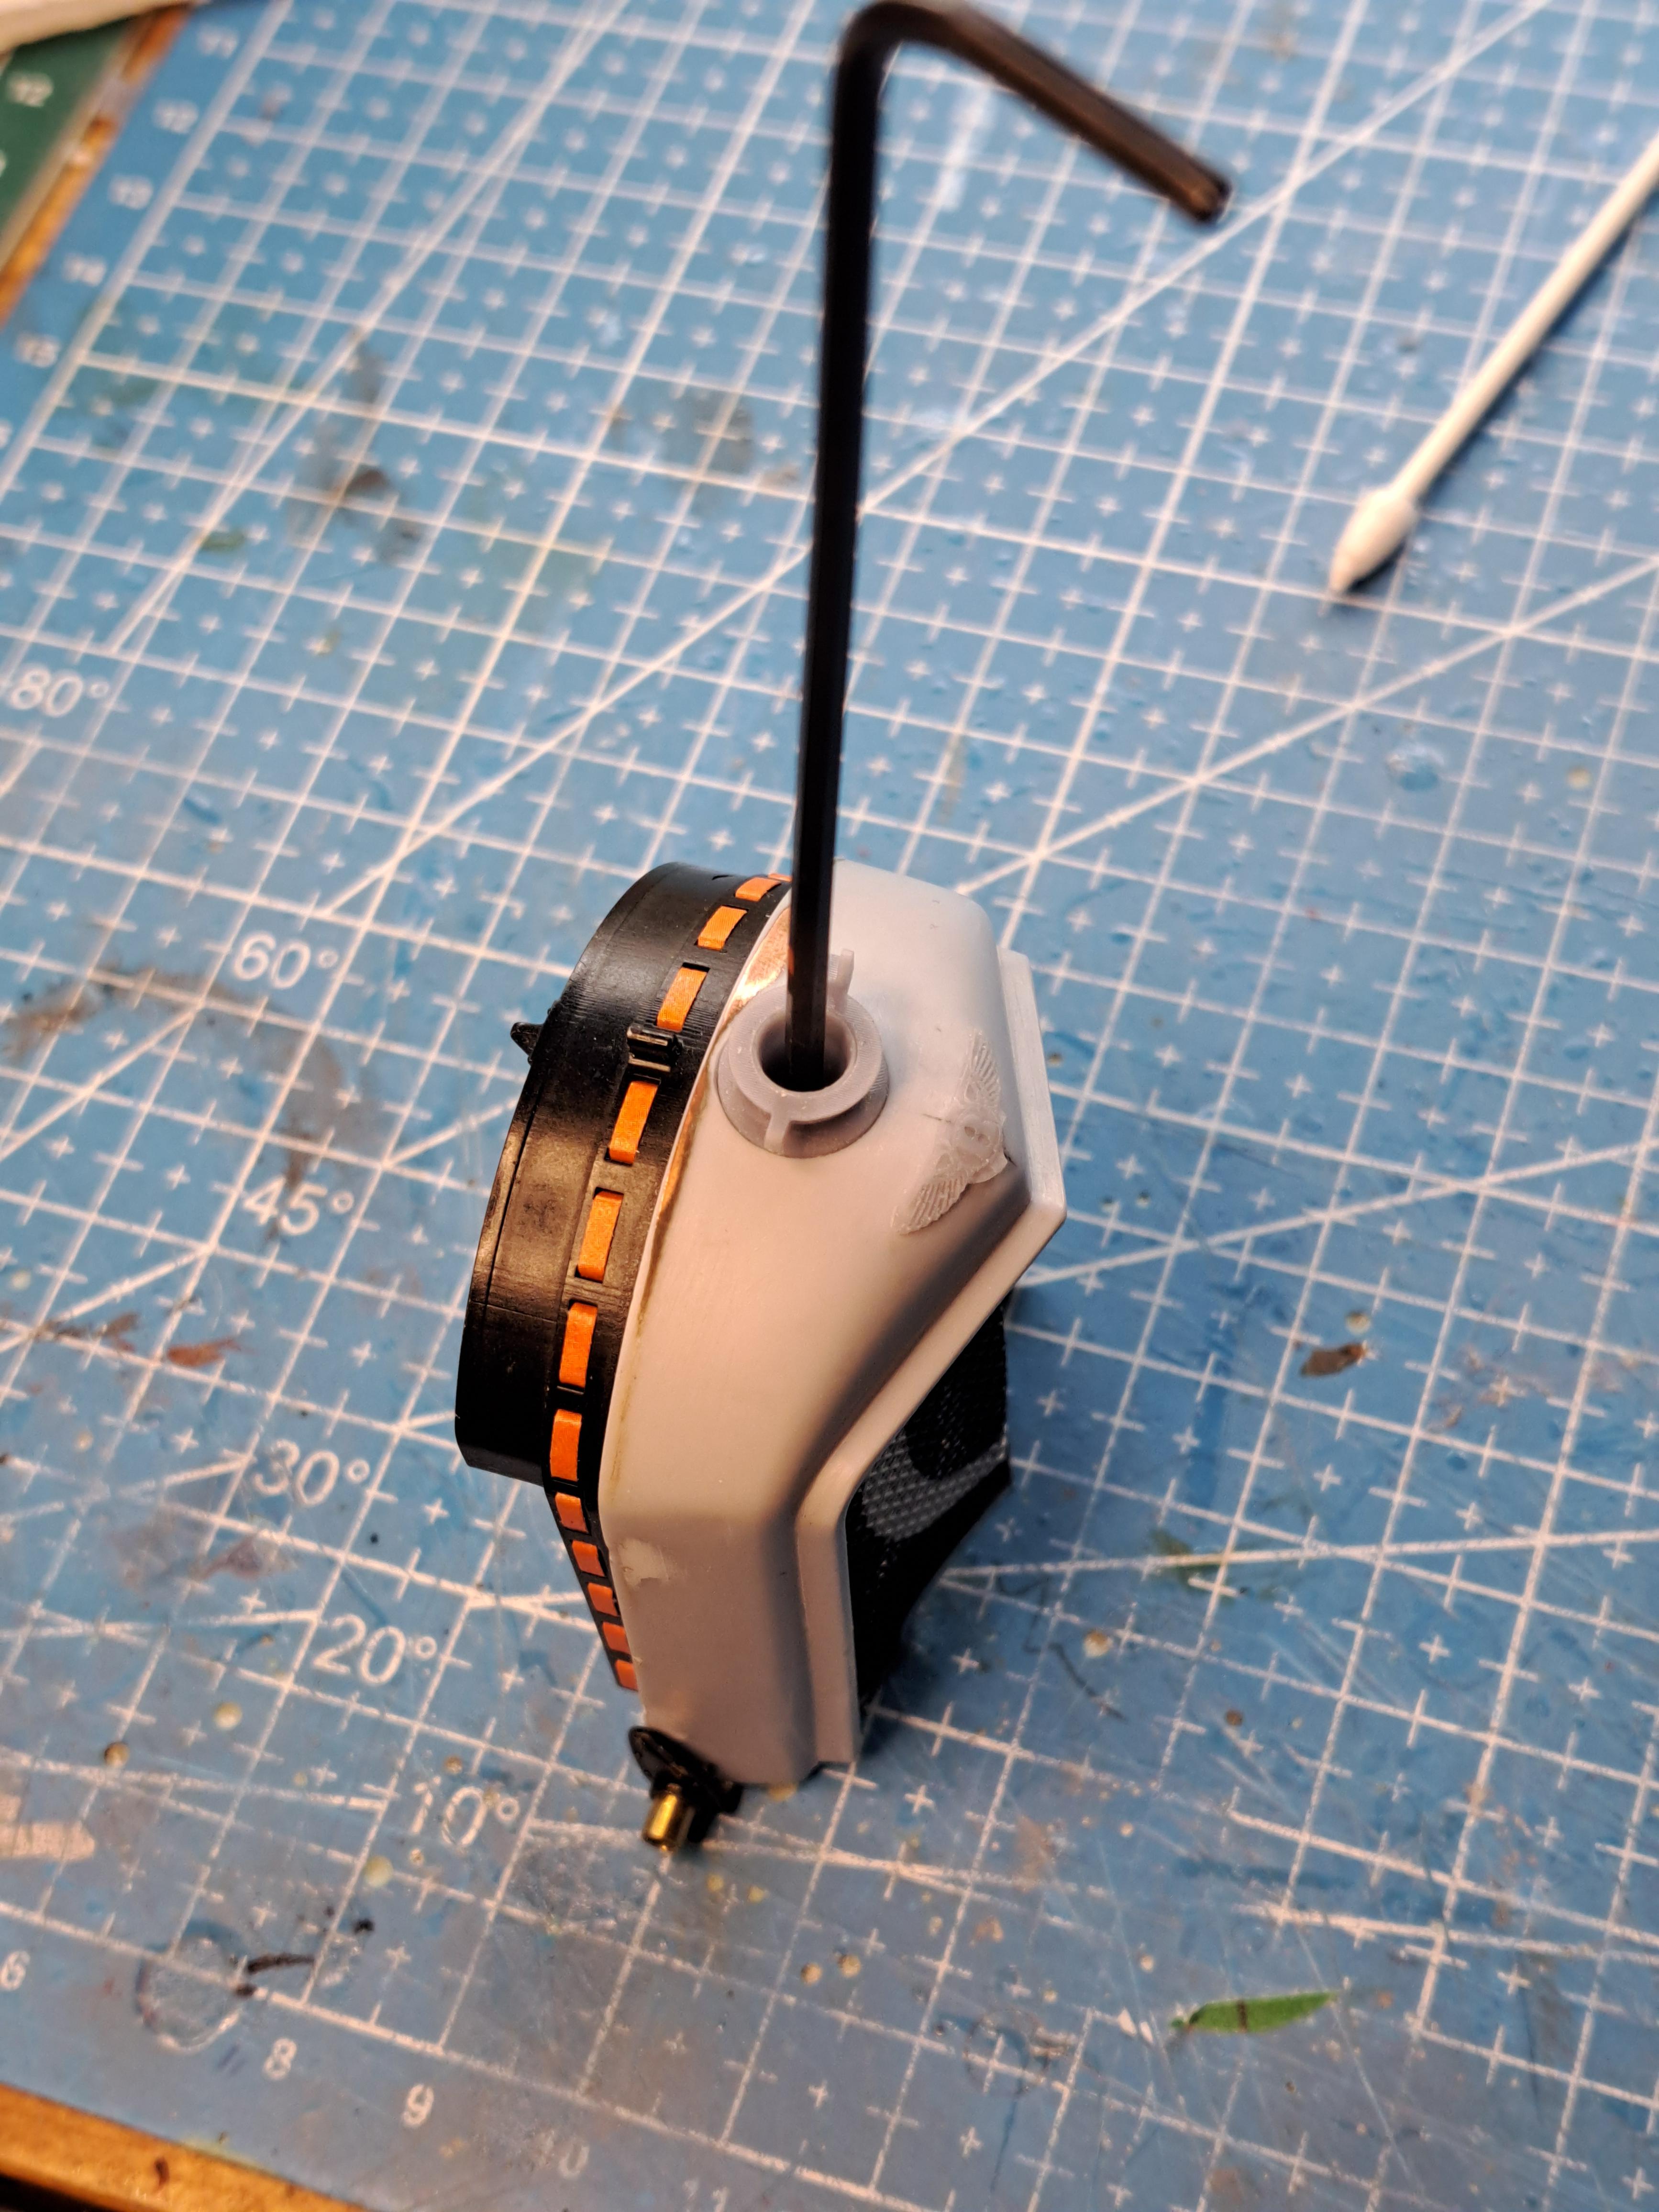
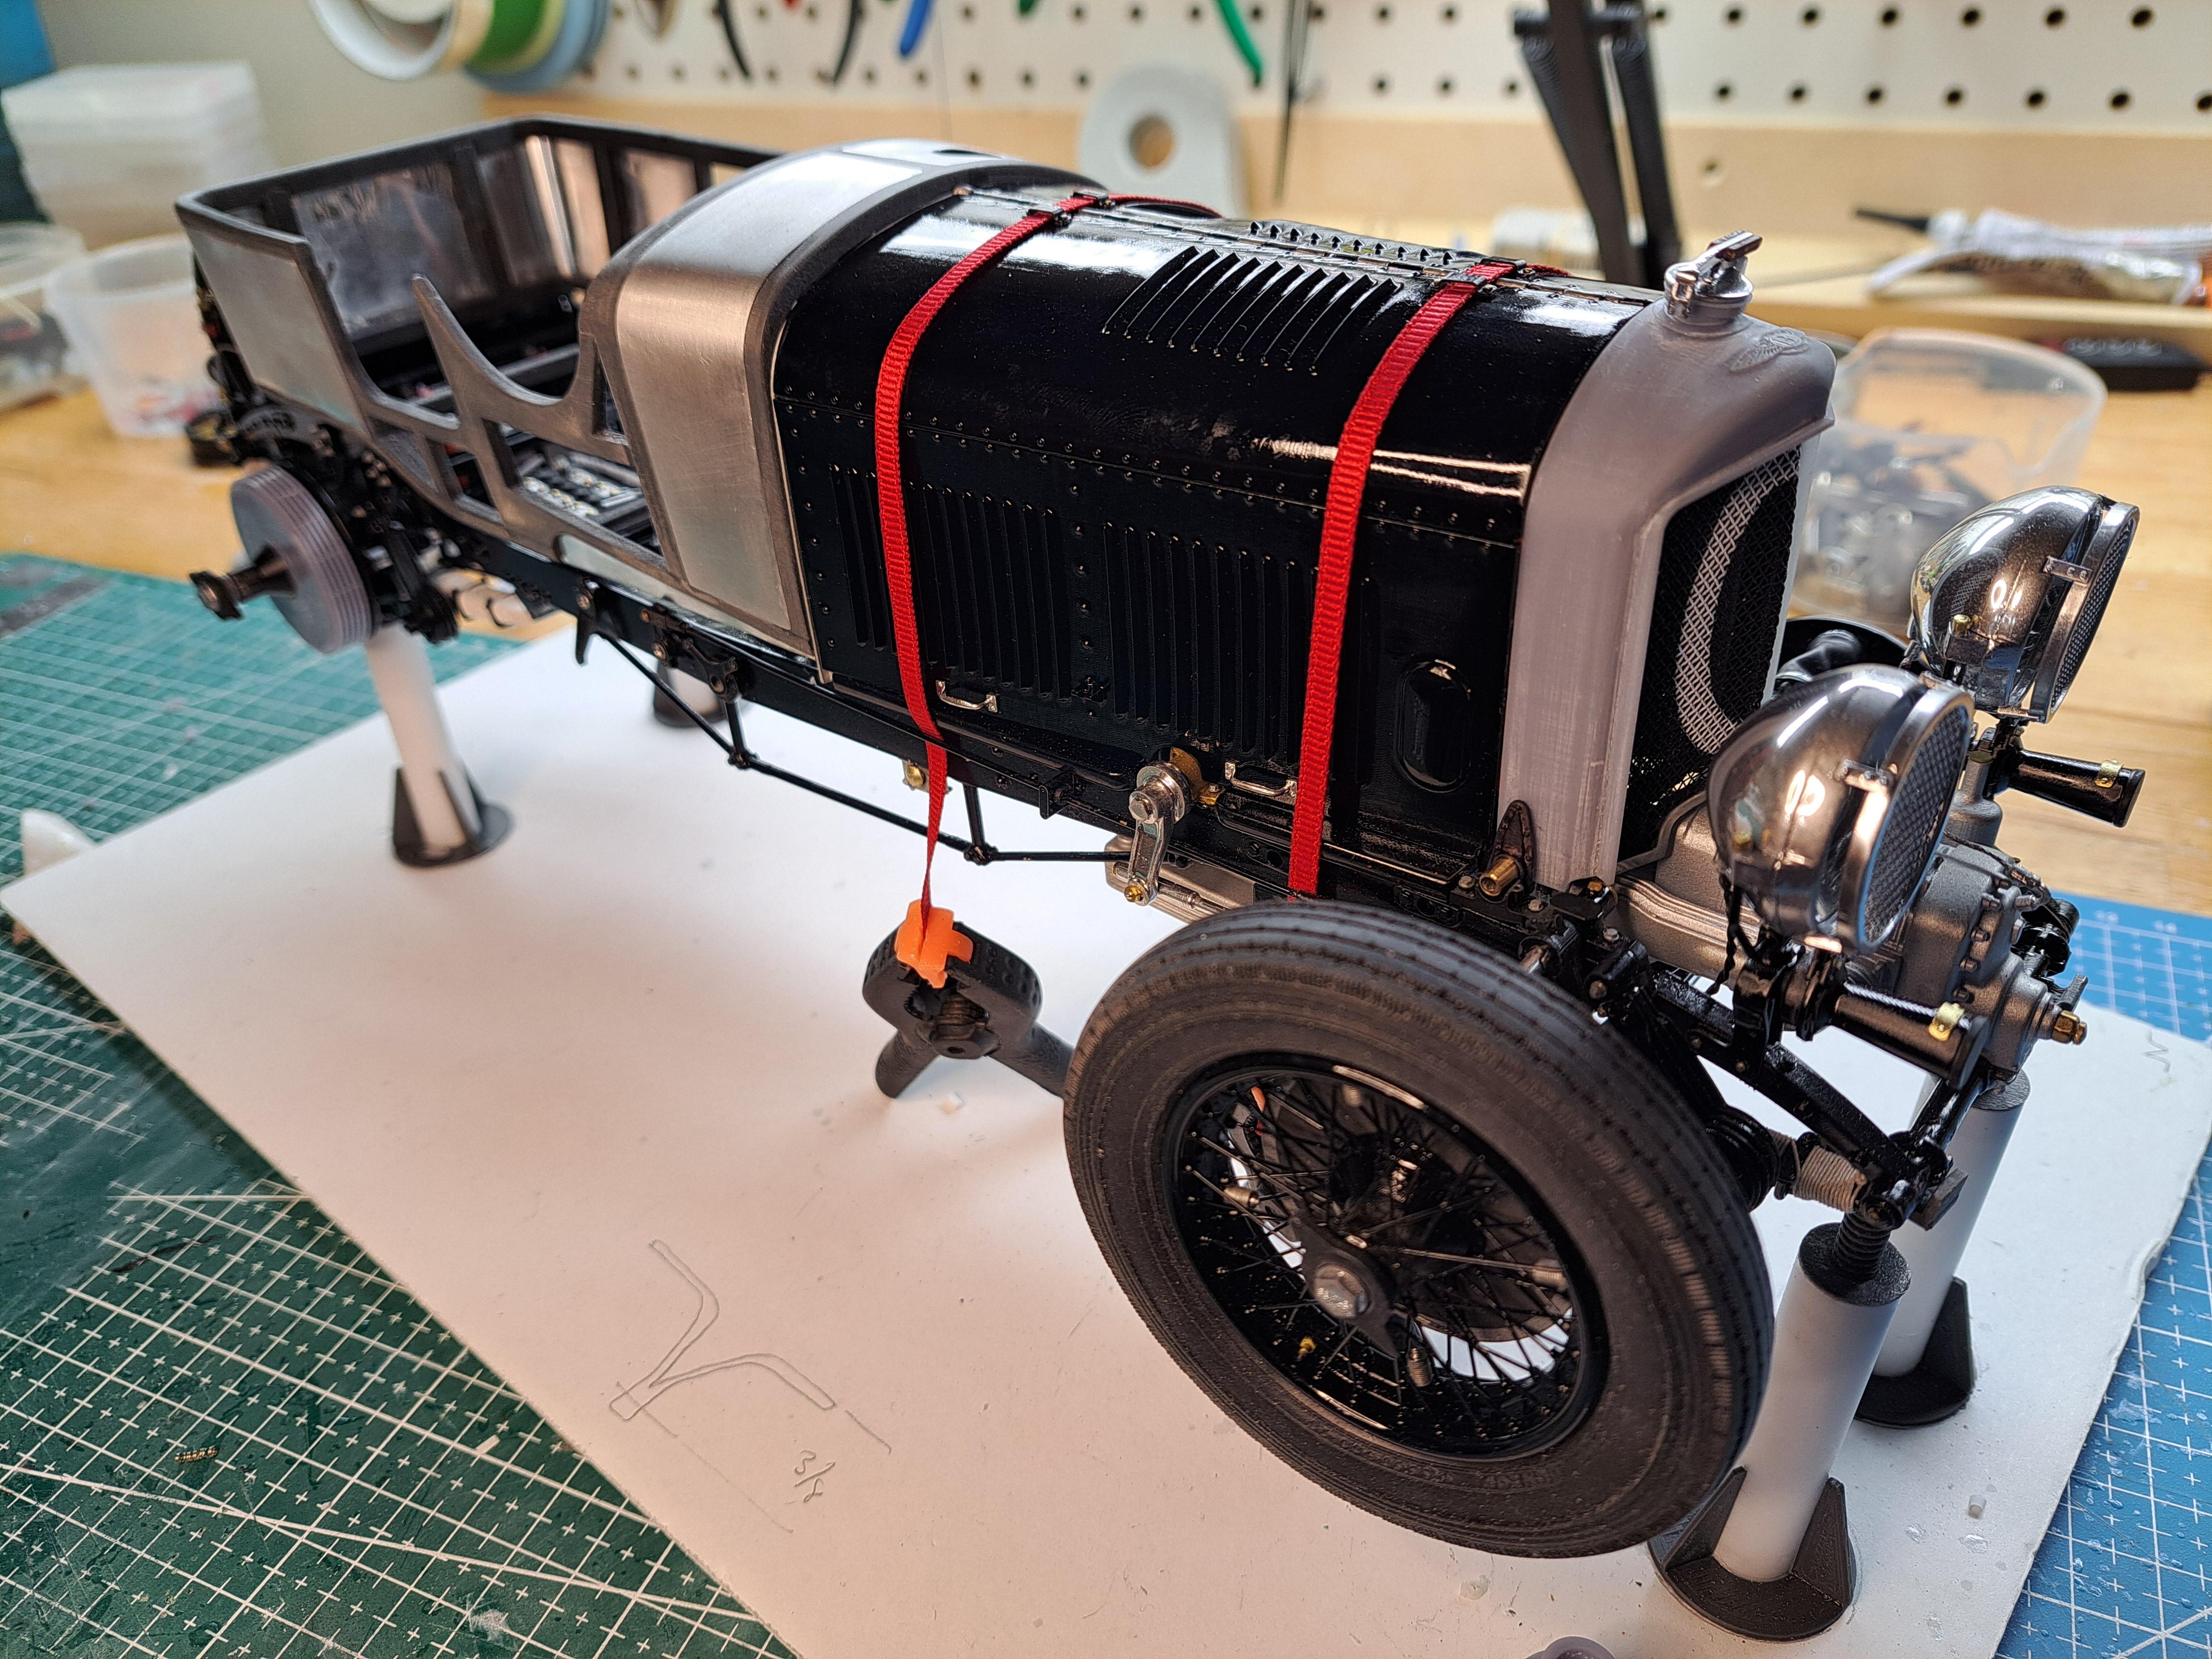
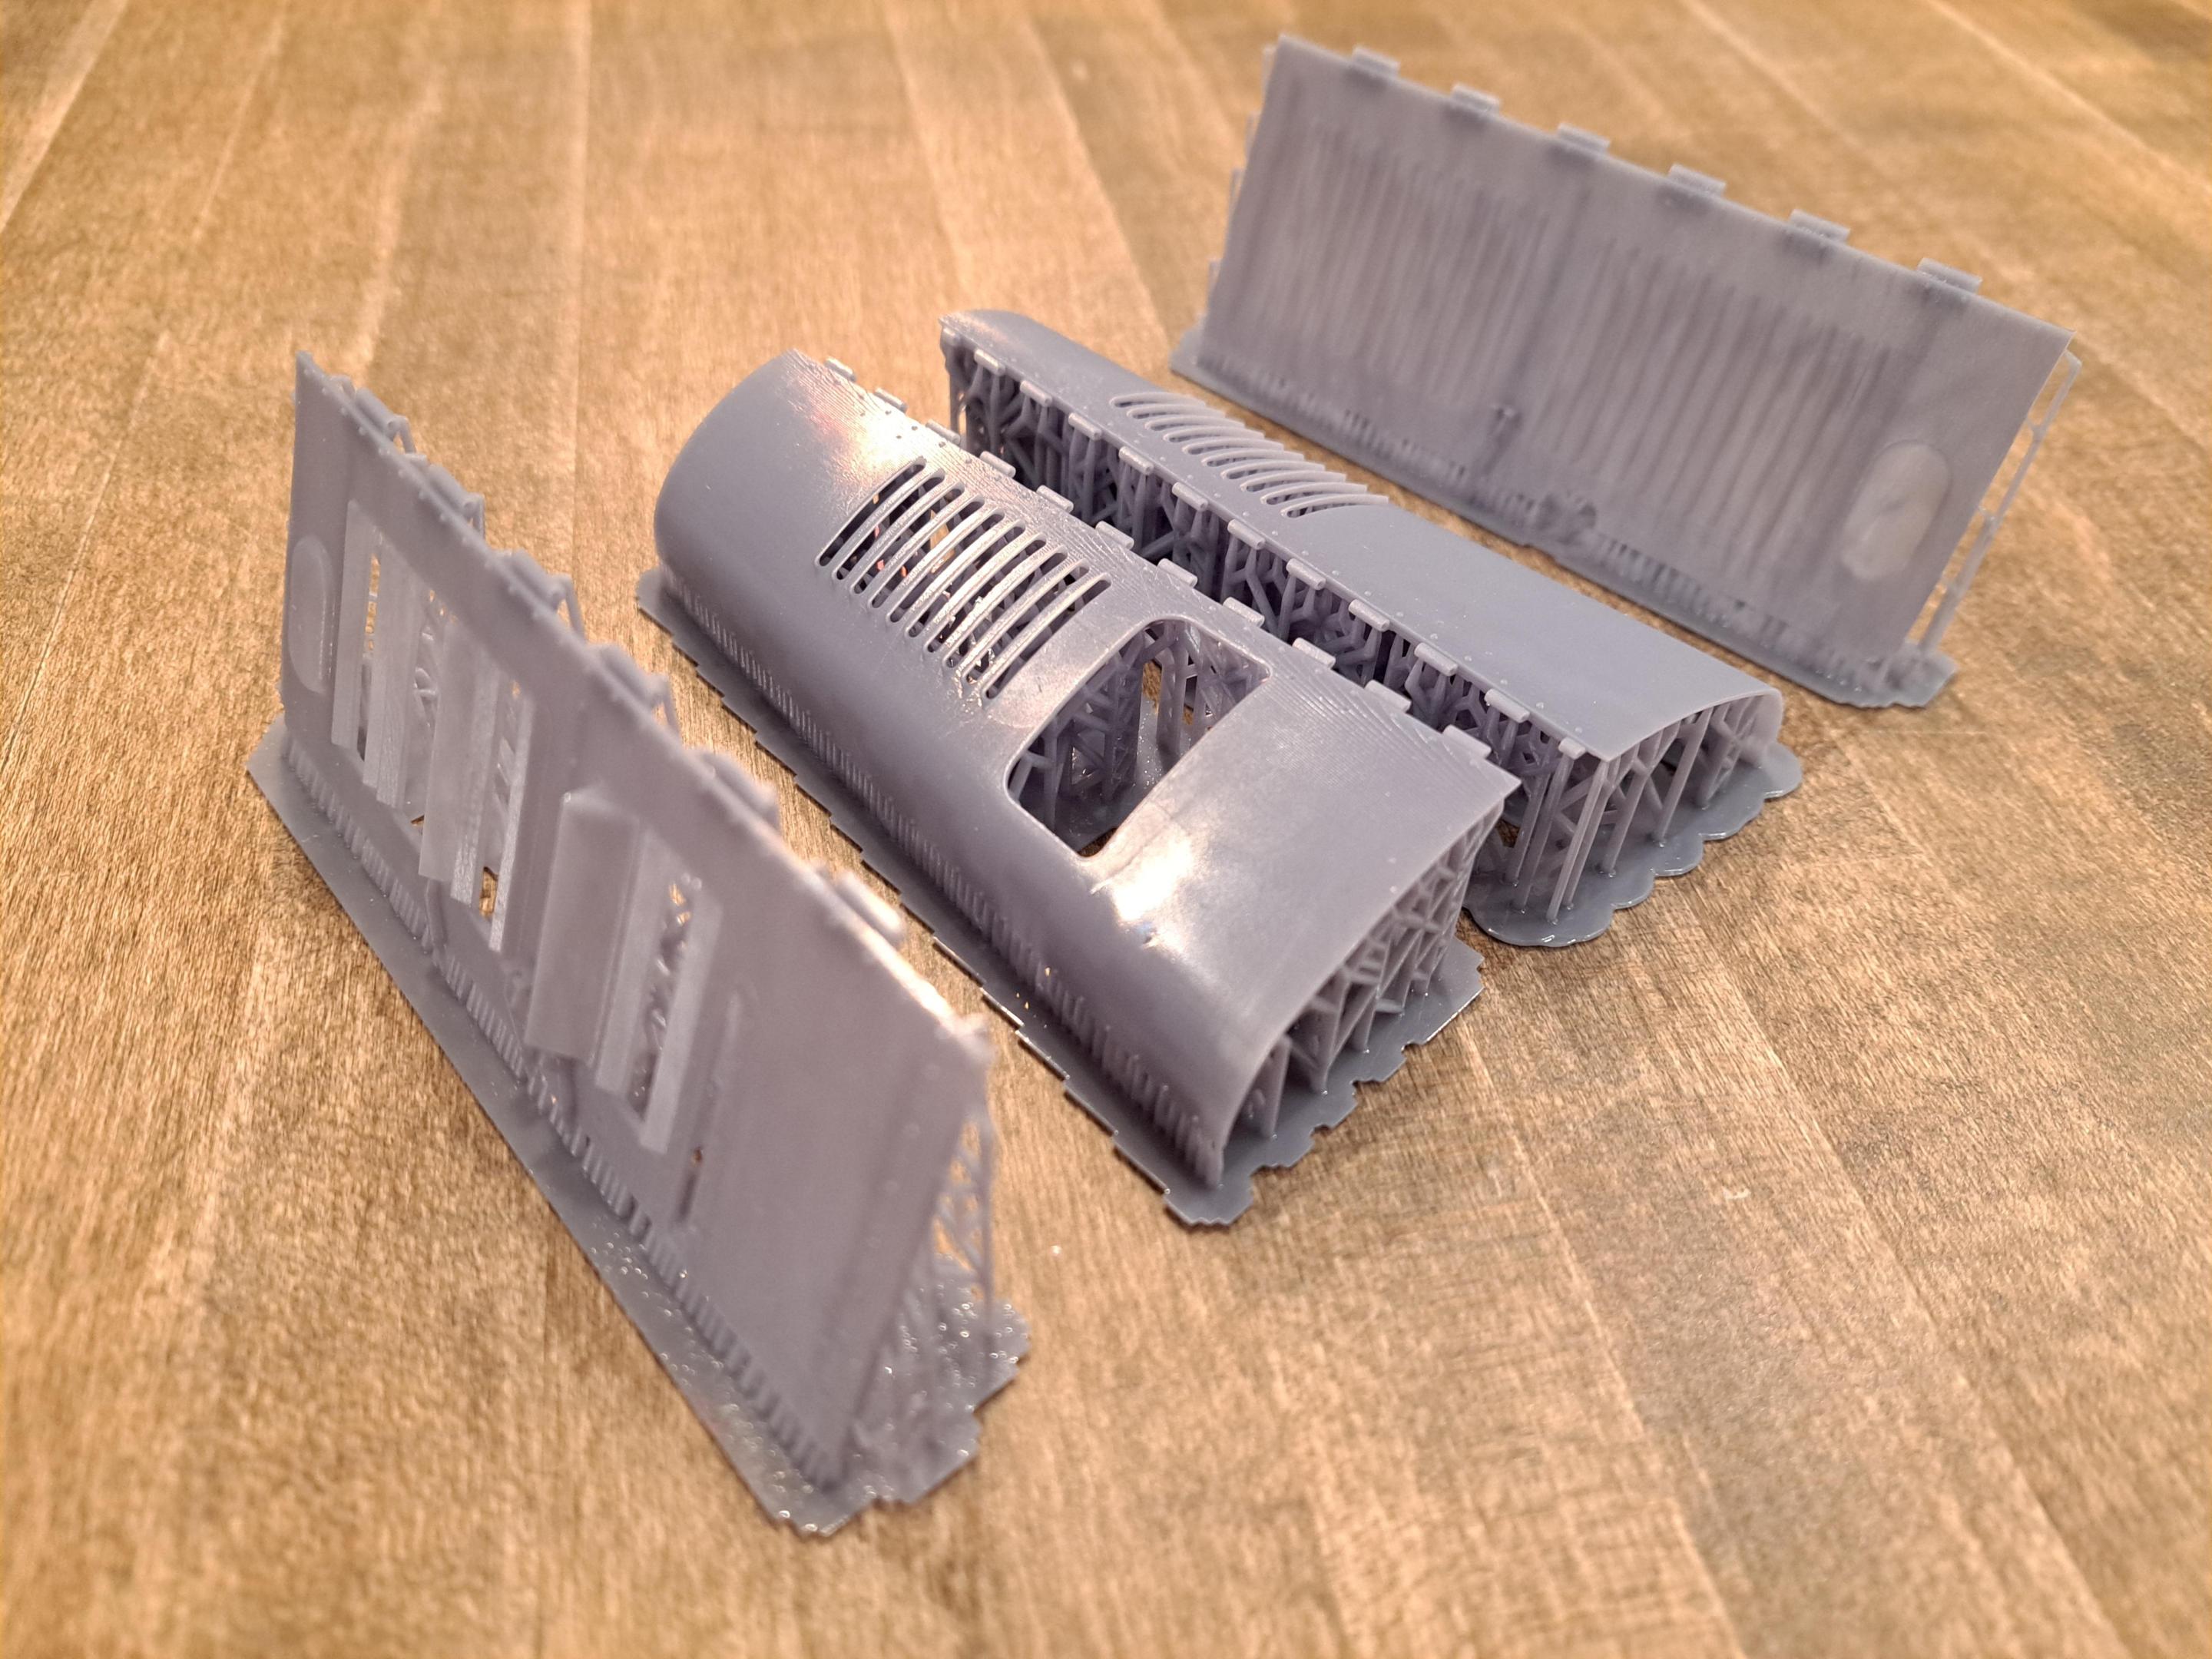
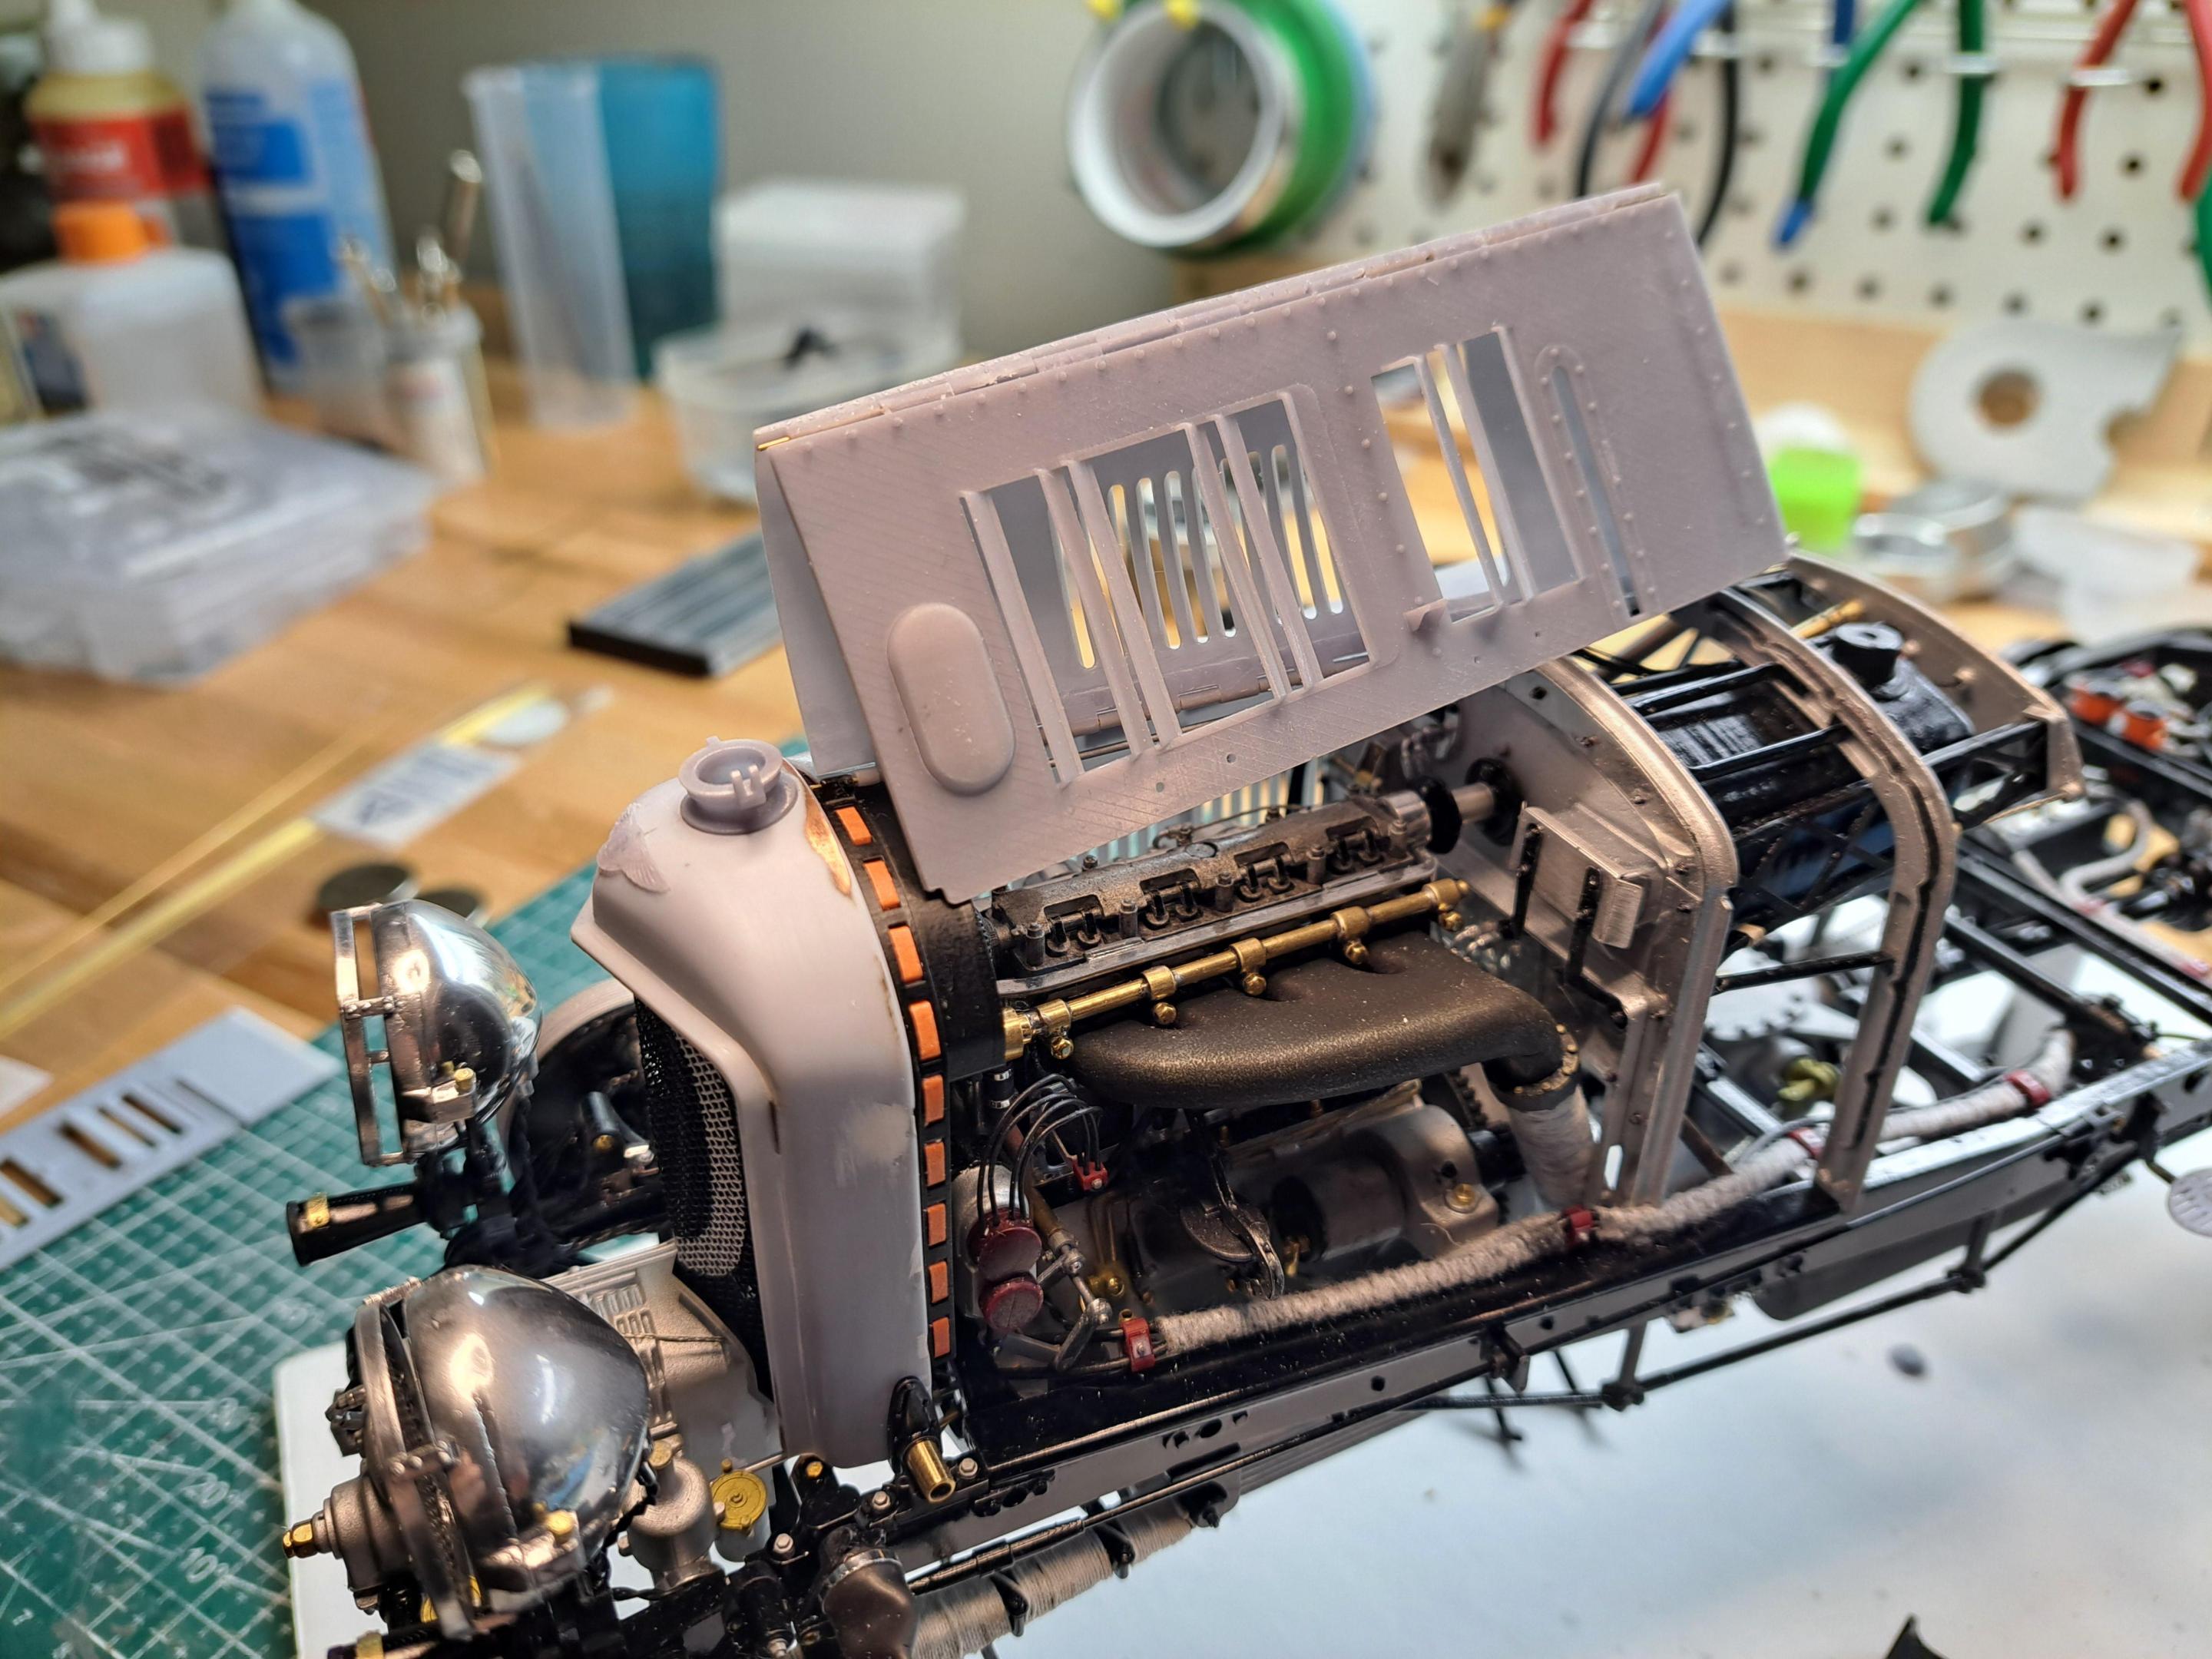
So far, the 4 panels have been 3d modeled with better details than the kit's and incorporated hinges. I modeled the lifting handles and the latch. I even modeled the straps (I'll fabricate real straps, not printed ones). The 3d model look pretty good. But this is not a cad model forum, it's a scale model forum. So here's where I'm at with my real model. I printed (again) the hood panels, this time with a thickness of .03in, up .005 from the last print. I'm very happy with the result but I think I could do better. I might up the thickness another 005. to give them a little more rigidity. I also need to tweak certain de curves a little but aside from that, l pretty much there. So here are some pictures. Please remember that the radiator is not uet fixed in place, that's why it's a little off.
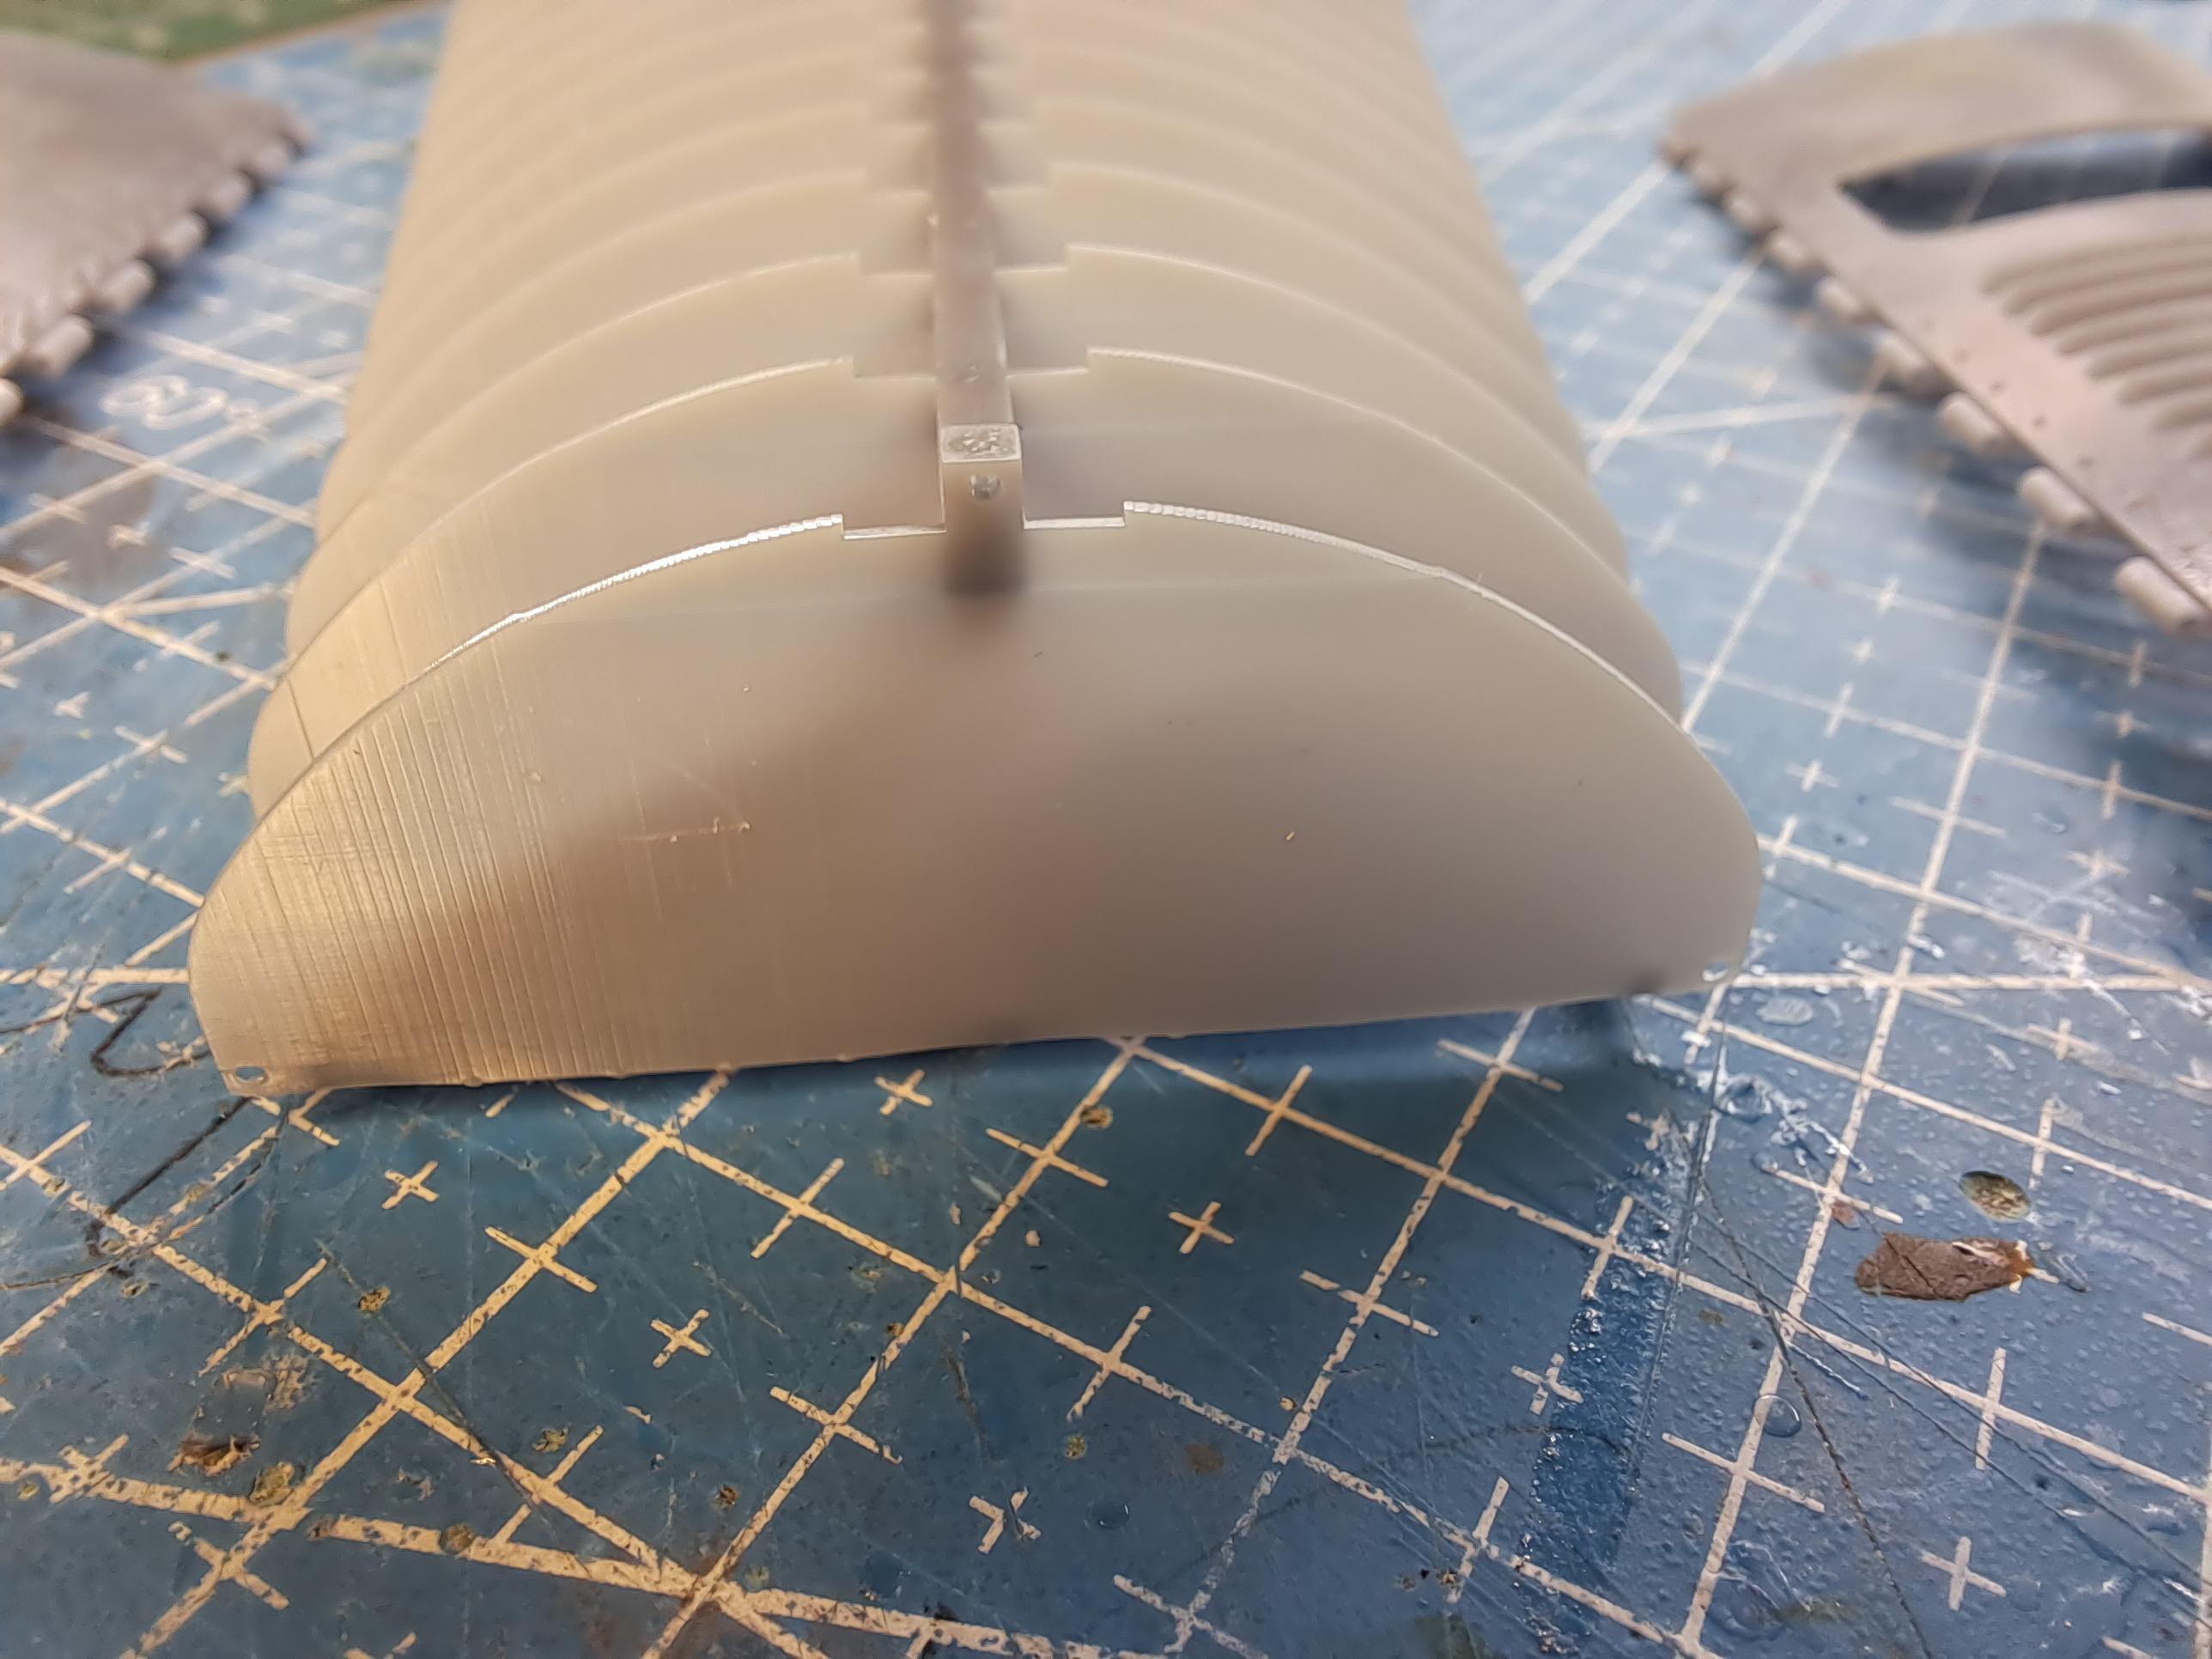
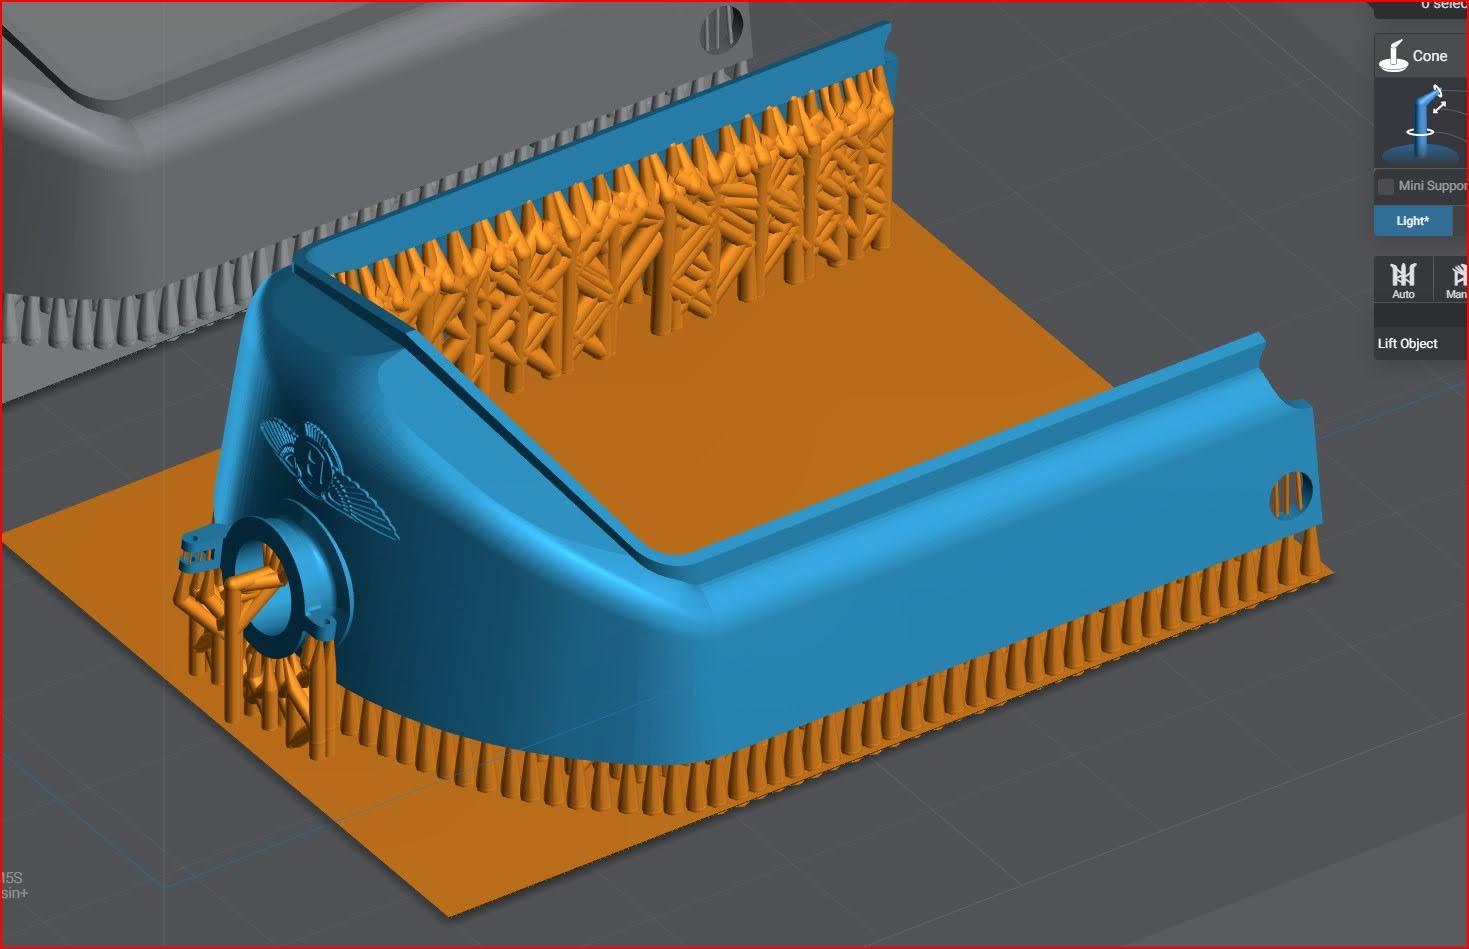
Printed panels before supports removal
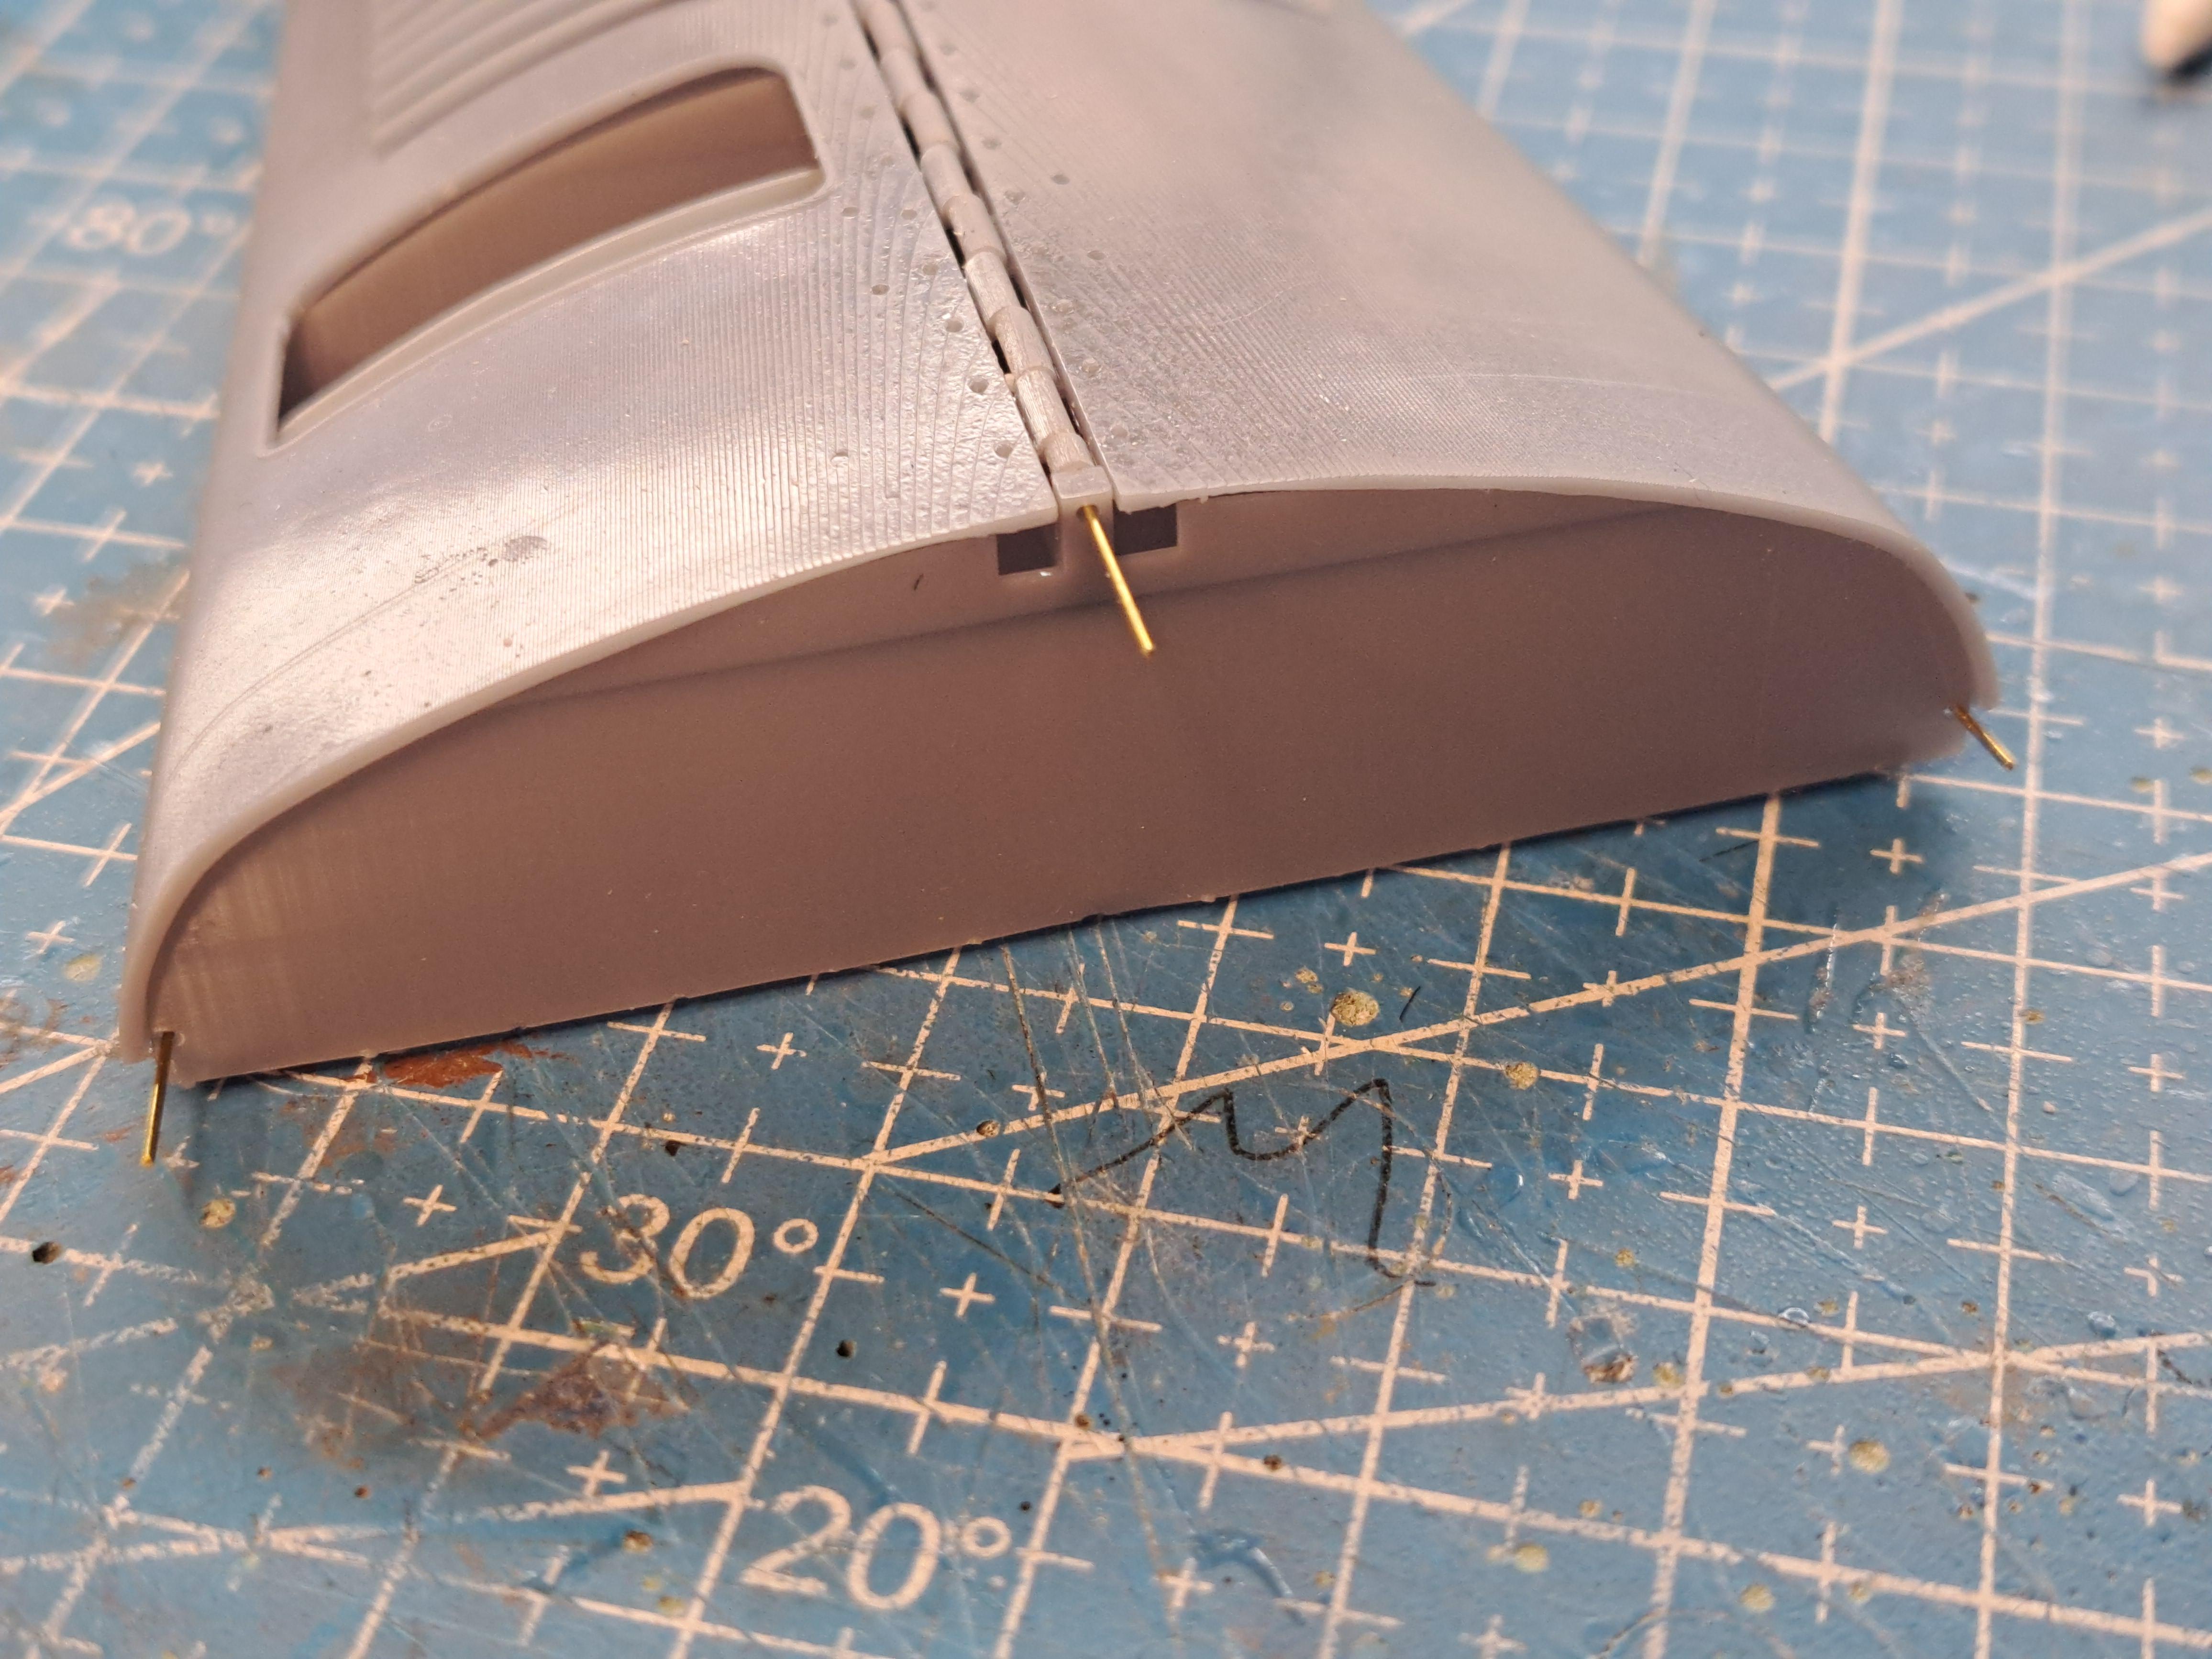
Right side panel down
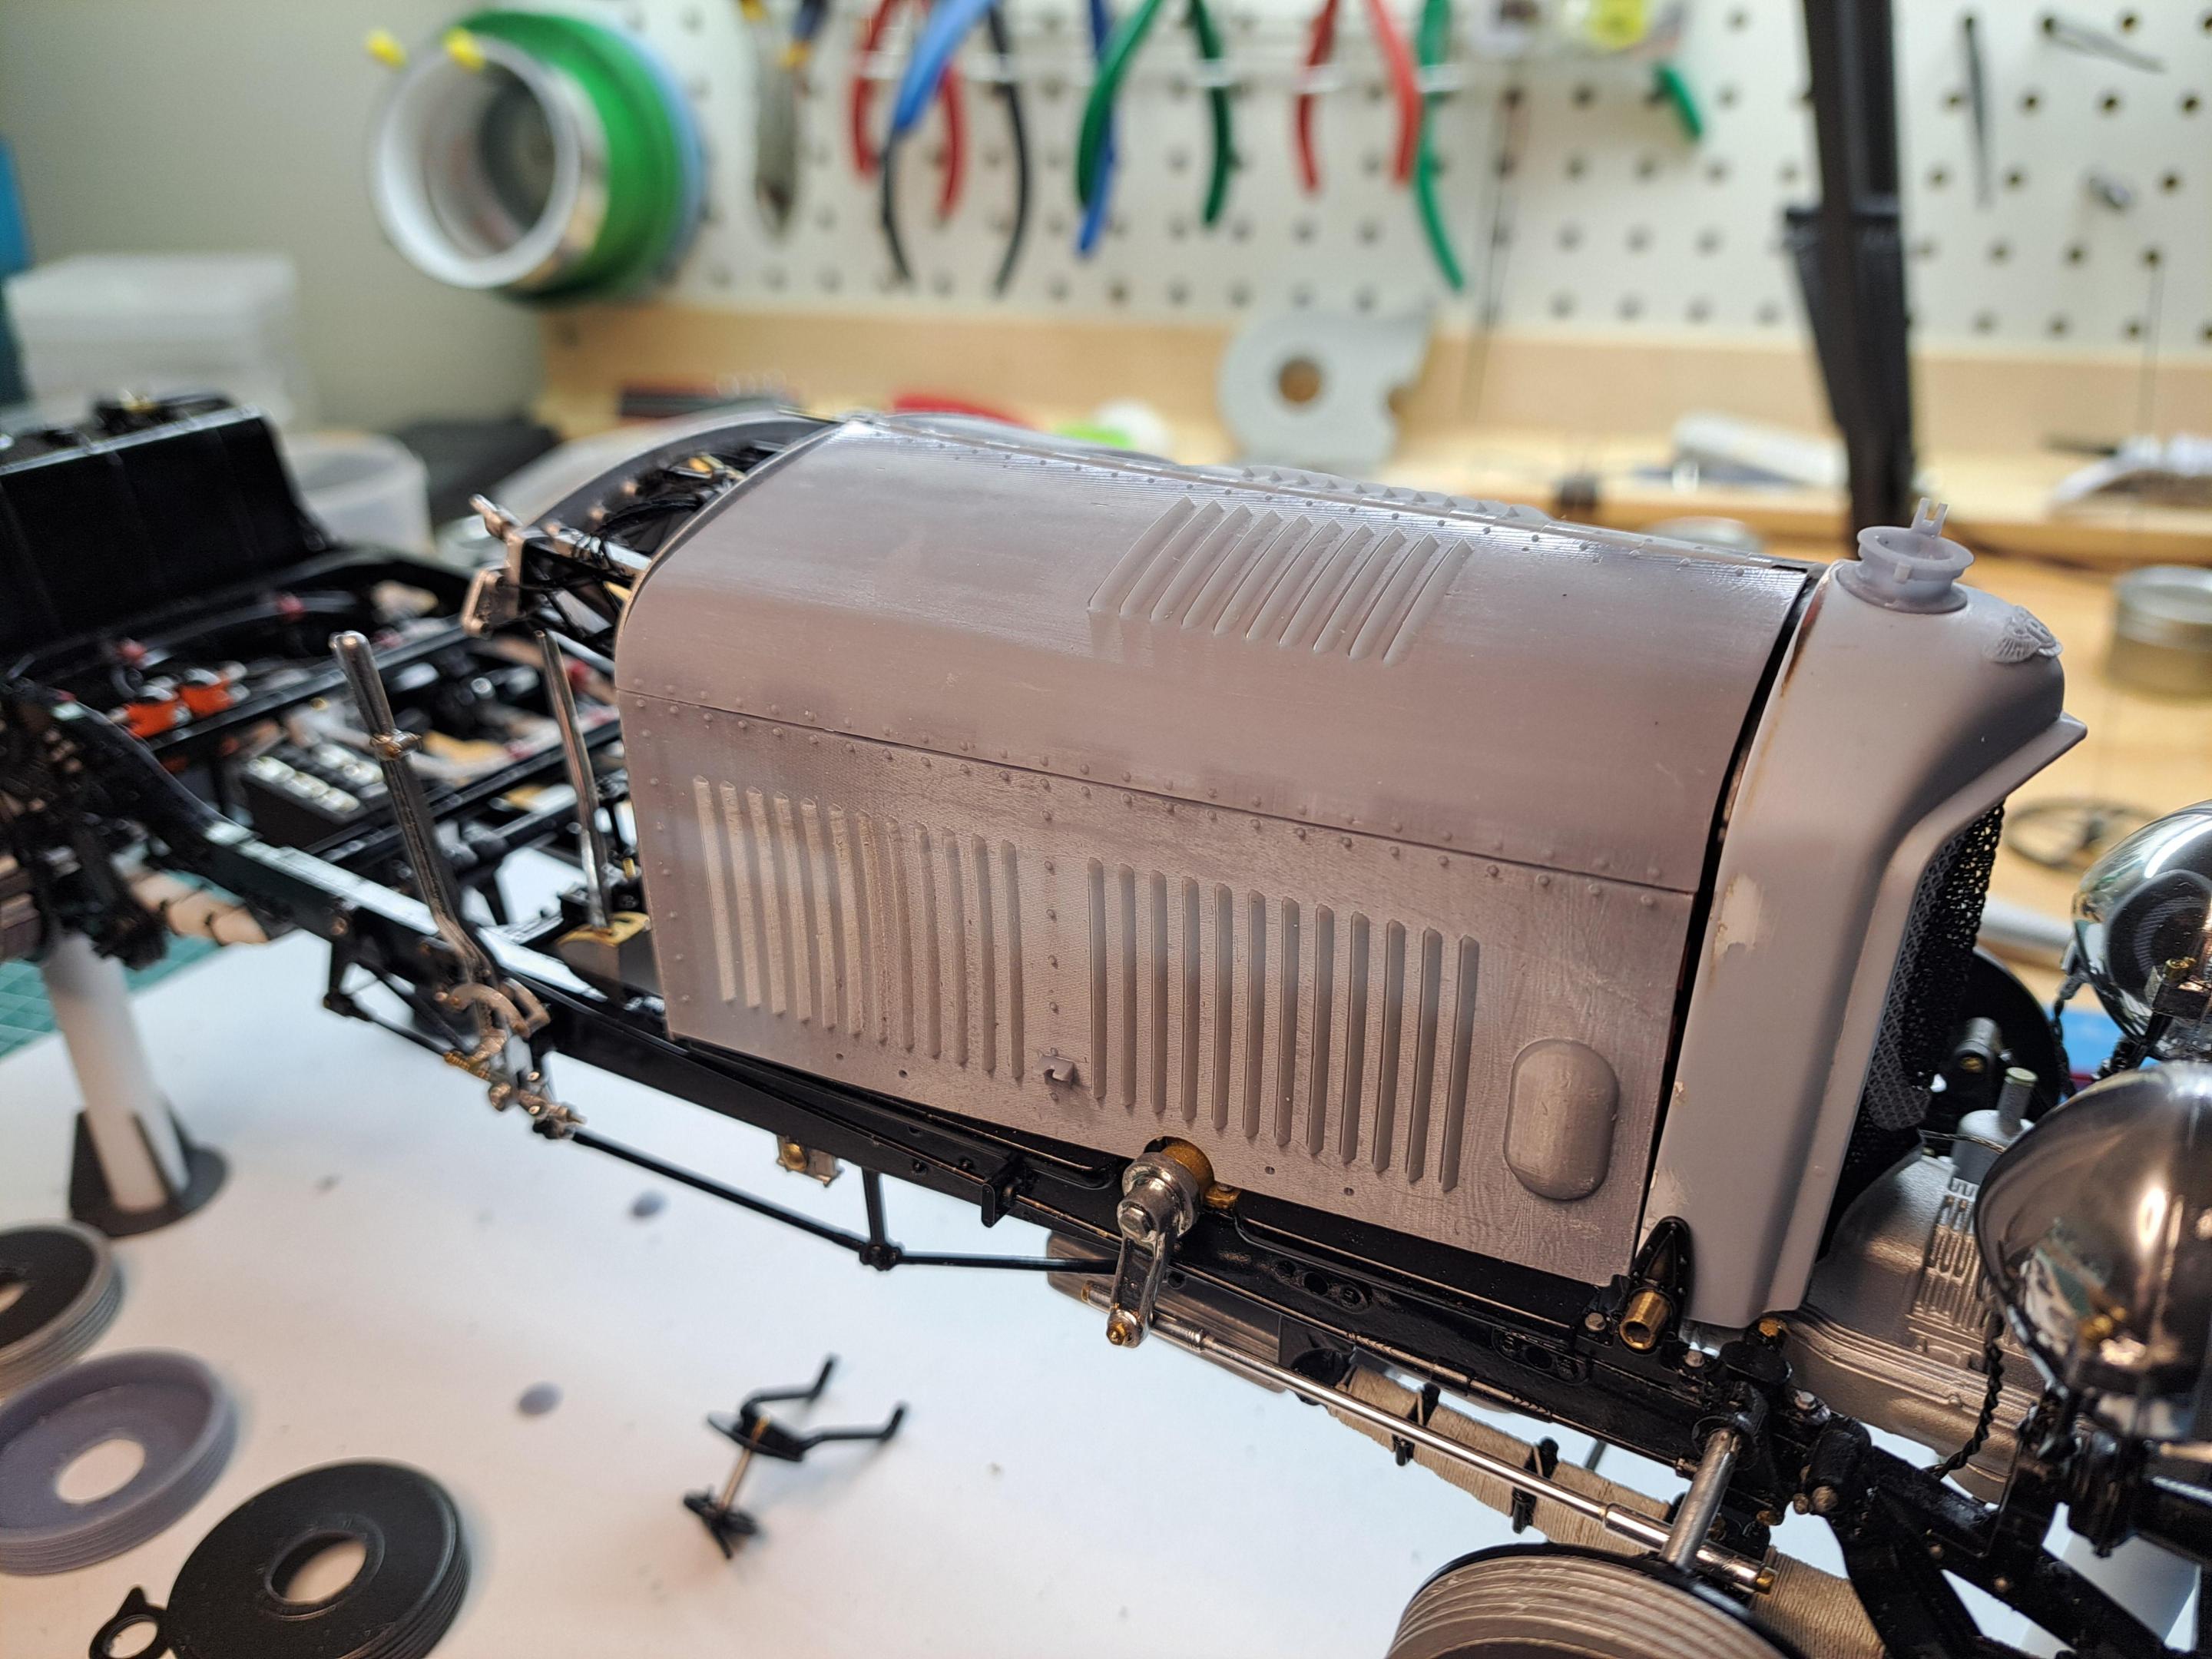
Right side panel up
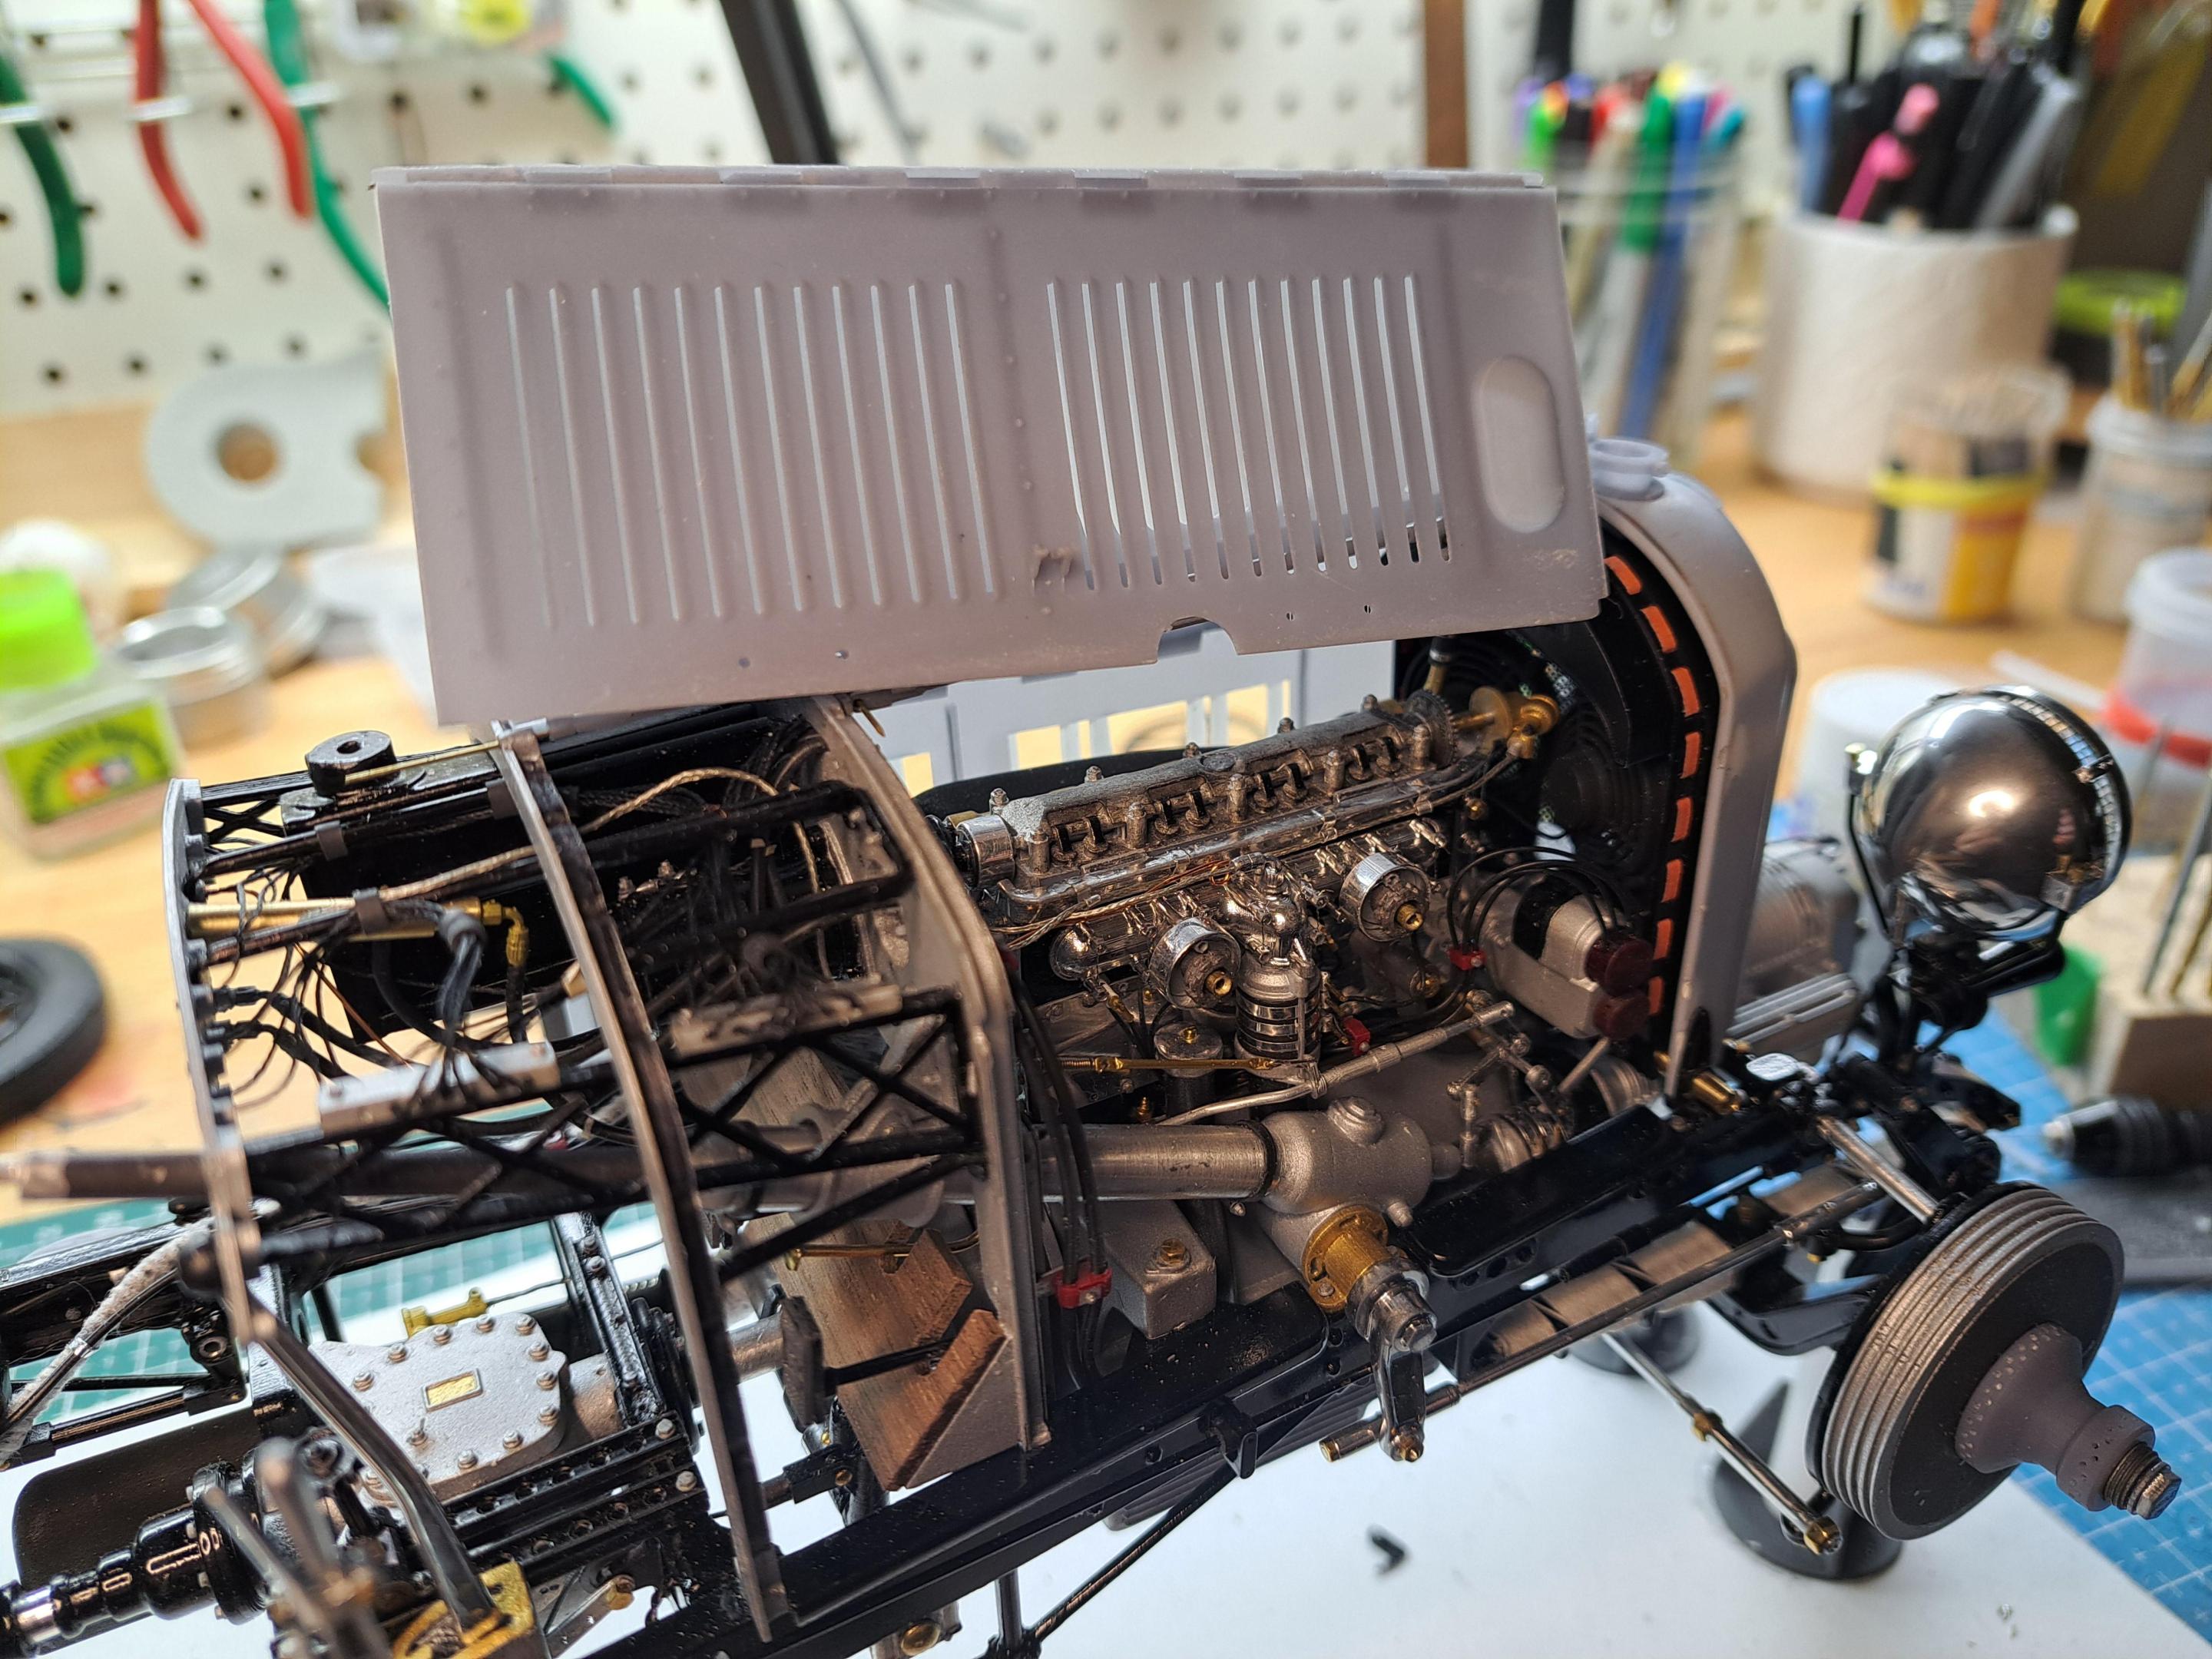
Left side panel down
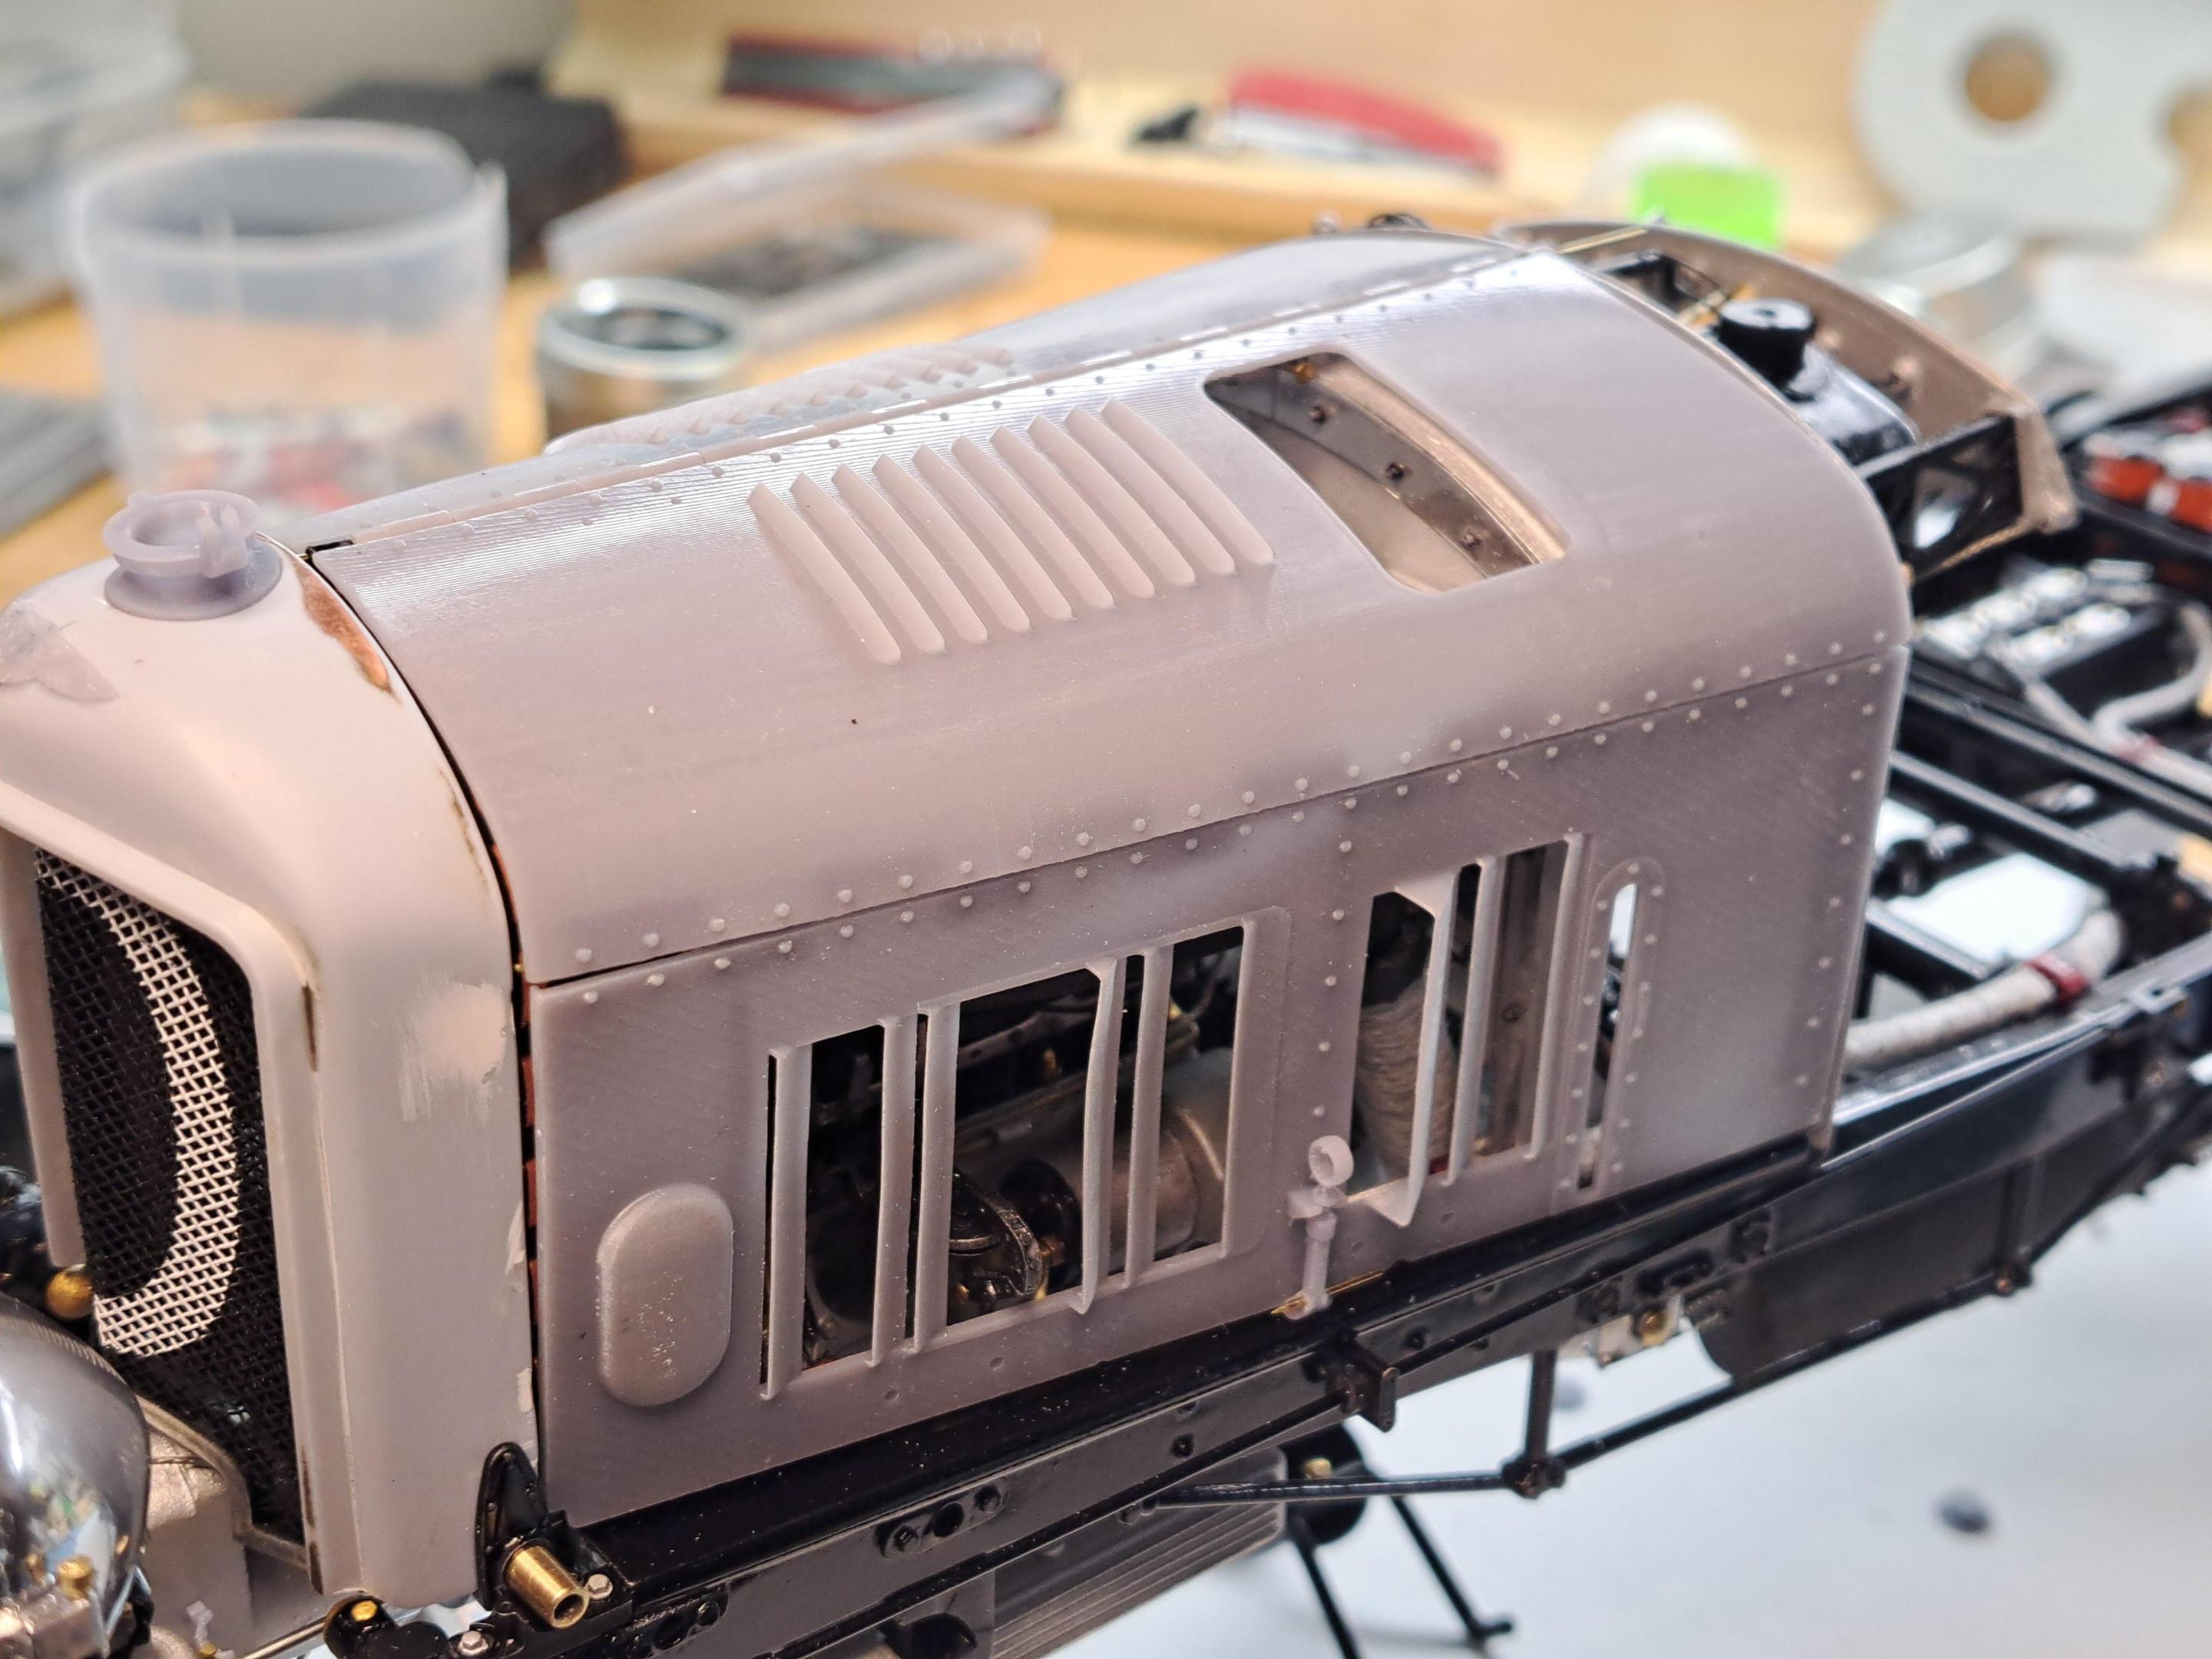
Left side panel up
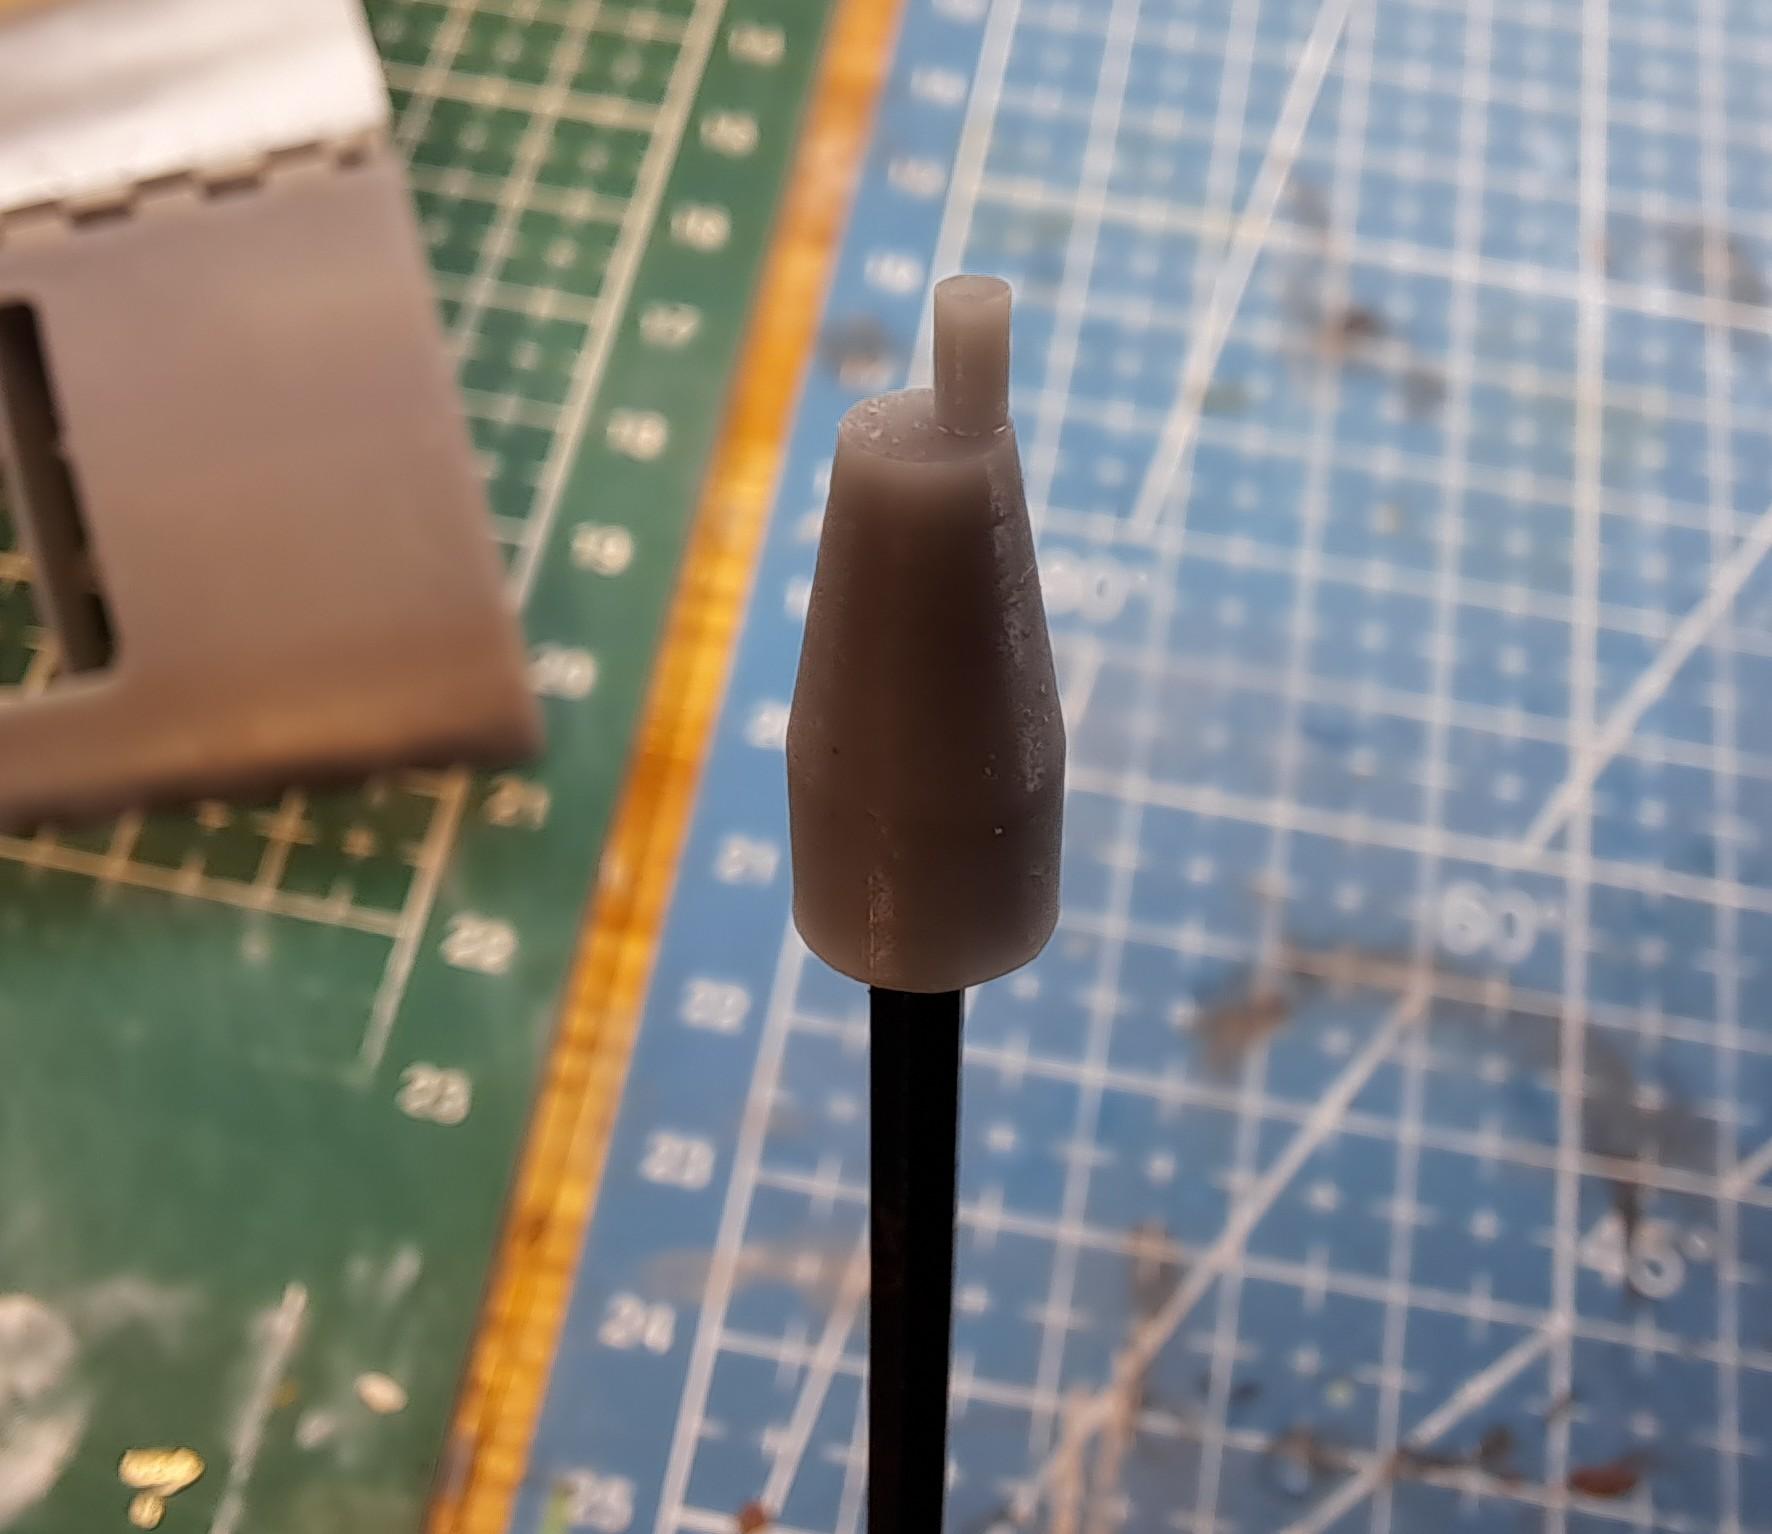
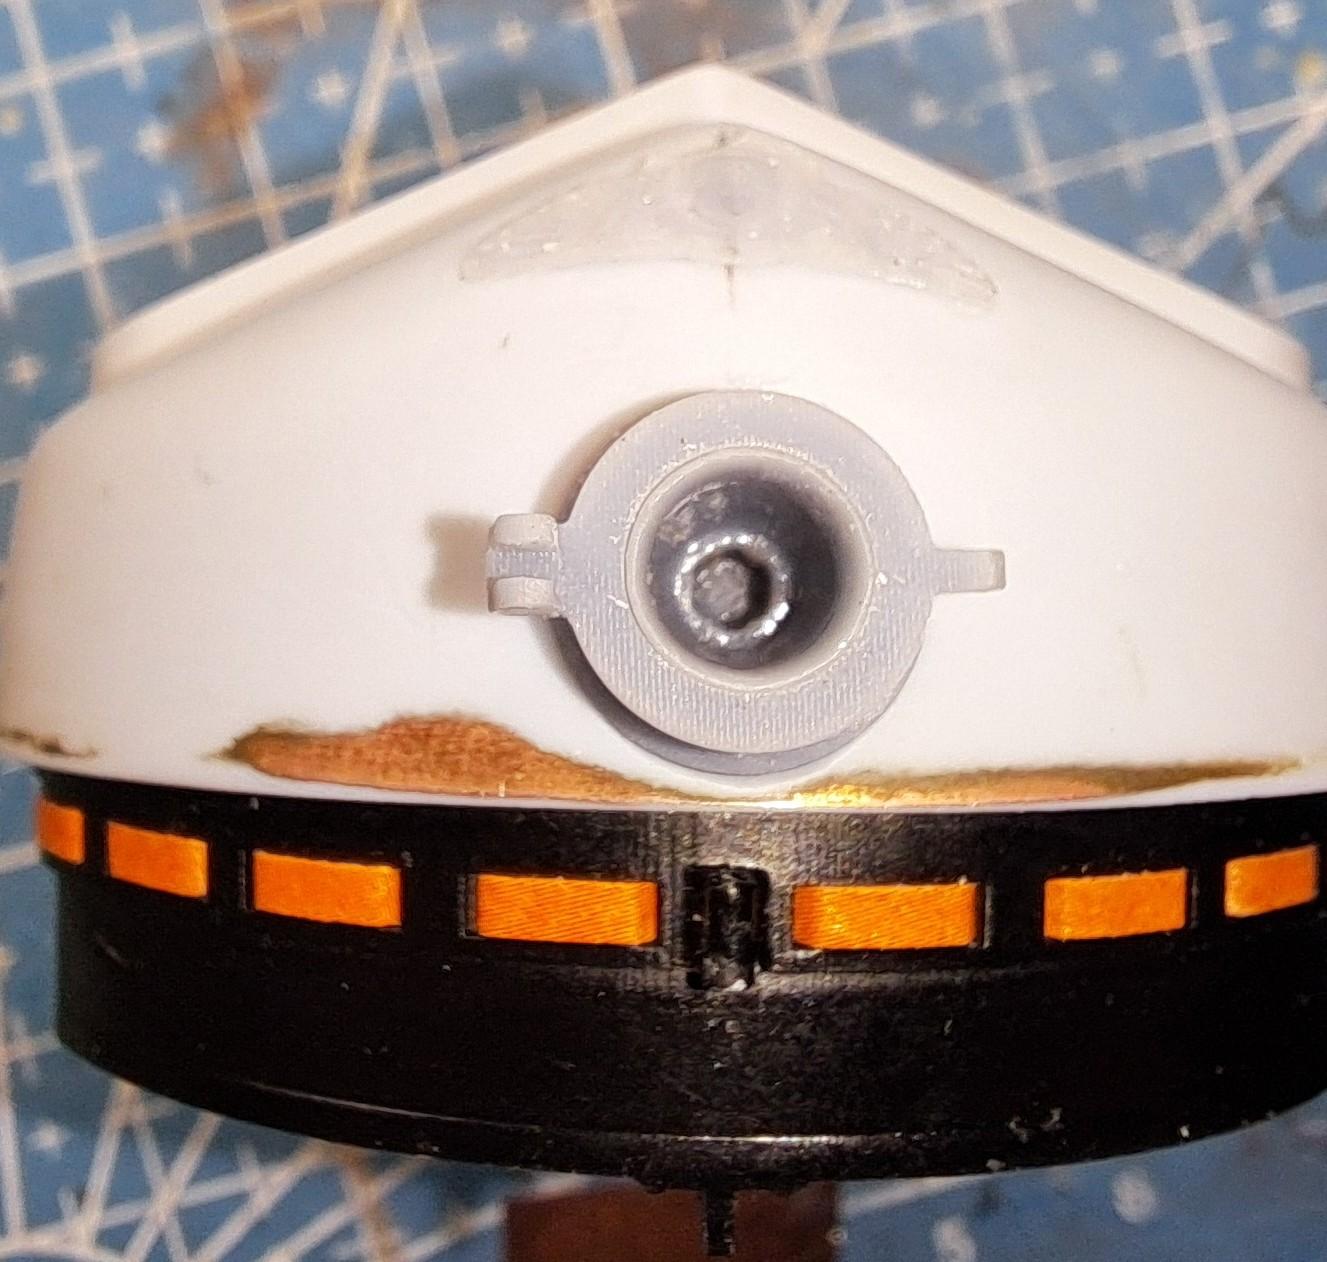
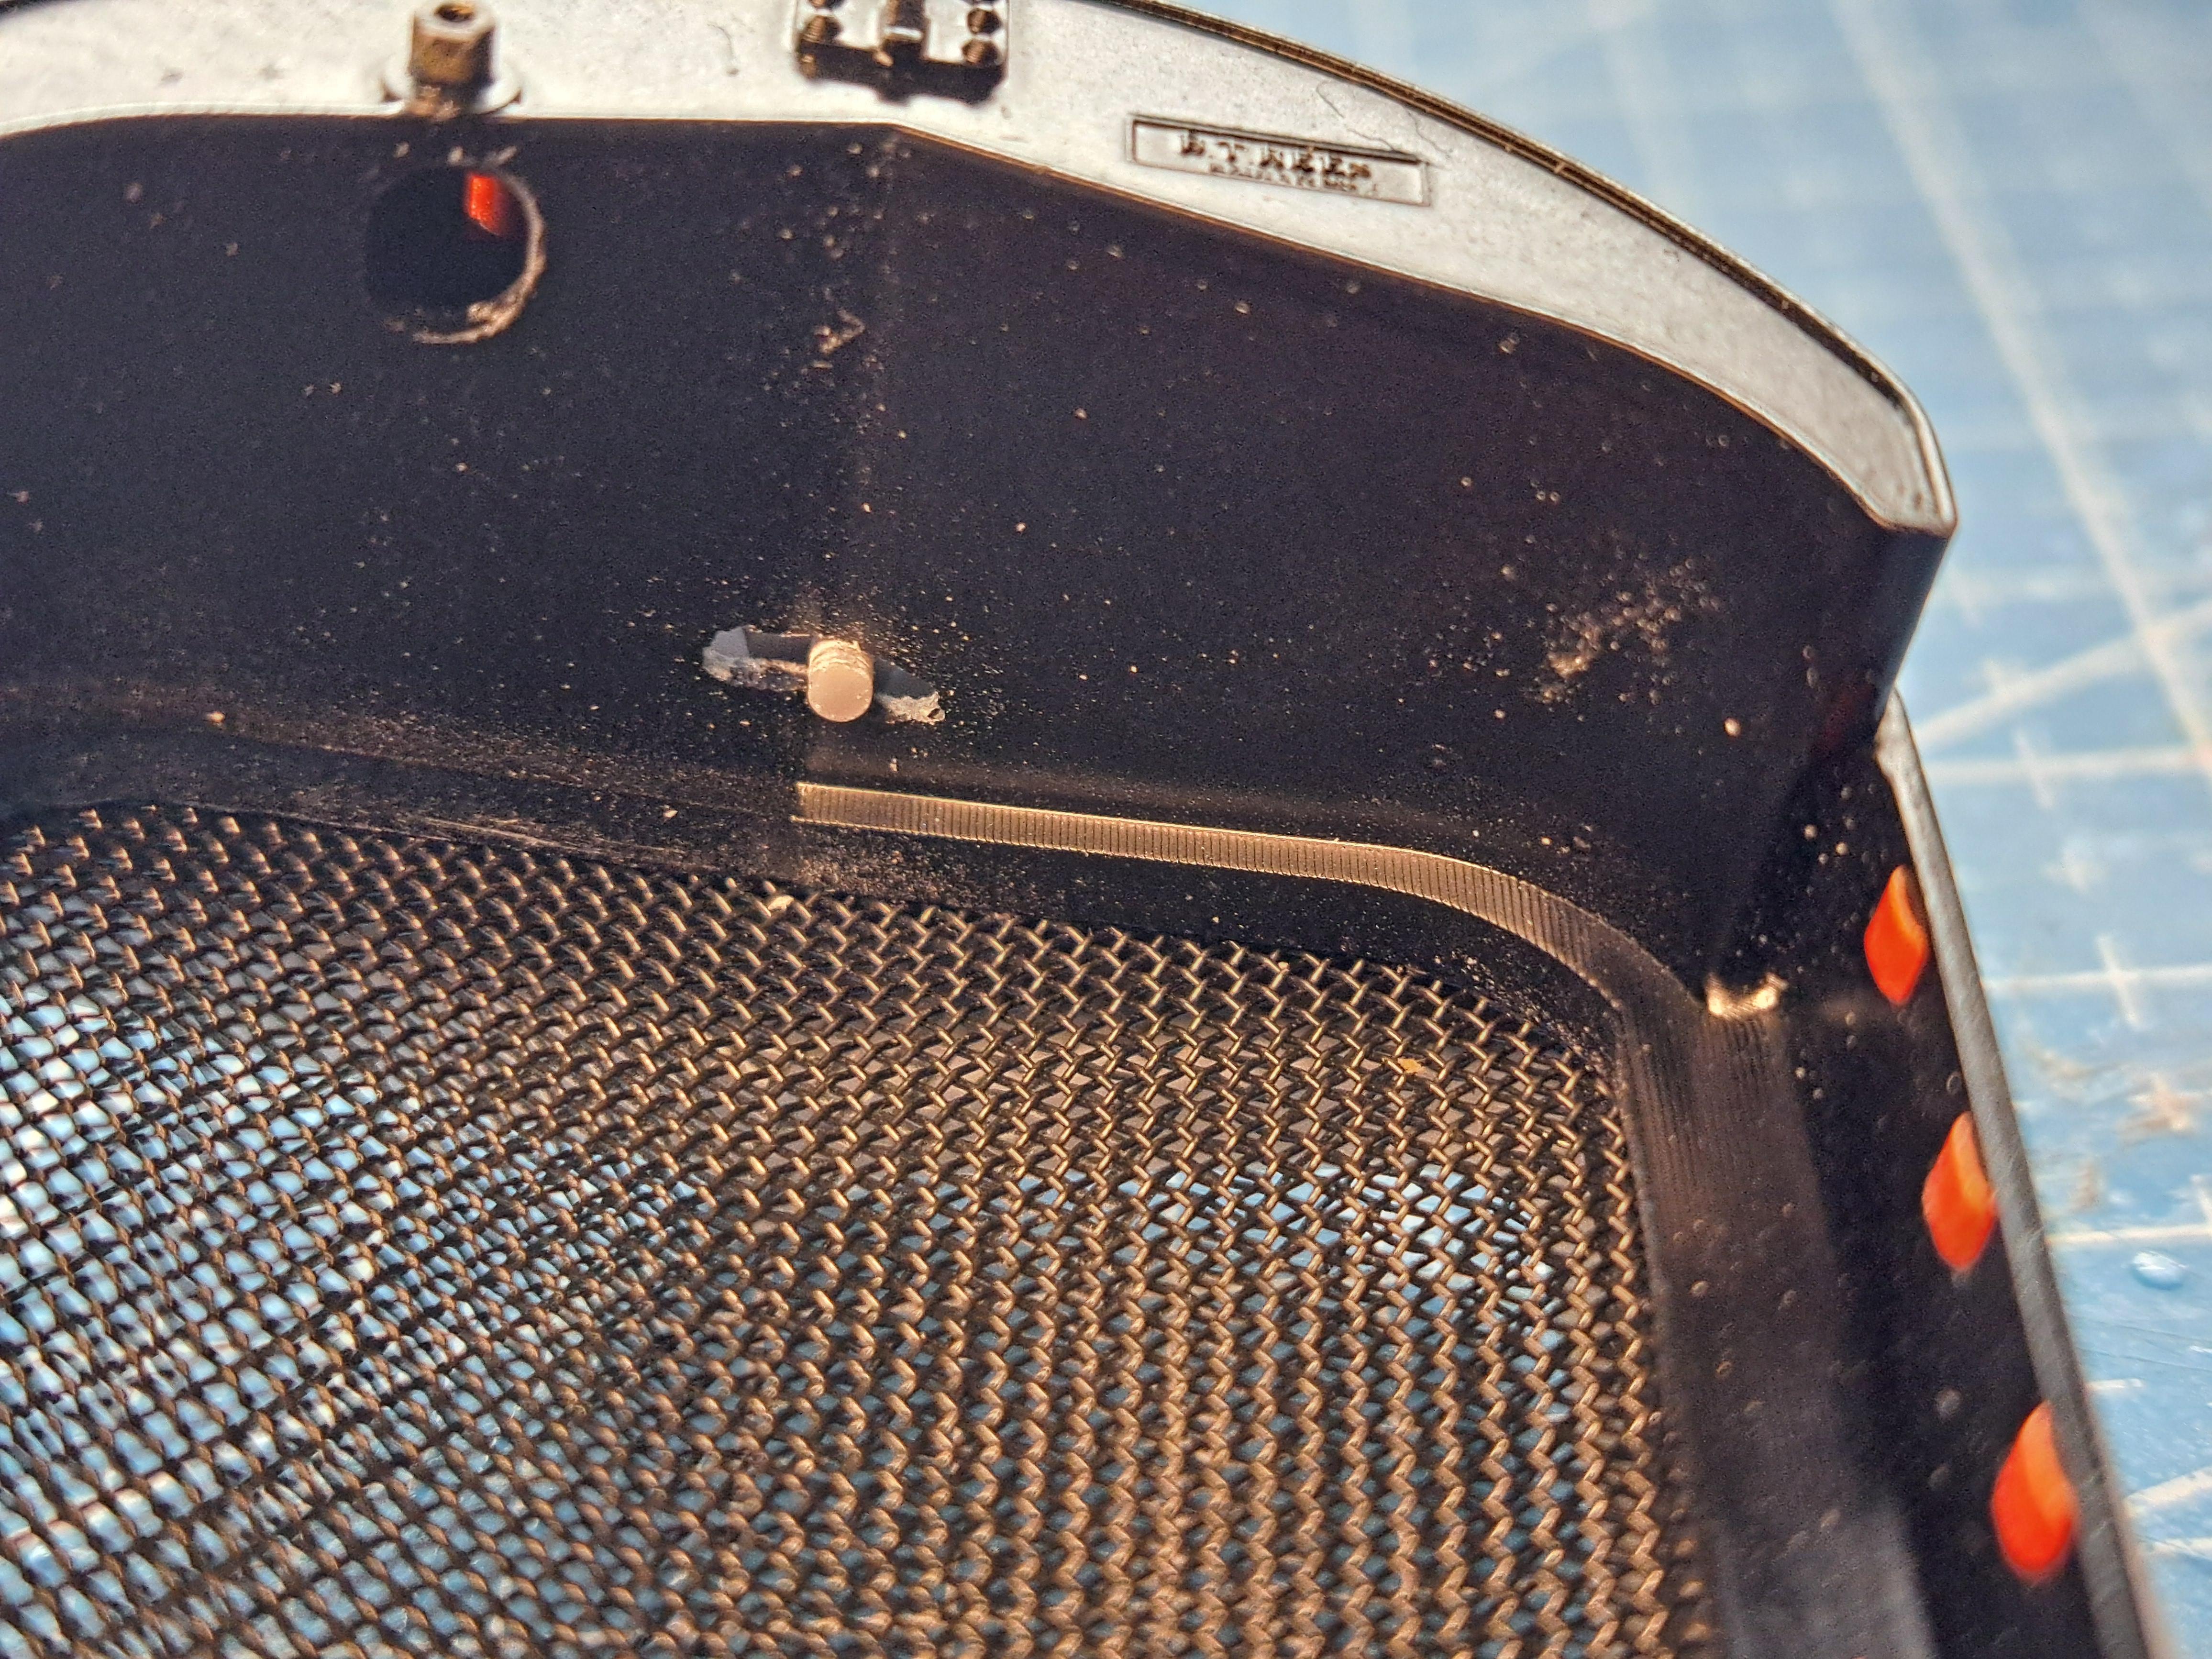
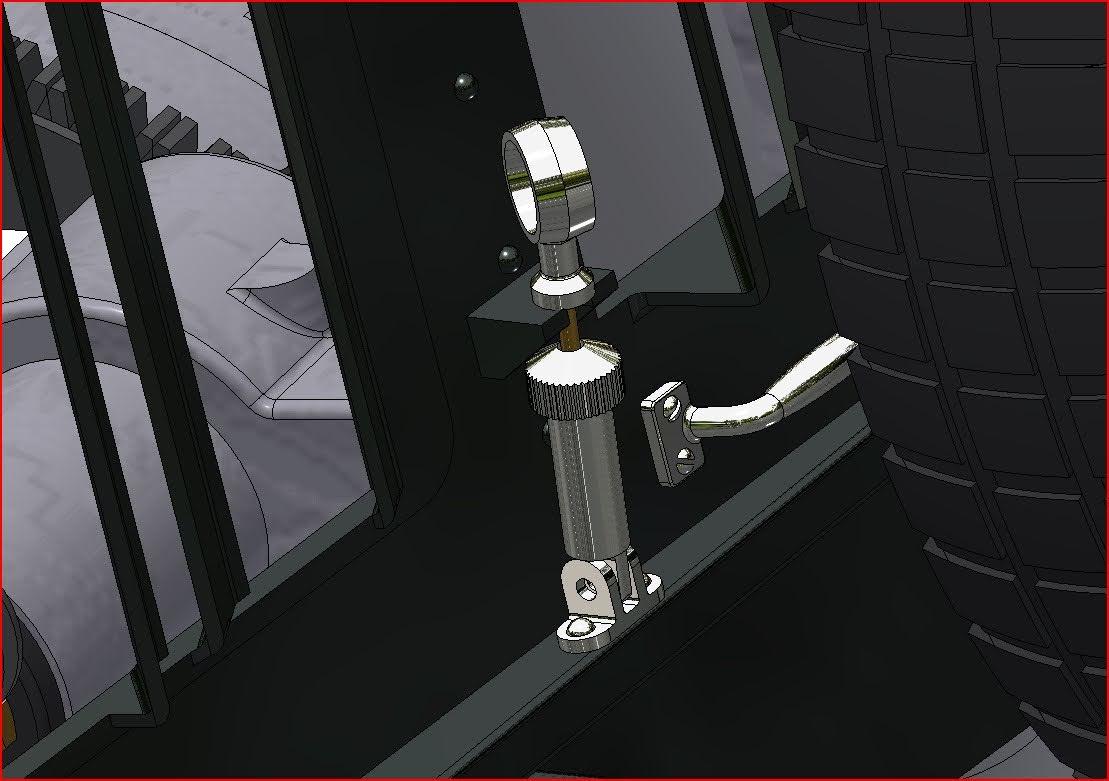
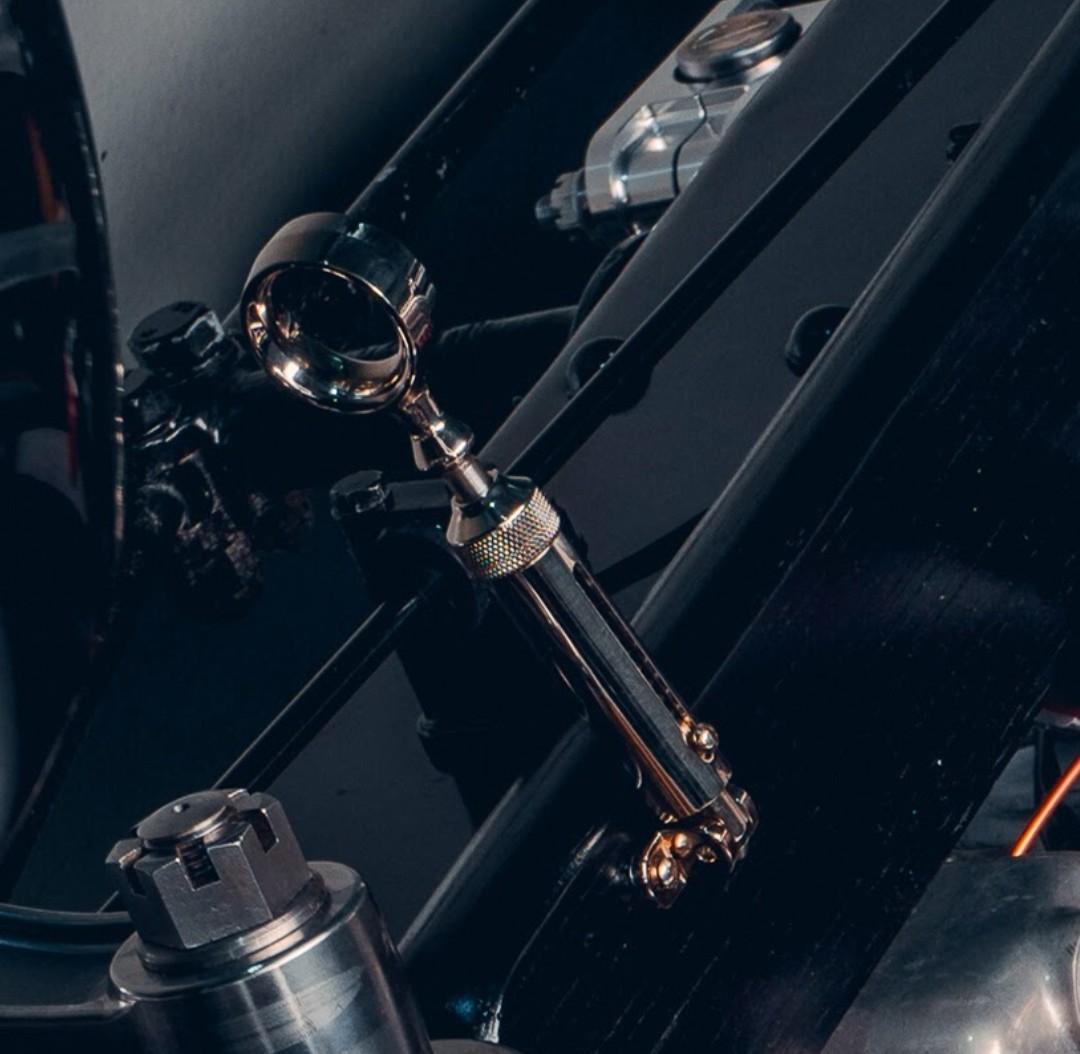
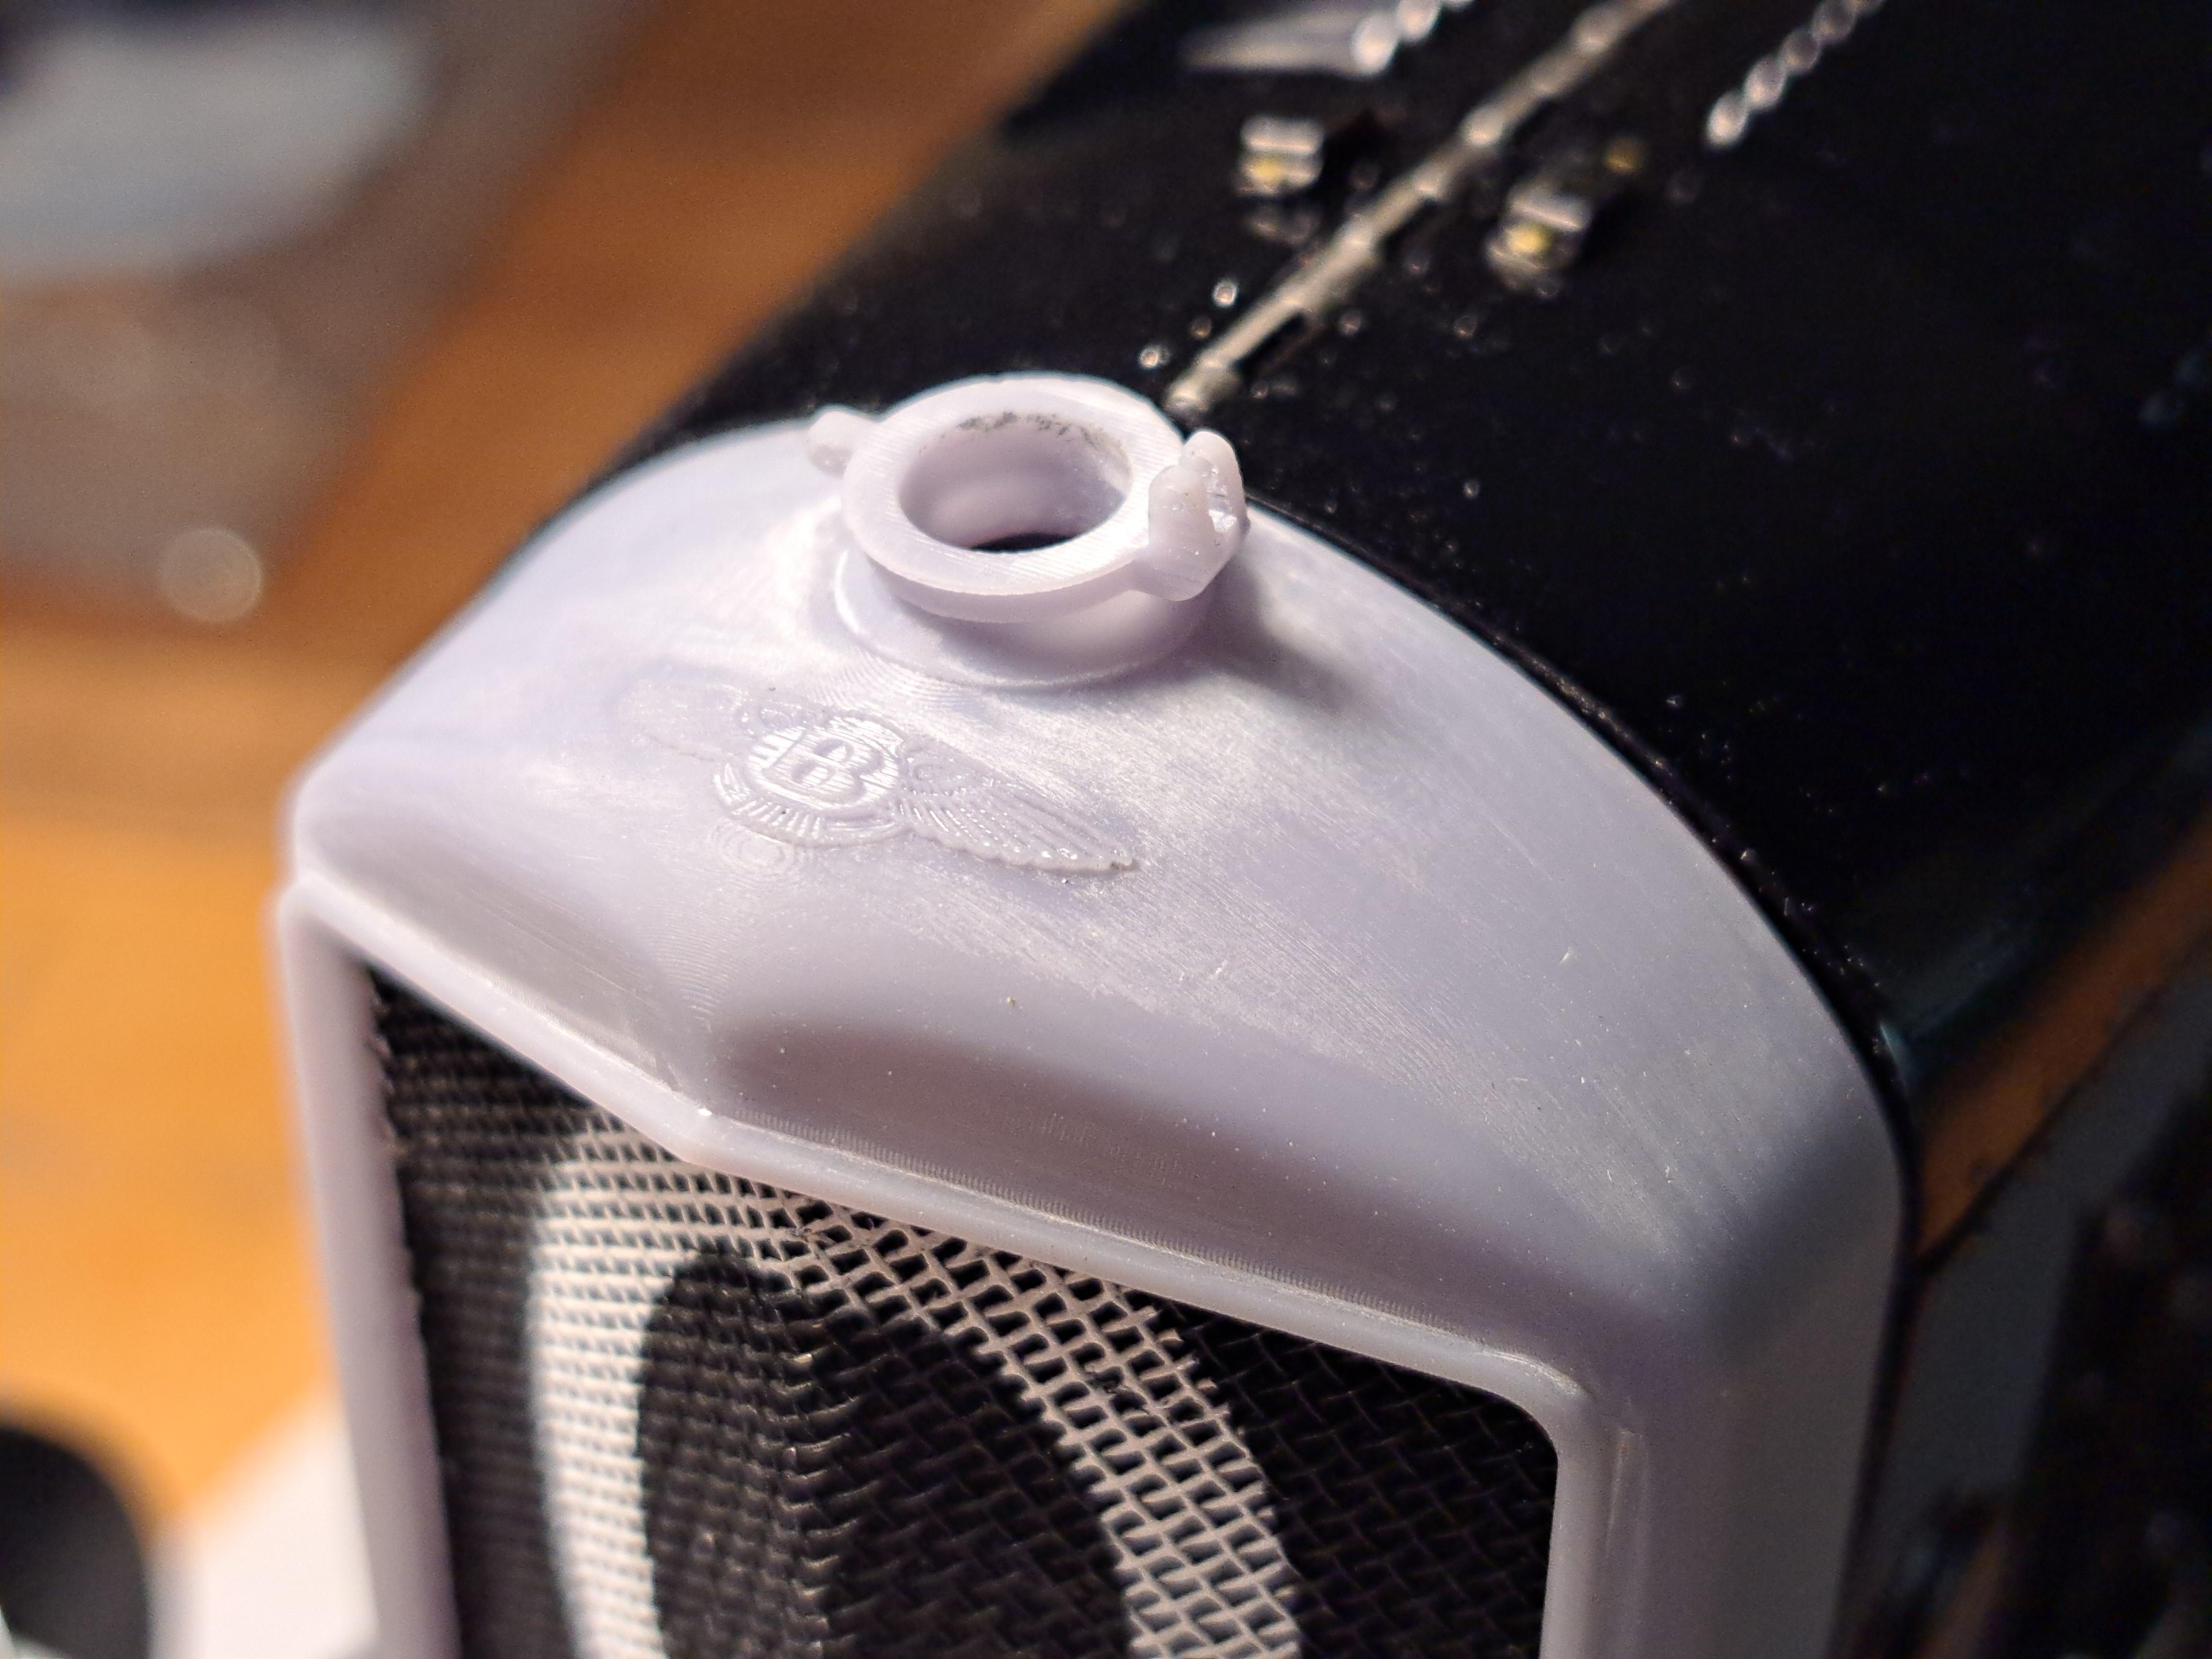
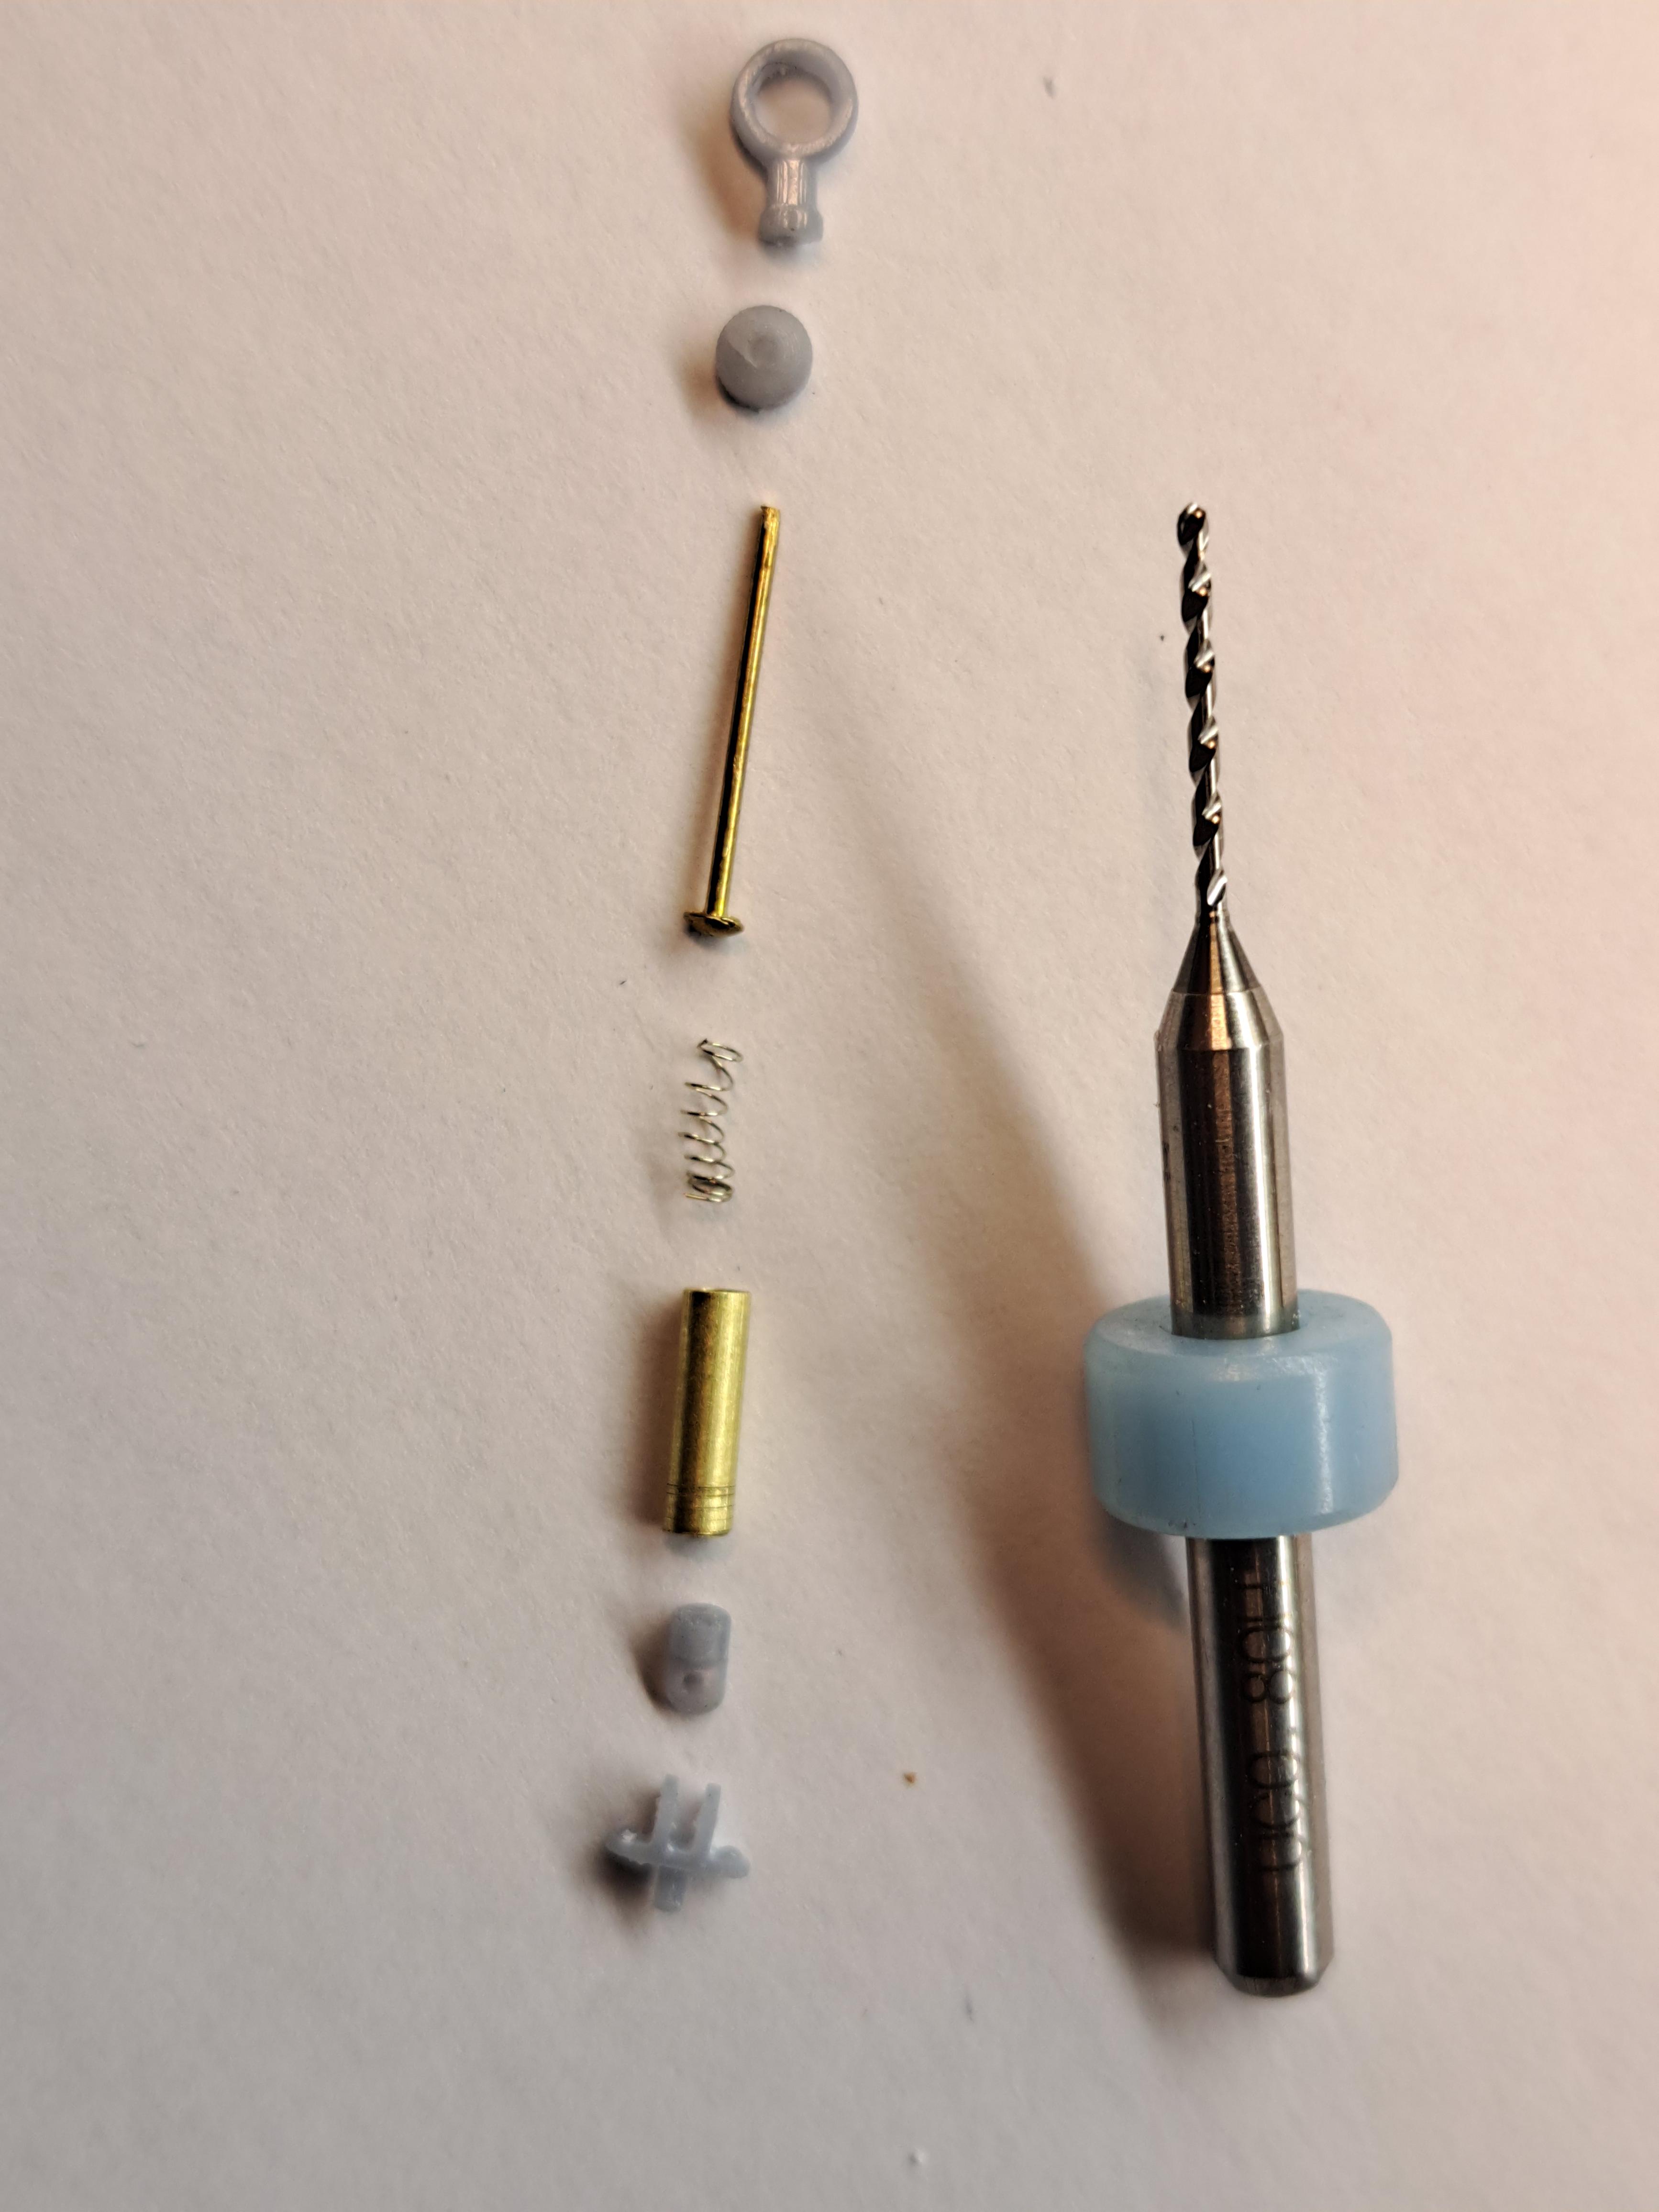
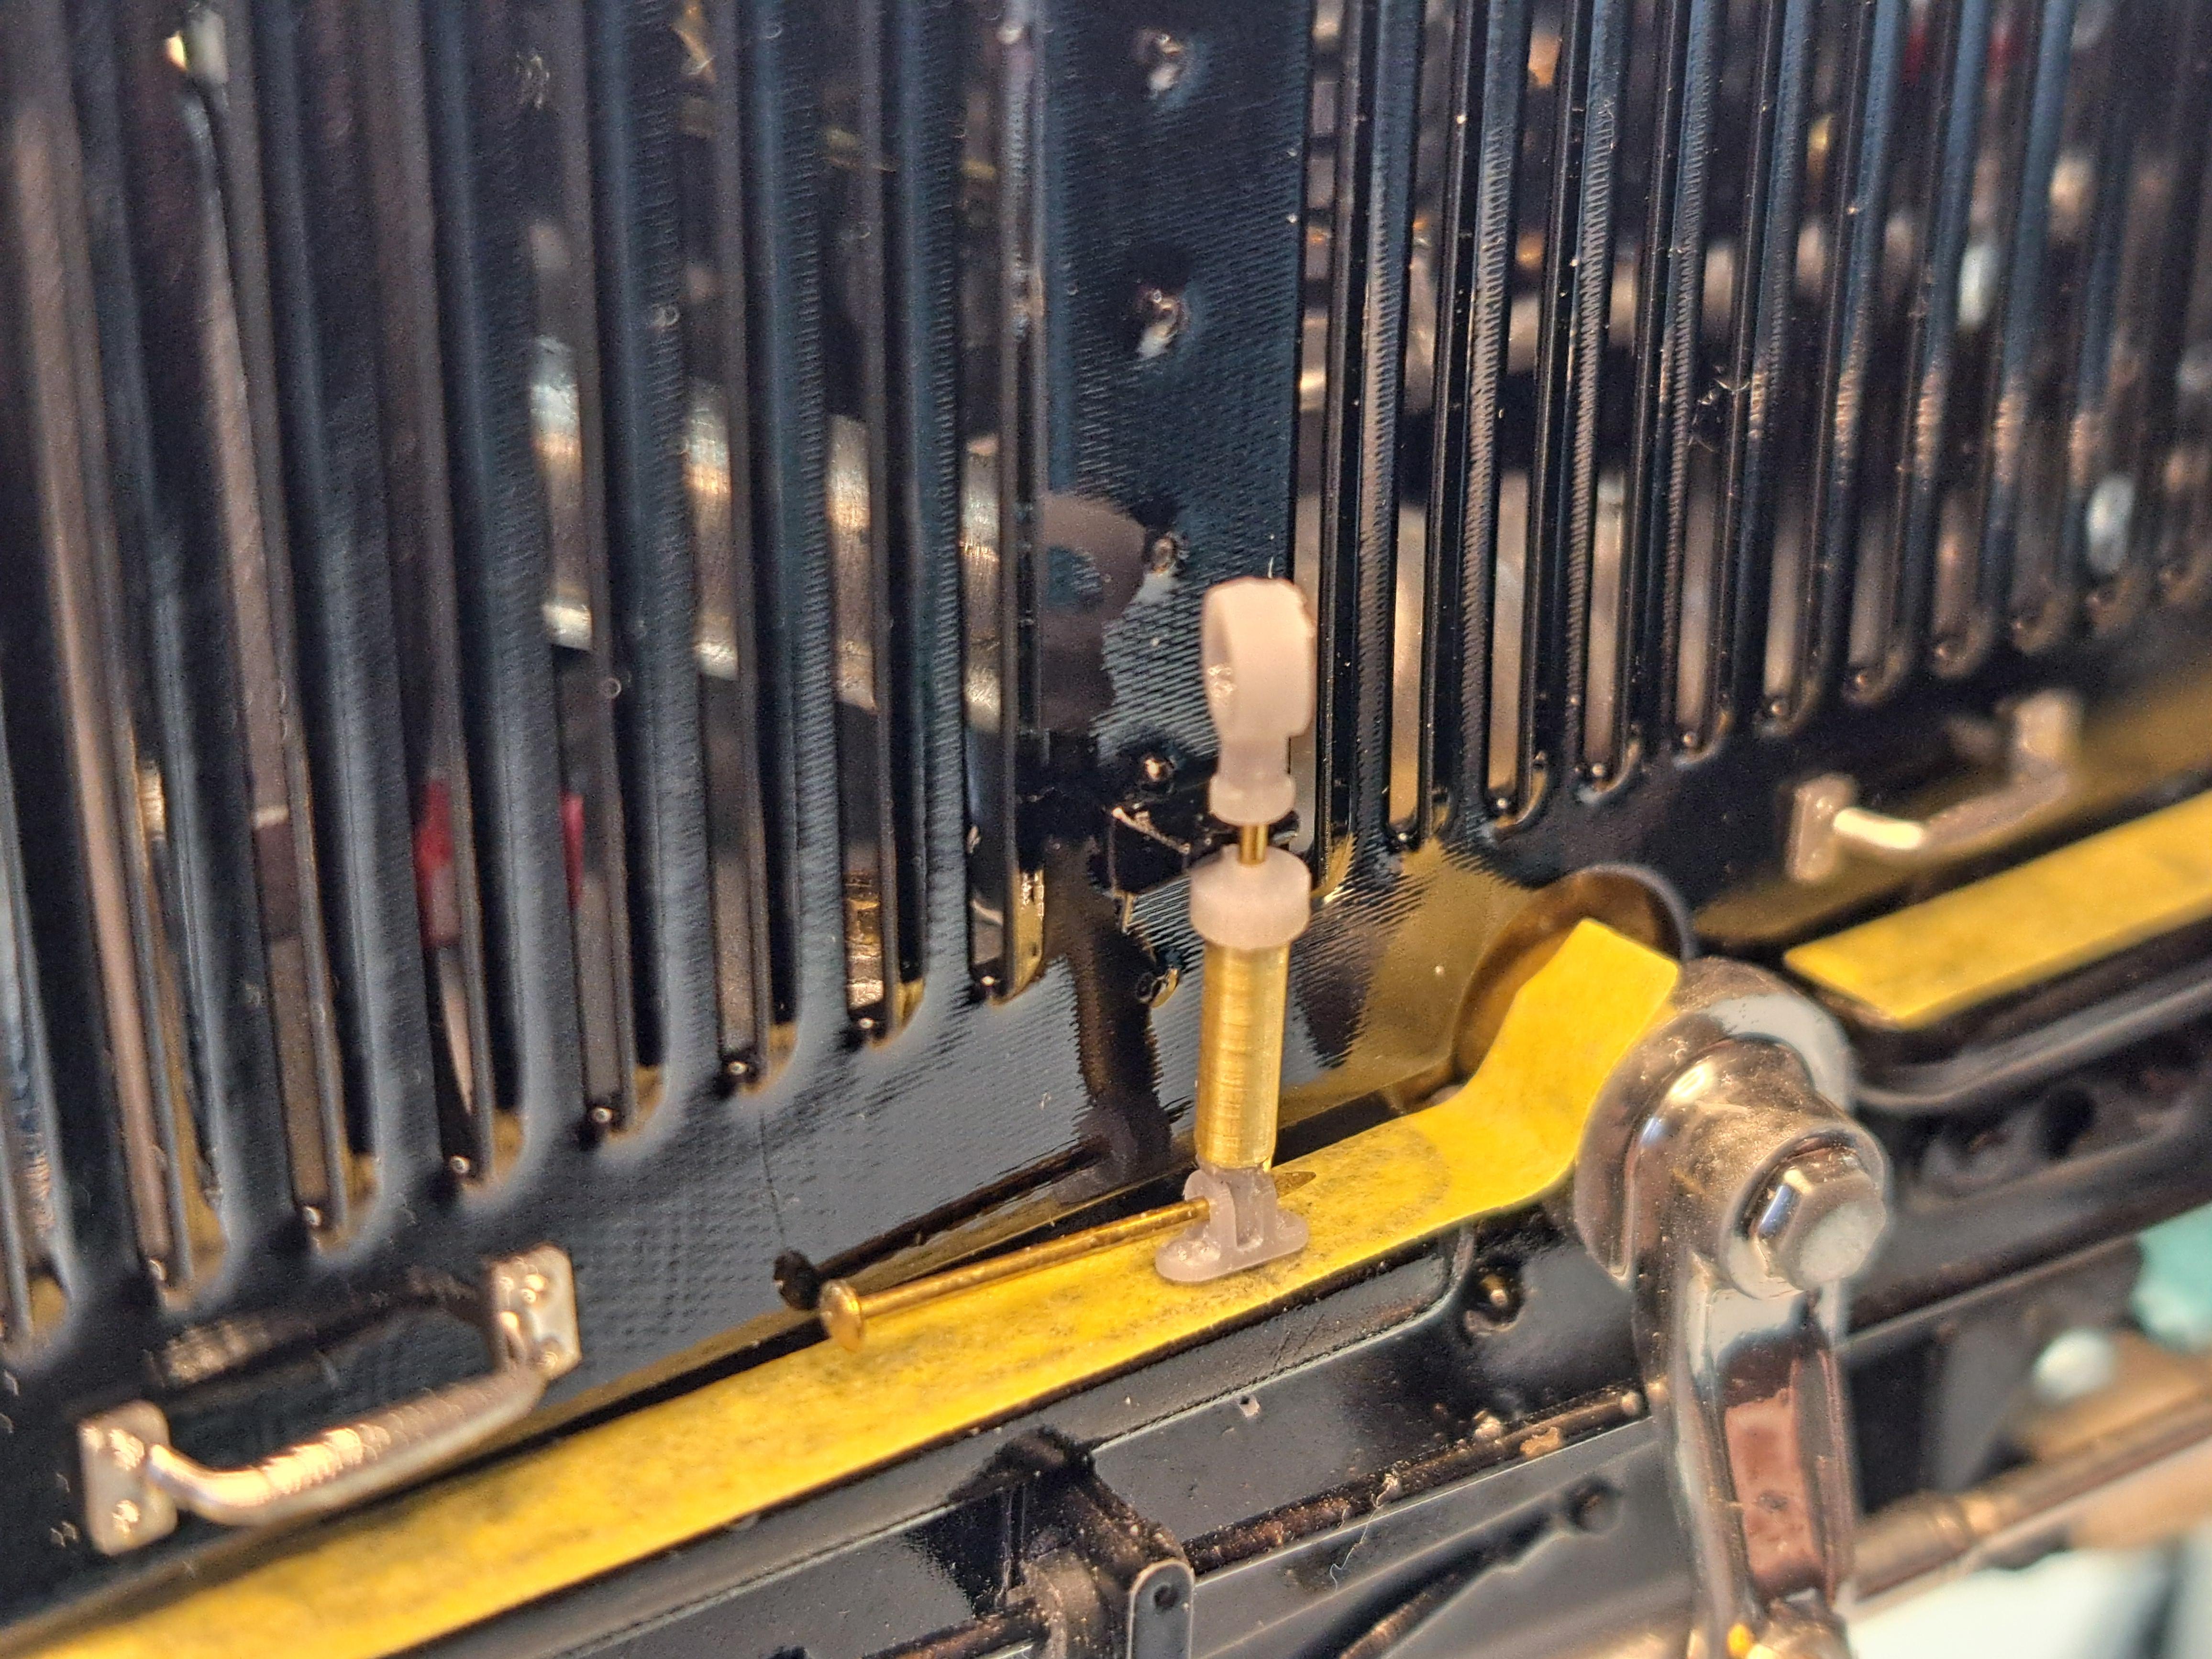
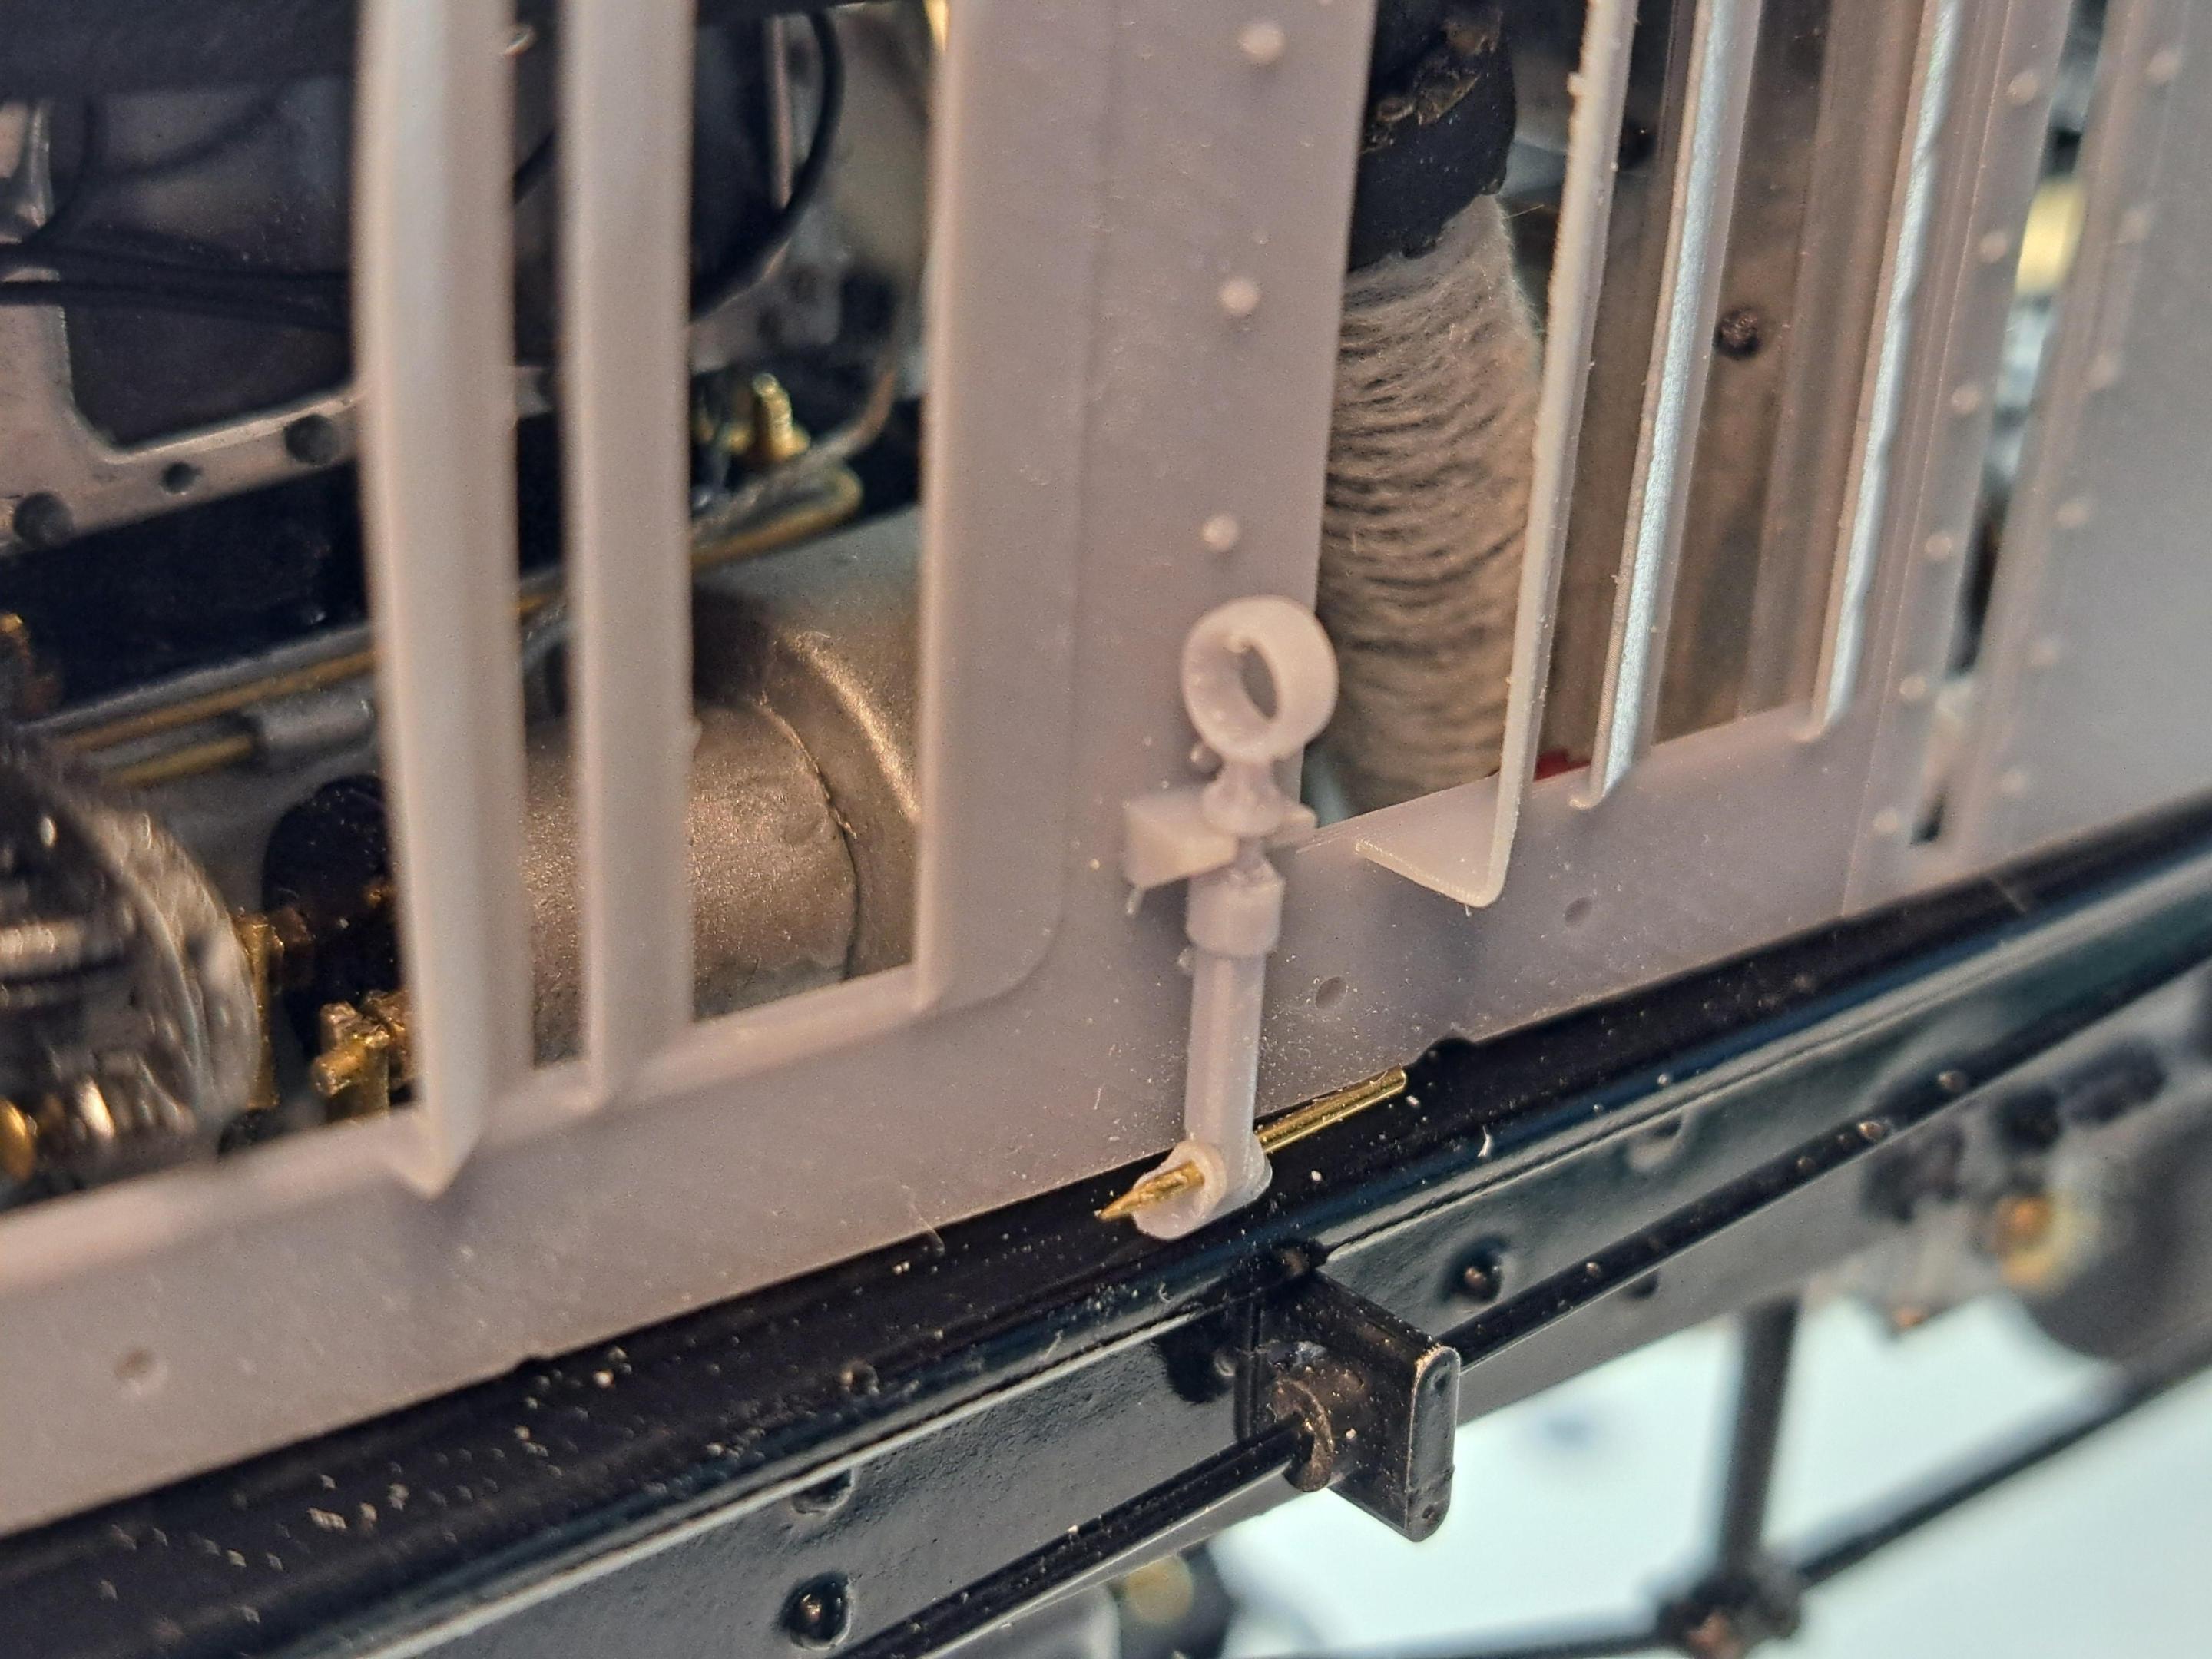
Latch
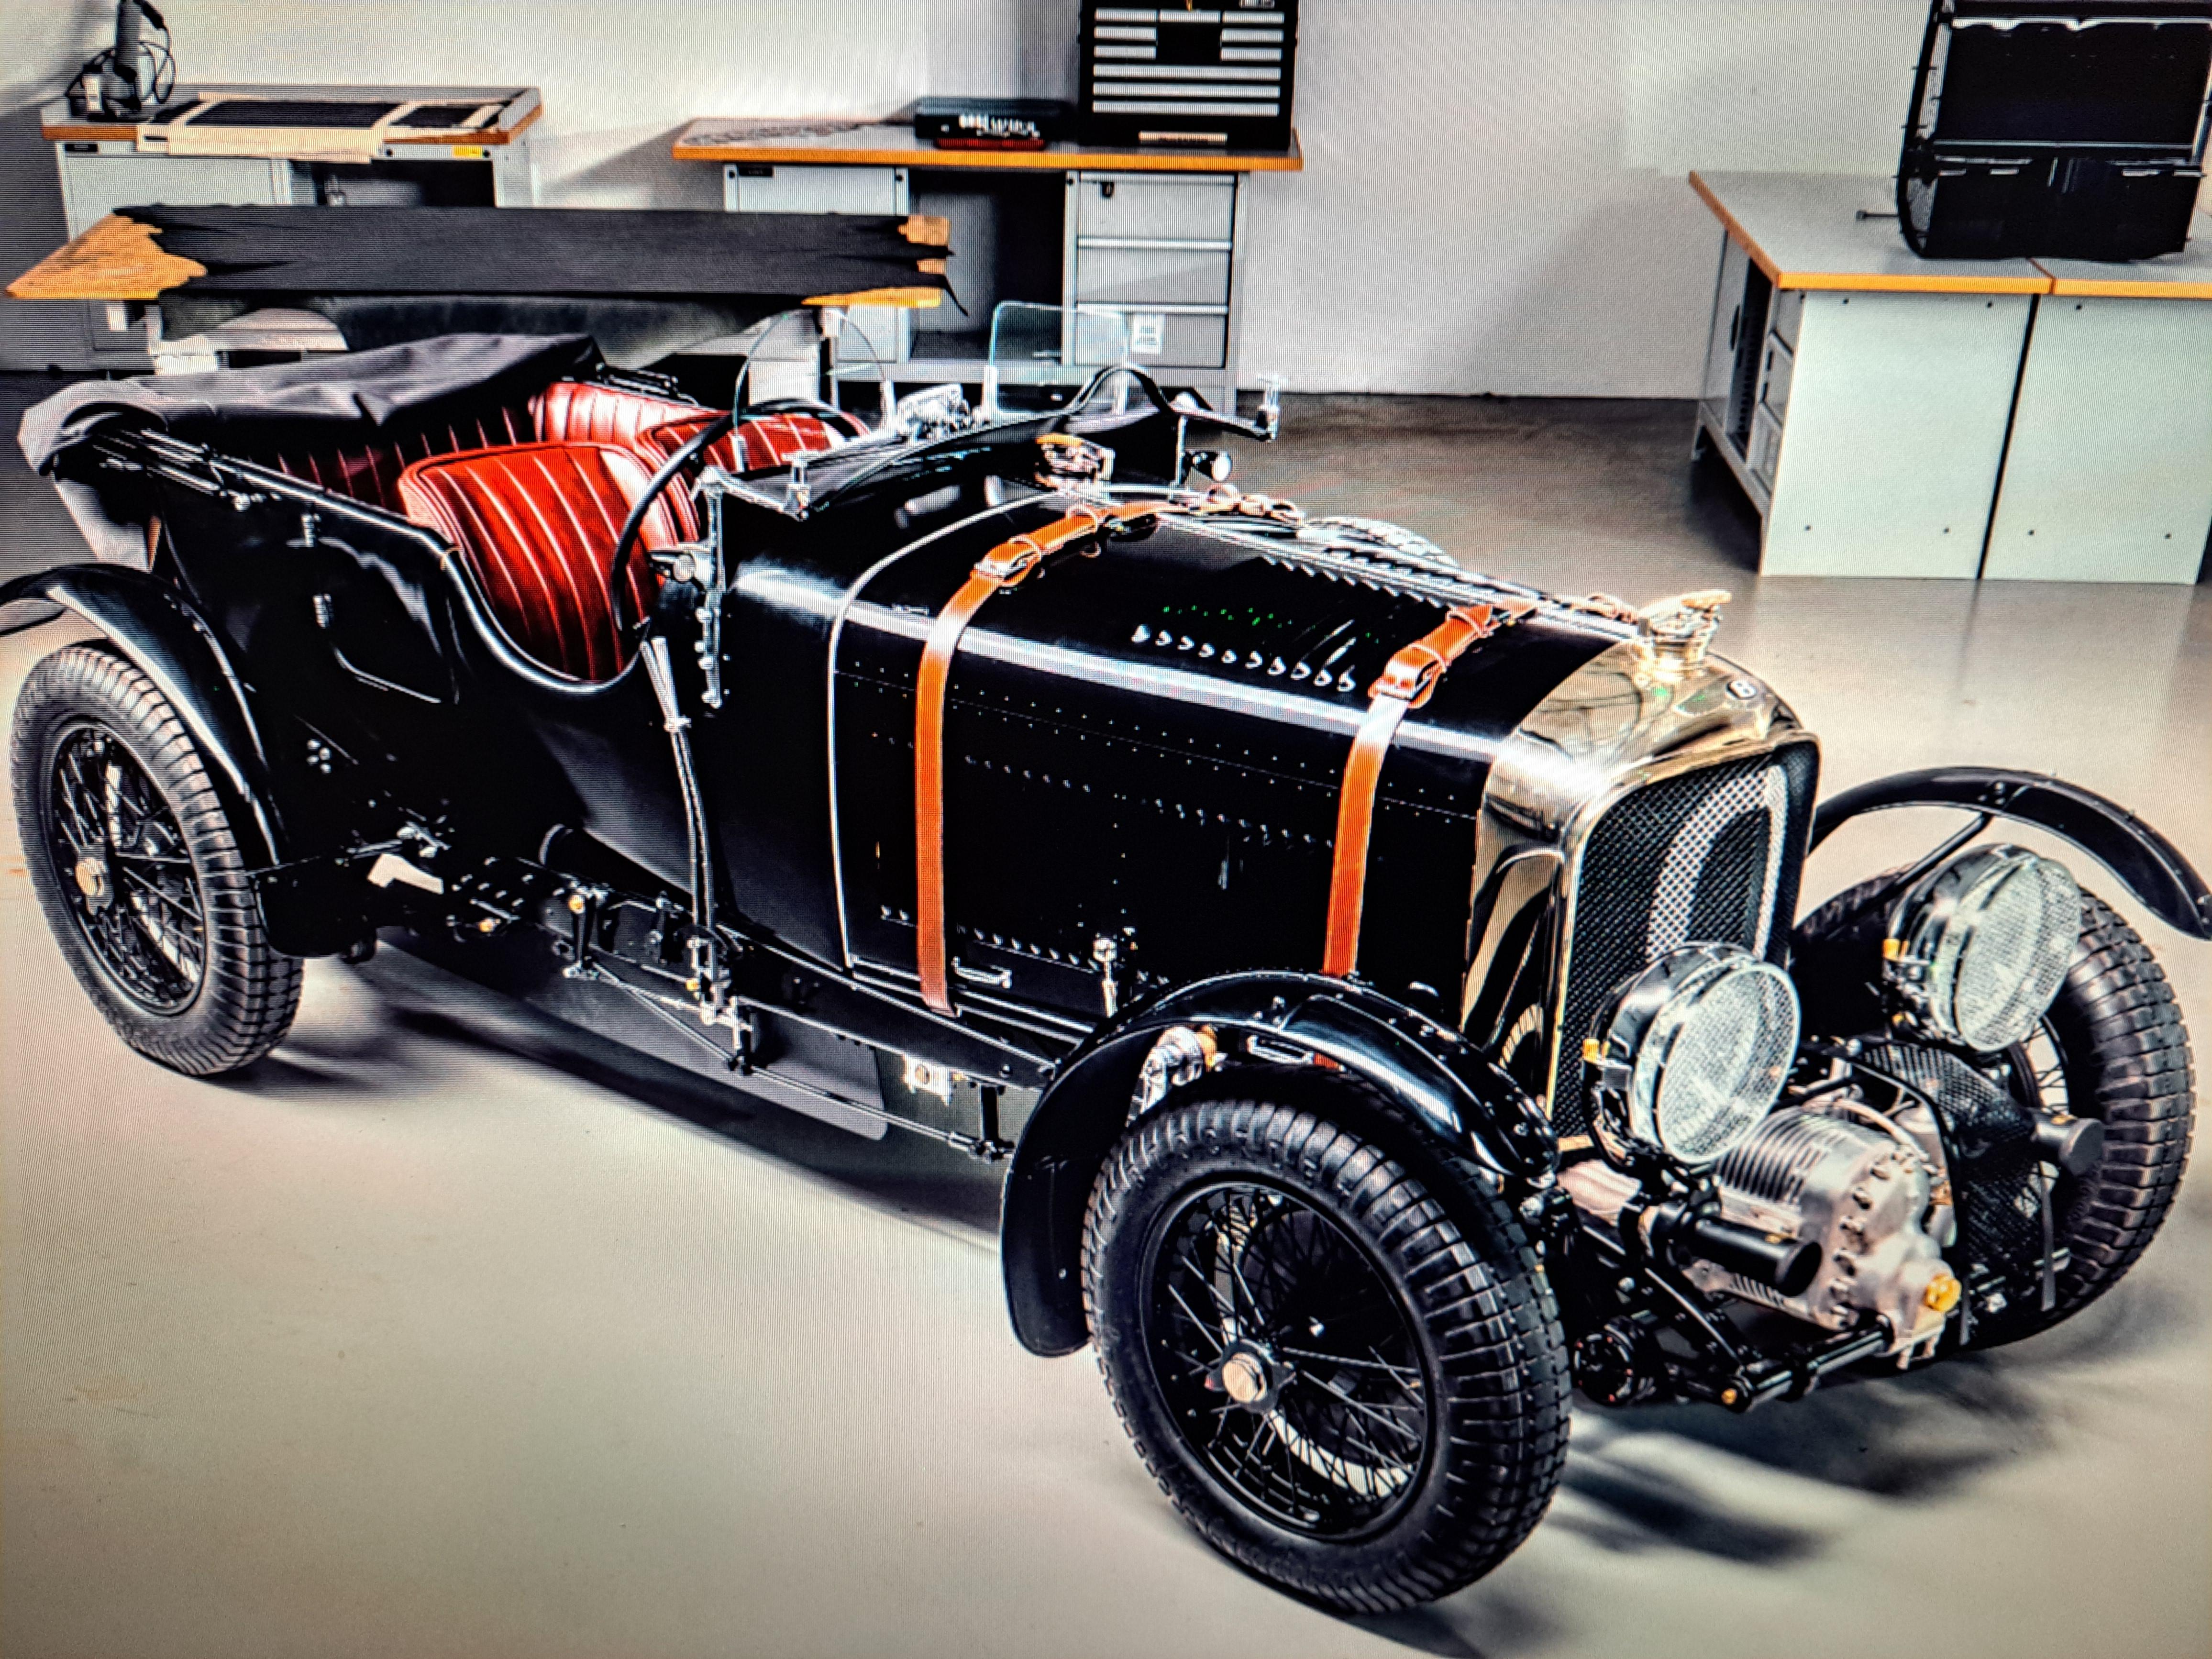
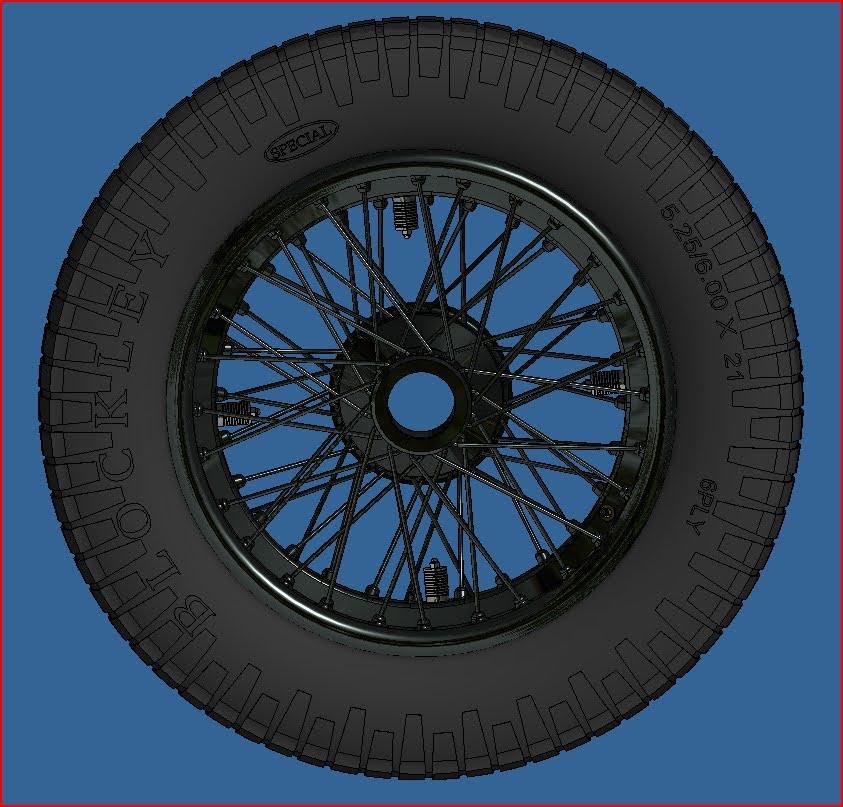
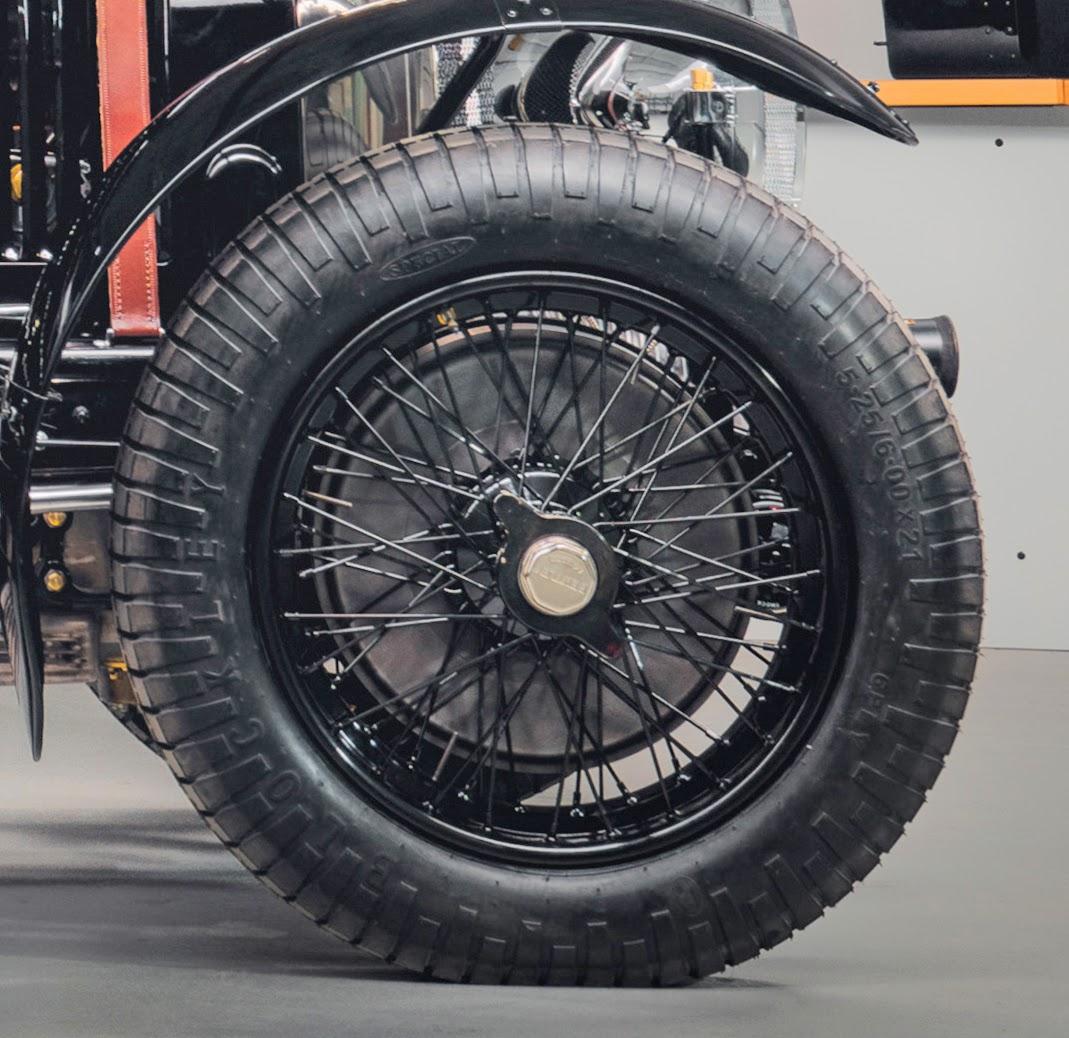
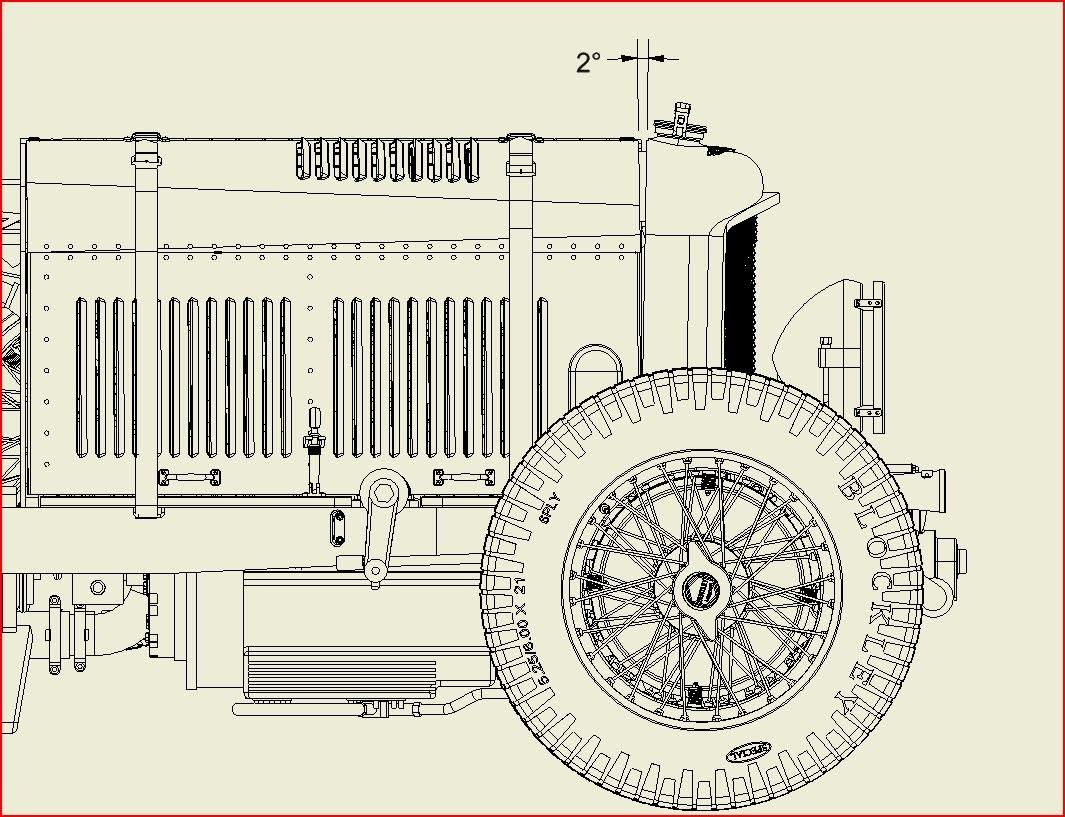
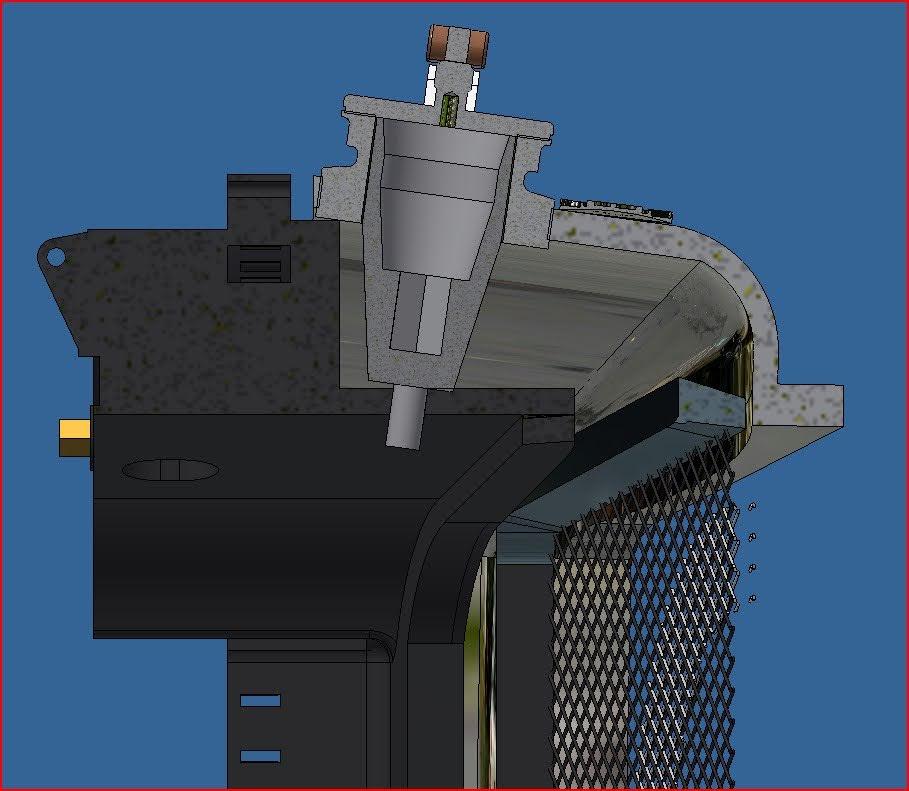
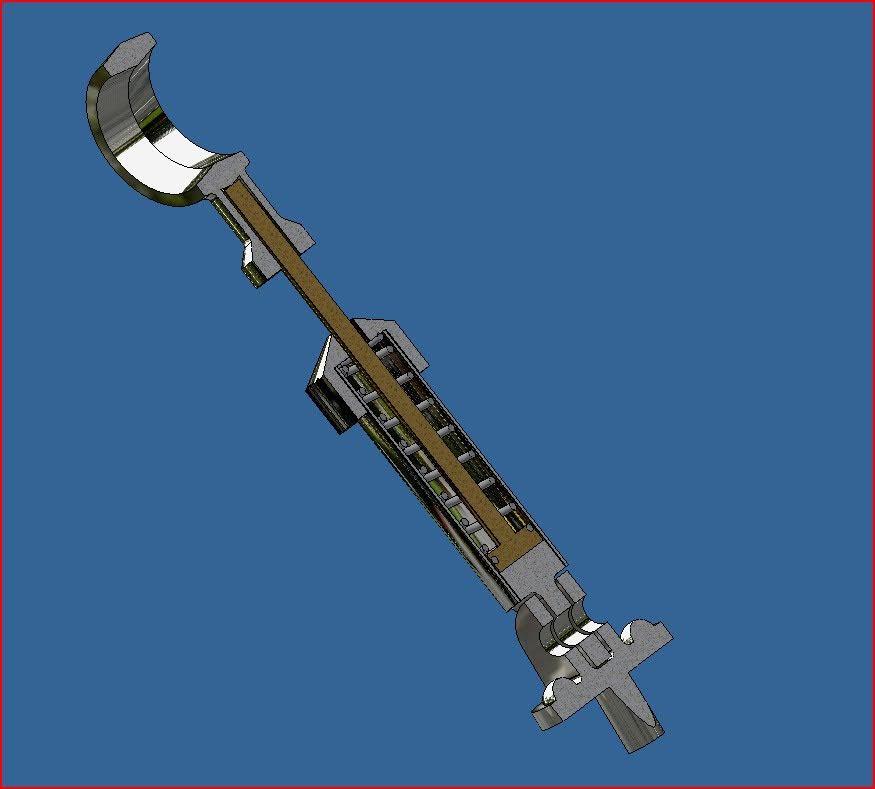
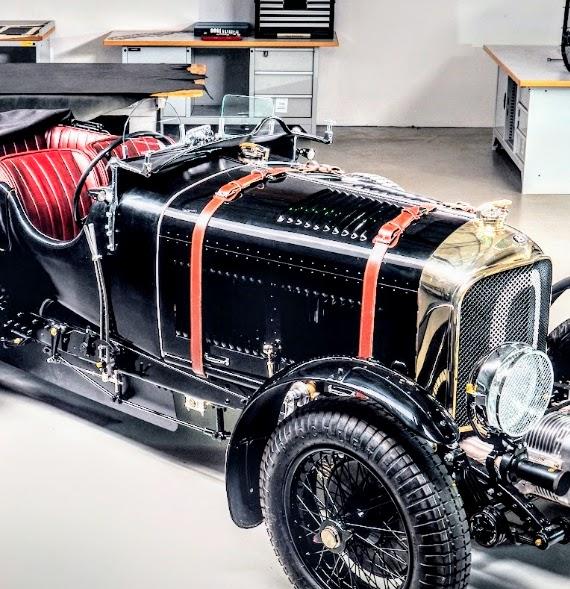
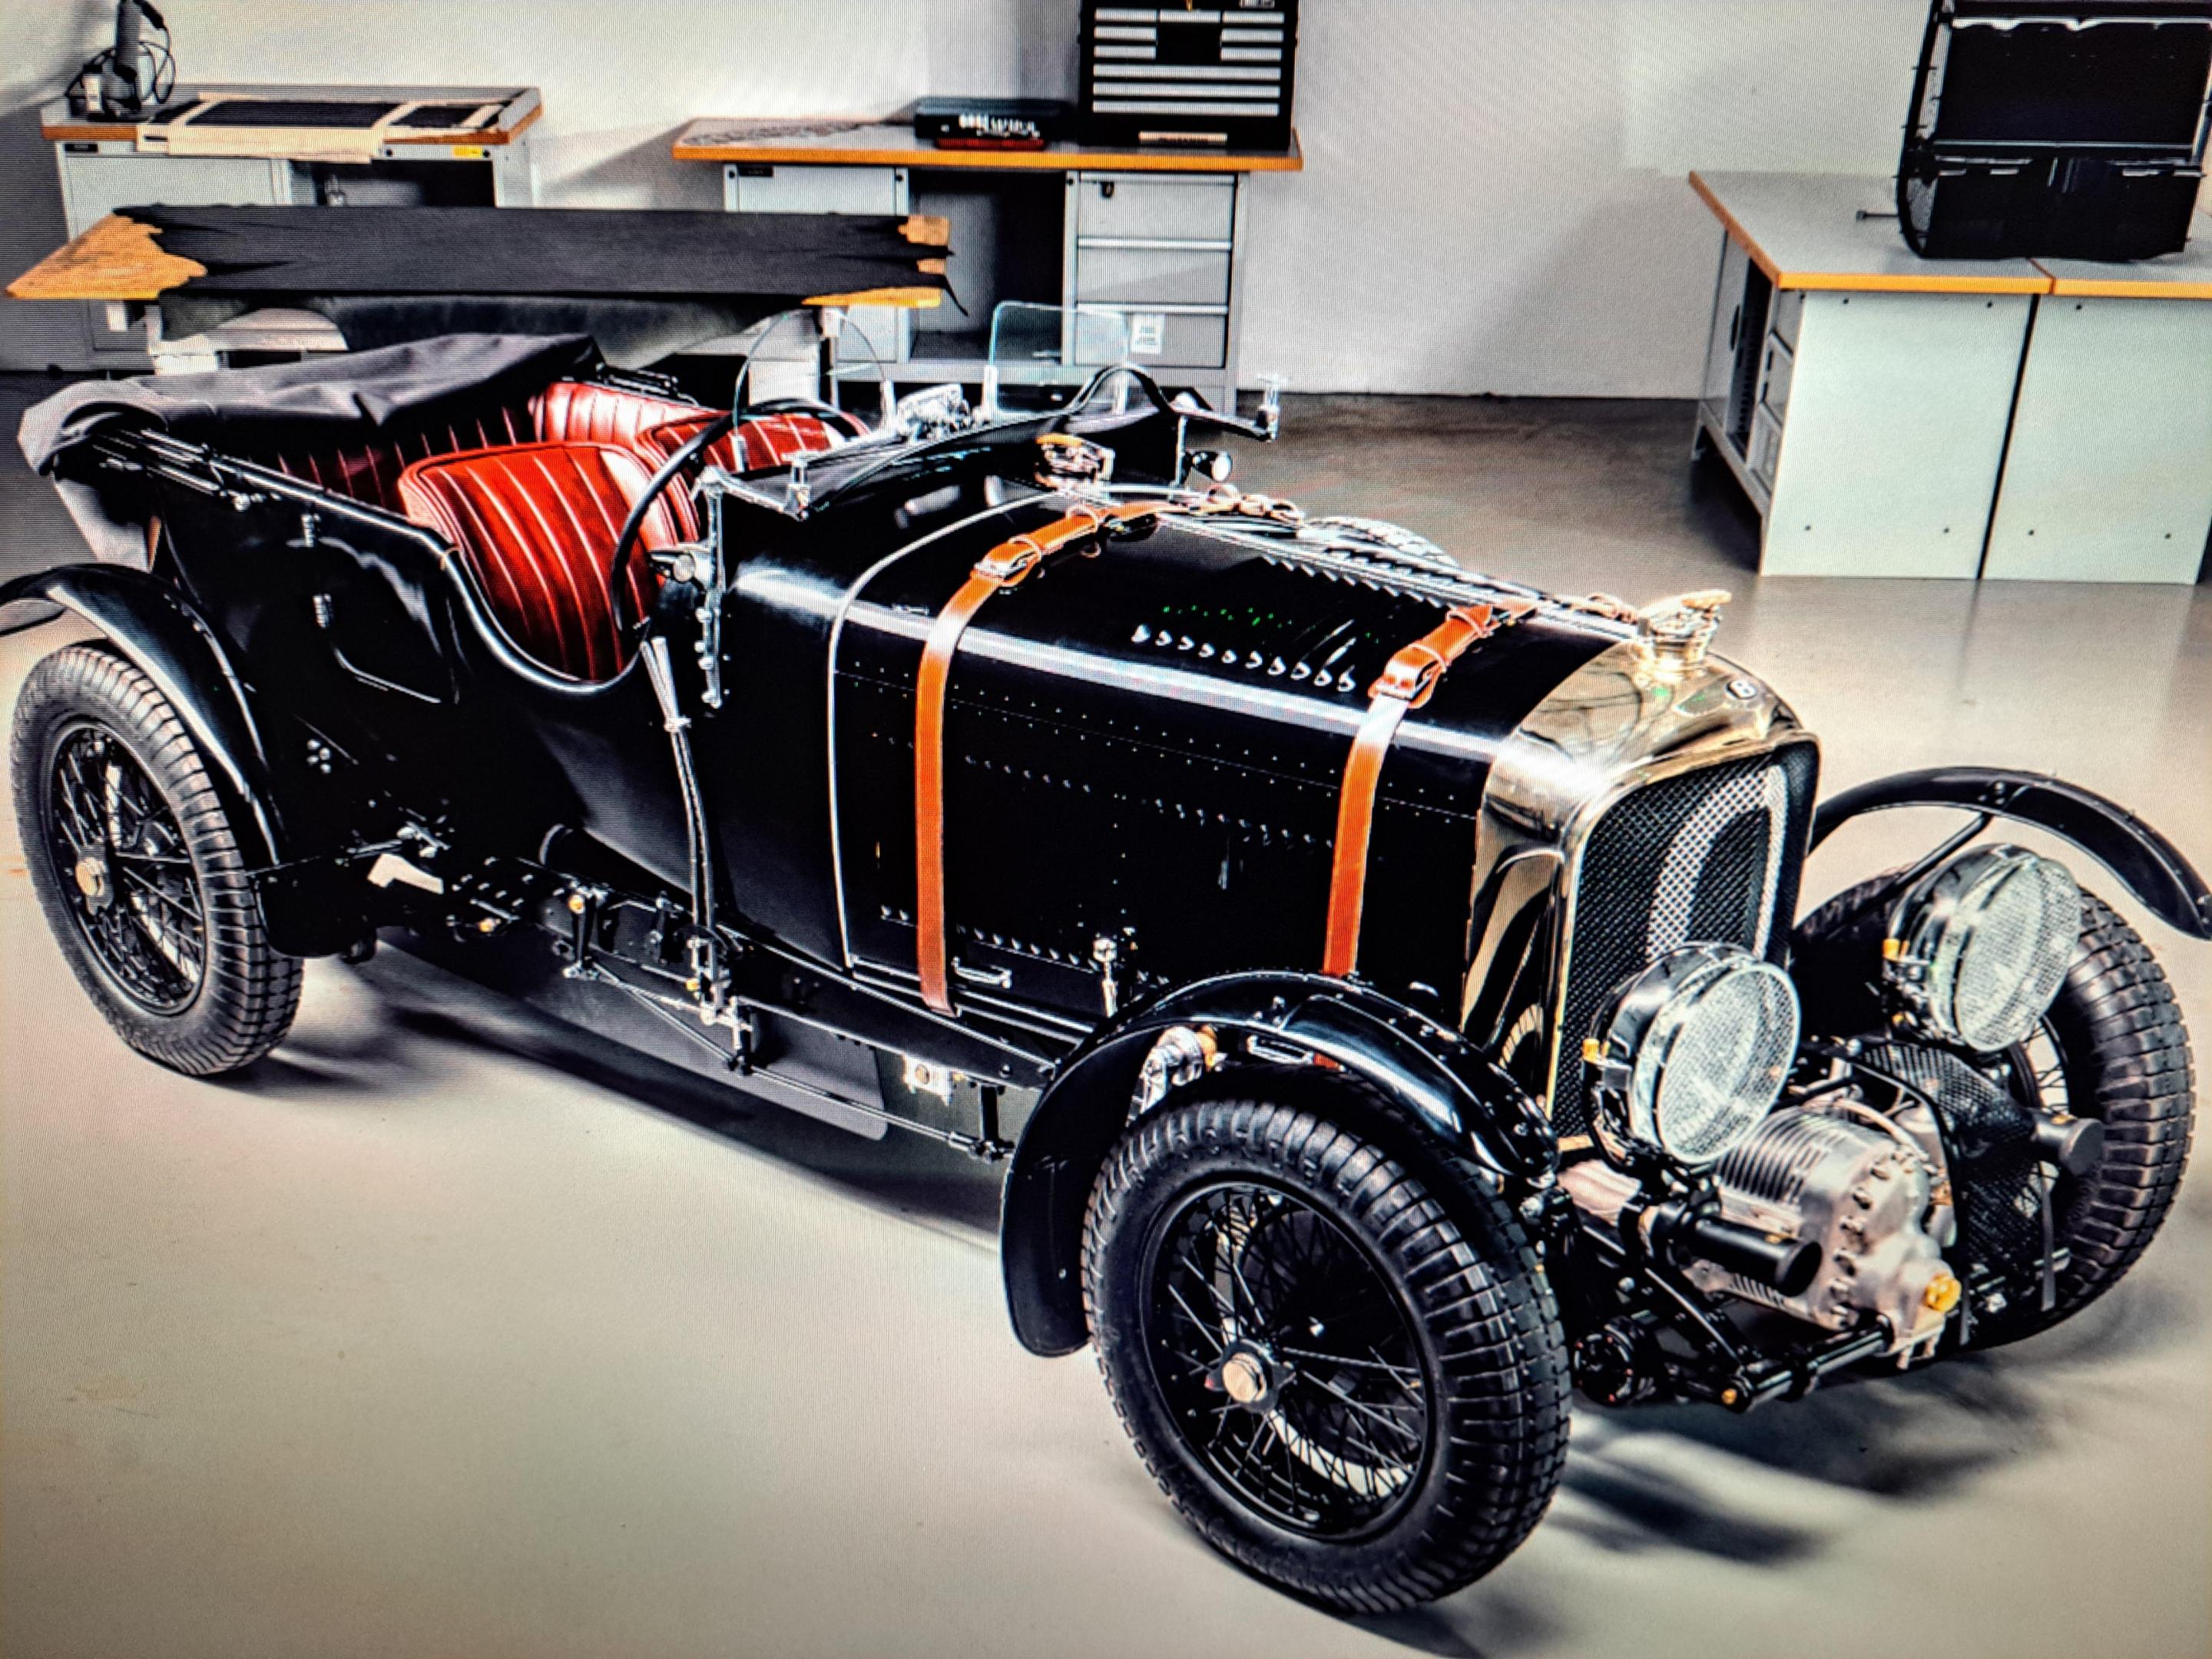
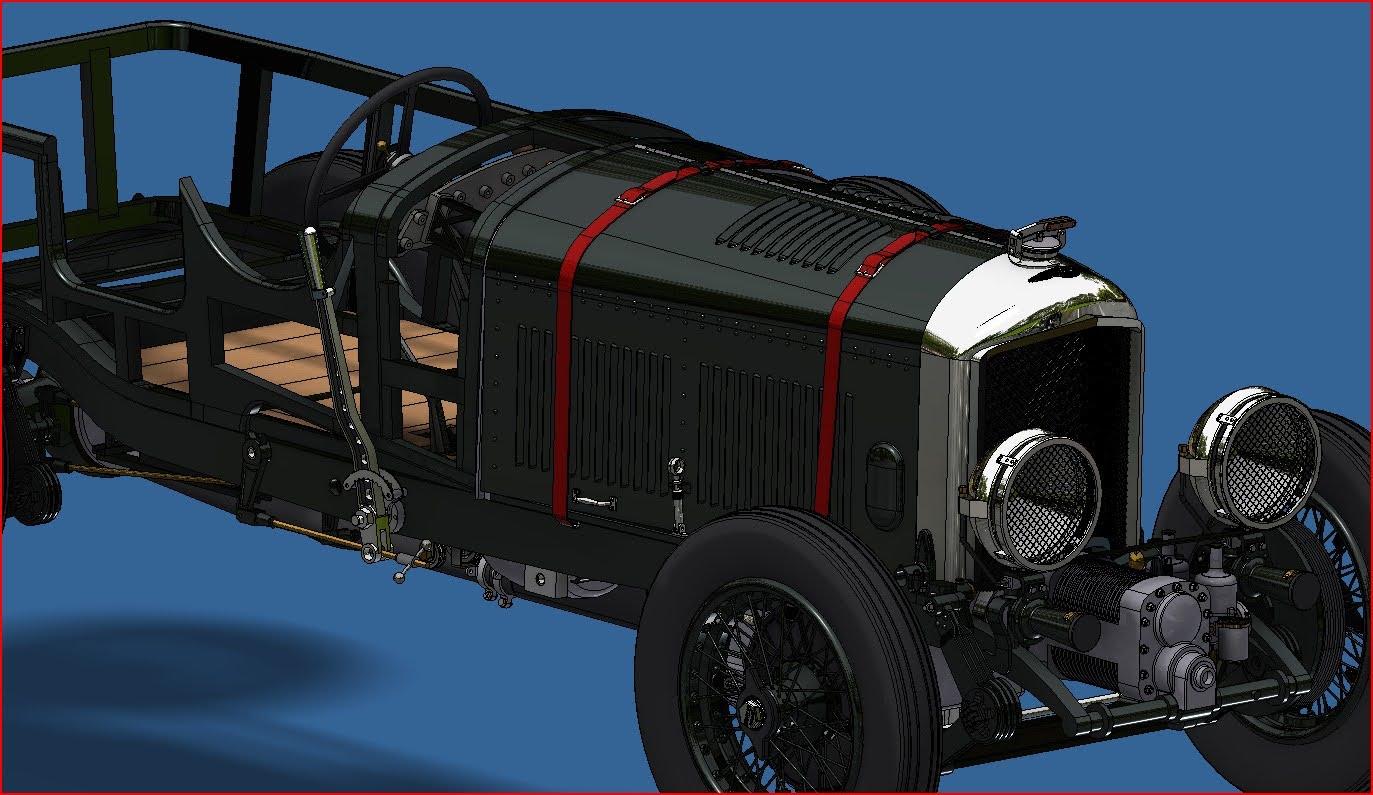
And finally, real car vs cad model vs scale model

So far, the 4 panels have been 3d modeled with better details than the kit's and incorporated hinges. I modeled the lifting handles and the latch. I even modeled the straps (I'll fabricate real straps, not printed ones). The 3d model look pretty good. But this is not a cad model forum, it's a scale model forum. So here's where I'm at with my real model. I printed (again) the hood panels, this time with a thickness of .03in, up .005 from the last print. I'm very happy with the result but I think I could do better. I might up the thickness another 005. to give them a little more rigidity. I also need to tweak certain de curves a little but aside from that, l pretty much there. So here are some pictures. Please remember that the radiator is not uet fixed in place, that's why it's a little off.
Printed panels before supports removal

Right side panel down

Right side panel up

Left side panel down

Left side panel up

Latch

And finally, real car vs cad model vs scale model